manuals.online logo
Brands
  1. Home
  2. •
  3. Brands
  4. •
  5. Testrite Visual
  6. •
  7. Lighting Equipment
  8. •
  9. Testrite Visual XSD Series User manual

Testrite Visual XSD Series User manual

Page 1 of 5Version: 3
Page 1 - Assemble the Frame
First start by assembling corners. There are three (2) brackets per corner. All extrusion sections are numbered
to identify which pieces go together, 1 with 1, 2 with 2, etc.
1. Insert the bent bracket into the extrusion where shown. Tighten the rst screw on the bracket ~75% only.
Take the mating extrusion piece with matching number, guide the corner brackets in and tighten the
second pair of screws ~75%. Do not fully tighten.
2. Repeat assembly steps for the three remaining corners. Fully tighten all bracket screws.
3. For larger boxes, sides may be built in multiple sections. These sections end in a straight cut (NOT a 45⁰
angle). Use the two (2) straight brackets to connect the two adjoining sections. The screws will be tightened
from the inside of the frame. Sections can be identied with matching numbers.
4. If provided, place center support bar bracket into frame channel and use the Allen key to expand the
bracket inside the channel to secure it in place.
Charisma™ LED Double Sided Light Box - XSD Series
4.
1a.
1
Corner 4
Corner 3
Corner 2
2.
1c.
1
1
1
1
1b. Tighten screws only ~75%
Tighten
screws only
~75%
Fully tighten
all bracket
screws
3a.
3b.
Support Bar
22
22
1
Page 2 of 5Version: 3
Page 2 - Connect Electrical Components
1. At each break in the extrusion, identify the orange or white electrical connector. Then connect the white female
connectors to their matching male connectors and the orange female connector to their matching male connector.
The connectors must fully“click” together.
2. It is normal for the last female white connector to be unconnected to anything else.
3. If there are multiple cables, connect those with matching colors.
Charisma™ LED Double Sided Light Box - XSD Series
ELECTRICAL NOTE:
This sign is intended to be
installed in accordance with the
requirements of Article 600 of
the National Electrical Code and/
or other applicable codes. This
includes proper grounding and
bonding of the sign.
Unconnected last female
connector is normal
2.
1a.
1b.
Light Strip to
Light Strip
First Light Strip to
Power Supply
Power Supply to Plug
Page 3 of 5Version: 3
Page 3 - Mounting
1. HANG: the frame using the pre-mounted eyebolts, after installing graphic (see next page for graphic installation).
2. BASES: Mount the frame to the bases using the hardware provided.
CAUTION: Always ensure the frame is secured strongly without risk of falling before completing the installation.
Charisma™ LED Double Sided Light Box - XSD Series
1. 2.
Page 4 of 5Version: 3
Page 4 - Install the Graphic
1. Plug frame into wall outlet.
2. To install the graphic, take the corner with the pull tag on it and press about 6”-10”of silicone into the frame channel
corner A. Repeat for the opposite corner B. Repeat for the next corner C. Lastly, repeat for the nal corner D.
3. After all corners are pressed in, press the silicone into the frame channel at the mid-points on all four sides.
4. Press silicone into frame evenly between the corner and midpoints.
This prevents the graphic from bunching up or stretching too much and will ensure a smooth and tight t.
5. Repeat steps 1-4 on the second side.
6. To remove the graphic from the frame, simply pull up on the pull tag.
NOTE: Model shown below may dier from your model, but assembly instructions remain the same.
Charisma™ LED Double Sided Light Box - XSD Series
2.
4.
3.
6.
Apull tag
B
D
C
5.
1.
Page 5 of 5Version: 3
Charisma™ LED Double Sided Light Box - XSD Series
Page 5 - Repair Instructions - Light Replacement:
1. Unplug unit from wall.
2. Remove thumb screws from light strip.
3. Unplug the light strip male/female connectors, then remove the light strip.
4. Put new strip on the channel, with the glide turned parallel to the channel and dip the glide
into the channel.
5. Reconnect the new light strip to the adjacent connections.
6. Tighten the thumb screws to secure the knobs. If a knob doesn’t engage, unscrew the glide
until it is almost o, then try again.
7. Plug in the unit.
ELECTRICAL NOTE:
This sign is intended to be
installed in accordance with the
requirements of Article 600 of
the National Electrical Code and/
or other applicable codes. This
includes proper grounding and
bonding of the sign.
1. 2. 3.
4. 5. 7.
6.
Lift out after
disconnected
3a.
3a.
3b.

Other Testrite Visual Lighting Equipment manuals
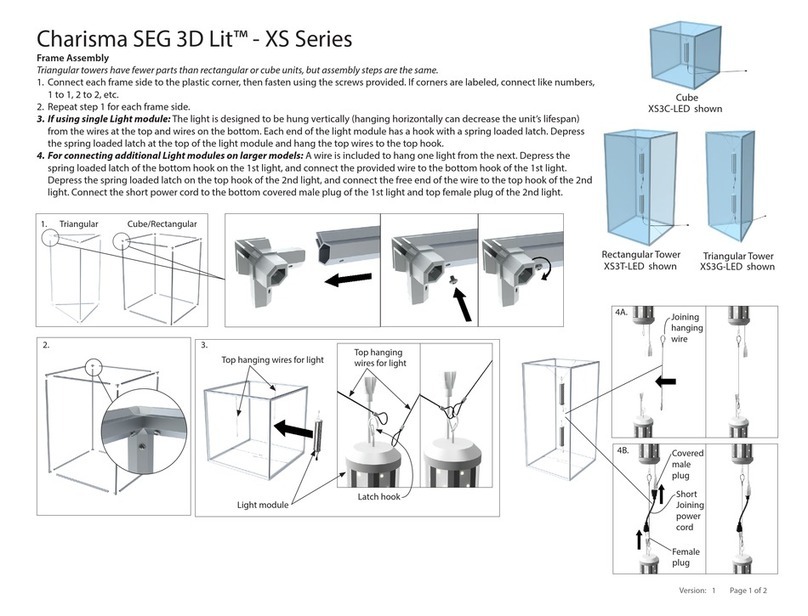
Testrite Visual Charisma SEG 3D Lit XS Series User manual
Testrite Visual

Testrite Visual Charisma SEG 3D Lit XS Series User manual

Testrite Visual Charisma XBX Series User manual
Testrite Visual

Testrite Visual Charisma XBX Series User manual

Testrite Visual Charisma SEG XSL Series User manual
Testrite Visual

Testrite Visual Charisma SEG XSL Series User manual

Testrite Visual SupraSlim SnapFrame SUL Series User manual
Testrite Visual

Testrite Visual SupraSlim SnapFrame SUL Series User manual

Testrite Visual Charisma Inside-Out Light Box XSIO Series User manual

Testrite Visual

Testrite Visual Charisma Inside-Out Light Box XSIO Series User manual

Popular Lighting Equipment manuals by other brands
EuroLite LED D-24 Beam Effect user manual

EuroLite

EuroLite LED D-24 Beam Effect user manual

HEPER AQSA 0.5 Installation & maintenance instructions

HEPER

HEPER AQSA 0.5 Installation & maintenance instructions

Almat STELLA 2 manual

Almat

Almat STELLA 2 manual

PR Lighting XLED 4007 BEAM manual

PR Lighting

PR Lighting XLED 4007 BEAM manual

ALUZ ZIBI A1 Series installation instructions

ALUZ

ALUZ ZIBI A1 Series installation instructions

LIVARNO home 373565 2104 Operation and safety notes

LIVARNO home

LIVARNO home 373565 2104 Operation and safety notes

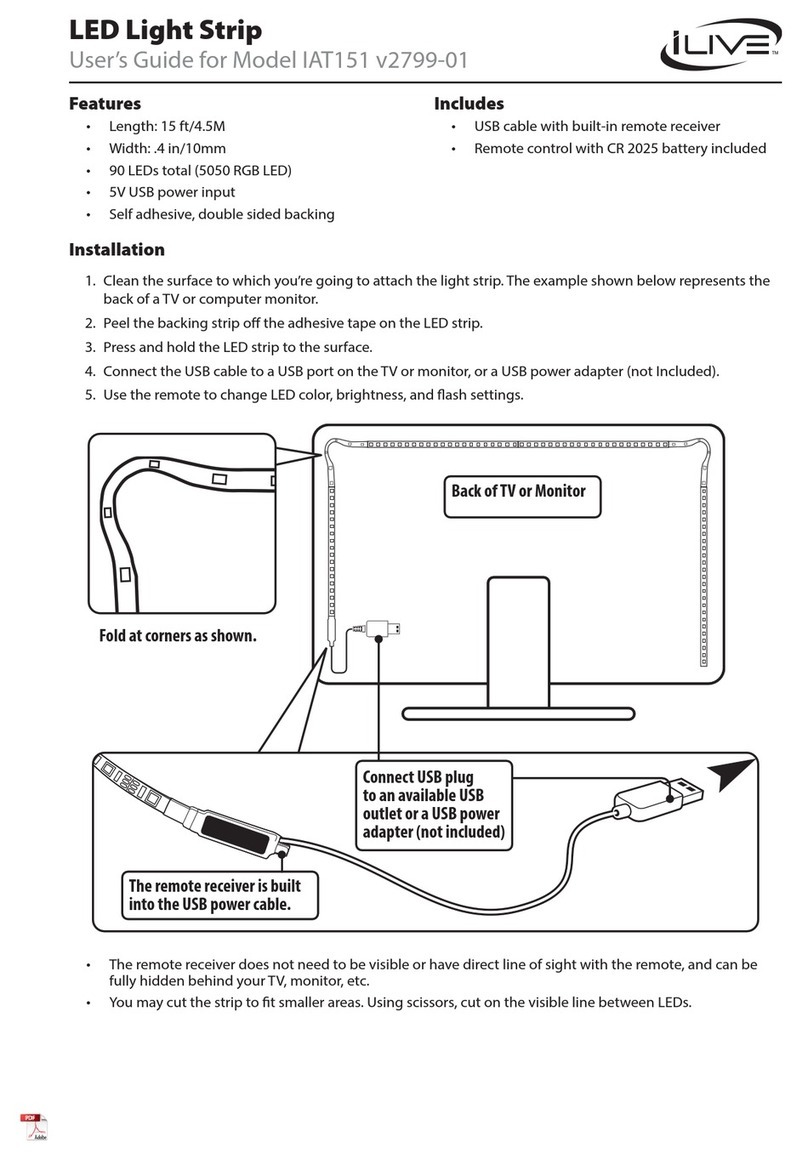
iLive IAT151 user guide

iLive

iLive IAT151 user guide

Luxibel B-Expo350M user manual

Luxibel

Luxibel B-Expo350M user manual

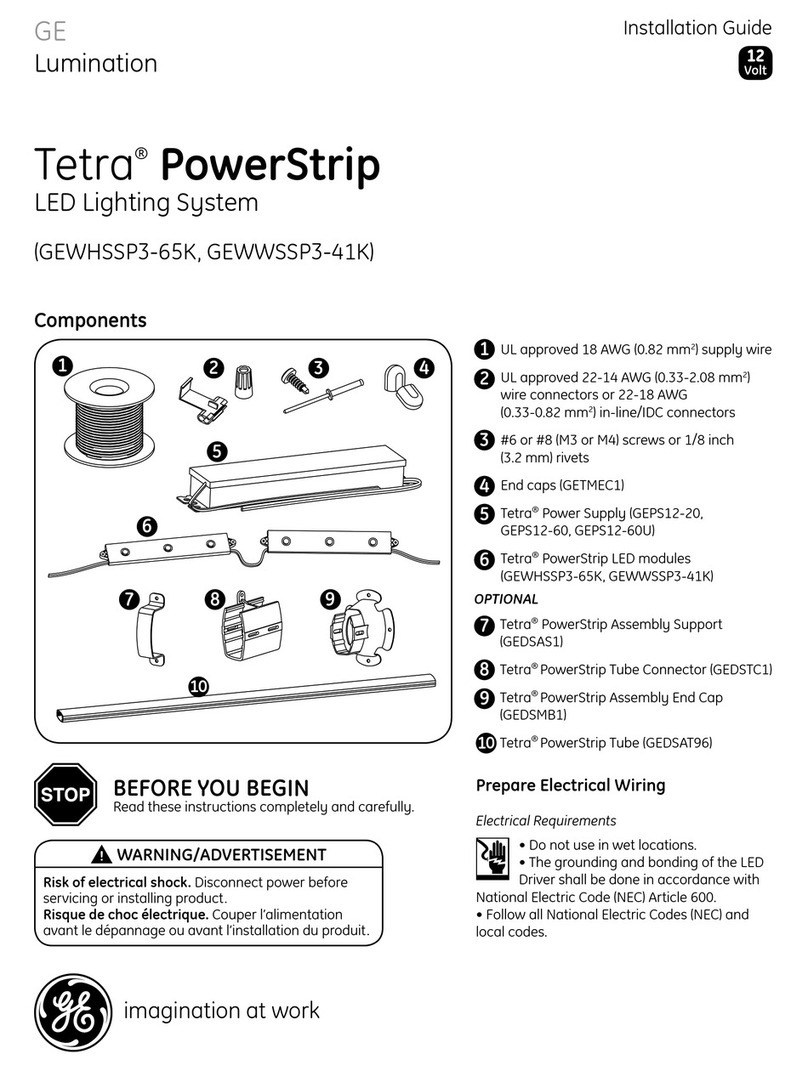
GE Tetra PowerStrip GEWHSSP3-65K installation guide

GE

GE Tetra PowerStrip GEWHSSP3-65K installation guide

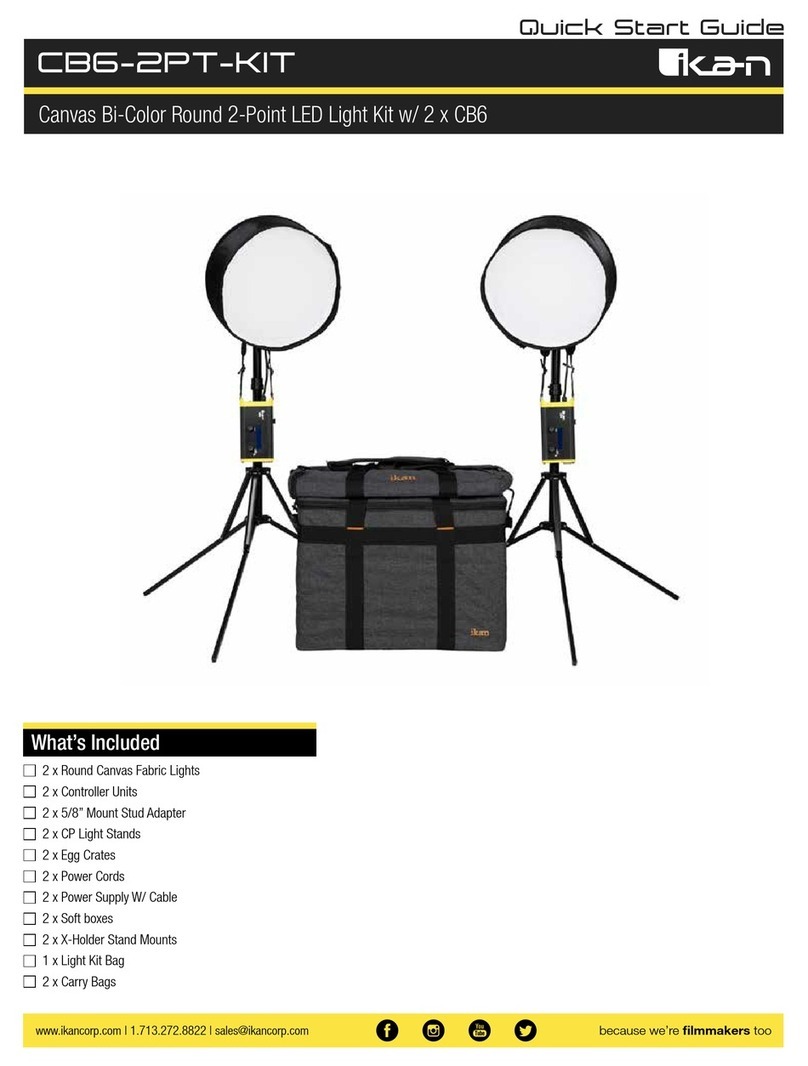
Ikan CB6-2PT-KIT quick start guide

Ikan

Ikan CB6-2PT-KIT quick start guide

Flash FLG-256 user manual

Flash

Flash FLG-256 user manual

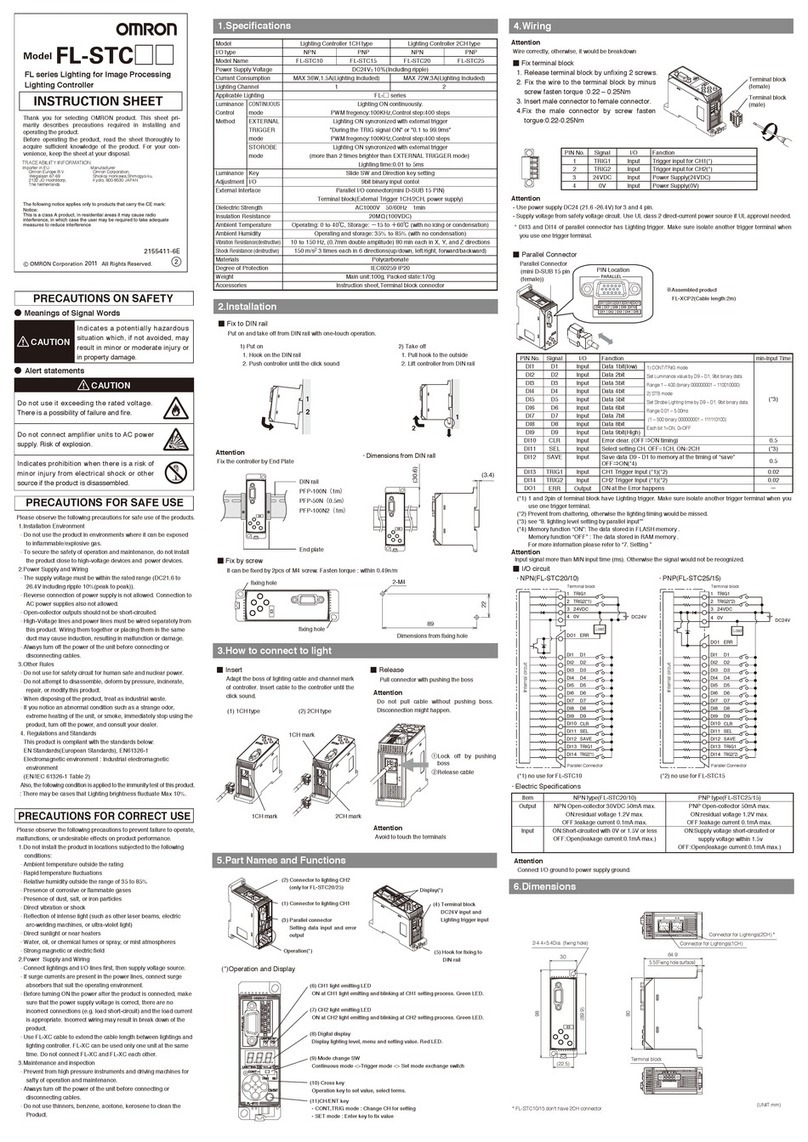
Omron FL Series instruction sheet

Omron

Omron FL Series instruction sheet

White Rodgers Comfort plus UV100 Installation & operation manual
White Rodgers

White Rodgers Comfort plus UV100 Installation & operation manual

Elumen8 KUDOS CYCLONE user manual

Elumen8

Elumen8 KUDOS CYCLONE user manual
Home Decorators Collection Home Depot 769537 instruction manual

Home Decorators Collection

Home Decorators Collection Home Depot 769537 instruction manual
OLIGHT Magicshine RN 1500 user manual

OLIGHT

OLIGHT Magicshine RN 1500 user manual

ETC Source Four CE 405 Assembly guide

ETC

ETC Source Four CE 405 Assembly guide

Evolights iQ-132B user manual

Evolights

Evolights iQ-132B user manual

manuals.online logo
manuals.online logoBrands
  • About & Mission
  • Contact us
  • Privacy Policy
  • Terms and Conditions

Copyright 2025 Manuals.Online. All Rights Reserved.