thermotouch 5245W Operation manual

Installation & User Guide
Dual Control Thermostat
Thermotouch 4.3dC
DUAL CONTROL SYSTEM
5245 / 5245W / 5246 / 5246W

2
Contents
What’s in the box? ....................................................... 4
Before you start ........................................................... 5
Installing Thermotouch .................................................. 6
Wiring diagram ............................................................ 9
User interface .............................................................. 11
Settings ....................................................................... 12
Set the time and date ................................................... 14
Heating schedule ......................................................... 15
Appliance controls ........................................................ 21
Heating modes ............................................................ 22
Wifi setup .................................................................... 24
Compatible sensor probes ............................................. 26
Technical data ............................................................. 27

3
Compatibility
Thermotouch 4.3dC is compatible with almost all
electric underfloor heating (UFH) systems available.
Thermotouch can replace your existing underfloor
heating thermostat and is compatible with many of
the most popular thermostat brands’ floor sensor
probes including those rated at:
• 6.8kΩ@ 25°C
• 10kΩ@ 25°C
• 12kΩ@ 25°C
• 15kΩ@ 25°C
• 33kΩ@ 25°C
Replacing an existing thermostat?
Contact the manufacturer’s technical department
and ask for the rating of the floor sensor at 25°C.

4
What’s in the box?
Check you’ve got everything:
• Thermotouch 4.3dC thermostat
• Floor sensor probe (2m)
• Floor sensor conduit (3m)
• Fixing screws
• Manual and warranty information
You will also need:
• Electrical screwdrivers
• Deep electrical back box
• Electric testing meter

5
Before you start
Thermotouch 4.3dC should be:
• Installed 1.2 - 1.5m from the floor
• On an interior wall
• In an area outside any wet zones (IP30)
• Installed on an RCD protected circuit
• Away from drafts or heat influences
• Installed so that the floor sensor probe can be laid in a
clear, temperature representative area of the floor.
• Set to floor sensing mode wherever possible
• In an open area of the room
• Installed by a professional, in line with current IEE 17th
Edition Part P regulations and local standards.
6
Installing Thermotouch
1. Switch off mains power
You will be installing Thermotouch as part
of a high voltage mains electrical circuit.
To ensure your safety and to protect the
thermostat, switch off the mains power
before you start the installation.
CAUTION
High Voltage
Cables
!
Fuse Box Fused Switch
OFF
ON ON ON ON ON
OFF

7
Installing Thermotouch
2. Choose a location
At this stage it its likely that an RCD protected
electric underfloor heating system has been
installed and a back box is already in place.
The underfloor heating cold tail should be pulled
up through the back box, and the sensor probe
installed (in the conduit provided) within the
wall cavity or pre chased channel in a solid wall.

8
Installing Thermotouch
3. Maximum distances
Thermotouch can be installed up to 50m
away from the underfloor heating system it
is controlling, provided that the floor sensor
is used to control the temperature.
Underfloor heating cold tails and floor
sensor probes can be extended up to 50m.
50m max.
9
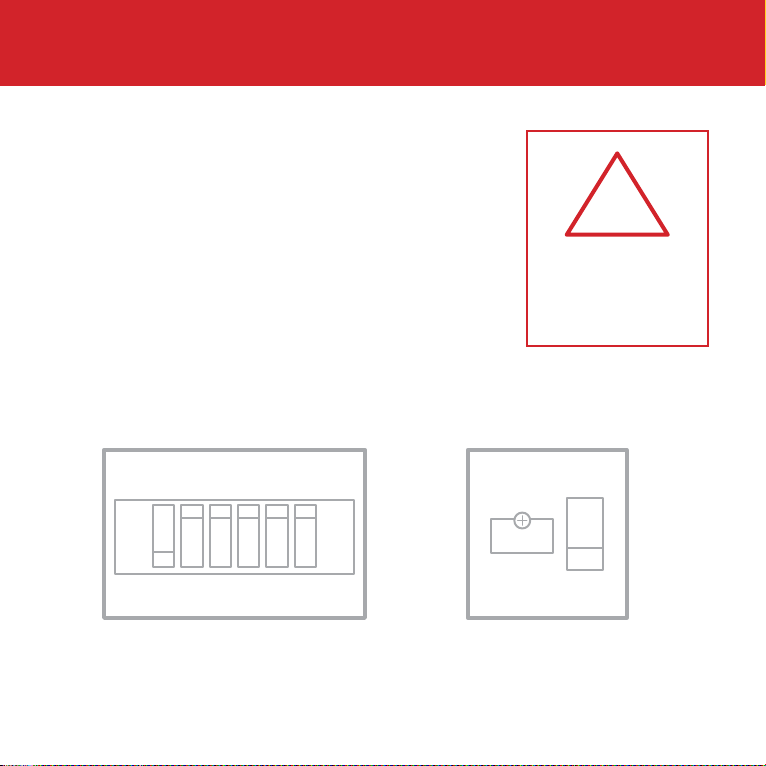
Installing Thermotouch
UFH Live
UFH Neutral
Appliance Neutral
230V AC Supply Neutral
230V AC Supply Live
Appliance Live
Common Earth (Ground)
Sensor connections
4. Wiring diagram
Connect Thermotouch to the underfloor heating
(UFH) cold tail, additional appliance, power
supply and floor temperature sensor.
The floor temperature sensor is not polarity sensitive.
987654321

10
Installing Thermotouch
5. Fix to the wall
Use a small flat screwdriver in the groove
on the underside to lever the face plate
away from the back plate.
Carefully disconnect the ribbon cable and
align Thermotouch with the mounting
positions on the pre installed back box.
Fix in place with the screws provided. Now
connect the ribbon cable and clip the face
plate back into position.
11
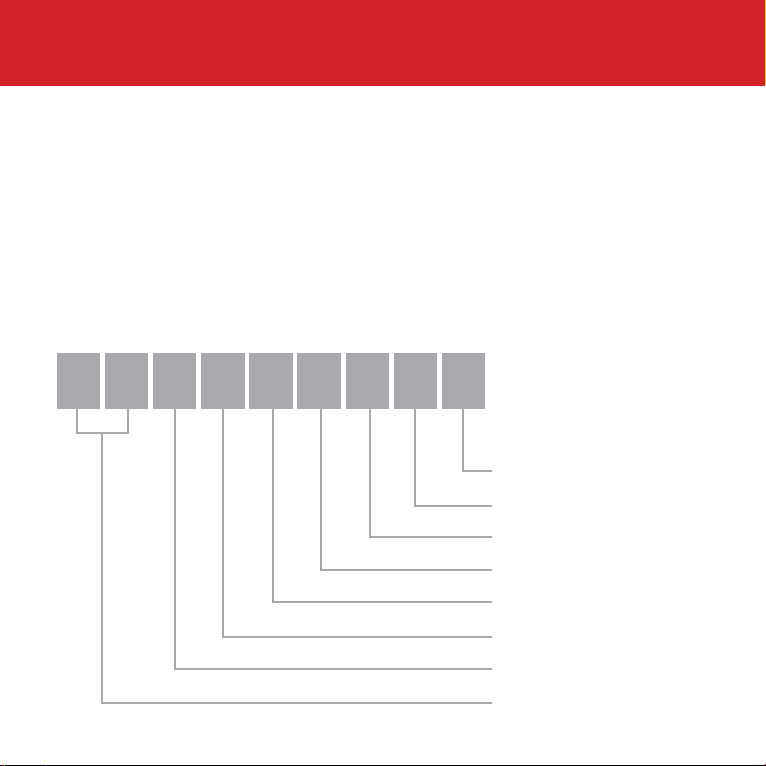
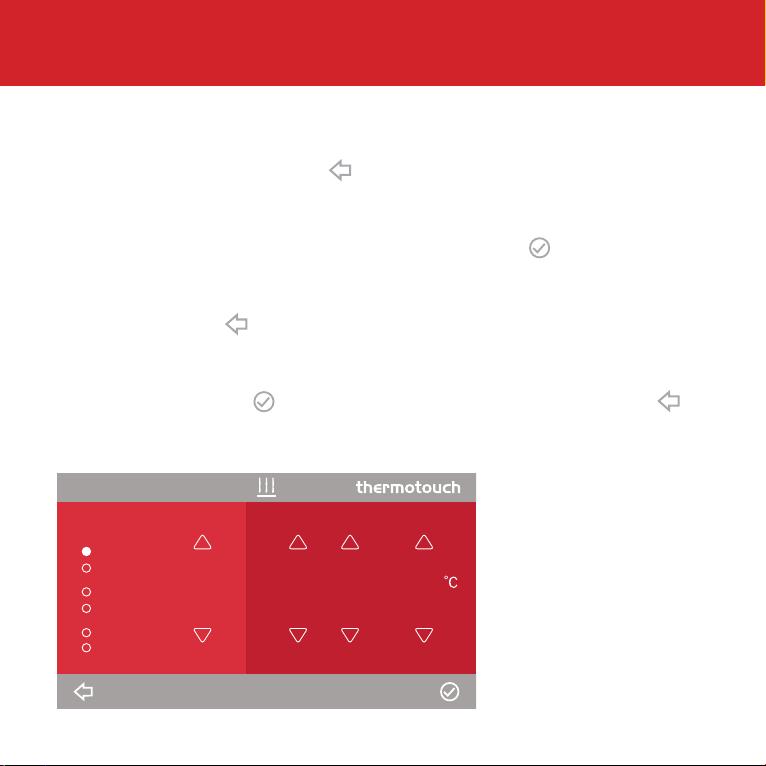
User interface
23
Target Temp 25
06:00 Friday
1
12
13
11
10
2
3
4
5 7 96 8
1. Time & date
2. Heating mode
3. Appliance mode
4. Power
5. UFH on icon
6. Appliance on icon
7. Measured temperature
8. Target temperature
9. Sensor mode icon
10. Menu
11. Down arrow
12. Up arrow
13. Wifi indicator

12
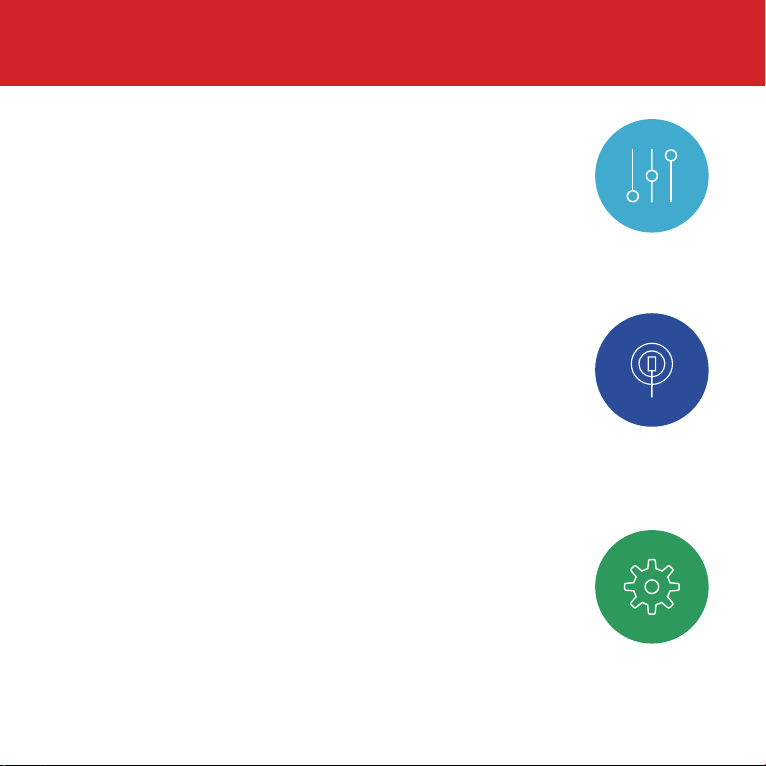
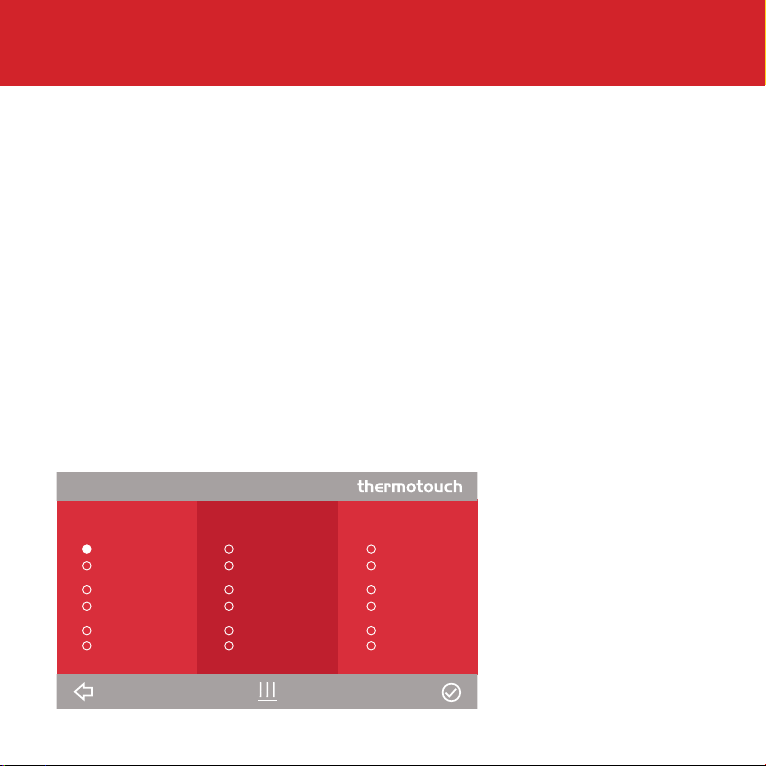
Settings
Time & date
Set the current date and time.
Heating schedule
Set the automatic schedule for your underfloor
heating and an additional appliance.
Display settings
Change the backlight timer as well as the
minimum brightness. Select the home screen
wallpaper from 8 different colours and set the
screen orientation to portrait or landscape.
13
Settings
Pre set temperatures
Pre set comfort, eco and holiday temperatures.
Sensor mode
Select either floor, ambient or ambient with floor
limit sensor modes. Ambient with floor limit will
react to the ambient temperature primarily, but
will switch off if the floor temperature gets to high.
Advanced settings
Floor and ambient temp calibration, Sensor
calibration, switch rail and UFH controls on and
off, change the language, factory reset, set your
temperature limits. More detail on sensors on p26.

14
Set the time and date
When you first switch Thermotouch on, you
will need to set the current time and date.
You can do this by pressing Menu and
then Date & Time .
Use the arrows to select the right date and
time and then press confirm to save.
Fri 12 May 2015 15 52
15:52 Friday 12 May

15
Heating schedule
Setting up a schedule ensures energy
efficiency and convenience by automatically
changing the temperature of your
underfloor heating system.
Mon - Fri are all set to the same schedule.
Saturday and Sunday are both programmed
independently.
There are 6 heating events for every day.
Most people treat them as 3 on/off cycles.
Start setting up your underfloor heating
schedule on page 16.

16
Heating schedule
Press menu
Press schedule
Press UFH schedule
Press Mon-Fri.
The first heating event for the day is already selected.
Set the time you want your heating to come on in the
morning and the temperature you want your floor to heat
up to, using the up and down arrows.
1.
2.
3.
4.
5.
6.
Mon - Fri
06 30 21.0
06:30 21.0
08:00 18.0
12:00 21.0
14:00 18.0
18:00 21.0
22:30 16.0
06:00 Friday
Event 1
Event 2
Event 3
Event 4
Event 5
Event 6
Back Confirm
Time & Temp

17
Heating schedule
Press confirm to save your settings.
Use the left arrows again to select heating event 2 and
set the time you would like your underfloor heating to
switch off.
Now use the arrows to set your Eco temperature.
This is a low temperature that means your heating is
effectively off. We recommend around 6°C less than
the temperature you set when the floor is warm. Press
confirm to save your settings.
Repeat steps 8 - 9 for heating events 3 & 4. If you don’t
want your heating on in the afternoon set events 3 & 4 to
the low Eco (or off) temperature.
Repeat steps 8 - 9 for heating events 5 & 6. If you don’t
want your heating on in the evening set events 5 & 6 to
the low Eco (or off) temperature.
7.
8.
9.
10.
11.
18
Heating schedule
Now you need to set the heating schedule for the
weekend. Press back and then select Saturday.
Repeat steps 5 - 9 to set the on/off times and
temperatures for Saturday. Press confirm to save your
settings.
Press back , select Sunday and repeat the steps to set
a heating schedule for Sundays.
Press confirm to save your settings and press back
to go back to the menu and home screen.
12.
13.
14.
06 30 21.0
06:30 21.0
08:00 18.0
12:00 21.0
14:00 18.0
18:00 21.0
22:30 16.0
06:00 Friday
Saturday
19
A typical heating schedule
A typical heating schedule for a working family would
look something like this. The heating is on in the
morning and evening during the weekdays, and then
at weekends it’s on in the morning, for a period in the
afternoon and then again in the evening.
You can adjust the time and temperature of any of
these heating events to suit your lifestyle.
Mon - Fri Sunday
06:00 25.0
08:00 18.0
12:00 18.0
14:00 18.0
18:00 25.0
22:30 18.0
Saturday
08:00 25.0
10:00 18.0
12:00 25.0
14:00 18.0
18:00 25.0
23:00 18.0
08:00 25.0
10:00 18.0
12:00 25.0
14:00 18.0
18:00 25.0
23:00 18.0
06:00 Friday

20
Appliance schedule
Copy your heating schedule to an appliance (such as
an electric heated towel rail or mirror de-mister) that
is connected to your Thermotouch.
When you have finished setting your UFH schedule
press Copy, press OK and then press confirm to save
your settings .
This will copy all of the on/off times from your UFH
schedule to the appliance schedule.
Now select Mon-Fri, use the arrows to select the
heating events and set the appliance to on or off. You
can also adjust the times if you want to.
There is no temperature setting for the appliance
because it is not connected to a temperature sensor.
This manual suits for next models
4
Table of contents
Other thermotouch Thermostat manuals


Popular Thermostat manuals by other brands

PW maintenance
PW maintenance DT operating instructions

Thermon
Thermon XT Series Installation, operation & maintenance instructions

Seitron
Seitron TBM01M manual

Honeywell
Honeywell RTH2300 series owner's manual

Honeywell
Honeywell Lyric T6R install guide

Sears
Sears 1F86-382 Nstallation and operating instructions

Flextherm
Flextherm LS120P user manual

Sinope
Sinope TH1300ZB user manual

Bosch
Bosch Smart Home Thermostat AA quick start guide

Habitat
Habitat HTE-01 Operation manual

Honeywell Home
Honeywell Home Resideo T5+ RCHT8612WF2005 Quick install guide

Lux Products
Lux Products SMART TEMP CAG1500 SERIES Installation and operating instructions


