2.0
2.1 INSTALLATION TEST PROCEDURE
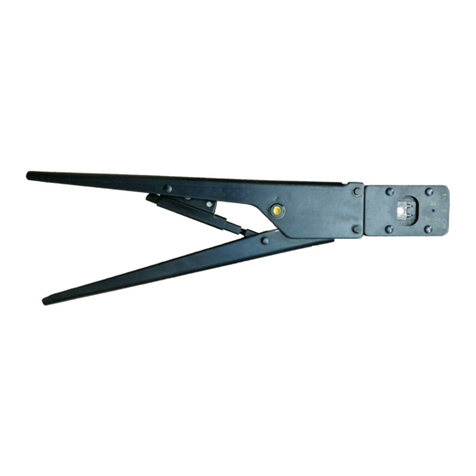
INSTALLATION TEST PROCEDURE (TBM5S & TBM5SV ONLY)
TA00084 G Page 4 of 6
CAUTION
Care should be taken to strip the insulation of the conductor
without cutting or nicking the conductor strands, as this
condition will result in premature pull-test failures.
Using a tool that has passed the calibration requirements
install a minimum of six (6) terminals for each die nest on the
appropriate wire for which a performance check is required.
In order to obtain valid and consistent results, perform
installation procedure as follows:
COLORED-KEYED®CONNECTORS
1. Strip conductor approximately 1/4” longer than the connector
barrel. (Strip length for test purposes only. For actual installation,
refer to the instruction sheet supplied with the connectors).
2. For aluminum conductors, smear a thin layer of joint compound
onto the cable and brush it in with a wire brush or emery cloth.
3. Insert stripped conductor into connector barrel until it
bottoms out.
4. Choose an installing die with the same color marking as the
connector.
5. Locate connector in die grooves of tool, so that die is
between the color code marks for copper and on the color
code marks for aluminium, see graphics below.
6. Some connectors require more than one compression.
Refer to the instruction sheet supplied with the connectors
regarding the number of compressions required. If more
than one compression is indicated, the first compression
should be in the indicated area nearest to the tongue of a
terminal and nearest the center of a splice, and then working
progressively toward the end of the barrel.
7. Squeeze handles fully closed until SHURE STAKE
®
mechanism releases.
1. Install test sample in a tension-testing machine or a suitable pull-
test fixture.
NOTE: The pull is to be exerted gradually. An abrupt pull is not a
proper test method.
2. Subject each sample to an axial pull which is to be increased until
failure of the connection occurs, (see graphics below).
3. The pull force required to separate a terminal from its associated
wire shall be no less than the minimum pullout (see table on the
right).
NOTE: On “C” tap and wire joints, only the smallest wire in each
combination is to be tested for pullout.
EXAMPLES OF TENSILE TESTING MACHINES
1. Ametek Testing Equipment Systems, E. Moline, IL 61244.
Mechanical Force Gage Model No. D-150M, Testing Stand Model
No. CTM.
2. John Chatillion & Sons, Kew Gardens, N.Y., N.Y. 11415. Gage Model
No. DPPH-100 or DPPH-200, Testing Stand Model No. HTC.
TENSILE TEST PROCEDURE
TERMINAL
FORCE
TYPICAL COPPER TEST SAMPLE
TERMINAL
FORCE
WIRE
TYPICAL ALUMINUM TEST SAMPLE
TERMINAL
WIRE
WARNING
SHURE STAKE®SAFETY RELEASE
The TBM5-S compression tool is equipped with the Shure Stake®full stroke compelling mechanism. If
it becomes necessary to release the Shure Stake®Mechanism before completion of the crimp cycle, disengage ratchet as follows. Slightly squeeze
handles, and push the dowel pin, releasing the locking mechanism allowing the handles to open.
INTERCHANGEABLE
NEST
TYPICAL COPPER
INSTALLATION
TYPICAL ALUMINUM
INSTALLATION
CONNECTOR
FIXED
NEST
CABLE
COLOR CODE
BANDS
INTERCHANGEABLE
NEST
CONNECTOR
CABLE
COLOR CODE
BANDS
FIXED
NEST
FORCE FORCE
TERMINAL
2.2
CABLE
SIZE
MIN. PULL-OUT (lbs.*)
COPPER ALUMINUM
12 70 35
10 80 40
890 45
6 100 50
4 140 70
2 180 90
1 200 100
1/0 250 125
2/0 300 150
3/0 350 175
4/0 450 225
250 500 250
300 550 275
350 600 300
*Conforms to UL and CSA requirements


