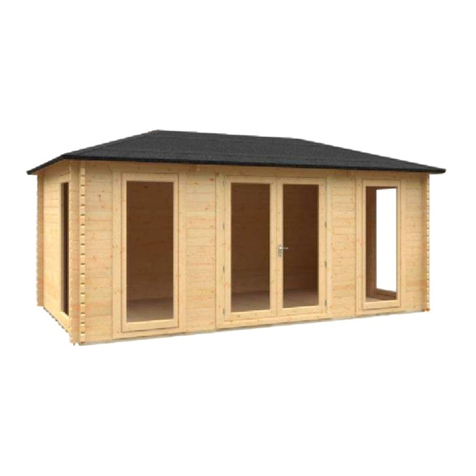
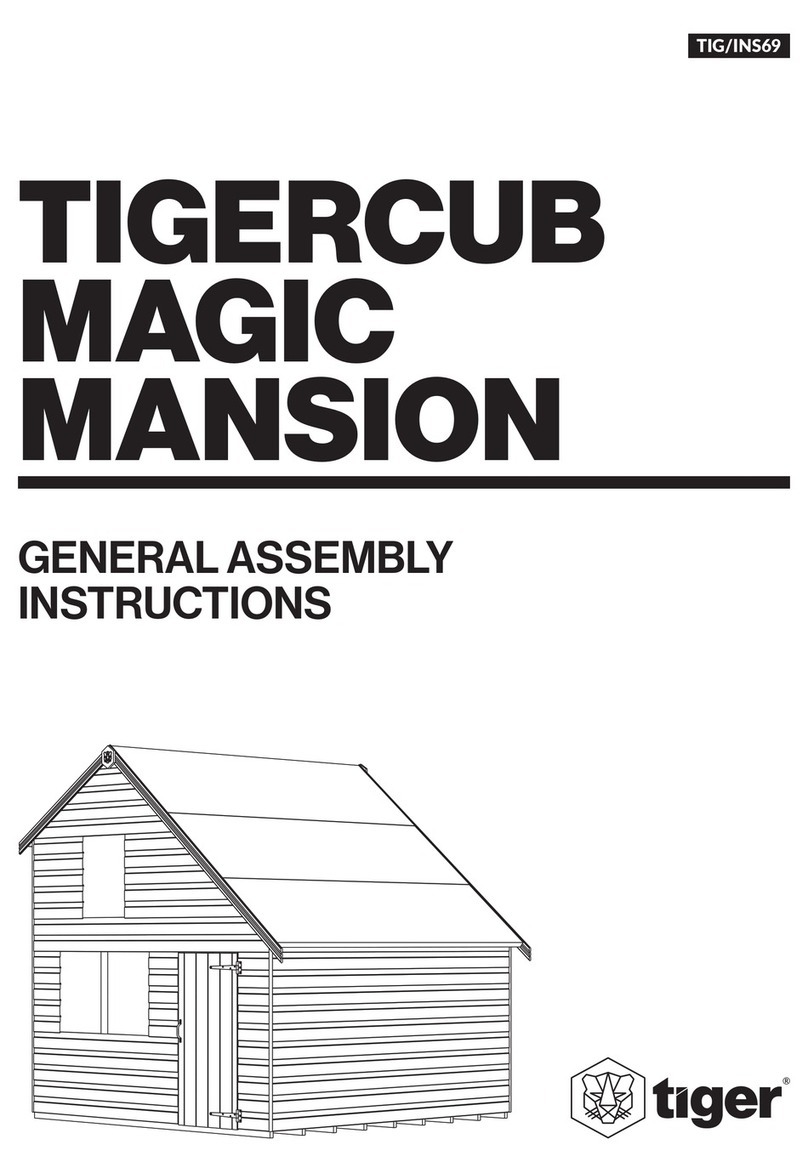
Tiger Tigercub Crazy Cottage User manual

TIGERCUB
CRAZY
COTTAGE
GENERAL ASSEMBLY
INSTRUCTIONS
TIG/INS64

BEFORE YOU GET STARTED
PLEASE READ INSTRUCTIONS CAREFULLY
• Check the pack and make sure you have all the parts listed.
• When you are ready to start, make sure you have the right tools at hand (not supplied).
• Ensure there is plenty of space and a clean dry area for assembly.
TIMBER
As with all natural materials, mber can be aected during various weather condions. For the duraon of
heavy or extended periods of rain, swelling of the wooden panels may occur. Warping of the wood may also
occur during excessive dry spells due to an interior moisture loss. Unfortunately, these processes cannot be
avoided but can be migated. It is suggested that the outdoor building is sprayed with water during extended
periods of warm sunshine and sheltered as much as possible during rain or snow.
To validate your guarantee and ensure longevity of the product, it is ESSENTIAL that your building is treated
with an appropriate high-quality oil or solvent based preservave AFTER assembly, both internally and
externally, and annually thereaer. All glazing units must be sealed (internally and externally) with silicone or
other waterght sealant.
BUILDING A BASE
Care must be taken to ensure the product is placed on a suitable base. When thinking about where the building
and base is going to be constructed, ensure that there will be access to all sides for maintenance work and
annual treatment.
Ensure the base is rm and level and is built on rm ground, to prevent distoron.
The constructed base must be at least the size of product as referenced in supplied construct diagram. It is also
recommended that the oor be at least 25mm above the surrounding ground level to avoid ooding.
TYPES OF BASE
• Durable plasc grid*.
• Concrete 75mm laid on top of 75mm hard-core.
• Slabs laid on 50mm of sharp sand.
• Timber Base - Self constructed/Buy pre-made.
*We recommend a Fastt EcoBase for your building. It is durable, lightweight, exible and easy to put in place.
Please see gersheds.com for details.
WOOD WARPING
MAY OCCUR
WINTER
EXPANSION
SUMMER
CONTRACTION
PLASTIC BASE SLAB BASE TIMBER BASE BROKEN SLABS BARE SOIL LOOSE GRAVEL
02 gersheds.com 0113 205 4189 sales@gersheds.com
CONCRETE BASE

Please retain instrucons for future reference
CAUTION:
All buildings should be erected
by two competent adults.
CAUTION:
It is advisable to wear gloves
during building installaon.
Whilst all products manufactured are made to the highest standards of safety, we cannot accept responsibility for your safety whilst erecng or
using this product.
*TigerSkin®Water Based Treatment:
The unique formula of our TigerSkin® pre-treatment provides a reassuring layer of protecon for your shed or summer
house. Each panel is carefully dipped and dried to provide maximum coverage and ensure that your building will have
protecon from the moment it arrives and is assembled. A water repellent formula which is harmless to plants, not only
does it help to shield the mber, it also gives it a warm tone that looks great on your property. Once erected, your building
should be treated annually, both internally and externally with an appropriate high-quality oil or solvent based preservave.
03
MADE IN THE UK SINCE 1913.
We have been making our high quality,
great value garden buildings here in
Britain for decades.

04 gersheds.com 0113 205 4189 sales@gersheds.com
BEFORE YOU GET STARTED - PRE ASSEMBLY
TOOLS REQUIRED:
We recommend using the following tools (not supplied):
HAMMER LADDER TAPE MEASURE SHARP KNIFE SPIRIT LEVEL SCREWDRIVER +
SPANNER
RUBBER MALLET
WOOD SAW
FIXING KIT GUIDES:
CN13
FX03 - NAIL KITS MEDIUM
For Shed Products With 7 to 9 Sides:
Clout Nails (13mm Galvanised - QTY 230)
PP25
Panel Pins (25mm - QTY 140)
N40
Nail (40mm Galvanised - QTY 50)
N65
Nail (65mm Bright - QTY 40)
CB80
Coach Bolts (80mm - QTY 8)
BUILDING PACK CONTENTS:
For full details of what should be included please see the itemised packing list that is supplied with the delivery.
They are also available on request in pdf form from our helpful Customer Support team – please call:
0113 205 4189 or use the “Items Delivered Query” form at gersheds.com/contact.

05
Please retain instrucons for future reference
• Assembly is straighorward if you follow these step-by-step instrucons.
• We recommend geng everything aligned properly before screwing together and that
screw holes should be pre-drilled to avoid spling the mber. (Do not come pre-drilled).
IMPORTANT
• Before assembly, please make sure you have a suitable base ready to erect your building on.
• Your base MUST be rm and level to ensure that the building is assembled properly and is square.
• DO NOT start your build unl you have checked that all the parts of your building are present, correct and in a
suitable condion.
• Panels may have become twisted during loading/unloading and/or transportaon. Please check that all framing and cladding
are square before beginning assembly.
• If you are organising a third party to install your building, it is best pracce not to schedule this immediately on receipt of your
order, to give you me to check your delivery

Step 1:
LAYING THE FLOOR
• SINGLE FLOOR - Lay oor down in the desired posion. (Detail A1)
A1
B1
SIDE
GABLE
B2
N40
TIGERCUB CRAZY COTTAGE - GENERAL ASSEMBLY INSTRUCTIONS
06 gersheds.com 0113 205 4189 sales@gersheds.com
Step 2:
INSTALLING SIDE AND GABLE PANELS
• Posion one end gable and side panel as shown. (Detail B1)
NOTE: CHECK THAT ALL PANELS ARE AT RIGHT ANGLES TO EACH OTHER AND THE FLOOR.
• Secure together with 10x N40 evenly spaced. (Detail B2)
• Repeat process for door gable and low side panel. Use 5x N40 for low side panel joins.
DO NOT FIX TO FLOOR.

Please retain instrucons for future reference
07
Step 3:
SECURING SIDE AND GABLE PANELS
• Locate pre-drilled holes in gable panels. (Detail C1)
NOTE: THESE MAY HAVE COVERED OVER DURING PANEL COATING PROCESS. THEY MAY RESEMBLE
NAILS HEADS.
• Use 4x CB80 per gable, through the pre-drilled holes in each gable, from the outside. (Detail C2)
NOTE: DO NOT FULLY TIGHTEN.
C1
C2
21
12
• Check panels are square by
measuring between points shown.
(Detail C3)
• If measurements are equal, your
panels are square. If not, manually
adjust to suit.
NOTE: DO NOT TRIM.
C3

Step 3b:
SECURING SIDE AND GABLE PANELS
• Secure panels to the oor using 2x N65 per panel. Ensure the N65 are driven through the panels and into the
oor bearers. (Detail C4)
NOTE: PANELS HAVE BEEN REMOVED FOR CLARITY.
• Tighten 8x CB80. (Detail C5)
NOTE: CHECK THAT ALL PANELS ARE AT RIGHT ANGLES TO EACH OTHER AND THE FLOOR.
C4 C5
N65
TOP TIP
Use the line of nails securing the
oorboards to the bearers as a
guide to make sure you correctly secure
panels to the oor.
TIGERCUB CRAZY COTTAGE - GENERAL ASSEMBLY INSTRUCTIONS
08 gersheds.com 0113 205 4189 sales@gersheds.com

Please retain instrucons for future reference
09
Step 4:
FIT CORNER STRIPS AND COVER STRIP
• Secure the corner strips at each corner of the shed
with 4x N40 per corner strip.
NOTE: THESE CORNER STRIPS MAY
NEED CUTTING TO SIZE.
NOTE: NOT TO BE CONFUSED WITH
WINDOW BEADING.
Step 5:
INSTALL INTERNAL FLOOR
• Posion internal oor as shown.
• Secure through oor framing into gable panel framing using 3x N65 per panel. (Detail D1)
• Secure through oor framing into high side panel using 5x N65. (Detail D2)
NOTE: SIDE PANELS REMOVED FOR CLARITY.
D1 D2
N65
N65
TOP TIP
Fix glazing and window frets (oponal)
to window gable at this point.
See step 11 for full details.

TIGERCUB CRAZY COTTAGE - GENERAL ASSEMBLY INSTRUCTIONS
10 gersheds.com 0113 205 4189 sales@gersheds.com
Step 6:
INSTALL INTERNAL VERANDA RAIL
• Secure through veranda framing into gable panel
framing using 2x N65 per panel. (Detail F1)
• Secure through veranda framing into internal
oor using 5x N65. (Detail F2)
NOTE: ROOF PANELS REMOVED FOR CLARITY.
F1 F2
Step 7:
INSTALL PLAYHOUSE LADDER
• Secure through ladder into internal veranda rail framing using 2x N65. See Detail G1.
• Secure through ladder into oor panel using 2x N65. See Detail G2.
NOTE: ROOF PANELS AND LOW SIDE REMOVED FOR CLARITY.
G1
G2
N65
N65
N65
N65

Please retain instrucons for future reference
11
• Secure roof panels to the side panels using at least 3x N65 through upright framing in panels. (Detail E3)
• Secure roof panels to the gables using 3x N40 through the angled framing. (Detail E3)
Step 8:
SINGLE PIECE ROOF INSTALLATION
• Aach roof panels as shown. There will be a slight
gap between the roof panels at the apex of shed. (Detail E1)
• Secure apex purlins by pushing panels together and
xing with 6x N65 evenly spaced along length
per pane. (Detail E2)
TOP TIP
You may need someone to hold roof
panels together while you secure
roof panels at the apex.
TOP TIP
If your roof panels do not sit correctly, it suggests the building is not
sing square. Check that the building isn’t twisted by liing two
opposite corners of the building to straighten it out. This should bring
the roof panels into alignment for you to nail into posion.
APEX PURLIN
N65 N65
E1 E2
E3
LOW SIDE PURLIN APEX PURLIN
N40 N65 N40

Step 9:
FELTING THE ROOF - MEASURE AND CUT BEFORE FITTING
• Roll felt out onto a clean at surface 30 minutes before you need it so it has a chance to aen out.
• Measure length of roof and allow 35mm overhang at each end. Cut each strip of felt to size.
Use a straight edge to guide cung.
• Roll cut felt piece along low side of roof, Secon 1, leaving sucient overhang to fold down onto roof edge.
• Do not fold underneath roof. (Detail H1 & H2)
• Once felt is rolled out, x felt to roof boards using CN13 at each end, making sure the felt is straight. Fix to
roof skirng at approx. 100mm intervals. (Detail H3)
• Ensure the felt is ght, then secure the top side of felt using CN13 at approx. 100mm intervals.
• Repeat for remaining felt, working from the low side of roof to the high side, overlapping the felt by 75mm
unl the roof is fully covered.
• Fold the overhanging felt at ends under roof panel and tack in place.
CORRECT FELT
H1 H2
H3
INCORRECT FELT
CN13
SECTION 1
FELT REQUIREMENTS
LENGTHS OF 0.5m
WIDE FELT
LENGTHS OF 1m
WIDE FELT
WIDTH OF SHED
GABLE (FT)
113
24
25
126
37
138
49
410
Each length of felt used is enough to cover the length of
the roof plus overhang. Example 8x6 Crazy coage will be
supplied with roll of felt to cover 16 plus overhangs at
each end. This is to be cut into two lengths by the customer
to provide the correct coverage. (see table above)
TIGERCUB CRAZY COTTAGE - GENERAL ASSEMBLY INSTRUCTIONS
12 gersheds.com 0113 205 4189 sales@gersheds.com

Please retain instrucons for future reference
13
Step 10:
FITTING FASCIA BOARDS (BARGEBOARDS) & FINIAL
• Fit bargeboards to the roof panels, trapping overhanging end of the felt in between the roof panel and
bargeboard.
• Secure using 2x N40 per bargeboard through apex and low side purlins.
NOTE: THERE ARE NO BARGEBOARDS SUPPLIED FOR LOW SIDE OF ROOF AS THIS WILL PREVENT
EFFECTIVE WATER DRAINAGE.
• Secure nial over the top of the bargeboards using 2x N40 per nial. (Oponal)

TIGERCUB CRAZY COTTAGE - GENERAL ASSEMBLY INSTRUCTIONS
14 gersheds.com 0113 205 4189 sales@gersheds.com
Step 11:
INSTALL PLAYHOUSE FRETS AND GLAZING
• Insert styrene from inside of playhouse.
• Oponal: Insert playhouse frets and bu up to styrene.
• Secure frets to panel with 2x N40 nails on boom, le and right sides. (Detail I1)
• Glaze windows by securing styrene with PP25 supplied, from the inside. (Detail I2)
NOTE: ALL WINDOWS MUST BE SEALED INSIDE AND OUT WITH SILICONE, PUTTY, OR ANY OTHER
WATER-TIGHT SOLUTION. (NOT SUPPLIED).
NOTE: PLEASE DO NOT CONFUSE YOUR CORNER STRIPS WITH WINDOW BEADING. WE DO NOT
SUPPLY WINDOW BEADING AS STANDARD WITH OUR BUILDINGS UNLESS ORDERED.
• Contact our friendly customer support team to order a standard window glazing kit, complete with beading
and sealant.
H1
H3
N40
PP25

Please retain instrucons for future reference
15

Display Agent
Woodlands DIY Store
Staon Yard,
Horsforth,
Leeds,
LS18 5NZ
Telephone: 0113 205 4189
Website: gersheds.com
Email: customersupport@gersheds.com
TIG/INS64
Table of contents
Other Tiger Garden House manuals

Tiger
Tiger TIGERFLEX TIG/INS39 User manual

Tiger
Tiger MALAYAN User manual

Tiger
Tiger Aura User manual

Tiger
Tiger SIBERIAN User manual

Tiger
Tiger SHIPLAP APEX WINDOWLESS SHED User manual
Tiger
Tiger GARDEN SHELTER User manual

Tiger
Tiger SHERE TIG/INS16 User manual

Tiger
Tiger Delta User manual

Tiger
Tiger ALPHA BARN User manual

Tiger
Tiger Tigercub Magic Mansion User manual

Tiger
Tiger KERR User manual

Tiger
Tiger PRESSURE TREATED APEX User manual

Tiger
Tiger PANTHERA User manual

Tiger
Tiger TIGERFLEX ZORA User manual

Tiger
Tiger MAYFLOWER SUMMERHOUSE User manual

Tiger
Tiger ROSEN User manual

Tiger
Tiger SAMPI User manual

Tiger
Tiger RAYNER User manual

Tiger
Tiger Bengal User manual

Tiger
Tiger Caspian User manual