timeware Bioscreen 7t User manual


FOR ASSISTANCE, EMAIL: support@timewareinc.com OR PLEASE CALL OUR TECHNICAL
SUPPORT TEAM AT: 330.963.2700
Copyright 2017. Timeware Inc. and Bioscreen are registered trademarks of Timeware, Inc. All rights reserved.
Timeware Solutions
Bioscreen 7t System Document
Revision History
Version 1 4/23/2013 - Initial Draft (6t)
Version 2 2/09/2016 - Revised for main board updates
Version 3 3/19/2017 - Revised for RCA Board (7t)

FOR ASSISTANCE, EMAIL: support@timewareinc.com OR PLEASE CALL OUR TECHNICAL
SUPPORT TEAM AT: 330.963.2700
Copyright 2017. Timeware Inc. and Bioscreen are registered trademarks of Timeware, Inc. All rights reserved.
Bioscreen™ 7t Hardware
1.1: About the Bioscreen™ 7t
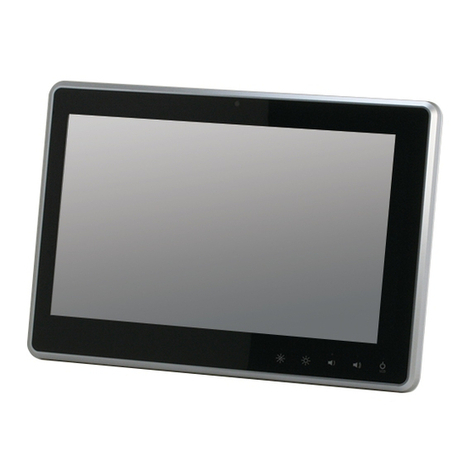
The Bioscreen is a sleek wall mounted 10.2” touch screen machine capable of authenticating users by
biometric fingerprint scanner, RFID reader, blue tooth and facial recognition methods. As such The
Bioscreen is a powerful and user-friendly kiosk machine with wide variety of applications including: time
& attendance, human resource management and workforce management. The machine can be pre-
configured based on need or customer preference in Operating System and hardware capability. This
document describes the machine hardware and operating system setup.
1.2: Bioscreen™ 7t Device Notables
Do not mount the Bioscreen 6 near water boilers, high voltage switches, or other devices of
extreme heat, cold, or moisture.
Do not mount the Bioscreen 7t near sources of heavy electromagnetic or heavy radio frequency
interference, as these sources may disrupt performance.
Treat the Bioscreen 7t as if it is a computer or other electronic device – use the same
discrepancy in exposing the device to its environment (avoid beverage spills, coverage by
cloth/rags, etc.).
1

FOR ASSISTANCE, EMAIL: support@timewareinc.com OR PLEASE CALL OUR TECHNICAL
SUPPORT TEAM AT: 330.963.2700
Copyright 2017. Timeware Inc. and Bioscreen are registered trademarks of Timeware, Inc. All rights reserved.
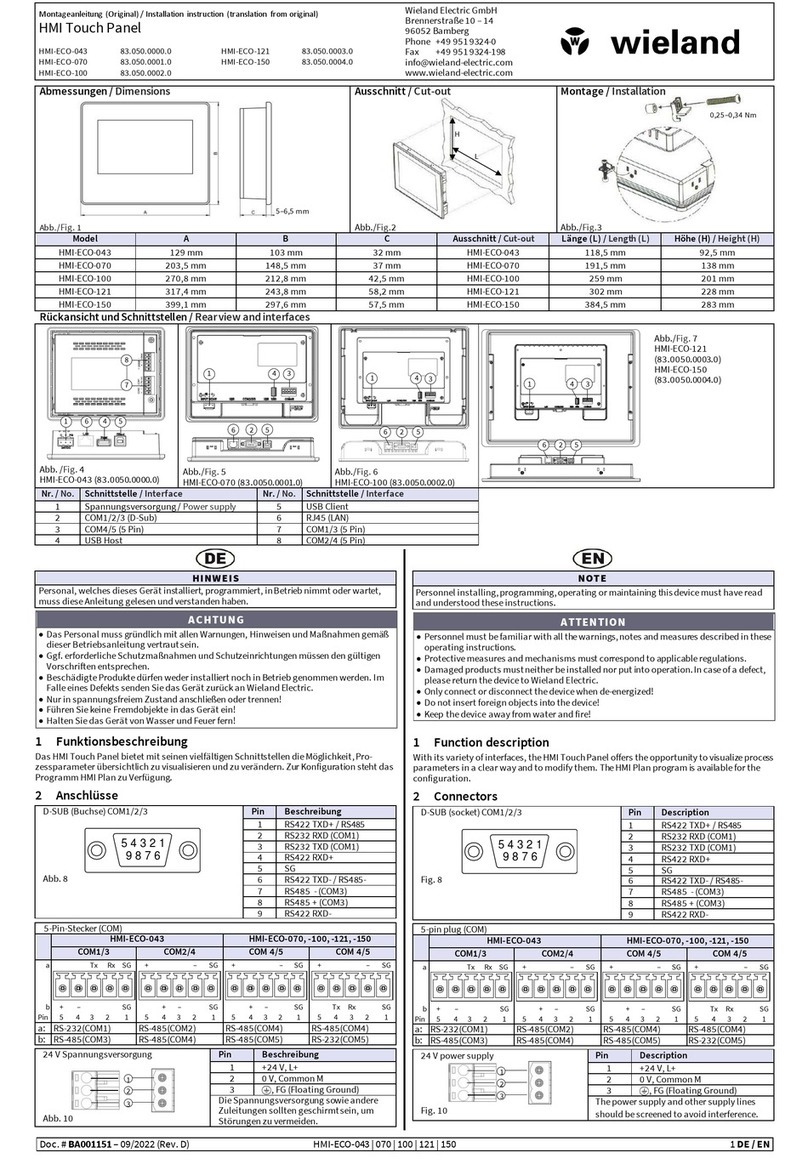
1.3: Bioscreen™ 7t Hardware Specifications
AREA
ELEMENT
DESCRIPTION
Hardware
Processor
Intel Atom Z3735F Quad-Core Bay Trail 1.33-1.83 GHz
Memory RAM
2MB On Board
Hard Disk
32G SSD
Display
IPS 10.1” 1280x800 10 Points Touch Screen
Interface
USB
3.0 External USB Port
Ethernet
Gigabit External Ethernet Port
Wifi
Realtek RTL8723BS Wireless LAN 802.11n SDIO
Bluetooth
Built-In
Power
Supply
15Watts PoE
Battery
Built-In Lithium Ion Battery
Software
Operating System
Windows 10 x64 32-bit
Authentication
Biometric
Crossmatch URU-4500
RFID
HID OK5x27CK
Camera
Frontal Camera

FOR ASSISTANCE, EMAIL: support@timewareinc.com OR PLEASE CALL OUR TECHNICAL
SUPPORT TEAM AT: 330.963.2700
Copyright 2017. Timeware Inc. and Bioscreen are registered trademarks of Timeware, Inc. All rights reserved.
Bioscreen™ 7t Mounting
Instructions
2.1: Bioscreen™ 7t Mounting
The following describes in general terms how to mount the Bioscreen device.
Step 1:
Install Mounting
Bracket
The machine ships with a mounting plate and 4 mounting screws/anchor sets.
Guide the PoE/Ethernet cable through the mounting bracket opening allowing
about 6” slack. Then, secure the mounting bracket to wall via the 4
screws and 4 mounting anchors. The
Bioscreen mounting bracket
should be mounted such that the upper edge of the plate should be
approximately 58” from the floor level. Please
ensure there is an
additional 5.5 inches clearance space to all 4 sides of
the mounting
bracket to accommodate the Bioscreen.
2

FOR ASSISTANCE, EMAIL: support@timewareinc.com OR PLEASE CALL OUR TECHNICAL
SUPPORT TEAM AT: 330.963.2700
Copyright 2017. Timeware Inc. and Bioscreen are registered trademarks of Timeware, Inc. All rights reserved.
Step2:
Loosen Bioscreen
bottom mounting
screws
The machine ships with 2 screws mounted to the bottom of the machine.
Loosen the screws to allow for pushing the screws through the mounting
bracket bottom slots.

FOR ASSISTANCE, EMAIL: support@timewareinc.com OR PLEASE CALL OUR TECHNICAL
SUPPORT TEAM AT: 330.963.2700
Copyright 2017. Timeware Inc. and Bioscreen are registered trademarks of Timeware, Inc. All rights reserved.
Step 3:
Hook Bioscreen to
mounting bracket upper
tabs
Plug the Poe/Ethernet cable to the Ethernet port on the back of the
machine. Then, with the mounting bracket secured to the wall, grab
the Bioscreen by its sides then gently guide the machine back mounting
slots on the mounting plate mounting tabs.

FOR ASSISTANCE, EMAIL: support@timewareinc.com OR PLEASE CALL OUR TECHNICAL
SUPPORT TEAM AT: 330.963.2700
Copyright 2017. Timeware Inc. and Bioscreen are registered trademarks of Timeware, Inc. All rights reserved.
Step 4:
Fasten the bottom screws
Gently push the machine into the mounting plate bottom slots, then
glide it slightly to the right. Once in place tighten the bottom screws.

FOR ASSISTANCE, EMAIL: support@timewareinc.com OR PLEASE CALL OUR TECHNICAL
SUPPORT TEAM AT: 330.963.2700
Copyright 2017. Timeware Inc. and Bioscreen are registered trademarks of Timeware, Inc. All rights reserved.
Step 5:
Install PoE Injector
The machine ships with a 48V PoE injector, power cable and Ethernet
patching cable.
(1) Connect the supplied black power
cable from the POE
injector to a nearby grounded 120/240V power outlet. It
is preferred that the injector be connected to a UPS
(uninterruptible power supply)
to prolong the machine
power loss supply.
(2) Connect the supplied RJ-45 Ethernet patch cord from the
PoE injector socket labeled “DATA IN” to your network
switch.
(3) Connect an RJ-45 Ethernet cable from the POE injector
socket labeled “DATA AND POWER OUT” to the machine
Ethernet cable.

FOR ASSISTANCE, EMAIL: support@timewareinc.com OR PLEASE CALL OUR TECHNICAL
SUPPORT TEAM AT: 330.963.2700
Copyright 2017. Timeware Inc. and Bioscreen are registered trademarks of Timeware, Inc. All rights reserved.
2.2: Bioscreen™ 7t Startup
For security reasons, the machine does not have a visible easily accessible On/Off switch. As
you are facing the machine, the left side has a small paper pin opening that can be used to:
1. Power up the machine
2. Shut down the machine
3. Wake up the machine
To Startup the machine simply guide a paper clip into the channel opening until stopped. Then
gently press the paper clip against the machine. Once done allow few seconds for the machine
to start.
To shut down the machine simply guide a paper clip into the channel opening until stopped.
Then gently press the paper clip against the machine and maintain the pressure for few
seconds. Then the screen will show a swipe down option to shut down the machine. Or simply,
keep the paper clip pressure until the machine shuts down.

