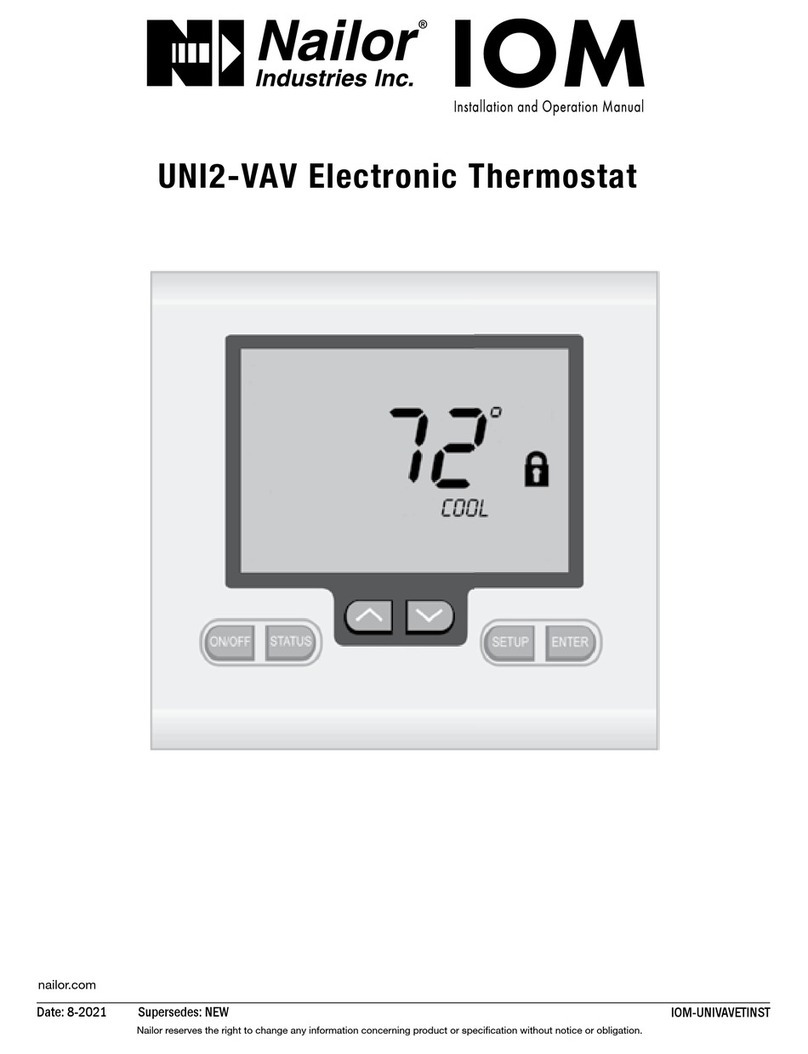
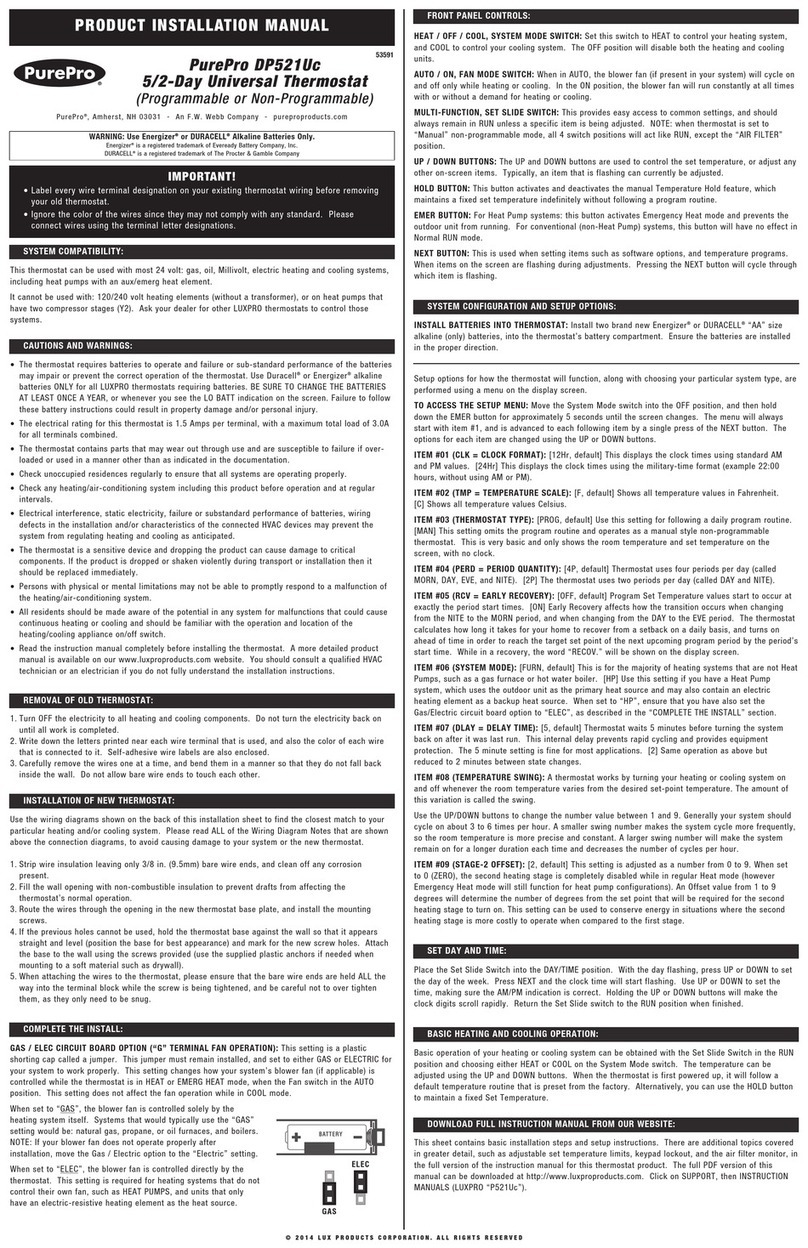
TIS Venera Switch User manual

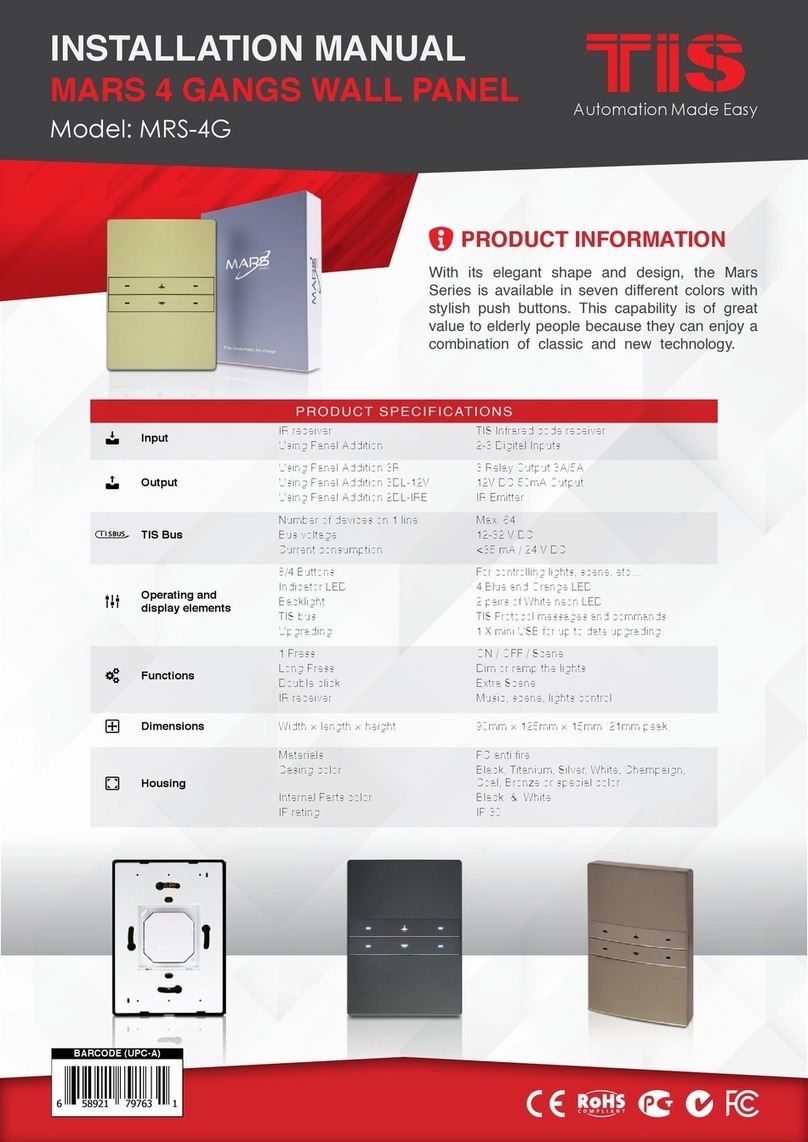
This wall panel has three elegantly designed touch
buttons to ramp up and dim down lighting. You can
customize the dimming percentage based on your
personal aesthetic desires.
PRODUCT INFORMATION
VENERA TOUCH PANEL
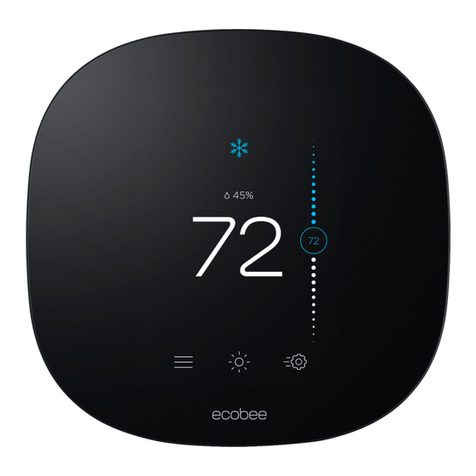
TIS VENERA AC THERMOSTAT
INSTALLATION MANUAL
Model: VEN-AC-3R-HC
PRODUCT SPECIFICATIONS
Power Supply
Input Voltage 110-240 VAC 50/60 Hz
Output Power 3W / 12V
Protection Built-in protection fuse
Current consumption 10-30 mA / 12 V DC
Output
Number of channels 3 relays for cool, heat, fan control
Nominal voltage 110– 230 V AC 50/60 Hz
Nominal current per channel 8 A / 230 VAC
Output switching current
Max Continues Current 8A/230 VAC
Max. Switching Voltage 277VAC / 30VDC
Output service life
Mechanical Endurance > 10,000,000 OPS
Output switching times
Operating time 8mS (at nomi. Volt)
Releasing time 5 mS (at nomi. Volt)
Max. operating frequency 25 cycle/min
TIS AIR WIFI Signal 2.4 GHz
Protocol Standard 802.11 b/g/n
Reaction time approx. 30ms
Operating and display elements
Display
0.9-inch OLED Screen
touch buttons 4 touch Capacitive Control Buttons
Temp sensor Built-in Resistive Temp Sensor
Infrared Receiver Controlled by TIS Remote Control
Backlight 2 colors Backlight indicators
TIS AIR
TIS Protocol Messages & Commands
Upgrading
By WIFI Connection
Dimensions Length × Width × Height 85mm × 42mm × 109mm
Housing
Materials PC fire-proof/ Glass in front
Internal Parts color Black or White
IP rating IP 50
6 58921 79604 7
BARCODE (UPC-A)

2
INSTALLATION MANUAL
Model: VEN-AC-3R-HC
TIS CONTROL LIMITED
RM 1502-p9 Easey CommBldg
253-261 Hennessy Rd Wanchai
Hong Kong
TEXAS INTELLIGENT SYSTEM LLC
SUITE# 610. 860 NORTH DOROTHY DR
RICHARDSON
TX 75081.USA
Copyright © 2020 TIS, All Rights Reserved
TIS Logo is a Registered Trademark of Texas Intelligent System LLC in the
United States of America. This company takes TIS Control Ltd. in other
countries. All of the Specifications are subject to change without notice.
www.tiscontrol.com
TIS VENERA AC THERMOSTAT
Mounting Location
Install in a dry, indoor area with a suitable
temperature and humidity range.
Electrical Wires
The recommended wire size for air condition
channels is 2.5mm, for the Line, Neutral,
and control wires. The installer should
consider the total current consumption
when selecting the wires.
Warranty
There is a two-year warranty provided
by law. The hologram warranty seal and
product serial number are available on
each device.
Read Instructions
We recommend that you read this
Instruction Manual before installation.
Safety instructions
Electrical equipment should only be
installed and tted by electrically skilled
persons.
Failure to observe the instructions may
cause damage to the device and other
hazards.
These instructions are an integral part of
the product and must remain with the end
customer.
Programming
This device can be tested and programmed
manually. Advanced programming
requires knowledge of the TIS Device
Search software and instruction in the TIS
advanced training courses.
Simple Installation
You can use 2 screws to install this panel
on wall; it ts on most junction box sizes.

3
INSTALLATION MANUAL
Model: VEN-AC-3R-HC
TIS CONTROL LIMITED
RM 1502-p9 Easey CommBldg
253-261 Hennessy Rd Wanchai
Hong Kong
TEXAS INTELLIGENT SYSTEM LLC
SUITE# 610. 860 NORTH DOROTHY DR
RICHARDSON
TX 75081.USA
Copyright © 2020 TIS, All Rights Reserved
TIS Logo is a Registered Trademark of Texas Intelligent System LLC in the
United States of America. This company takes TIS Control Ltd. in other
countries. All of the Specifications are subject to change without notice.
www.tiscontrol.com
TIS VENERA AC THERMOSTAT
INSTALLATION STEPS
2Remove the old thermostat.
3You may nd a total of 5 wires. Label all
wires as per their connection.
1Turn off the power at the main circuit
breaker to turn off voltage supply to the
thermostat.
Live
Cool
Heat
Fan
Neutral
WARNING! HIGH VOLTAGE
Circuit Breaker
OFF

4
INSTALLATION MANUAL
Model: VEN-AC-3R-HC
TIS CONTROL LIMITED
RM 1502-p9 Easey CommBldg
253-261 Hennessy Rd Wanchai
Hong Kong
TEXAS INTELLIGENT SYSTEM LLC
SUITE# 610. 860 NORTH DOROTHY DR
RICHARDSON
TX 75081.USA
Copyright © 2020 TIS, All Rights Reserved
TIS Logo is a Registered Trademark of Texas Intelligent System LLC in the
United States of America. This company takes TIS Control Ltd. in other
countries. All of the Specifications are subject to change without notice.
www.tiscontrol.com
TIS VENERA AC THERMOSTAT
INSTALLATION STEPS
4
▸
Attach the neutral wire to the N
terminal.
▸
Attach the live wire to the L terminal.
▸
Attach the other wires to I, II, and
III terminals, as shown in the table
below.
5Venera 3R-HC support 3 types of air
conditioning systems; accordingly, you
should connect your wires as per this
table.
ROOM FAN THERMOSTAT
Terminal I Fan Low (G1) wire
Terminal II Fan Medium (G2) wire
Terminal III Fan High (G3) wire
WATER-BASED COOLING SYSTEM
Terminal I Water (H2O) wire
Terminal II Fan Low (G1) wire
Terminal III Fan High (G3) wire
SINGLE-STAGE ROOM THERMOSTAT
Terminal I Fan (G) wire
Terminal II Cooling (Y) wire
Terminal III Heating (W) wire

5
INSTALLATION MANUAL
Model: VEN-AC-3R-HC
TIS CONTROL LIMITED
RM 1502-p9 Easey CommBldg
253-261 Hennessy Rd Wanchai
Hong Kong
TEXAS INTELLIGENT SYSTEM LLC
SUITE# 610. 860 NORTH DOROTHY DR
RICHARDSON
TX 75081.USA
Copyright © 2020 TIS, All Rights Reserved
TIS Logo is a Registered Trademark of Texas Intelligent System LLC in the
United States of America. This company takes TIS Control Ltd. in other
countries. All of the Specifications are subject to change without notice.
www.tiscontrol.com
TIS VENERA AC THERMOSTAT
INSTALLATION STEPS
7Insert the Venera panel and the wires in
the box, and secure the panel using 2
screws.
8
9
Install the Venera panel’s top cover as
shown in the picture.
Install the Venera panel, and turn the
breaker on. The panel should turn on.
Circuit Breaker
ON

6
INSTALLATION MANUAL
Model: VEN-AC-3R-HC
TIS CONTROL LIMITED
RM 1502-p9 Easey CommBldg
253-261 Hennessy Rd Wanchai
Hong Kong
TEXAS INTELLIGENT SYSTEM LLC
SUITE# 610. 860 NORTH DOROTHY DR
RICHARDSON
TX 75081.USA
Copyright © 2020 TIS, All Rights Reserved
TIS Logo is a Registered Trademark of Texas Intelligent System LLC in the
United States of America. This company takes TIS Control Ltd. in other
countries. All of the Specifications are subject to change without notice.
www.tiscontrol.com
TIS VENERA AC THERMOSTAT
SERVER LINKING
In order for a project to be fully linked to the TIS server, server conguration must be enabled
in just 1 product within that project.
If you have already done that with any other panel, just ignore these steps and proceed to
conguration steps.
To do the server linking, complete the following steps:
2On the Venera panel, press and hold the
TIS logo for 6 seconds. The logo will start
blinking.
1In the TIS App, go to Settings Connect
Server, and follow the steps by entering
your SSID password.
21
6”

7
INSTALLATION MANUAL
Model: VEN-AC-3R-HC
TIS CONTROL LIMITED
RM 1502-p9 Easey CommBldg
253-261 Hennessy Rd Wanchai
Hong Kong
TEXAS INTELLIGENT SYSTEM LLC
SUITE# 610. 860 NORTH DOROTHY DR
RICHARDSON
TX 75081.USA
Copyright © 2020 TIS, All Rights Reserved
TIS Logo is a Registered Trademark of Texas Intelligent System LLC in the
United States of America. This company takes TIS Control Ltd. in other
countries. All of the Specifications are subject to change without notice.
www.tiscontrol.com
TIS VENERA AC THERMOSTAT
SERVER LINKING
4Select your server option and 4-digit
password. Then, press Save.
3On the TIS app, press Search and wait
for a few seconds. The panel will link to
your WiFi, and the TIS logo will turn blue.
21

8
INSTALLATION MANUAL
Model: VEN-AC-3R-HC
TIS CONTROL LIMITED
RM 1502-p9 Easey CommBldg
253-261 Hennessy Rd Wanchai
Hong Kong
TEXAS INTELLIGENT SYSTEM LLC
SUITE# 610. 860 NORTH DOROTHY DR
RICHARDSON
TX 75081.USA
Copyright © 2020 TIS, All Rights Reserved
TIS Logo is a Registered Trademark of Texas Intelligent System LLC in the
United States of America. This company takes TIS Control Ltd. in other
countries. All of the Specifications are subject to change without notice.
www.tiscontrol.com
TIS VENERA AC THERMOSTAT
21
1In the TIS App, go to the settings and
select TIS Air cong and enter your SSID
password.
2On the Venera panel, press and hold the
TIS logo for 6 seconds; The logo will start
blinking.
6”
CONFIGURATION STEPS
3On the TIS app, press search and wait
for a few seconds, the panel will link to
your WiFi and the TIS logo will turn blue.

9
INSTALLATION MANUAL
Model: VEN-AC-3R-HC
TIS CONTROL LIMITED
RM 1502-p9 Easey CommBldg
253-261 Hennessy Rd Wanchai
Hong Kong
TEXAS INTELLIGENT SYSTEM LLC
SUITE# 610. 860 NORTH DOROTHY DR
RICHARDSON
TX 75081.USA
Copyright © 2020 TIS, All Rights Reserved
TIS Logo is a Registered Trademark of Texas Intelligent System LLC in the
United States of America. This company takes TIS Control Ltd. in other
countries. All of the Specifications are subject to change without notice.
www.tiscontrol.com
TIS VENERA AC THERMOSTAT
21
4 Select the room. If the room has 2
thermostats, select the rst or second
thermostat.
5 Select the type of your AC as per the wire
connections that you set up. You can
select from the following:
▸
Room Fan Thermostat
▸
Single-Stage Room Thermostat
▸
Water-Based Cooling System
6 Select the blackout setting and
temperature type.
CONFIGURATION STEPS

10
INSTALLATION MANUAL
Model: VEN-AC-3R-HC
TIS CONTROL LIMITED
RM 1502-p9 Easey CommBldg
253-261 Hennessy Rd Wanchai
Hong Kong
TEXAS INTELLIGENT SYSTEM LLC
SUITE# 610. 860 NORTH DOROTHY DR
RICHARDSON
TX 75081.USA
Copyright © 2020 TIS, All Rights Reserved
TIS Logo is a Registered Trademark of Texas Intelligent System LLC in the
United States of America. This company takes TIS Control Ltd. in other
countries. All of the Specifications are subject to change without notice.
www.tiscontrol.com
TIS VENERA AC THERMOSTAT
7 Go to the desired room and start
controlling.
CONFIGURATION STEPS
USER OPERATION
CONTROLLING AIR CONDITIONING
FUNCTION CONTROL BUTTON
Turn AC ON/OFF Press the AC Power button to turn AC ON/OFF.
Increase Temperature Press the up arrow button to increase temperature one degree.
Decrease Temperature Press the down arrow button to decrease the temperature one
degree.
Change Fan Speed Press the fan button to change the speed between low, med,
high, and auto.
Change AC Mood
Long press the fan button for 6 seconds until the mood is
shown on the screen. Then, change the mood to cool, heat,
fan, or auto by short pressing on the up and down arrow
buttons. Once you select your mood, do not press any button
for 5 seconds or until the main screen display returns.

11
INSTALLATION MANUAL
Model: VEN-AC-3R-HC
TIS CONTROL LIMITED
RM 1502-p9 Easey CommBldg
253-261 Hennessy Rd Wanchai
Hong Kong
TEXAS INTELLIGENT SYSTEM LLC
SUITE# 610. 860 NORTH DOROTHY DR
RICHARDSON
TX 75081.USA
Copyright © 2020 TIS, All Rights Reserved
TIS Logo is a Registered Trademark of Texas Intelligent System LLC in the
United States of America. This company takes TIS Control Ltd. in other
countries. All of the Specifications are subject to change without notice.
www.tiscontrol.com
TIS VENERA AC THERMOSTAT
TROUBLESHOOTING
PRG button blinks purple
color rapidly
Reason: The panel address conicts with another
device in the TIS network. You need to press and
hold the PRG button for 6 seconds so that the
module can get a new address.
Device’s PRG LED is RED Reason: The device is not connected to Wi-Fi.
Device can’t link to Wi-Fi
router
Reason 1: The device is too far from the Wi Fi
router.
Reason 2: The SSID or password is not correct.
Reason 3: Some setting in the Wi-Fi router is
preventing new devices from being added.
Other TIS devices can’t
control the thermostat
Reason 1: Other device connections are not
linked to the same Wi-Fi network.
Reason 2: The programming address is wrong.
Panel shows wrong
temperature above 100°C
Reason: The panel temperature sensor is not
connected correctly.
Panel is not responding to
settings to turn AC ON/OFF
and control fan speed
Reason: The panel’s AC type is set to null by
default. You need to select the correct type of AC
using the mobile ap or software conguration.
Other manuals for Venera Switch
1
This manual suits for next models
1
Table of contents
Other TIS Thermostat manuals
Popular Thermostat manuals by other brands
Wilo
Wilo Drain-TM user manual
Honeywell
Honeywell PROGRAMMABLE THERMOSTAT RTH6350 Quick installation guide

Lennox
Lennox icomfort Wi-Fi Setup guide
Venstar
Venstar T4950SCH-IAQ Owner's manual and installation instructions

Salus
Salus RT510LG5V quick guide
HomeMatic
HomeMatic HM-CC-TC Installation and operating manual
