manuals.online logo
Brands
  1. Home
  2. •
  3. Brands
  4. •
  5. ClimateMaster
  6. •
  7. Thermostat
  8. •
  9. ClimateMaster iGate 2.0 User manual

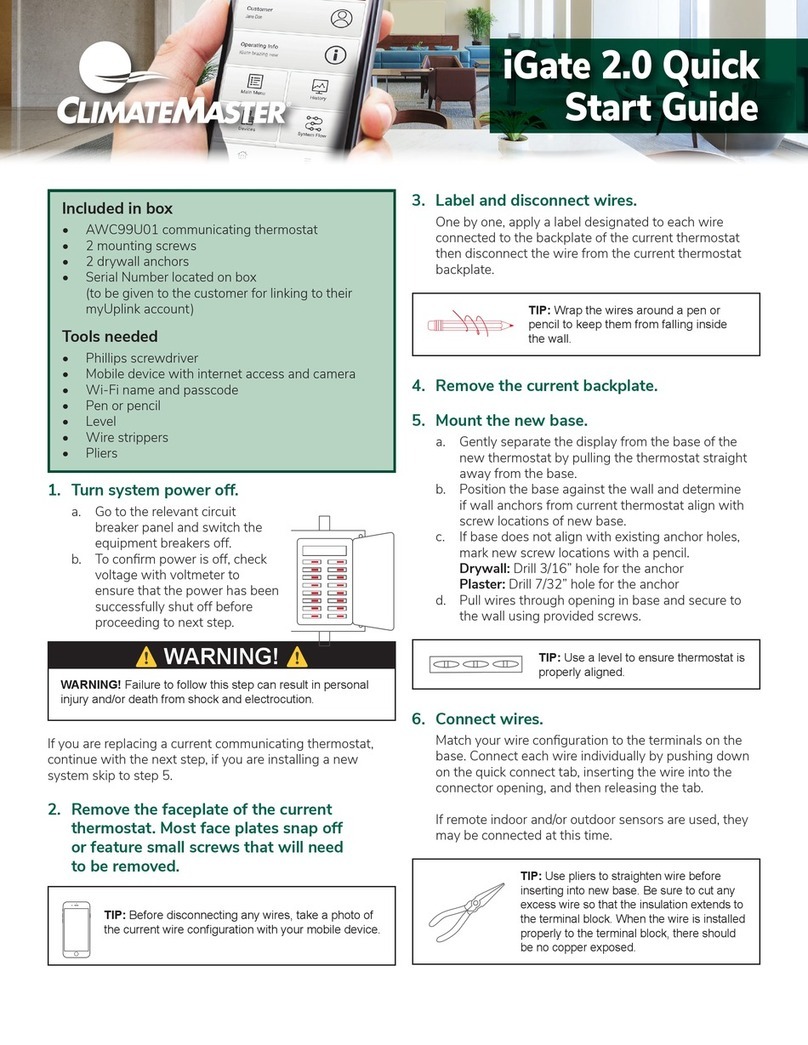
ClimateMaster iGate 2.0 User manual

Included in box
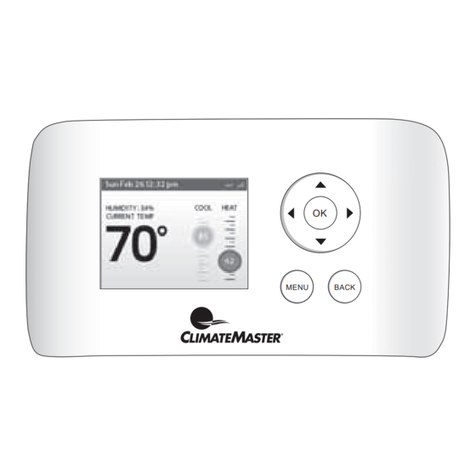
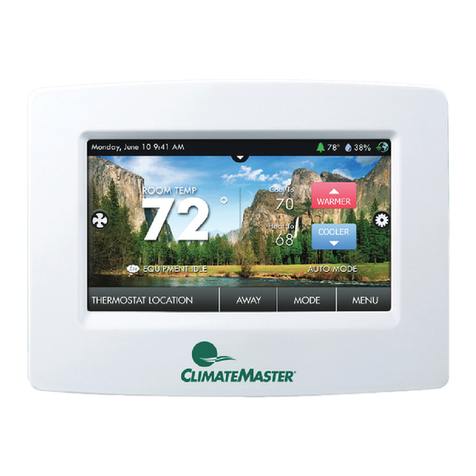
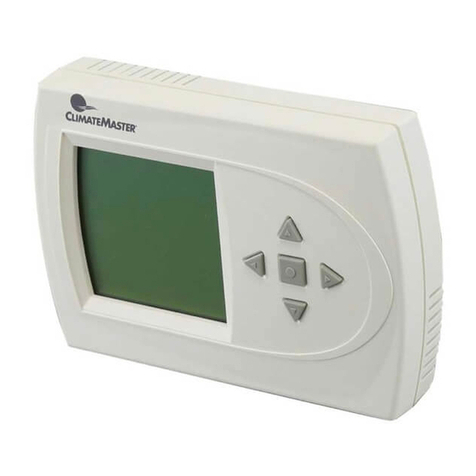
• AWC99U01 communicating thermostat
• 2 mounting screws
• 2 drywall anchors
• Serial Number located on box
(to be given to the customer for linking to their
myUplink account)
Tools needed
• Phillips screwdriver
• Mobile device with internet access and camera
• Wi-Fi name and passcode
• Pen or pencil
• Level
• Wire strippers
• Pliers
1. Turn system power off.
a. Go to the relevant circuit
breaker panel and switch the
equipment breakers off.
b. Toconrmpowerisoff,check
voltage with voltmeter to
ensure that the power has been
successfully shut off before
proceeding to next step.
WARNING! Failure to follow this step can result in personal
injury and/or death from shock and electrocution.
⚠
WARNING!
⚠
Ifyouarereplacingacurrentcommunicatingthermostat,
continuewiththenextstep,ifyouareinstallinganew
system skip to step 5.
2. Remove the faceplate of the current
thermostat. Most face plates snap off
or feature small screws that will need
to be removed.
TIP: Before disconnecting any wires, take a photo of
the current wire conguration with your mobile device.
iGate 2.0 Quick
Start Guide
3. Label and disconnect wires.
 Onebyone,applyalabeldesignatedtoeachwire
connected to the backplate of the current thermostat
then disconnect the wire from the current thermostat
backplate.
TIP: Wrap the wires around a pen or
pencil to keep them from falling inside
the wall.
4. Remove the current backplate.
5. Mount the new base.
a. Gently separate the display from the base of the
new thermostat by pulling the thermostat straight
away from the base.
b. Position the base against the wall and determine
if wall anchors from current thermostat align with
screw locations of new base.
c. Ifbasedoesnotalignwithexistinganchorholes,
mark new screw locations with a pencil.
Drywall: Drill 3/16” hole for the anchor
Plaster: Drill 7/32” hole for the anchor
d. Pull wires through opening in base and secure to
the wall using provided screws.
TIP: Use a level to ensure thermostat is
properly aligned.
6. Connect wires.
Matchyourwirecongurationtotheterminalsonthe
base. Connect each wire individually by pushing down
onthequickconnecttab,insertingthewireintothe
connectoropening,andthenreleasingthetab.
Ifremoteindoorand/oroutdoorsensorsareused,they
may be connected at this time.
TIP: Use pliers to straighten wire before
inserting into new base. Be sure to cut any
excess wire so that the insulation extends to
the terminal block. When the wire is installed
properly to the terminal block, there should
be no copper exposed.
ClimateMaster works continually to improve its products. As a result, the design and specications of each product at the time of order may be changed without notice and may not be as described herein. Please contact ClimateMaster's Customer Service
Department at 1-405-745-6000 for specic information on the current design and specications. Statements and other information contained herein are not express warranties and do not form the basis of any bargain between the parties, but are merely
ClimateMaster's opinion or commendation of its products. The latest version of this document is available at climatemaster.com.
© ClimateMaster, Inc. All rights reserved 2021
7300 S.W. 44th Street
Oklahoma City, OK 73179
Phone: 405-745-6000
climatemaster.com
LC1088
Created: 12/03/21
CLIMATEMASTER: iGate 2.0 Quick Start Guide
Rev.:September16,2021
S2
S1
Remote
Sensor
A+
B-
Gnd
B-
A+
24V
DXM2
Control
Thermostat
C
R
Diagram 1: Thermostat Connections
Thermostat Connections
A+ Communications (Positive)
B– Communications (Negative)
C 24V Common for Control Circuit
R 24V Supply for Control Circuit
S1Remote Sensor
S2Remote Sensor
7. Attach the thermostat face.
a. Align the thermostat face using hinge guide
on top.
b. Rotate the thermostat down until tab aligns
with hole in base.
c. Install security screw if necessary.
8. Return power to system.
9. Congurethethermostatsettingsusing
myUplink PRO account via mobile device.
a. Ensure the mobile device is within 15 ft of
the thermostat.
b. Open the myUplink PRO app on your mobile
device and login.
c. Put the thermostat in “OFF” mode.
d. Swipe left or right on the thermostat screen
until you reach the fan screen.
e. Hold the fan button for 5 seconds to enable
“Installer Settings”.
f. Tap the “AP Access” option.
g. Tap “Yes” to enable.
h. Return to the System Screen
of myUplink Pro on your
mobile device.
i. Select the green “add button”
on the top right then select
the “Connect Locally” on the
myUplink PRO mobile app. The
appwillndanythermostat
that is not currently connected
to Wi-Fi.
j. Select the thermostat from the
list of discovered devices.
k. Select menu option on the
mobile app.
l. FromtheMainMenu,selecteachdeviceto
congureitssettings.
m. Whennished,cyclepowertothethermostatto
put it back in Wi-Fi mode.
If the servicer does not cycle power to re-engage Wi-Fi
mode,thethermostatwillautomaticallygobackinto
Wi-Fi mode after 2 hours.
10.Link thermostat to your myUplink PRO
account.
Note: This requires the user to have a myUplink account.
Referencetheuser’squickstartguide
for additional information. Pro account
holderwillbechargedafeeforeach
thermostat linked to their account.
a. Connect the thermostat to the
user’s Wi-Fi network.
b. Return to the system screen
of myUplink PRO on your
mobile device.
c. Select the green “add” button
on the top right then select the
“Request Access” button.
d. Enter the homeowners email
address that is associated with their myUplink
account,enterthenameofthesystem(optional)
and select the green “Request Access” button.
e. User will receive invitation via email to accept your
link request.
Fordetailedinstructionsoncustomizingyoursetup,please
see the Instruction manual.
Other ClimateMaster Thermostat manuals

ClimateMaster ATP21W02 User manual

ClimateMaster

ClimateMaster ATP21W02 User manual

ClimateMaster CM500 Series Original instructions

ClimateMaster

ClimateMaster CM500 Series Original instructions

ClimateMaster iGate AWC99U01 Owner's manual

ClimateMaster

ClimateMaster iGate AWC99U01 Owner's manual

ClimateMaster Trilogy Variable (VE) Series Guide

ClimateMaster

ClimateMaster Trilogy Variable (VE) Series Guide

ClimateMaster ATP32U03 User manual

ClimateMaster

ClimateMaster ATP32U03 User manual

ClimateMaster ATC32U01 iGate User manual

ClimateMaster

ClimateMaster ATC32U01 iGate User manual

ClimateMaster Trilogy Q-Mode (QE) Series User manual

ClimateMaster

ClimateMaster Trilogy Q-Mode (QE) Series User manual

ClimateMaster ET Series Assembly instructions

ClimateMaster

ClimateMaster ET Series Assembly instructions

ClimateMaster iGate ATC32U02 User manual

ClimateMaster

ClimateMaster iGate ATC32U02 User manual

ClimateMaster iGate 2.0 User manual

ClimateMaster

ClimateMaster iGate 2.0 User manual

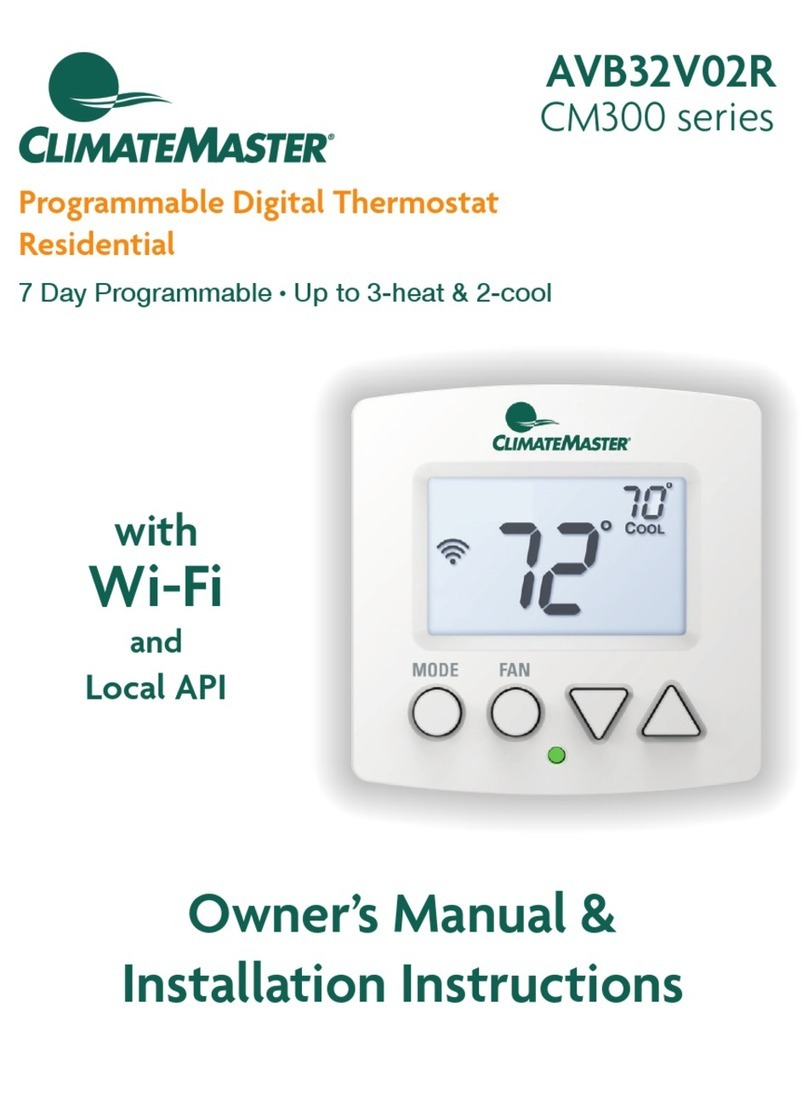
ClimateMaster AVB32V02R Original instructions

ClimateMaster

ClimateMaster AVB32V02R Original instructions

ClimateMaster ATM11C11 Installation and user guide

ClimateMaster

ClimateMaster ATM11C11 Installation and user guide

ClimateMaster ATA11H01 User manual

ClimateMaster

ClimateMaster ATA11H01 User manual

ClimateMaster iGate2.0 User manual

ClimateMaster

ClimateMaster iGate2.0 User manual

ClimateMaster ATA11U03 User manual

ClimateMaster

ClimateMaster ATA11U03 User manual

ClimateMaster ATC32U01 iGate User manual

ClimateMaster

ClimateMaster ATC32U01 iGate User manual

ClimateMaster ATA32V01 Original instructions

ClimateMaster

ClimateMaster ATA32V01 Original instructions

ClimateMaster iGate ATC32U02 User manual

ClimateMaster

ClimateMaster iGate ATC32U02 User manual

ClimateMaster iGate ATC32U03 User manual

ClimateMaster

ClimateMaster iGate ATC32U03 User manual

ClimateMaster ATP32U03 User manual

ClimateMaster

ClimateMaster ATP32U03 User manual

ClimateMaster AVB32V03R Original instructions

ClimateMaster

ClimateMaster AVB32V03R Original instructions

ClimateMaster ATP32U01 User manual

ClimateMaster

ClimateMaster ATP32U01 User manual

ClimateMaster iGate Connect User manual

ClimateMaster

ClimateMaster iGate Connect User manual

ClimateMaster iGate ATC32U02 Assembly instructions

ClimateMaster

ClimateMaster iGate ATC32U02 Assembly instructions

Popular Thermostat manuals by other brands

Bosch CR 20 RF quick start guide

Bosch

Bosch CR 20 RF quick start guide

Honeywell T8022D user manual

Honeywell

Honeywell T8022D user manual

Travis Industries SKU 99300689 instructions

Travis Industries

Travis Industries SKU 99300689 instructions

Honeywell T Series installation guide

Honeywell

Honeywell T Series installation guide

Jung 1790RTR operating instructions

Jung

Jung 1790RTR operating instructions

EBECO EB-Therm 800 quick guide

EBECO

EBECO EB-Therm 800 quick guide

Hitecsa TH-TUNE user manual

Hitecsa

Hitecsa TH-TUNE user manual

FIBARO Heat Controller Quick Manuals. Warranty Terms
FIBARO

FIBARO Heat Controller Quick Manuals. Warranty Terms

Daikin One+ reference guide

Daikin

Daikin One+ reference guide

Charmeg iQ-T installer and user manual

Charmeg

Charmeg iQ-T installer and user manual

Strom SSRTEL08 manual

Strom

Strom SSRTEL08 manual

Danfoss TP7001 series user guide

Danfoss

Danfoss TP7001 series user guide

AirCycler g1 Installation Testing Guide

AirCycler

AirCycler g1 Installation Testing Guide

ChiliTec 23214 Operation manual

ChiliTec

ChiliTec 23214 Operation manual

Airzone Flexa 3.0 Quick installation guide

Airzone

Airzone Flexa 3.0 Quick installation guide

Energate Foundation user guide

Energate

Energate Foundation user guide

Roca RX-100 Installation, assembly and operating instructions

Roca

Roca RX-100 Installation, assembly and operating instructions

OLBA Thermotronic TS-TTD manual

OLBA

OLBA Thermotronic TS-TTD manual

manuals.online logo
manuals.online logoBrands
  • About & Mission
  • Contact us
  • Privacy Policy
  • Terms and Conditions

Copyright 2025 Manuals.Online. All Rights Reserved.