Titan DK 3700C User manual

MICHEL VAN DE WIELE NV
Instruction Manual TITAN DK3700C
TITAN DK3700C CONTENT
CHAPTER 1 : INSTALLATION AND LUBRICATION
1. Installation
a. Complete machine with motor & table
b. Head only
2. Lubrication
CHAPTER 2 : THREADING
1. Type of Yarn
2. Threading Diagram
CHAPTER 3 : HOW TO OBTAIN A CORRECT STITCH ?
1. Tensions
2. Needle Yarn
CHAPTER 4 : MECHANICAL ADJUSTMENT OF THE HEAD
1. Needle
2. Looper
3. Spreader
4. Upper and Lower Transport
5. Driving Belt
CHAPTER 5 : FOLDERS
1. Dimensions
CHAPTER 6 : HOW TO SEW CORNERS WITH LARGE RIBBONS
CHAPTER 7 : HOW TO SEW THE LAST CORNER
CHAPTER 8 : SPARE PARTS LIST

MICHEL VAN DE WIELE NV
Instruction Manual TITAN DK3700C
CHAPTER 1 : INSTALLATION & OILING
A.The complete machine (with motor and table)
When the machine is delivered completely with table and motor follow the
instructions on the pictures in the manual to assemble the table and the motor. The
package contains all the fasteners (screws, bolts etc.) necessary for the installation.
1. Take the sewing machine out of the package.
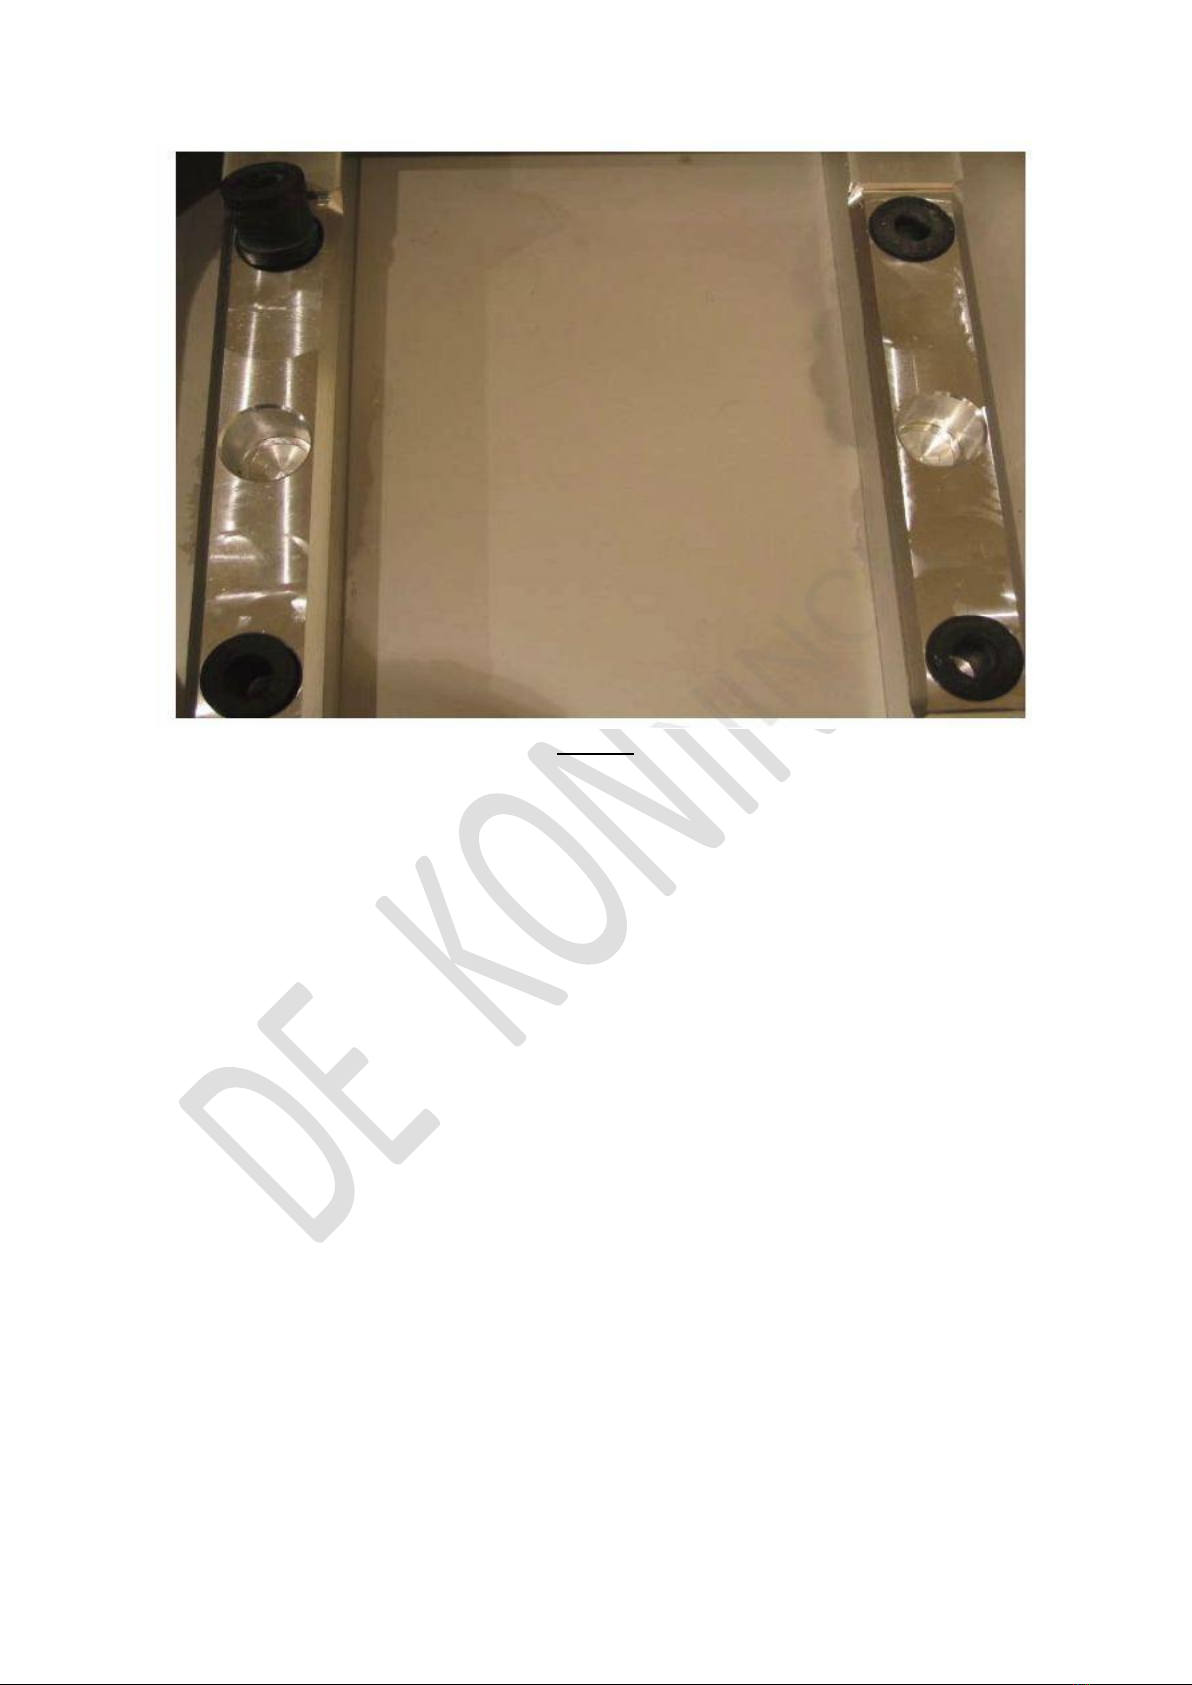
2. Place the anti-vibration isolator blocks in the recesses arranged to this effect in
the frame of the table.
3. Carefully lower the machine to rest on these anti-vibration isolators.
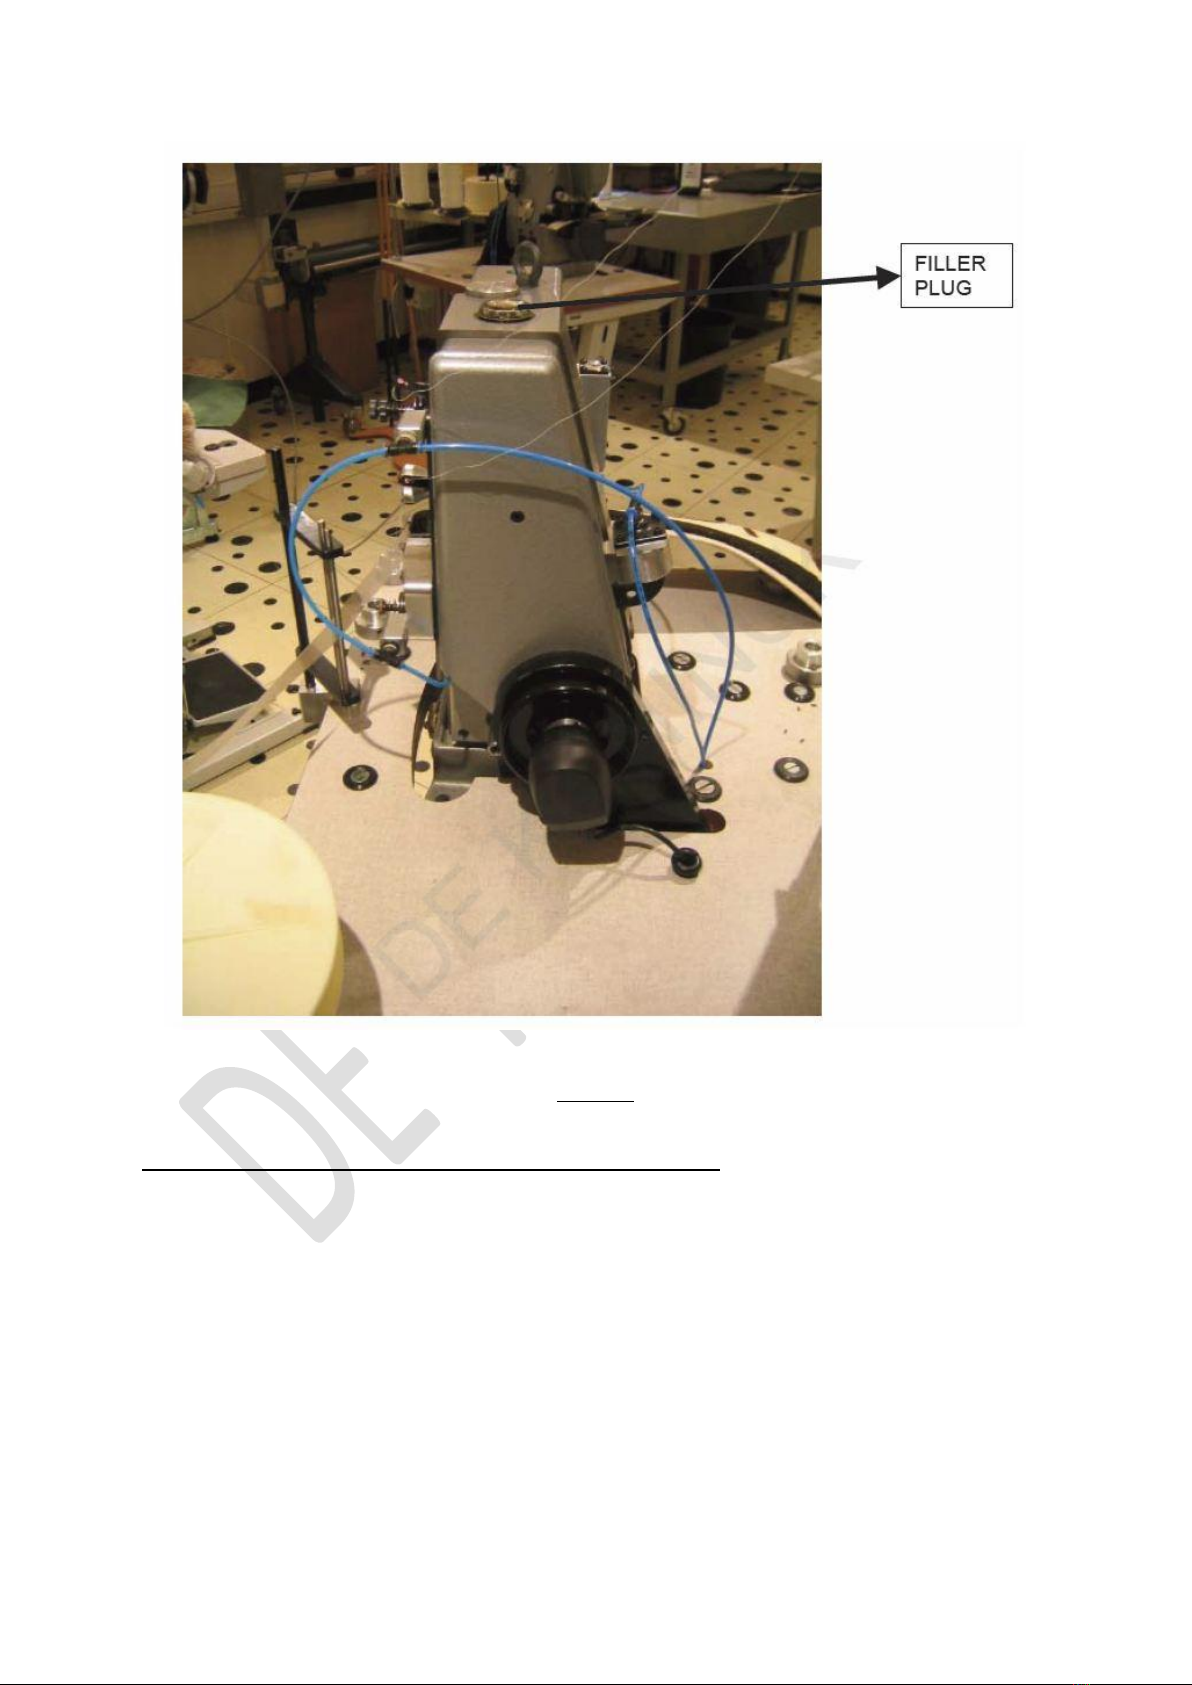
4. Take the 1 litre oil bottle out of the package container.
5. Unscrew the filler plug located in the upper part of the machine and poor 1 l of
oil into the machine.
6. Check the oil-level on the sight-glass at the base of the machine.
7. Do NOT run the machine with the oil level lower than the minimum level line.
8. Screw the filler plug back on.
9. The electronic motors are leaving the factory ready to run on
220V/monophase.
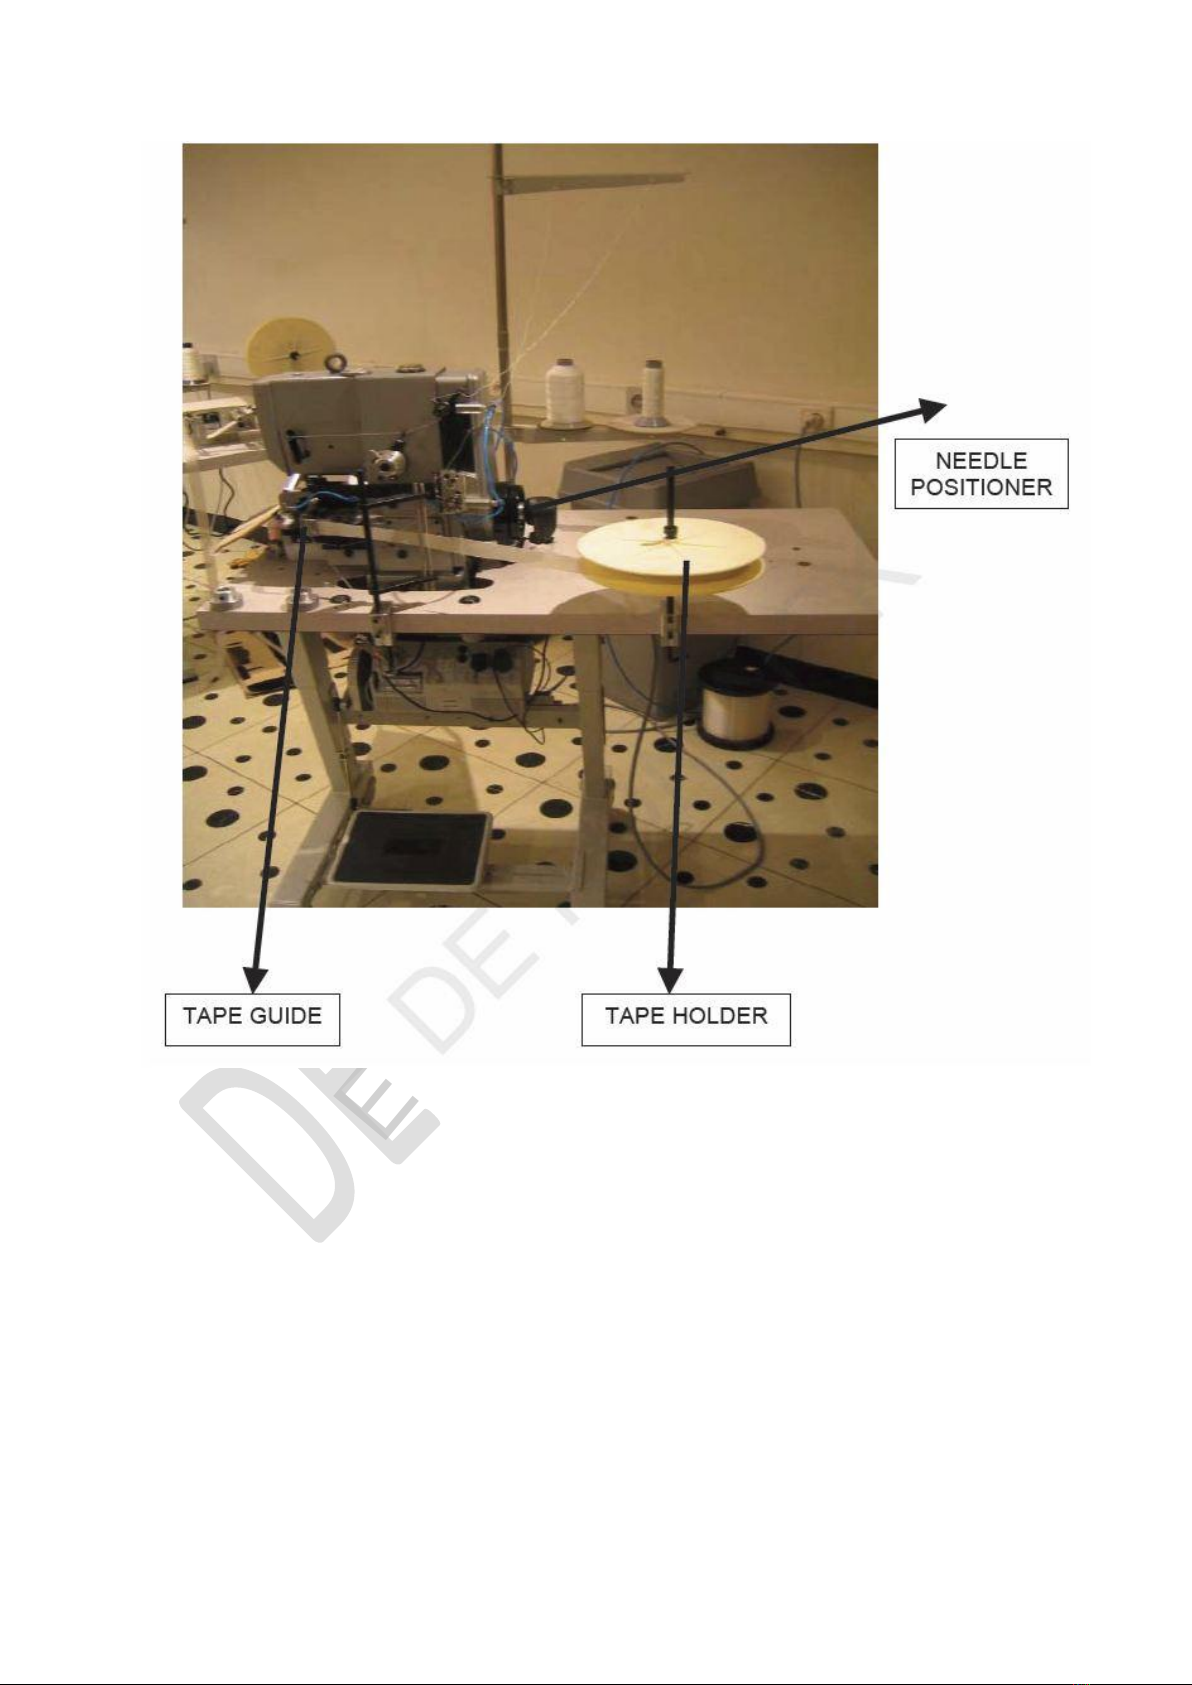
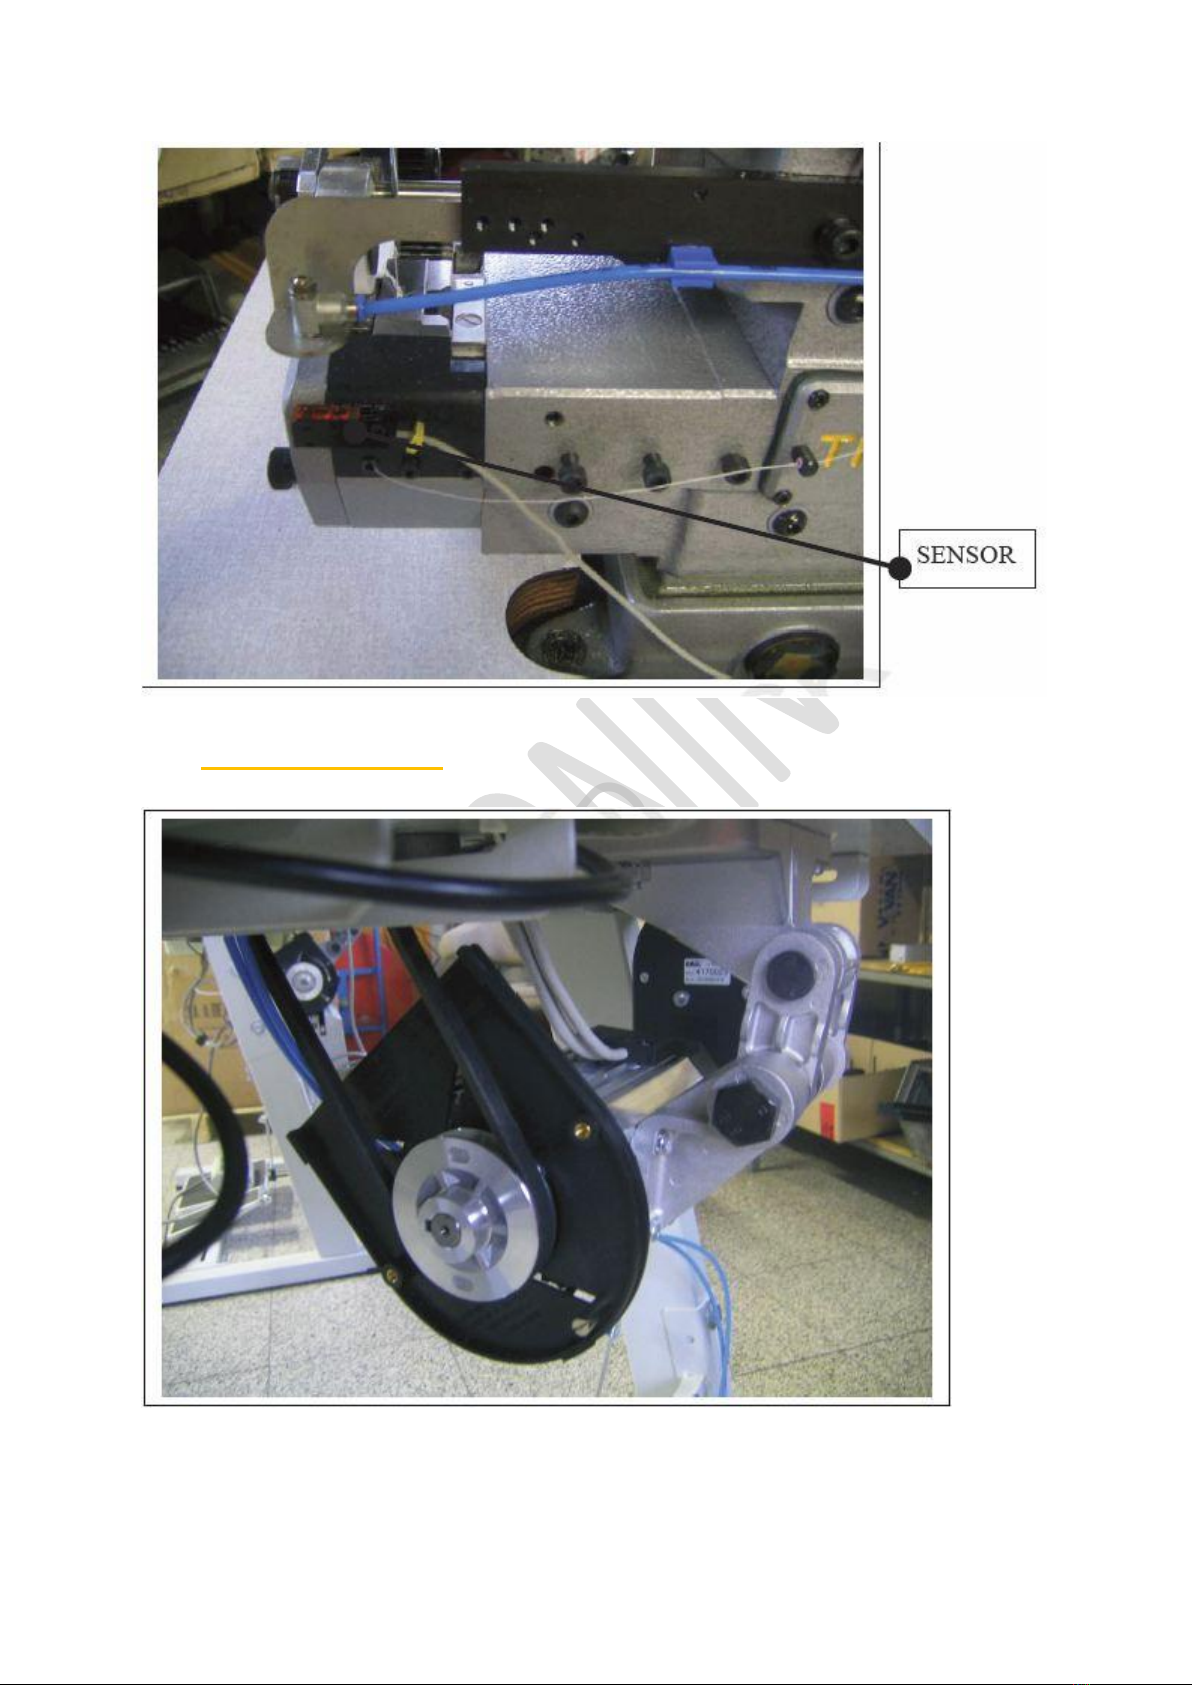
10.Use the belt to connect the motor with the sewing machine. Take care not to
tighten the pulley too strong between the two axes. This could bent the axes
and damage some internal parts in the machine or the motor.
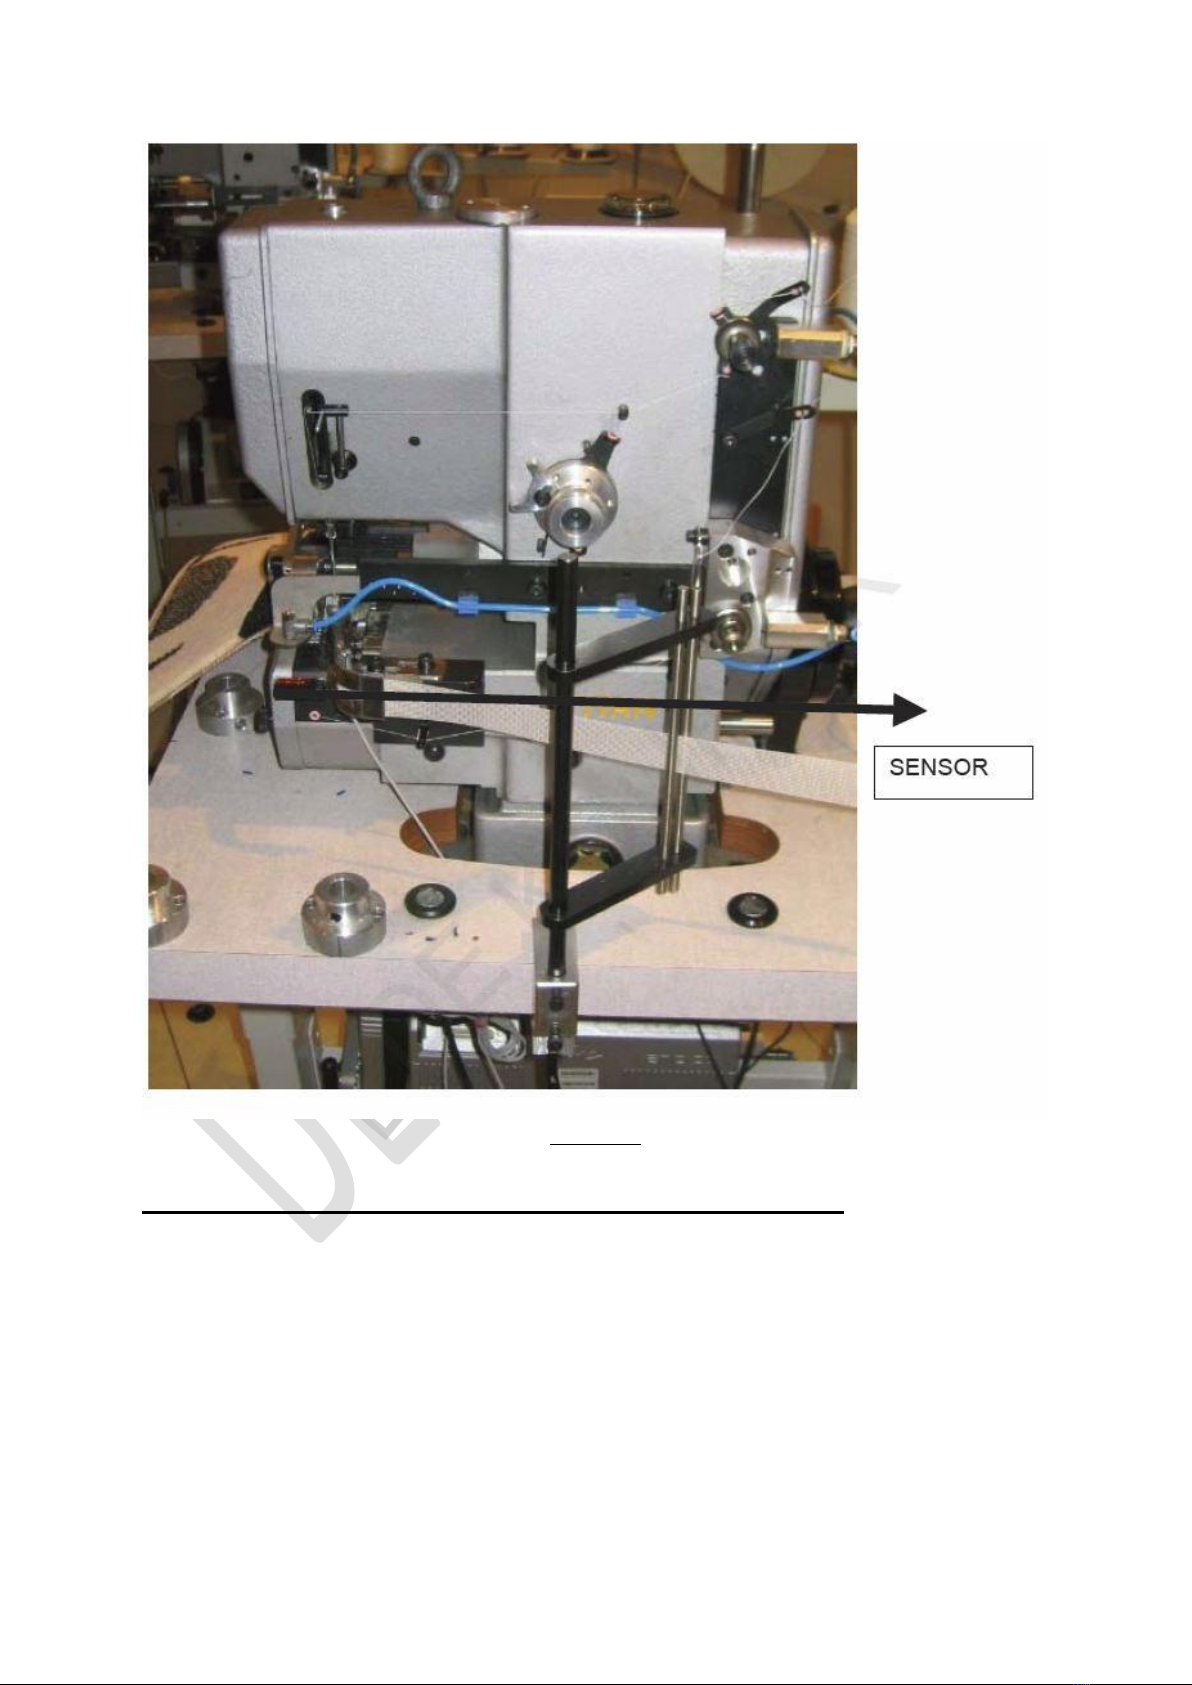
11.Verify that the direction of rotation of the sewing machine is correct.
12.Connect the electrical cables.
13.Connect the pneumatic cables.
14.After having put the machine into operation, it is advised to run the machine at
very low speed (200-300 rpm) for a few minutes in order to allow the oil to
reach the needle bar.
B. Head only
The TITAN sewing head requires a drive motor with following specifications :
Motor rating : ¾ HP (Horse Power)
Motor speed : 2800 rpm
The V-belt (delivered with the sewing head) should be connected with a
pulley of 70 mm in diameter to the motor.
1. INSTALLATION

MICHEL VAN DE WIELE NV
Instruction Manual TITAN DK3700C
ITEM2.
ANTI VIBRATION ISOLATOR BLOCS

MICHEL VAN DE WIELE NV
Instruction Manual TITAN DK3700C
ITEM5.
FILLER PLUG TO PUT THE OIL IN.

MICHEL VAN DE WIELE NV
Instruction Manual TITAN DK3700C
ITEM12.
THIS IS THE SENSOR ON THE MACHINE.

MICHEL VAN DE WIELE NV
Instruction Manual TITAN DK3700C

MICHEL VAN DE WIELE NV
Instruction Manual TITAN DK3700C
INSTALLATION ELECTRONIC MOTOR
SWITCH ON/OFF ON MOTOR
- 1 -

MICHEL VAN DE WIELE NV
Instruction Manual TITAN DK3700C
RED MARK IS THE CONNECTION TO THE POSITIONER
- 2 -

MICHEL VAN DE WIELE NV
Instruction Manual TITAN DK3700C
YELLOW MARK IS THE CONNECTION TO THE SENSOR
USE THE BELT TO CONNECT THE MOTOR - 3 -

MICHEL VAN DE WIELE NV
Instruction Manual TITAN DK3700C
PNEUMATIC TUBES
BROWN MARKED TUBE TO THE BROWN MARKED TUBE
- 4 -

MICHEL VAN DE WIELE NV
Instruction Manual TITAN DK3700C
ORANGE MARKED TUBE TO THE ORANGE MARKED TUBE
- 5 -

MICHEL VAN DE WIELE NV
Instruction Manual TITAN DK3700C
-3A -

MICHEL VAN DE WIELE NV
Instruction Manual TITAN DK3700C
LUBRICATION
The DK 3700 is designed in such way that all moving parts are running on ball or
needle bearings. The frame is hermetically closed to dust or other abrasive materials
which could eventually enter the mechanism. A high flow impeller oil pulp running at
low speed (200 rpm) is fitted into the machine so that inside the machine head an oil
rain is created, which reaches all the parts of the machine.
The quantity of oil can be checked at all times by looking at the oil level sight-glass
situated at the base of the machine.
The correct functioning of the oil pump can be checked as following :
Look at the sight-glass situated in the upper part of the machine, when running the
machine. If you see the oil splashing around than the pump is functioning normally.
HOW TO CHANGE OR ADD OIL
Place a recipient underneath the sewing head.
Unscrew the lid situated in the base of the machine.
Let the oil flow freely out of the machine .
Screw the lid back on.
Unscrew the oil plug on the top of the machine
Fill the machine with approximately 1 l oil with viscosity 15 W 30
TYPE OF OIL : Viscosity 15 W 30
Recommended oil type for these machines : SHELL TELLUS 37,
BP ENERGOL HLP 46 or
any similar oil grade
NOTE : Use of oil with a lower viscosity will result in poor lubrication of the spare
parts inside the machine, and these will wear out abnormally, resulting in break down
of the machine.
Conversely, high viscosity oil will cause clogging of the oil lines, which in turn will
cause poor lubrication and abnormal wearing out of the internal parts, resulting in
break down of the machine.
- 3 -

MICHEL VAN DE WIELE NV
Instruction Manual TITAN DK3700C

MICHEL VAN DE WIELE NV
Instruction Manual TITAN DK3700C
CHAPTER 2 : THREADING
1. TYPE OF YARNS
Needle yarn : polyamid yarn type NYLBOUD COATS thickness 30 or 40
monofilament type : incolor 520 CBL
Looper yarn : polyamid yarn type NYLBOUND COATS thickness 30 or 40
It is not advised to use monofilament yarn for the looper yarn, as this
will cause false stitches and thread breakage.
2. THREADING DIAGRAM
Thread the needle and looper yarns as seen on Fig 3.

MICHEL VAN DE WIELE NV
Instruction Manual TITAN DK3700C

MICHEL VAN DE WIELE NV
Instruction Manual TITAN DK3700C
CHAPTER 3 : HOW TO OBTAIN A CORRECT STITCH ?
1. TENSIONS
Tensions should be adjusted very accurately.
If too high : the yarns will influence the material in such way that it will gather and
the layers of material will be shifting. At high speed the yarn may break.
If too low : Faulty stitches will be produced and a gathering of the yarn loops
around the looper will occur.
2. NEEDLE YARN
In order to form a correct stitch, the point of the looper has to pick up the loop formed
by the spreader when the needle is at its lowest point. The size of this loop can be
increased by placing the yarn guide A from Fig 5, higher in the holder C. The loop
will be reduced when the guide A is placed lower. The optimal distance between the
threader B and the yarn guide A is +/- 38 mm when the needle is its lowest dead
point.
- 5 -

MICHEL VAN DE WIELE NV
Instruction Manual TITAN DK3700C
Fig 6
- 6A-
Needle in his higher point
19mm

MICHEL VAN DE WIELE NV
Instruction Manual TITAN DK3700C
CHAPTER 4 : MECHANIC ADJUSTMENTS OF THE HEAD
1. NEEDLE
When the machine is used continuously for 1 or 2 shifts a day, the needle should be
replaced every day or two.
If the needle is worn out, false stitches can occur and the thin needle can break and
cause damage to other parts in the machine. Therefore we advise to check regularly
the condition of the needle.
During sewing, a cloud of dust will build up on the needle holder. It is therefore
strongly advised to first remove any dust that may have accumulated prior to fitting a
new needle. If not , dust accumulation in the needleholder will change the position of
the needle, which in turn will result in false stitches and may in the end cause
abnormal wear on some internal parts of the machine.
To replace the needle
Take the accumulated dust round the needle bar away
Loosen the screw on the needle bar and remove the used needle
Place the new needle in the right position with its flat side on the left side and
push it fully home into the needle holder.
Check by turning the flying wheel if the flat side of the needle can pass next to the
point of the looper without touching it.
Fix the needle in this position with the screw, and follow the instructions in
following paragraph to obtain the right positioning of the needle with the other
parts involved in stitch formation ( = looper, spreader).
Correct needle position
Put the needle in its highest dead point and measure the distance between the point
of the needle and the needle plate. This should be exactly 19 mm .(Fig 6)
- 6 -
Table of contents
Other Titan Sewing Machine manuals