TJ Media Grand Videoke User manual

4
5
6-8
9-10
11-12
13-14
14
15-19
20-21
22-24
25-26
27
28-35
36
37-38
39
40
41
FCC DECLARATIONOF CONFORMITY
Packing Guide
QuickGuide
ChannelSettings
Introduction
How to take care of your WOW Videoke Premium
Package Contents / Optional Items
Nomenclature
-MainPlayer
- Wireless Microphone
-Remote Control
How to operate the WOW Videoke Premium
-Power On/O
-Installation of Song Transfer Pack
Installation Guide
-Connecting the microphone tothe WOW Videoke Premium
-Connecting the WOW Videoke Premium to the TV
-Connecting the WOW Videoke Premium to other Sound Systems
Additional MenuFunction & Conguration Settings
-Search Menu
-Favorite Menu
-Record Menu
-Conguration Menu
SD Card
-Caution in using SD CARD
-SD CARD manual
Encorder
-What is TJmedia Encoder?
-TJ media EncoderInstallation
-How to install TJ mediaEncoder Program
MUSIC NOTE
USB Function
-PC connection
-Using yourphotos as backgroundimage
Troubleshooting Guide
Q&A - Other
Product Specication
3
www.grandvideoke.com
Ver.1

Declaration of Conformity
Trade Name : TJ media
Model : TKR-361MP
Responsible Party : TJ media Co.,Ltd.
Address : 23, Hwagok-ro 64-gil, Gangseo-gu, Seoul, Korea
Telephone : +82-2-3663-4700
This device complies with part 15 of the FCC Rules.
Operation is subject to the following two conditions:
(1) this device may not cause harmful interference, and
(2) this device must accept any interference received,
including interference that may cause undesired operation.
Notice for customers in the U.S.A.
Use of TJ media wireless devices is regulated by the Federal
Communications Commision as described in Part 74 subpart
H of FCC regulations and users authorized thereby are
required to obtain an appropriate license.
IMPORTANT NOTE :
To comply with the FCC RF
exposure compliance requirements, no change to the antenna
or the device is permitted, Any changeto the antenna or the
device could result in the device exceeding the RF exposure
requirements and void user’s authority to operate this device.
This device complies with FCC radiation exposure limits set
forth for uncontrolled equipment and meets the FCC radio
frequency (RF) Exposure Guidelines in Supplement C to
OET65. This device has very low levels of RF energy that it is
deemed to comply without testing of specific absorption radio(SAR).
Output Power listed is 0.00627W ERP.
4
www.grandvideoke.com
PACKING GUIDE
1. Main Unit(Player)
2.Wireless Microphone x 1
3.Wired Microphone X 1
4. Remote Control
5. Song list &Manual & Quick Guide
6. Auto-Volt Power Adaptor
7. Audio/Video Cable(RCA cable)
8. MIC Cable
9. USB Cable
10. 2 x AA Batteries(Wireless Microphone)
11. 2 x AAA Batteries(Remote Control)
12. MIC Cover
1. Ma
2.Wirel
3.Wired Mic
4. Remot
5. Song lis
6. Auto-
7. Audio
8.Video
9. HD
10. M
11. USB Cab
12. 2
13. 2
14. MI
Upper View
5
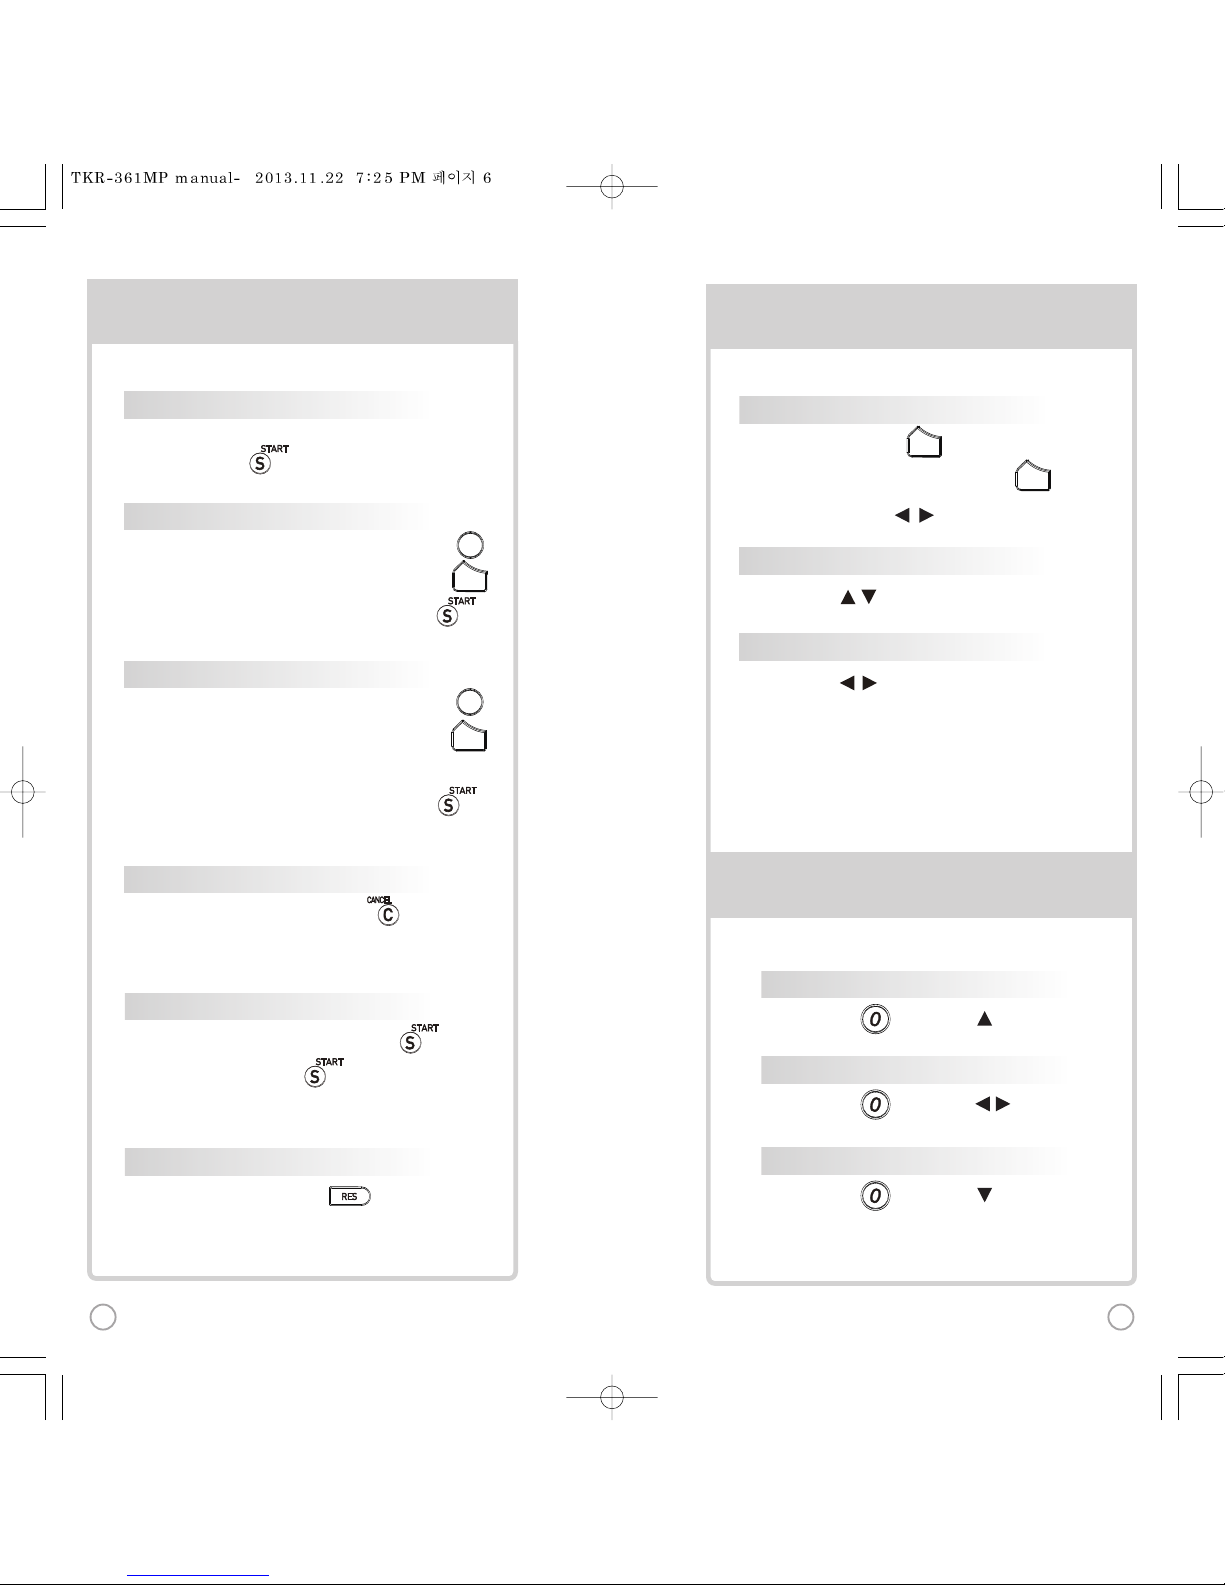
BASIC FUNCTIONS BASIC FUNCTIONS
SECONDARY FUNCTIONS
SONG SELECTION & PLAYBACK
METHOD 1 By entering song number directly
Keyin the song number using the alphanumeric keypad,
then press .
METHOD 2 By sorting the song in the list
1) To Open the Song List: Press the Arrow keys or .
2) To Sort by Title, Artist,Lyric or Number: Press .
3) To Select:Press the Arrow keys, then press .
VOL
VOL
METHOD 3 By searching the song
1) To Open the SongList: Press the Arrow keys or .
2) To Sort by Title, Artist,Lyric or Number: Press .
3) Input the Title,Artist, Lyric or Number by typingon the
alphanumeric keypad.
4) To Select:Press theArrow keys, then press .
STOP
To stop a songwhile playing, press .
SELSEL
SELSEL
PAUSE
1) To pause a songwhile playing, press .
2) To continue, press .
RESERVATION
Select a song, then press .
VOLUME(MUSIC, MIC,ECHO)
1] Volume : Press .
2] Type selection(MUSIC, MIC, ECHO) : .
3] Adjustment : , .
VOL
VOL
KEY
Press , . (While playing).
TEMPO
Press , . (While playing).
SKIP
METHOD 1 Prelude/Interlude skip
Press (While playing), .
METHOD 2 Rewind a tune, Forward a tune
Press (While playing), , .
METHOD 3 Verse skip
Press (While playing), .
FA
R
SE
SO
GA
BASIC FUNCTIONS BASIC FUNCTIONS SECONDARY
SECONDARY FUNCTIONS
SONG SELECTION & PLAYBACK
METHOD 1 By entering song number directly
Keyin the song number using the alphanumeric keypad,
then press .
METHOD 2 By sorting the song in the list
1) To Open the Song List: Press the Arrow keys or .
2) To Sort by Title, Artist,Lyric or Number: Press .
3) To Select:Press the Arrow keys, then press .
VOL
VOL
METHOD 3 By searching the song
1) To Open the SongList: Press the Arrow keys or .
2) To Sort by Title, Artist,Lyric or Number: Press .
3) Input the Title,Artist, Lyric or Number by typingon the
alphanumeric keypad.
4) To Select:Press theArrow keys, then press .
STOP
To stop a songwhile playing, press .
SELSEL
SELSEL
PAUSE
1) To pause a songwhile playing, press .
2) To continue, press .
RESERVATION
Select a song, then press .
VOLUME(MUSIC, MIC,ECHO)
1] Volume : Press .
2]Type selection(MUSIC, MIC, ECHO) : .
3]Adjustment : , .
VOL
VOL
KEY
Press , . (While playing).
TEMPO
Press , . (While playing).
SKIP
METHOD 1 Prelude/Interlude skip
Press (While playing), .
METHOD 2 Rewind a tune, Forward a tune
Press (While playing), , .
METHOD 3 Verse skip
Press (While playing), .
1) , Select “RE
SONG SEARCH,
2) , Select“
3) SONG LIST, : R
4) While playing m
Record the playi
1) , Select “R
2) , Select “RE
FAVORITE SONGS
1] To Add: Select a so
2) To Remove: Selec
3) To Search: Pres
RECORDING
Youcanrecord a s
SEARCHING RECORDED SONGS
Youcanfind a record
SONG REPEAT
Press , S
GAME FUNCTION
Press , S
6 7

[St
[Step1]Change the channel on the main unitbyusing the
remote control.
3) Please take note that the Firmware Version information will appear on
your screen. On the first line, it will show the version and the channel.
4) Select achannelnumber from 1 to 8 using the alphanumeric keypad
on the remote.
(In case of interference, please change the channel fromthe present setting)
CHANNEL SETTINGS CH
2) Go to channelselect menu:
Press button +
choose “Config” ”System Setup””Version” + button.
TKR-361MP has eight(8) available channels for the wireless microphone.
Please takenote thatthe microphone and the main player should be on the
same channel.
In case of channel interference (either the microphone cannot be detected
by the main player),follow the instructions below for re-channeling.
1) Turn on the main unit. Make sure no song is playing.
5) [Power off][Power on] tosave.
1) T
2) P
T
3) P
T
4) P
5) Pres
M
POWERPOWER MICMIC
SECONDARY FUNCTIONS
S
1) , Select “REC”,Select“RECORDING”,
SONG SEARCH, .
2) , Select“RECORDING”, SONG SEARCH, .
3) SONG LIST, : Record the song.
4) While playing music, press :
Record the playing song.
1) , Select “REC”, Select “REC.SONGLIST”.
2) , Select “REC.SONGLIST”.
FAVORITE SONGS
1] To Add: Select a song, press .
2) To Remove: Select a song that has been added, press .
3) To Search: Press , then select “FAVORITE”.
RECORDING
Youcanrecord a song in 4 ways:
SEARCHING RECORDED SONGS
Youcanfind a recorded songin 2ways:
SONG REPEAT
Press , Select “Repeat”.
GAME FUNCTION
Press , Select “Game”.
8 9
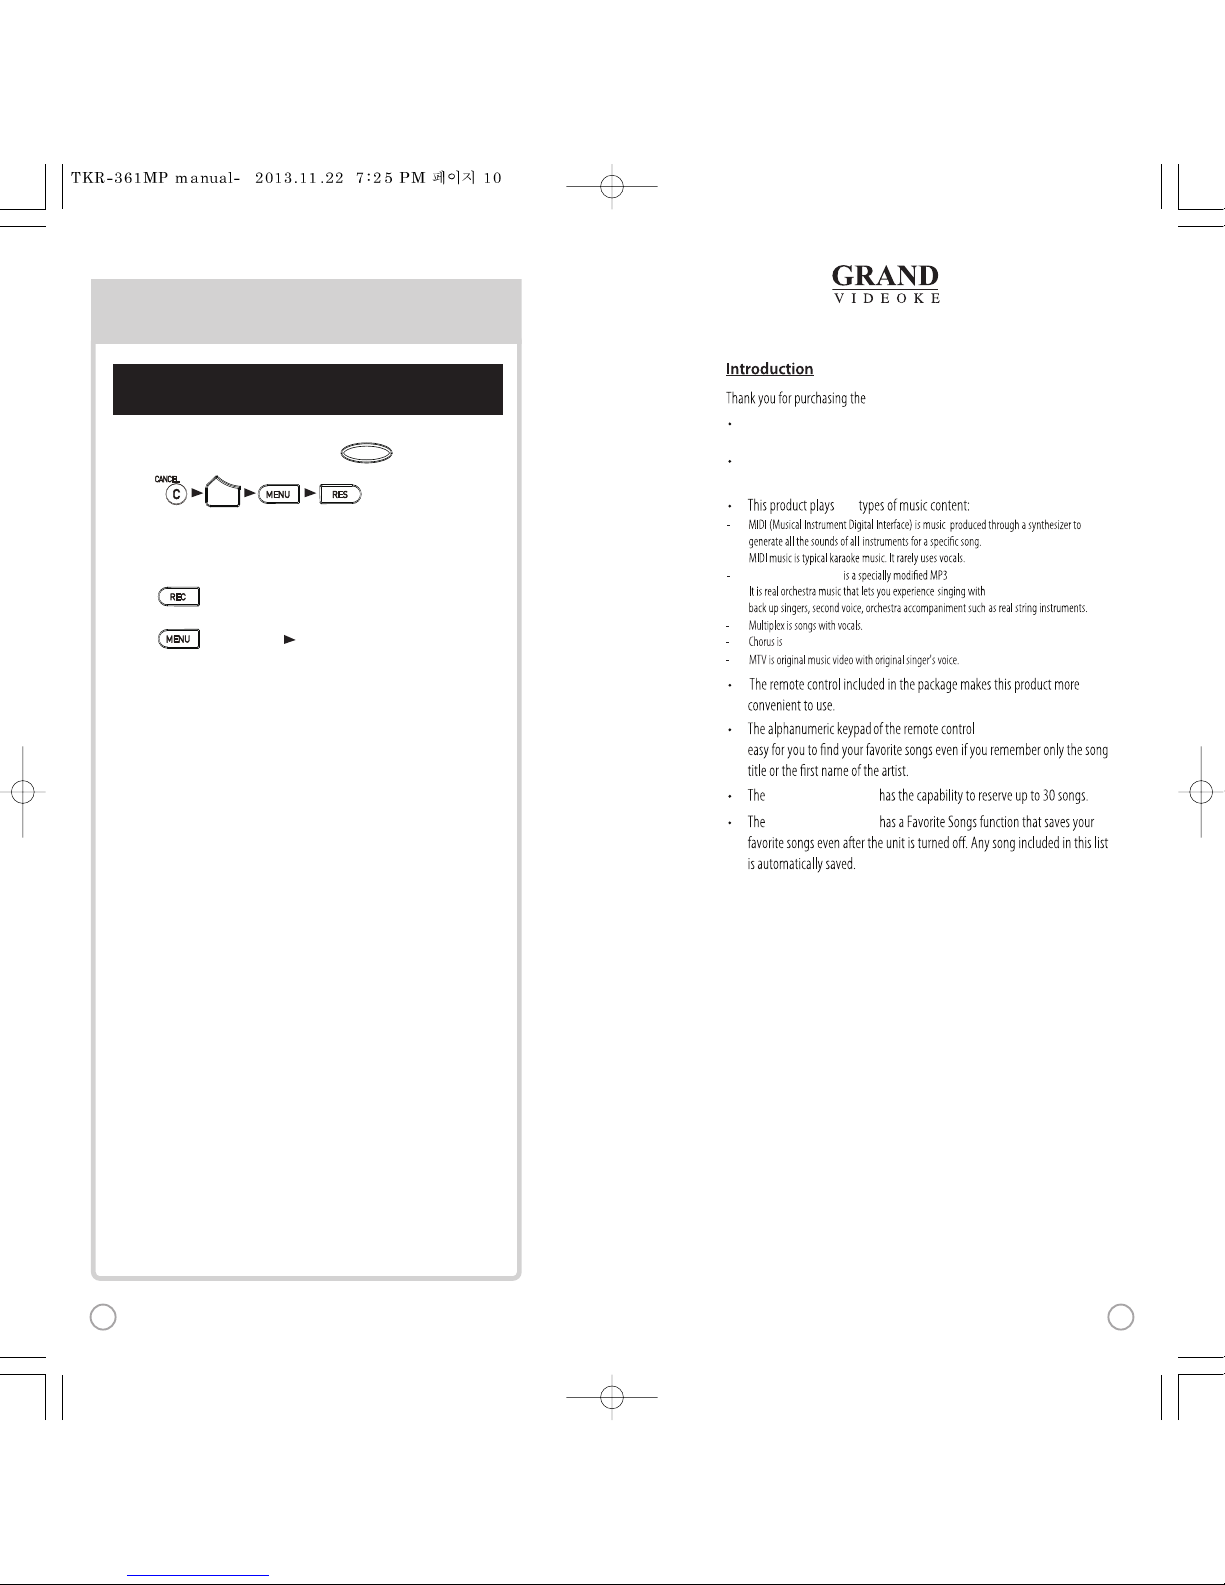
WOW Videoke Premium
makes it
WOW Videoke Premium
TheWOWVideoke Premium provides various kinds of
MovingPicture Background.(Nature,WorldTour, 3D, MTV, K-POPM/V, K-Drama etc.)
TheWOWVideoke Premium provides additional built-in memory space of
64MB, so you can either recordsongs save pictures to useas background image.
ve
WOW Videoke Premium.
WOW Videoke Premium music for karaokeuse developed byTJ media.
songs with backup vocals.
11
www.grandvideoke.com
[Step2] Setthe channel of the microphone using the
microphone's keypad.
r on
nel.
4 ad
tting)
CHANNEL SETTINGS
2
hone.
Pon the
s
tected
b
1)Turn on the microphone by pressing the button.
2)Press button in order.
The microphone LED will beturned on and off twice.
3) Press the same channel number thatyou set in the main player.
The microphone LED will beturned on and off twice.
4) Press button. Microphone LED will be turned on and off twice.
5) Press button to save.
Microphone LED will be turned on andoff 6 times.
VOL
POWERPOWER
10
This manual suits for next models
1
Table of contents
Other TJ Media Karaoke System manuals


Popular Karaoke System manuals by other brands


The Singing Machine
The Singing Machine SML2250 instruction manual

LG
LG HT902TR-XK owner's manual

Karaoke Warehouse
Karaoke Warehouse Player 2000 user manual

VocoPro
VocoPro DVG-888K II owner's manual

The Singing Machine
The Singing Machine SMVG-620 instruction manual

Singsation
Singsation CENTER STAGE FREESTYLE quick start guide


