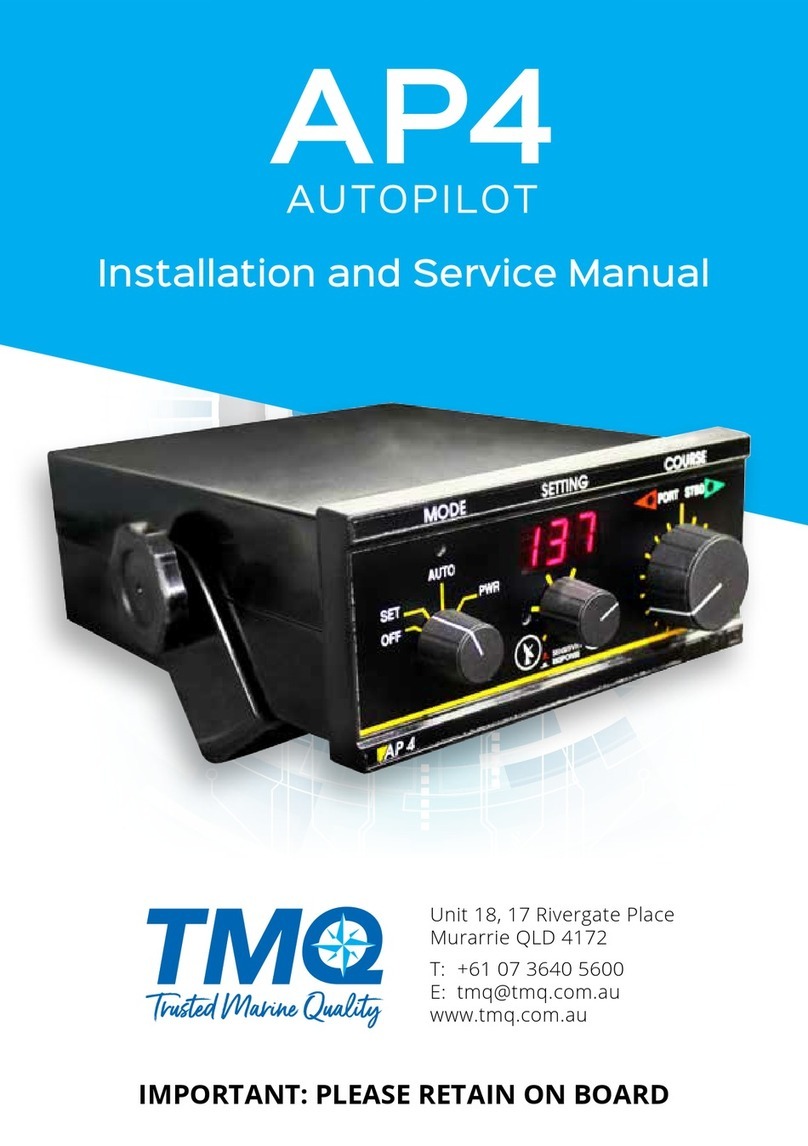
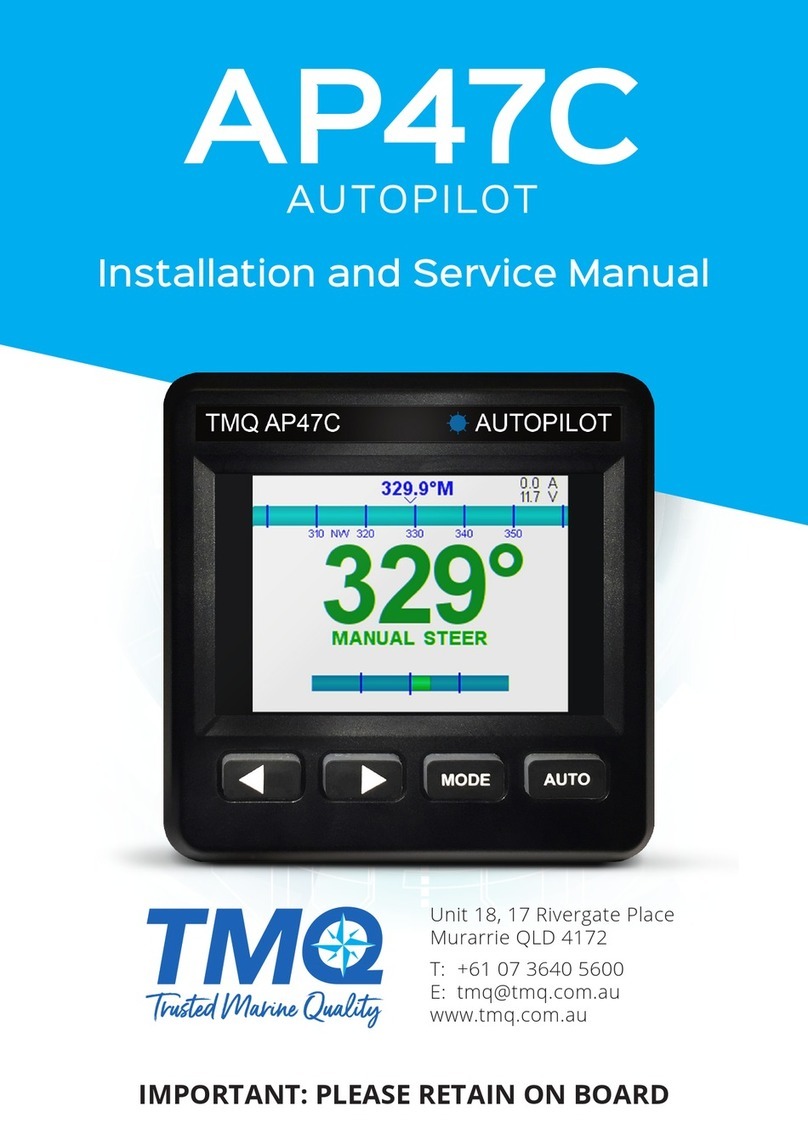
TMQ AP56 Manual

IMPORTANT: PLEASE RETAIN ON BOARD
Installation and Service Manual
AP56
AUTOPILOT
Unit 18, 17 Rivergate Place
Murarrie QLD 4172
T: +61 07 3640 5600
www.tmq.com.au

(This page intentionally left blank)

Contents
Introduction 2
System conguration 3
System Block Diagram 3
Denition of Terms 5
Overview of Operation 6
Initial Settings 7
Rudder Limit Set 7
Rudder Limit Reset 8
Compass Calibration 8
Heading Sensitivity 9
Rudder Ratio 9
Operation of Autopilot 10
Manual Mode 10
Auto Mode 10
Power Steer Mode 10
GPS Mode – Waypoint Steering 11
Backlighting 12
Rudder Angle Indicator 12
Remote Operation 12
Alarms 14
O Course 14
No GPS Data 14
No MCU 14
No Heading Data 15
Installation 16
Main Display Unit 16
Second Station Display Unit 16
AP56 Display Connections 16
Declaration of Conformity 18
Warranty 19
Additional Information 19

2 of 22 TMQ AP56 - SS37
Introduction
This manual should only be read in conjunction with the associated electric
amplier (C-Drive MCU) or autopilot control unit (AP4/AP9).
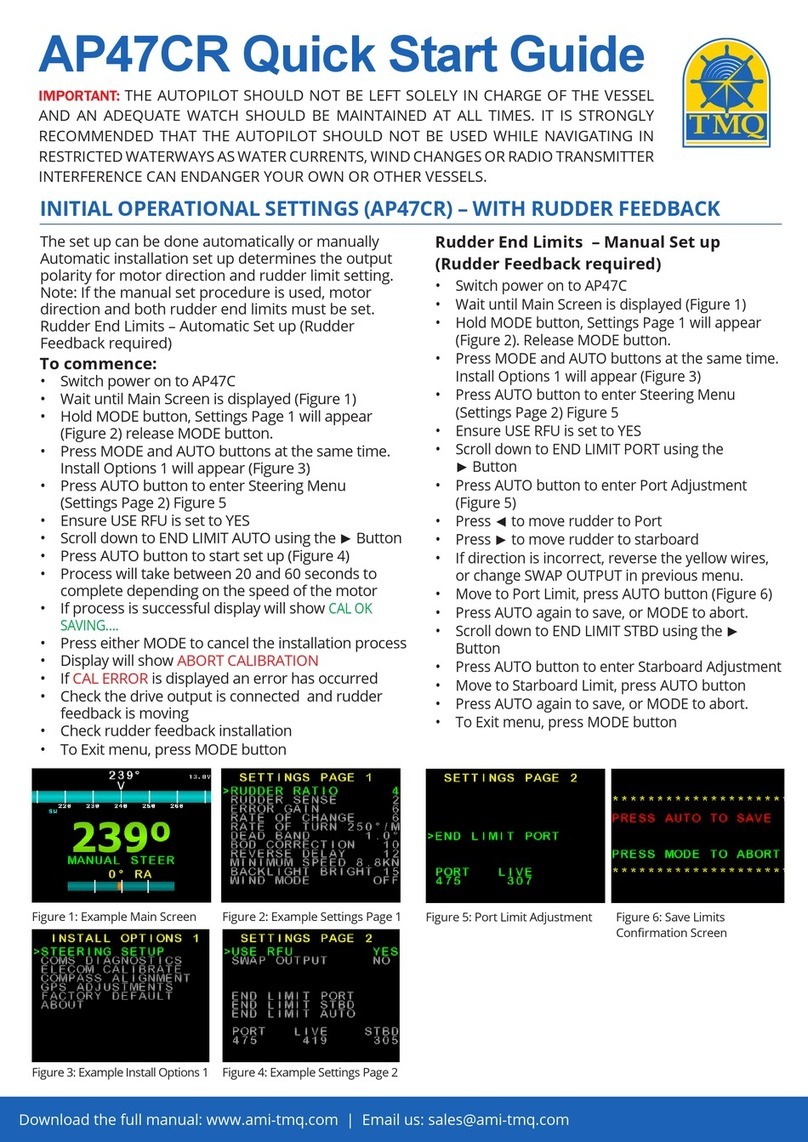
The AP56 Display is the main control panel used in conjunction with a C-Drive
Steering amplier to form an AP56 Autopilot System. It provides the means to
fully control the autopilot system, indicating in dierent modes heading, course
to steer and rudder angle.
When factory congured as a remote display (Part # AP56REM), it can be
used as a second control station for the AP56 Autopilot only.
In addition the standard display (Part # AP56HEAD) can be used as a second
station control for TMQ autopilot models AP4 and AP9.

3 of 2201/08/2020
System conguration
An AP56 Autopilot system comprises
the following minimum units:
Essential Electronics:
• AP56 Display.
• C-Drive motor control unit
• Rudder feedback unit.
• Fluxgate compass or E-compass
• Drive unit, for example:
• Hydraulic system with
solenoid valves.
• Reversing hydraulic pump
system.
• Mechanical motor drive system.
Options:
• Compass Top Sensor
• Heavy Duty Rudder Sensor
• Second Station Display Unit
• Remote Station Devices including:
1. Active remote
2. Hand remote
3. Steering lever (full follow up)
4. Electric helm (full follow up)
5. Rudder angle indicator (RAI)
System Block Diagram
AP56 HEAD
PC for Setup
Power Supply
RFU
RAI
Remote
Rudder Drive
C-Drive Unit
Compass

4 of 22 TMQ AP56 - SS37
System Overview
The AP56 Display head utilises the
C-Drive assembly and provides full
control of the autopilot, indicating in
dierent modes heading, course to
steer and rudder angle.
The C-Drive assembly is housed in
a rugged black aluminium case and
requires a supply voltage of 12 or 24
volts DC.
The rudder feedback unit (RFU) is
attached by linkage to the steering
tiller device in such a way that it can
accurately measure the movement
of the ship’s rudder and is also
electrically connected to the C-Drive
unit.
The compass detects magnetic
heading of the vessel and is
connected to the C-Drive assembly.
The rudder actuator (drive) system
provides the physical movement to
the rudder responding to the direction
control signals provided by the
C-Drive system.
Rudder actuator systems may
comprise any of the following:
1. Hydraulic ram controlled by either:
• Solenoid valves tted to an existing
power steering system.
• Solenoid valves connected to a
continuous running pump set.
• Hydraulic reversing pump unit
connected into an existing hydraulic
steering system.
2. Mechanical reversing drive unit
with reduction gears to drive the
steering system.
3. Linear actuator either hydraulic or
mechanical connected to a
steering tiller (or quadrant).

5 of 2201/08/2020
Denition of Terms
AP56 Display:
The Operation unit, with LCD Display
and pushbuttons.
C-Drive Assembly:
The Electric Steering control
amplier; this houses the main
processor and steering circuitry.
Rudder Feedback Unit (RFU):
This provides the required rudder
position information for steering
control.
• Rudder Feedback Unit Standard
(RFUS)
• Rudder Feedback Unit Heavy Duty
(RFUH)
Remotes:
This is a collective term for a control
device which are normally mounted
in a position remote from the main
control display. Each of these
function in similar ways, but dier in
appearance.
Remotes include:
• Electric helm
• Steering lever (FFU)
• Jog lever (NFU)
• Hand remote
• Active remote
Rudder Angle Indicator (RAI):
Displays the current rudder position.
Heading:
The magnetic heading of the vessel
at the current time.
Course-to-steer:
The magnetic heading which the
autopilot is attempting to achieve.
Waypoint Steering.
When interfaced to a GPS the
autopilot is able to steering along a
route pre programmed into the GPS.
NMEA Heading
The autopilot is able in accept
heading data from an external source
(eg: GPS compass or E-Compass) in
NMEA 0183 format

6 of 22 TMQ AP56 - SS37
Overview of Operation
Operation of the display unit buttons
or mode selection on a remote unit
will select one of the possible steering
modes in the C-Drive amplier. It is
the C-Drive, which generates signals
to the steering motor.
The following is a brief list of the
capabilities of the autopilot. Each is
described in more detail in a separate
chapter.
MANUAL Mode: “H***”
The autopilot Display Unit shows the
current magnetic heading.
The vessel is under manual steering
control; the autopilot will not apply
any steering control.
AUTO Mode: “A***”
The autopilot will maintain your
vessel on any desired magnetic
course. This course can be set from
the Display Unit.
GPS Mode: “A***”
When receiving information from a
GPS unit, the autopilot can steer
a vessel to a precise latitude and
longitude, or through a sequence of
latitudes and longitudes.
RUDDER and RESPONSE Settings:
These customise the AP56 Autopilot
for your vessel’s steering. They may
also be used to adjust for varying sea
conditions.
COMPASS CALIBRATION:
The AP56 compass can be calibrated
on the vessel using a simple
procedure.
RUDDER ANGLE DISPLAY:
The AP56 Display Unit LCD can be
set to display the rudder angle as a
numeric number.
BACKLIGHTING:
When using the autopilot at night, the
backlighting can be turned on.
REMOTE AUTO Mode: “ r *** ”
With a hand remote, panel remote,
steering lever or steering wheel
station installed, this will allow
steering by compass with the desired
course adjustable from the remote
station.
REMOTE POWER STEER
Mode: “ r *** ”
With a hand remote, panel remote,
steering lever or steering wheel
station installed, this will allow control
of rudder position from the remote
station.
POWER ON/OFF
The power to the C-Drive motor
control unit should be via a suitable
circuit breaker. Turning this on will
provide power for the C-Drive unit
and the AP56 Display Head.

7 of 2201/08/2020
Initial Settings
Selecting the Initial settings of the
Autopilot:
A number of system settings may
need to be carried out prior to
using the AP56 Autopilot. Two initial
settings can be carried out using
the display controls; other settings
include special remote mode or
C-Drive parameters which are set
using a computer with Hyperterm
(or another type of COMS Terminal)
program.
The display adjusted settings are:
• Rudder Limits
• Compass Calibration
Rudder Limit Set
The rudder limits prevent the steering
motor driving the rudder beyond its
physical (mechanical) stops. The
limits are factory set to 30º and
should not need changing. However,
the limit setting can be set from the
display if deemed necessary.
Setting limits:
• Move the rudder to the required
port limit position
• Press MODE button ve times
• Display will read PL - - (- - is the
port rudder angle º )
• Press ◄ and ► buttons together
• Port limit is now set
• Move rudder to the required
starboard limit position
• Press MODE button
• Display will read SL - - (- - is the
starboard rudder angle º )
• Press ◄ and ► buttons together
• Starboard limit is now set
• Press AUTO
• Display should now revert to read
heading (H***)
NOTE:
• If “oor” (out of range) is displayed,
it indicates the rudder is not in the
correct position to set the rudder
limit. ie: Rudder is to port when
setting the Starboard limit.
• If at any time during testing the
motor runs under load and the
rudder does not move, checks
should be carried out to conrm the
limit switches are operating prior to
the rudder running into the stops.

8 of 22 TMQ AP56 - SS37
Rudder Limit Reset
It is possible to reset the rudder limits
to the factory settings if unsure of
the settings when adjustments are
carried out.
To reset rudder limit to factory
default:
• Press the MODE button seven
times
• Display will read r L r
• Press ◄ and ► buttons together
• Rudder limits are now reset to
factory default setting
Compass Calibration
The standard TMQ compass
(COMMAG or E-Compass) supplied
as part of the AP56 autopilot system
has been calibrated after manufacture
and this calibration will be satisfactory
for most installations. If you have a
steel vessel, or some other factor
which causes the compass to perform
poorly, the calibration procedure will
adjust compass characteristics to
compensate.
NOTE: The calibration should only be
done if the compass is known to be
inaccurate when compared to a chart
bearing.
If the AP56 compass heading
displays a constant oset when
compared to a correctly calibrated
ships compass (eg: the autopilot
compass reads 3 degrees high on all
headings), simply rotate the compass
sensor to align the displayed
headings with the ships compass.
In this case it is not necessary to
re-calibrate the compass as
described below.
If the AP56 has inconsistent variation
on dierent headings, the following
calibration procedure can be carried
out. This procedure should only be
done in calm waters with adequate
sea room. AUTO mode must not be
selected to carry out the calibration.
To calibrate compass:
• Press MODE button eight times
• Display will read CCAL
• Press ◄ and ► together to start
calibration
• Display will read StrC
• Commence turning the boat slowly
in one direction for two full circles
(720º). Each circle should take a
minimum of 1 minute.
• On completion of the turns press
◄ and ► together to store the
calibration.
• Display will revert to read heading
• Check the compass alignment by
steering boat due north 000º by
boat’s compass
• Rotate autopilot compass (if
necessary) so that display also
reads 000
NOTE: The eectiveness of the
compass calibration is dependent upon
all steps being completed. Should you
wish to abort the calibration procedure
at any time during the process, simply
press MODE button to return the pilot
to MANUAL.

9 of 2201/08/2020
It is important to realise that on any
vessel the ship’s compass can have
heading errors as a result of the
vessel’s magnetic signature. These
errors can be minimised by having
the ship’s compass swung and
compensated by a licensed compass
adjuster. In any case it is highly
unlikely that the ship’s compass and
autopilot compass will be congruent
for every heading.
If you are unsure of the success of
the calibration, you may return to the
factory calibration setting by doing the
following:
Auto must not be selected to reset
the compass calibration.
To reset calibration to factory
default:
• Press MODE button nine times
• Display will read rStC
• Press ◄ and ► together to reset
calibration to factory setting
Heading Sensitivity
The heading sensitivity adjusts the
angle the boat is allowed to move o
course before the autopilot reacts to
correct. This is sometimes referred to
as dead band.
A low sensitivity value will cause
the drive to operate with minimum
pulsing to position the rudder position
and the autopilot system may work
continuously (hunt).
A high sensitivity value the drive will
position the rudder with maximum
pulsing. The vessel’s course will
wander slightly.
To adjust sensitivity:
• Press MODE button
• Display will read S * * - present
setting (**) will be between
1 and 10
• Press ► to increase setting
• Press ◄ to decrease setting
• Display will revert to heading after
3 seconds has elapsed
Rudder Ratio
The rudder ratio varies the amount
of rudder angle which can be applied
for a given course error. This is
sometimes referred to as rudder
response.
A low rudder setting which is too low
will cause the boat to track in a slow
“ S ” motion, ie: understeer through
too little rudder applied.
When the rudder setting is too high,
vessel track will be a rapid “ S ” ie:
oversteer through too much rudder
applied.
To adjust rudder ratio:
• Press MODE button twice
• Display will read r * * - present
setting (**) will be between
1 and 10
• Press ► to increase setting
• Press ◄ to decrease setting
• Display will revert to heading after
3 seconds has elapsed.

10 of 22 TMQ AP56 - SS37
Operation of Autopilot
Manual Mode
• Display reads “H***”, *** being the
current magnetic heading
• Drive unit is disengaged,
• No steering control is generated.
Possible alarms:
• No C-Drive alarm “ n r d “
Auto Mode
IMPORTANT!
Before entering AUTO mode, rudder
should be in the centre position (i.e.:
the vessel is steering approximately
straight ahead). If not done, the
course steered will be dierent to
what is displayed.
The AP56 Autopilot will select the
position of the rudder when AUTO is
selected as the position of the rudder
to allow the vessel to steer straight
ahead. This can be an advantage in
most vessels when a slight amount
of helm from the physical centre
position is required for the vessel to
go straight.
Engage AUTO Mode:
• Press the AUTO button
• Beep will sound
• AUTO LED will light
• Autopilot locks on to current
heading
• Display reads “A***” – course to
steer
Disengage AUTO mode:
• Press the AUTO button
• Beep will sound
• AUTO LED goes o
• Boat is steered by hand (helm)
Course Adjustment in Auto:
• Press ◄ button
• Course will alter by 1º port
• Press ► button
• Course will alter by 1º starboard
• Display will indicate new course to
steer
• Press and hold pressed ◄
• Course will alter by 10º increments
to port
• Press and hold pressed ►
• Course will alter by 10º increments
to starboard
• Display will indicate new course to
steer on completion
Possible alarms:
• No C-Drive data
• Display reads n r d
• O course – by more than 045º
• Alarm sounds and LED ashes
Power Steer Mode
The rudder angle may be controlled
by the buttons ◄ and ► on the AP56
panel or from one of the remote
steering stations.

11 of 2201/08/2020
For engaging this mode, when in
MANUAL mode press the buttons
AUTO and MODE at the same time.
Once in power steer mode, press ◄
for moving the vessel to port, or
► for moving to starboard.
GPS Mode – Waypoint Steering
Because there are a great variety
of GPS units that will work with this
autopilot, the following is a guide only.
For more information, consult your
GPS manual.
Setting up your GPS unit:
The GPS unit must be set up to
output NMEA 0183 and programmed
to navigate to a waypoint, or to follow
a line joining two or more waypoints
(called a route). The output data
generated must include at least one
of the following sentences:
(i) APA
(ii) APB
(iii) BOD and XTE
NOTE: If only the XTE data sentence
is available, the pilot can steer in a
restricted manner only.
The AP56 will be able to steer from
each waypoint to the next without
intervention under the following
conditions:
(i) several waypoints are linked
together into a single route,
(ii) the GPS unit is set and capable
of “auto-sequence” between
them,
(iii) an “arrival zone” of more than
0.05 NM (Nautical Miles) is set so
that the GPS can detect when the
vessel has reached a waypoint,
If only the XTE information is
available from your GPS unit, then
your vessel must be on track, and
heading in the correct direction,
before engaging the GPS unit.
The “auto sequence” feature is not
available in this instance.
Remember:
Prior to engaging GPS mode, a route
or destination must be programmed
and selected in the GPS for the
Autopilot to follow.
Engage GPS Mode:
• Press AUTO Button
• Then press the MODE and AUTO
buttons together
• GPS and AUTO LED’s will light
• Beep will sound
• Display reads course to steer (BTW
as displayed by GPS)
• Boat will turn (if necessary) to take
up new course

12 of 22 TMQ AP56 - SS37
Disengage GPS Mode:
• Press AUTO
• Beep will sound
• AUTO & GPS LED’s will be o
• Display reads magnetic heading
(H *** )
• Boat is steered by helm
Possible alarm:
• No GPS data
When GPS mode is selected boat will
turn to take up new course at a rate
of 10º / second
If no GPS data is received by the
AP56, the autopilot will lock onto the
course of the vessel at the time that
GPS Mode was engaged, and the
“NO GPS DATA” alarm will function.
Both AUTO and GPS LED’s will ash.
Backlighting
The backlight may be switched on
to provide the LCD display with a
back lit screen for night viewing or
switched o for day time viewing.
To switch back light on or o:
• Press MODE button four times
• Display will read LitE
• Press ◄ and ►together to turn
light on
• Press ◄ and ►together to turn
light o again
• Press AUTO button to return
display to read heading
Rudder Angle Indicator
The display may be used to show
rudder angle when in MANUAL or
AUTO modes.
To view rudder angle:
• Press MODE button three times lay
the rudder position in numeric value
Port or Starboard
• Display will read either Pt ** or
St ** where ** is the angle of rudder
in degrees. If the rudder was
centred, the display would read 00
To exit rudder angle display:
• Press MODE or AUTO button
Remote Operation
The AP56 autopilot can use the
following remote control devices:
• Hand remote
• Active remote
• Steering lever
• Electric helm
These devices are connected directly
to the C-Drive amplier via the
REMOTE 1&2 socket or REMOTE 3
socket.
NOTE: Special remote modes have
to be selected in the C-Drive amplier
in order to use some of the remote
control devices. Refer to the C-Drive
manual for more information.

13 of 2201/08/2020
Display indication for remote auto
control:
• AUTO selected by remote control
• AUTO and REM LED’s on main
display will be lit
• Autopilot is under autopilot control
• Display reads course to steer
• Course changes can be made by
remote control
To revert to main control:
• Press AUTO on main display to
assume main control
• Autopilot is in AUTO control
• Boat is under autopilot control
• Press AUTO again to revert to
MANUAL control
• AUTO LED will now be o on main
display
• Display shows magnetic heading
(H ***)
Display indication for remote
power steer control:
• Select POWER STEER by remote
control
• PWR and REM LED’s on main
display will be lit
• Display reads boat heading
• Boat is under remote power steer
control
• Course changes are made by
remote control
To revert to main display control:
• Press AUTO on main control
• AUTO LED will be lit on main
control
• Boat is under autopilot control
• Press AUTO again to revert to
MANUAL
• AUTO LED will now be o on main
display
• Display shows magnetic heading
(H *** )
Where a steering lever or electric
helm is used, remote power steer is
the only selectable function.

14 of 22 TMQ AP56 - SS37
Alarms
There are several alarms associated
with the autopilot system which are
a function of and controlled by the
C-drive amplier. However the display
is the medium through which these
alarms are heard and displayed.
O Course
In AUTO mode the o course will
activate when the boat is more than
45º o the required course.
• Audible alarm will sound
• AUTO LED will ash
When the boat heading comes back
within 45º of the course heading the
alarm will deactivate.
No GPS Data
This alarm is activated when the
autopilot is not receiving valid
information while in GPS mode. This
could be caused by:
• Incorrect wiring of the GPS to the
C-Drive unit.
• Incorrect data output (wrong
sentence) from the GPS unit.
• No route set up or selected in the
GPS unit
• No location x at the GPS unit.
The course over ground information
generated by the GPS unit should
closely correspond to the magnetic
heading signal the AP56 is receiving
from its magnetic compass. The
greater the dierence between these
headings, the less accurate will be
the GPS Mode steering.
Two areas which should be
carefully checked are:
• Ensure the GPS unit has the
correct magnetic correction factor
• Ensure that the AP56 compass is
correctly installed, aligned, and not
subject to magnetic interference.
When the pilot is in waypoint steering
mode (AUTO / GPS) and the No GPS
data alarm is activated:
• Audible alarm will sound
• AUTO LED will ash
• GPS LED will ash
• Press AUTO to stop the alarm and
revert to normal autopilot steering
No MCU
This alarm is activated when the
display unit does not receive
communication data from the C-Drive
assembly.
• Audible alarm will sound rapidly
• Display will scroll nrdacross the
screen
• Check that all plugs are secure and
the interconnecting cable is not
damaged.

15 of 2201/08/2020
No Heading Data
The autopilot C-Drive amplier is
able to accept NMEA heading data
form an external device (e.g.: NMEA
heading from a GPS compass). This
data can arrive directly to C- Drive
connecting the external device to
C-Drive, or via AP56. For receiving
NMEA data via AP56, the external
device has to be attached to the
AP56, and the AP56 will forward the
incoming data automatically to its
other port, which is connected to
C- Drive.
When in AUTO mode if the data
stream to the C-Drive is interrupted,
the alarm is activated.
• Audible alarm will sound
• AUTO LED will ash
• Alarm can only be silenced by
switching autopilot system o

16 of 22 TMQ AP56 - SS37
Installation
Main Display Unit
Position:
The Display Unit is water resistant but
not waterproof.
• Select a dry position with access to
the steering position
• Ensure this position is not aected
by water
• Cut a 75mm diameter hole (2.5
inches) in the panel where the
display is to be mounted
• Mount display and fasten with
four corner screws, DO NOT over
tighten screws as this may damage
the display
• Route display cable to C-Drive
amplier
• Connect cable to NMEA socket on
C-drive
• For feeding C-Drive with NMEA
data via AP56 head, connect an
external device which provides
this data, such as an electronic
compass, to the other available
connector of AP56 head. Does
not matter to which connector the
C- Drive and the external NMEA
device are connected to.
NOTE: When routing cable keep
as far away as possible from radio
aerial and aerial cables to prevent
interference to the autopilot. Cables
should also be kept clear of heavy
current carrying cables.
Second Station Display Unit
It is important to note that displays
are connected in series (daisy chain)
format.
Connect the displays in series
choosing one of the two connectors
in each one.
The remaining connector of one
of them must be connected to the
NMEA port of C-Drive, then, the
remaining connector of the other
head can be connected to an NMEA
data device, such as a GPS, or a
electronic compass.
The data provided by this last device
will be forwarded to C-Drive module
via the AP56 heads.
AP56 Display Connections
NOTE: Both connector sockets of
the AP56 have the same functions,
i.e., the power supply and the
communication pins.
Once a power supply is connected
to one connector, it can’t be connect
another power supply to the other,
as the pins for the power are
connected internally between the two
connectors.

17 of 2201/08/2020
Connection to C-Drive Unit
AP56 socket Function Display Colour DIN Plug
GPS In + ......................... White Pin 1 White
GPS In – ........................ Green Pin 2 Green
Pin 1 ................. +10 V.............................................................. Pin 6 Red
Pin 2 ................. Negative .........................................................Pin 4 Blue
Pin 3 ................. Not connected
Pin 4 ................. TMQ Data Tx + ............................................ Pin 5 Yellow
Pin 5 ................. TMQ Data Rx + ............................................ Pin 3 Green
Pin 6 ................. Not connected
Connection to a NMEA Device
AP56 socket Function
Pin 1 +10 V
Pin 2 Negative
Pin 3 NMEA data Rx –
Pin 4 NMEA data Tx +
Pin 5 NMEA data Rx +
Pin 6 Not connected

18 of 22 TMQ AP56 - SS37
Declaration of
Conformity
(MANUFACTURERS
DECLARATION)
Manufacturer: TMQ Electronics
PO BOX 3348
Tingalpa, QLD 4173
Australia
Tel: +61 7 3640 5600
Fax: +61 7 3640 5699
Declares under our sole responsibility
that the products:
AP47 Display, Rudder Feedback Unit,
Compass, all units interconnected
with necessary cables and external
connections as a system to which this
declaration relates, is in conformity
with Standard(s):
EN60945/1997
CEI IEC945/1996
For TMQ International Pty. Ltd.
Murarrie Queensland Australia.
1st August 2020
Dale Sinclair, Manager
Table of contents
Other TMQ Autopilot System manuals
Popular Autopilot System manuals by other brands
Dynon Avionics
Dynon Avionics EFIS-D100 Pilot's user guide
ComNav
ComNav 1500 Operation & installation instructions
Raymarine
Raymarine SmartPilot X-5 ST6002 Controller Quick reference guide
Raymarine
Raymarine SmartPilot S1000 installation guide
Garmin
Garmin GHP Compact Reactor Hydraulic installaiton instructions
Alphatron
Alphatron ALPHASEAPILOT MFC operating manual
