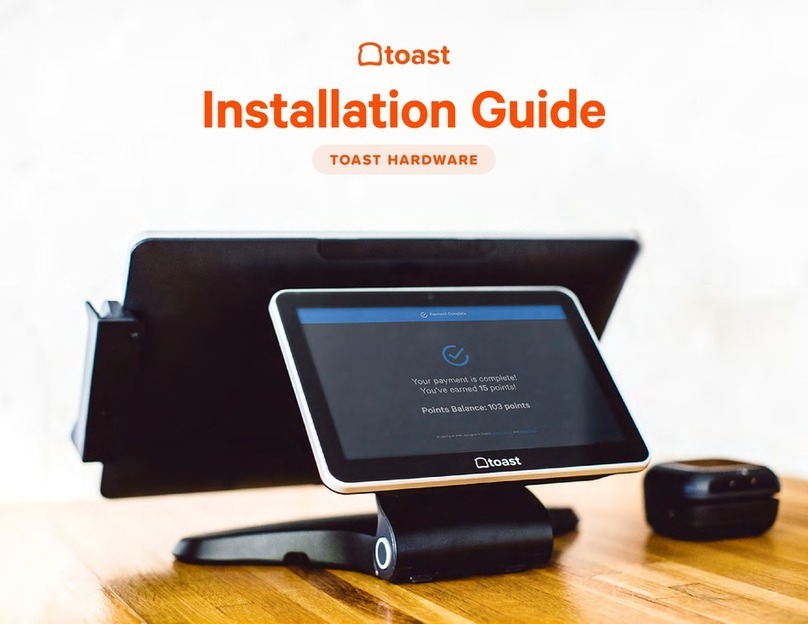
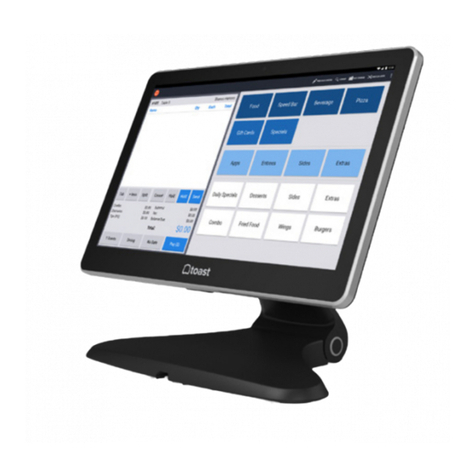
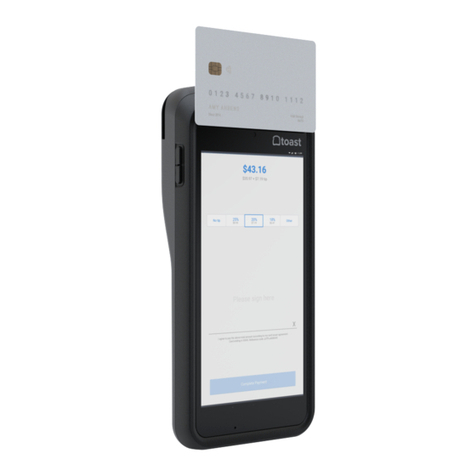
Toast Flex 22 User manual

Toast Flex 22"
User Guide

2
Toast Flex 22" User Guide
Built for
Restaurants.
Like all our hardware, we designed the Toast Flex 22’’ to meet the demands of busy
restaurants, making it durable enough for everyday spills, grease, and heat. More to love?
The lightning fast processing speeds, intuitive layout, and sleek design – all thoughtfully
engineered by our team of restaurant experts to help you do what you do best. We hope
you’re as excited about this as we are.
Use this booklet to install your new hardware. With intuitive, simple packaging, color-
coded wiring, and easy step-by-step instructions, most people should be able to complete
installation in under 30 minutes. (We know you’ve got other things on your plate.) Of
course, if you need additional support, we’re here for you. Start by checking out the
additional resources on page 7.
→ Turn to page 8
Toast Flex 22” with mount
→ Turn to page 9
Toast Flex 22” with stand
Do this rst...
If you have existing POS hardware set up, unplug it and remove it.
Make sure your setup surface is cleared.
Wipe your surface with an alcohol wipe. (A clean restaurant is a
happy restaurant.)
Choose Your Bundle
You’ll follow the instructions for the hardware
bundle you purchased.

3
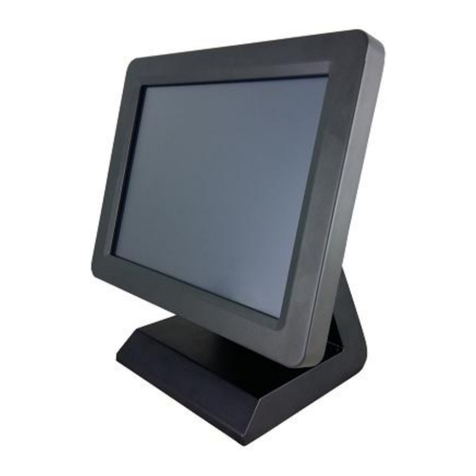
Meet the Toast Flex 22” (Your new hardest worker.)
LED Light
Front Camera
22” Display
FRONT VIEW
Speakers x 2
Back Cable Covers x 2
Power Button
Home Button
Ports for Card Readers x 4
BACK VIEW
Reset Button
VESA100 (100mm x 100mm)
Mount Pattern
Cable Exit

4
Toast Flex 22" User Guide
Pro tip: To protect your cables from potential liquid contact, make sure they are pushed all the way through the grommet notches and back covers are closed completely.
Connecting your cables
Step 1
Location and remove the back panels (A and B) to expose the back pockets,
as shown.
Step 2
Plug the USB-C power cable and the ethernet cable (optional) into the le
pocket.
1. Power & Ethernet
Cables
2. Grommet to Seal
the Pocket (Follow
Step 4)
3. Pocket for Cable
Management
LEFT POCKET
1
A
2
B
3
Tip for removal
Open the panels from
the top cutouts.

5
Step 3
Plug additional accessory cables into the right pocket as indicated (optional).
Step 4
Ensure that the cables are pushed all the way through the grommet notches,
as shown.
4. Accessory Cables
(Type C, HDMI,
Type A)
5. Grommet to Seal
the Pocket (Follow
Step 4)
6. Pocket for Cable
Management
RIGHT POCKET
4
5
6

6
Toast Flex 22" User Guide
Adapter LED
Connecting your cables (continued)
Step 5
Organize the cables at the exit of the lower pocket. Close the back cover
by inserting the tabs on the bottom into the corresponding notches. Hinge
upwards until the latches lock in place.
Step 5
Plug the power adapter into the wall unit and check LED status.
When the LED is GREEN, the adapter is providing power to your terminal and
you are ready to proceed. Turn on your terminal using the power button
located on the back.
When the LED is AMBER, the wall outlet is providing power to the adapter but
the adapter is not providing power to the terminal. Check the power cable at
the back of the terminal and make sure that it is securely plugged in.
When the LED is o, the adapter is not receiving adequate power from the
wall outlet. Check your wall power or use a dierent power outlet.

7
Extended manager and sta trainings on topics like menu
management, how to use Toast reporting, and more.
Multi-modality education: Choose from expert-led training programs, tutorial
videos, and live and on-demand webinars to get the content you need.
Knowledge checks and quizzes: Grow expertise across your entire team with
manager notications on knowledge checks, quizzes, and completed trainings.
Visit toasttab.com/classroom
Toast Classroom MANAGER & STAFF TRAING Toast Learn INDUSTRY RESOURCE
Your all-access pass to gold standard restaurant industry
knowledge.
On the Line: A one-stop shop for best practices, industry resources, and tips and
tricks for running your most successful restaurant.
Visit pos.toasttab.com/blog/on-the-line
Tools you can use: Level up your business with free tools: employee handbooks, tip
pooling calculators, and more. Visit pos.toasttab.com/resources
Visit pos.toasttab.com/blog
We’re behind you all the way.
Let’s get you set up for success.
Restaurant Success Team: With regular consultation calls, we’ll help you get the
most out of your technology, optimize your business workows, leverage your data
for growth, and provide customized insights and resources.
In-product tools: Step-by-step guides throughout your Toast account help you
unlock the full potential of our platform, without missing a beat.
Easy-to-nd, easy-to-follow educational resources and
help articles available 24/7.
Searchable, customized resources: Looking for something specic? Visit Toast
Central for searchable articles, product walkthrough videos, and information for
specic restaurant types.
Toast Release Menu: Stay in the know on product update details, feature
enhancements, and how-to guides with the Toast Release Menu.
Visit central.toasttab.com
Toast Central TOAST PRODUCT RESOURCE
Get the most from Toast Resources, education, and support at your ngertips 24/7
Need to talk to someone right away?
Toast Customer Care is available 24/7 to help or route you to the correct team at Toast. Login to your account at central.toasttab.com for chat support,
to submit a new ticket, and to view case updates, or call Customer Care: (617) 682-0225.

08
Toast Flex 22" User Guide
Set up your Toast Flex 22” with mount
Counter Mount Wall Mount Pole Mount Portrait Display
Please note: Toast will not drill holes for you. You will need to drill your own or have them pre-drilled in the desired location.
If you purchased a terminal with a mount, follow these
instructions for installation.
Before you get started, make sure there is easy access to a power outlet and
ethernet port within reach of your desired location. Scan QR code for mount video
instructions and more details.
https://toast.help/3B6XwsL

09
Set up your Toast Flex 22” with stand
A Toast Printer can be
purchsed separately on the
Toast Shop website
If you purchased a terminal with a stand, follow these
instructions for installation.
Before you get started, make sure there is easy access to a power outlet and
ethernet port within reach of your desired location. Scan QR code for stand video
instructions and more details
https://toast.help/3DgDFXs

10
Toast Flex 22" User Guide
Precautions
Warning:
• Please insert the AC plug into the AC outlet according to the identifying input on the power
adapter.
• It is prohibited to use the device in any places with potential explosive gases.
• Nonprofessionals should not open the power adapter to avoid danger.
• Adapter should be installed near the equipment and be easily accessible.
Instruction:
• Do not use the device near water or in a humid environment.
• Keep liquid from falling on the Toast Flex.
• Do not use the device in extremely cold or hot environments, or around an open ame.
• Do not smash, throw, or bend the device.
• Use the device in a clean and dust free environment as much as possible and keep small
items from falling into the Toast Flex.
• Avoid installing or using the device in open air during inclement weather as a risk for
lighting strikes may be present.
Important Safety Instructions
• In the rare event that overheating, a burning smell, or smoke are attributed to the device,
please immediately remove power to the device by unplugging it from the wall power
socket.
• The equipment must be properly grounded. The AC plug must be connected to a properly
wired and grounded outlet.
• There is risk of re or explosion if an incorrect replacement battery is used. Only qualied
technicians should replace the battery.
• Do not attempt to open the device to access any internal ports.
Statement
The device may not be modied in any way without Toast, Inc. (“Toast”)’s permission, and
use of the device must be in accordance with this user manual. Toast is not responsible for
the following scenarios, and such scenarios or any other misuse of the device may void any
warranty protections on the device:
• Damage caused to the device due to the use or maintenance of the device not in
accordance with the user manual.
• Damage or issues caused by the combination of the device with other equipment, soware
or products not supplied by Toast.
Discrepancies between the device and the user manual may occur due to product updates.
The company reserves the right and has the sole discretion to interpret and revise the user
manual at any time without prior notice.
Setting up Your Device
It only takes a few steps to turn on this Toast Flex. Press the power button and the screen will
light up. Follow the instructions shown on the start-up screen. Two internet access modes are
available for you to select.:
WLAN Settings
1. Press the [Setting] button and start WLAN to enter the WLAN search interface.
2. Search for the available WLAN hotspots.
3. Press the WLAN to be connected. If an encrypted network is selected, a password is
required for connection.
Product Name Toast Flex 22”
Model Name: TT500, TT501
Specications: Toast Flex
User Manual
Operation System Android 12
Processor Rockchip RK3399
LCD 22-inch, 1920 x 1080 resolution
Memory 16GB ROM + 4GB RAM
WIFI Dual-band WIFI, 802.11 a/b/g/n (2.4GHz/5GHz) supported
Bluetooth Bluetooth 4.0 BLE supported
Camera 5M FF MIPI Camera
Speaker 2 x 3W
External Ports 1 x RJ45 LAN port, 2x USB TypeC port, 1x HDMI-D port,
1x USB TypeA port, 4x Micro-USB port
Power Adapter Input: AC 100-240V/1.5A Output: DC 24 V/4.0 A, 96W
Operating Temperature 0°C to 50°C
Terminal Dimensions 524 mm x 319 mm x 32.9 mm (20.6” x 12.6” x 1.3”)

11
United Kingdom Statement of Compliance
Toast hereby declares that this radio equipment is in compliance with
the Radio Equipment Regulations 2017 and the Restriction of the Use of
Certain Hazardous Substances in Electrical and Electronic Equipment
Regulations 2012.
Any radio operation limitations within UK are identied in Appendix A of
UK Declaration of Conformity.
The full text of the UK Declaration of Conformity is available at: http://pos.toasttab.com.
UK Importer: Toasttab UK Limited
Address: 3rd Floor 1 Ashley Road, Altrincham, Cheshire, UK WA14 2DT
Notice
All users must observe any applicable national or local regulations in the location where
the device is used. This device may be restricted from use in some or all member states
of the European Union (EU). Adapters must be installed near the equipment and be easily
accessible. The device complies with radio frequency specications when the device is used
20cm from a user’s body.
FCC Regulations
This device complies with the limits for a Class B digital device, pursuant to Part 15 of the FCC
Rules, and operation of the device by the user is subject to the following two conditions: (1)
this device may not cause harmful radio frequency interference of other wireless devices, and
(2) this device must accept any interference received, including interference that may cause
undesired operation.
These limits are designed to provide reasonable protection against harmful interference in
a residential installation. This equipment generates, uses, and can radiate radio frequency
energy and, if not installed and used in accordance with the instructions, may cause harmful
interference to radio communications. However, there is no guarantee that interference
will not occur in a particular installation. If this equipment does cause harmful interference
to radio or television reception, which can be determined by turning the equipment o
and on, the user should try to correct the interference using one or more of the following
recommended remediation measures:
• Reorient or relocate the receiving antenna.
• Increase the separation between the equipment and receiver.
• Connect the equipment into an outlet or a circuit dierent from that to which the receiver
is connected.
• Consult the dealer or an experienced radio/TV technician for help.
To comply with radio frequency exposure requirements, the user must maintain a minimum
separation distance of 20cm from the POS terminal, including the antenna.
Caution: changes or modications not expressly approved by the party responsible for
compliance could void the user’s authority to operate the equipment in accordance with
applicable law.
Contains FCC ID: TLZ-CM390SM
IC Regulations
This device complies with Canada’s License Exempt Radio Apparatus laws, and operation
of the device by the user is authorized under the following conditions: (1) this device may
not cause radio frequency interference of other wireless devices, and (2) the user of this
device must accept any such interference caused, even if the interference is likely to aect
performance of the device. Le présent appareil est conforme aux CNR d’Industrie Canada
applicables aux appareils radio exempts de licence. L’exploitation est autorisée aux deux
conditions suivantes : (1) I’appareil ne doit pas produire de brouillage, et (2) I’utilisateur
de I’appareil doit accepter tout brouillage radioélectriquie subi, même si le brouillage est
susceptible d’en compromettre le fonctionnement.
Contains IC ID: 6100A-CM390SM
EU Regulatory Conformance
The manufacturer hereby declares that this device is in compliance with the essential
requirements and other relevant provisions of the Radio Equipment Directive 2014/53/ EU.
The description of accessories and components, including soware, which allow the radio
equipment to operate as intended, can be obtained in the full text of the EU declaration of
conformity at the following internet address: https://pos.toasttab.com.
BE BG CZ DK DE EE IE EL ES FR
HR IT CY LV LT LU HU MT NT AT
PL PT RO SI SK FI SE
Max, radio-frequency power
transmitted
BT 2402-2480 MHz: 6 dBm
BLE 2402-2480 MHz: 5 dBm
2.4G WIFI 2412-2472 MHz: 15 dBm
5G WIFI 5150-5725 MHz: 12 dBm

This manual suits for next models
2
Table of contents
Other Toast Touch Terminal manuals
