manuals.online logo
Brands
  1. Home
  2. •
  3. Brands
  4. •
  5. Tohnichi
  6. •
  7. Measuring Instrument
  8. •
  9. Tohnichi ATG User manual

Tohnichi ATG User manual



MODEL ATG・BTG(S)
OPERATING INSTRUCTION
お客様へ






To the User
In order to use the torque gauge properly
and safely, please read this instructions
before operation. If any questions, please
contact a Tohnichi authorized distributor
or Tohnichi office. Keep this operating
instruction for future use.
 

   
 
 
 
  
 
 
 
 

Warnings
Do's and Don'ts 
Proper use of torque gauge
External View
How to read graduations
Usage
How to use memory pointer
Option
Specications

1.   警告 1.   Warnings
● トルクの測定以外には使わない。


● 握り部に、油・グリス……等が付着し
ていないこと。


● 亀裂・傷・錆が発生してないか確認する。


● 高所での締め付け作業には使用しない。


● Do not use the gauge other than
torque measurements.
● Check the handle to make sure it
is free of oil, grease, dirt, or other
contaminants. A slip of the hand can
cause injury or improper tightening.
● Examine gauge for cracks, scratches,
rust, or other damage. These can
cause gauge failure and operator
injury.
● Do not drop the gauge. Damage to
gauge or injury may result.

2.   注意 2.   Do's And Don'ts
●メモリの最大トルク以上で使用しない。


● トルクゲージにピンの抜けや目盛板が
無い等、欠品があるものは使用しない。


● トルクゲージの改造はしない。


● トルクゲージを落下させたり、強い衝
撃を与えたりしない。



● トルクゲージの修理部品は東日指定部
品以外使用しない。




●
Don’t use the torque gauge beyond the
maximum torque setting. This will cause
damage or injury.
●
Do inspect the gauge before each use, and
ask a Tohnichi-authorized repair center to
inspect or repair it if any parts are missing or
damaged.
●
Don’t modify the gauge, or use a gauge that
has any modications except those approved
by Tohnichi. Other modications will weaken
the gauge, or cause inaccuracy, as well as
causing damage or possible injury.
●
Do take care to avoid shocks or jolts,
including dropping the gauge. Damage or
deformation may result, and accuracy and
durability will be reduced.
●
Do use only parts approved by Tohnichi for
repair and maintenance of the torque gauge.
Ask your place or purchase, an authorized
repair center, or contact Tohnichi for
assistance in obtaining parts or repairs.
3.   使用上の注意 3.  
Proper use of torque wrench
●
トルク単位を間違えないように確認する。

●
トルクゲージは水中や海中で使用しない。




● 定期点検を必ず受ける。

● 使用後は、ゴミ・ホコリ・ドロ・油・水分等
の汚れを取り除いて保管して下さい。


● 破断試験等でご使用になる場合には、
最大トルクの半分のトルクで測定して
ください。
● Make sure that the proper measurement
unit (kgf.cm, kgf.m, NM, lbf.in, etc) is used
in setting the gauge.
● Avoid submersion in water. Water will
cause damage to internal components
and ruin the gauge.
● Torque gauges are required periodical
inspection.
● Before using or storing the gauge, or
whenever necessary, remove all debris,
oil, water etc. Keeping the gauge clean
will prolong its life.
● Use the gauge within a half of maximum
torque value in the case of a breaking
test.

4. 各部の名称 4. External View
※ ATG045CN~ATG1.5CN(45ATG~
150ATG) はプッシュロックはつきません。
※
ATG045CN to ATG1.5CN, 45ATG to
150ATG and ATG06Z to ATG2.4Z
modeles have no Push Look.
B目盛
B Graduation
三 爪 チャック
3-Jaw Chuck
ホルダー
Holder
固定用溝
Groove for Instllation
C目盛
C Graduation 正面置針
Memory Pointer
側面置針
Memory Pointer
A目盛
A Graduation
プッシュロックボタン
Push Lock
φd
φD
φD1
ケース Case
L’
L1
5. 目盛の見方 5. How to read graduations
● トルクゲージを固定して測定する場合
󰴤 


󰴥 


● トルクゲージを回して測定する場合
󰴤 


󰴥 


● Measured object twisting method
1. For clockwise measurement, read the red numbered
graduations on the side and dial face. When using the side
graduation, read the red numbers on the B Graduation .
2. For counter-clockwise, read the green numbered on the
graduation on the side and dial face. When using the side
graduation, read the green numbers on the B Graduation.
● The gauge twisting method
1. For clockwise measurement read the red numbered
graduations on the side and dial face. When using the side
graduation, read the red numbers on the A Graduation .
2. For counter-clockwise, read the green numbered
graduation on the side and dial face. When using the side
graduation, read the green numbers on the A Graduation.
󱾁 󲐣󱢛󲗍
󱢛󲗍󰇒󲗍󲓦
󲗍󱀠
󲓨
󱾁 Calibration of torque gauge is performed
by the side scale, C graduation is
treatede as a subsidiary, and priority is
given to the side.
 

6. 使用方法 6. Usage
トルクゲージを固定して測定する場合
(写真①)
󰴤

󰴥


󰴦


󰴧

●
Measured object twisting method
(Refer to Picture 1)
1.
Fix the Gauge onto your own custom made
xture.
2.
Open 3-jaw chuck and insert the shaft of
the measured object into the chuck while
pushing the Push Lock.
3.
Tighten the chuck firmly to the central
position of the measured objective while
pushing the Push Lock.
4.
Twist the measured object in the measuring
direction.
󰴤Picture 1
󱾁 󰵟
󱢛
󲘳
󱾁 
󰅣
󰄹
󱾁
Unless a measured object is fixed to a
center, measurment of torque cannot be
performed correctly.
󱾁
Turning the case without pushing the
Push Lock may cause breakdown of the
gauge body by sending twisting force from
the case.
 
 
In the case of using an optional item 322.

6. 使用方法 6. Usage
トルクゲージを回して測定する場合
(写真②)
󰴤


󰴥


󰴦

● The gauge twisting method
(Refer to Picture 2)
1. Open 3-jaw chuck and insert the shaft
of the measured object into the chuck
while pushing the Push Lock.
2. Tighten the chuck rmly to the central
position of the measured objective while
pushing the Push Lock.
3. Twist the case in the measuring direction.
󰴥Picture 2








※ Keep the Push Lock held in during the
execution of the chucking procedure.
This creates a secure fit between the
holder and the case, as well as, makes
the chucking procedure easier.
※ If the diameter of the objects to be
tested is larger than the 3-jaw chuck, you
will have to use a custom made adapter
for the application. Refer to Fig.2.
 
A
B
D1
D2

    
     
     
 Fig.2

7. 置針の使用方法 7.
How to use memory pointer
側面の置針の場合






正面の置針の場合




 
  

● Memory pointer on the side.
For clockwise measurement move the
red marked side of the memory pointer
to the zero point of graduation. For
counter-clockwise move the green
marked side of the memory pointer to
the zero point of the graduation.
● Memory pointer on dial face (as option):
Turn the knob to move the memory
pointer so that it rests against either
the right side of the main hand for
clockwise measurement or to the left
side for counter-clockwise measurement.
※ Side memory pointer is standard
equipment, except for ATG045CN,
45ATGZ and ATG06Z.
“-S” models are with a memory pointer
on dial free.
8. オプション品 8. Option
● ATG チャック部分は、金属と樹脂が
あります。
●
Plastic Chuck for ATG models is optional.
ケース
Case
チャック
Chuck
部品番号
Parts No.
ケース
Case
チャック
Chuck
備考
Remarks
322 樹脂 Plastic 樹脂 Plastic -

  

Both of Case and Chuck are made from metal for the present (September 2005).

9. 仕様 9. Specications

MODEL
(S.I.)

CAPACITY  
DIMENSION 
MASS


MODEL


CAPACITY

Max-Min
 
Grad.

Max-Min
 
Grad.
      
    
     
  
         
       
         
         
       
       
  
     
 
   
       
     
      
     
       
  

  
  
  

※ Memory pointer on the side is standard,
except for ATG045CN and 45ATG.
※ Add “-S” to model for memory pointer
on dial face.
※ To hold an object rmly in the chuck,
the length should be 10mm or longer.
L
1
目盛板径 φD
1
G
5
1.5-0.02
0
d
o
l
e
m
C
.
1
MADE IN JAPAN
A
T
1  .0
1  .0
1  .5
0
N
1.2
0.8
0.6
0.4
0.2
1  .5
1.2
0.8
0.6
0.4
0.2
0
cN・m
0.2
0.4 0.4
0.2
0
cN・m
0.2
0.40.4
0.2
全長 L’
Overall Length
外径 φD’
Diameter
チャック可能径 φd
Chuck Grip
cN・m
 


10mm
以上

9. 仕様 9. Specications

MODEL
(American)

CAPACITY  
DIMENSION 
MASS


Max-Min  
Grad.

     

    
       
    
    
    
  
  
 
  
       
    
 
   
   
    
    
 
  
 


For torque inspecting, use Tohnichi torque gauge inspection equipment.

※ Shown with optional weigights.
 


  

※ Memory pointer on
the side is standard,
except for ATG06Z.
※ Add “-S” to model
for memory pointer
on dial face.




 
 




 

 

 


微小デジタルトルクメータに発展!
※オプションのテーブルアタッチメント
 と測定台を使用。
BTGE200CN
デジタルトルクゲージ ATGE
     

Digital Torque Gauge model ATGE-G
● 6 models cover torque capacities from
0.1cN・m to 20cN・m.

0120-1
ト ル ク
69-1
ト ー ニ チ
21
本社
 

株式会社 東日製作所
トルクのことならお気軽に、ご相談ください。
●営業所(ダイヤルイン)


● Overseas Dept.(Dial in)


●大阪営業所(トルクセンター大阪)
 

●名古屋営業所 (トルクセンター名古屋)
 

●広島営業所
 

■ TOHNICHI MFG.CO.,LTD.




●北関東営業所
  

●九州出張所

  

URL http://tohnichi. jp



 


 
 

   
   
    
 




 
    
    
  
  
  
 
ATGE-G features multiple units of measure through keypad setup.
(Not available to use in Japan)
    
               
              
              
              
              
            
            
    
測定方向
Direction

󱠆

This manual suits for next models

95

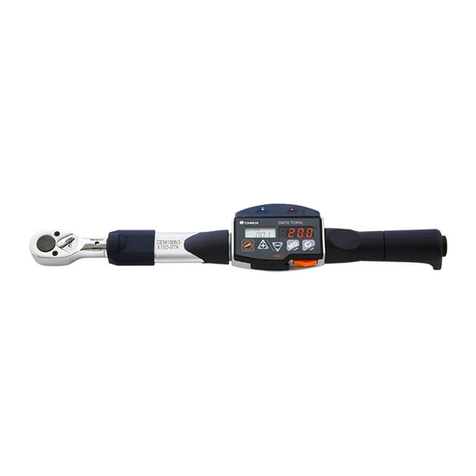
Other Tohnichi Measuring Instrument manuals

Tohnichi 5TM User manual

Tohnichi

Tohnichi 5TM User manual

Tohnichi CEM3-G-BTA Series User manual

Tohnichi

Tohnichi CEM3-G-BTA Series User manual

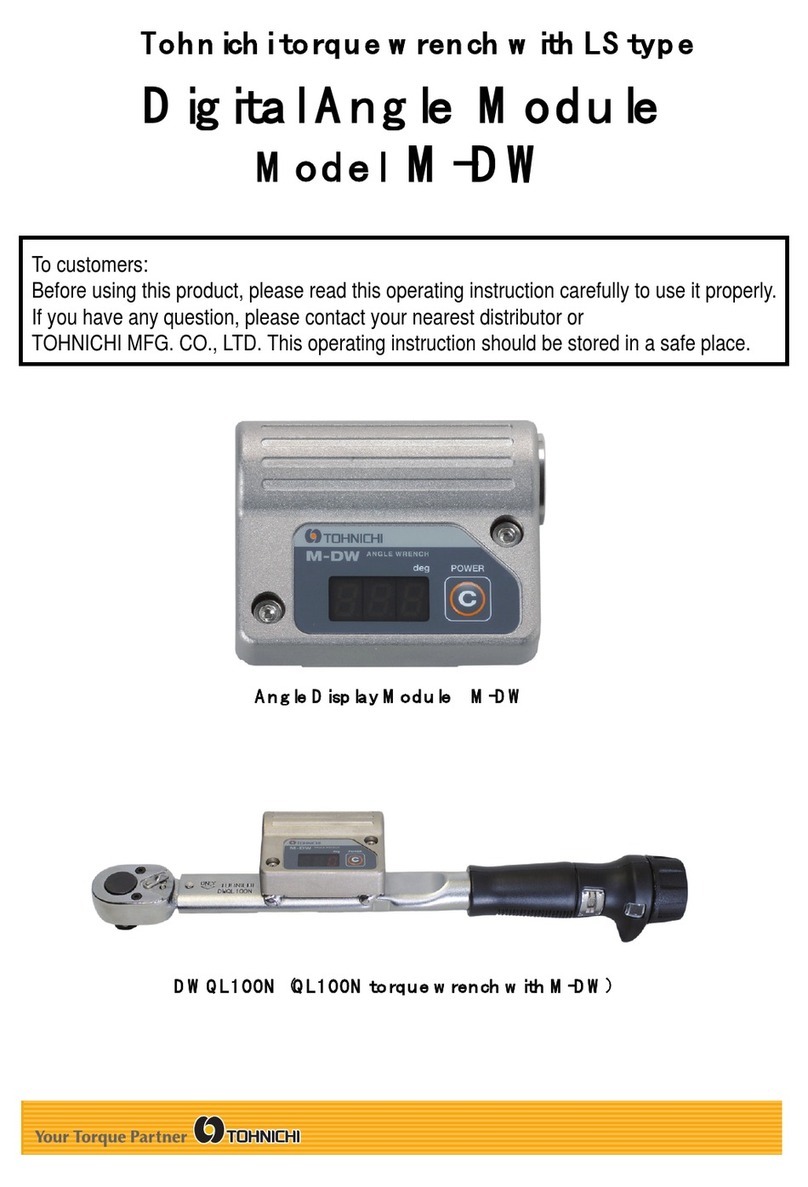
Tohnichi M-DW User manual

Tohnichi

Tohnichi M-DW User manual

Tohnichi ATGE-G User manual

Tohnichi

Tohnichi ATGE-G User manual

Tohnichi BTGE-G User manual

Tohnichi

Tohnichi BTGE-G User manual

Popular Measuring Instrument manuals by other brands
truflo ULTRAFLO 5000 operating manual

truflo

truflo ULTRAFLO 5000 operating manual

Seametrics iMAG 4700p instructions

Seametrics

Seametrics iMAG 4700p instructions

Mcube BioCon-500 user manual

Mcube

Mcube BioCon-500 user manual

IFR FM/AM-500 Maintenance manual

IFR

IFR FM/AM-500 Maintenance manual
Electro Industries/GaugeTech Shark 100T Installation and operation manual

Electro Industries/GaugeTech

Electro Industries/GaugeTech Shark 100T Installation and operation manual
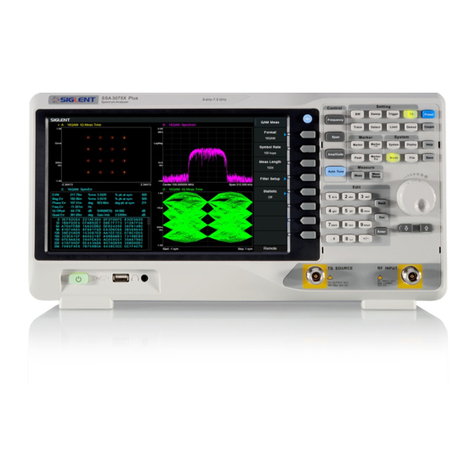
SIGLENT TECHNOLOGIES SSA3075X Plus user manual

SIGLENT TECHNOLOGIES

SIGLENT TECHNOLOGIES SSA3075X Plus user manual

Sequoia LISST-Infinite user manual

Sequoia

Sequoia LISST-Infinite user manual
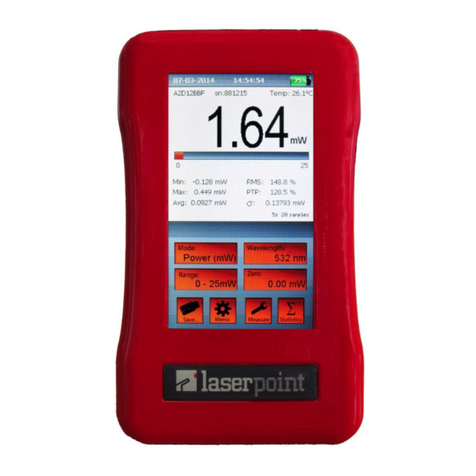
LaserPoint Plus 2 quick start guide

LaserPoint

LaserPoint Plus 2 quick start guide
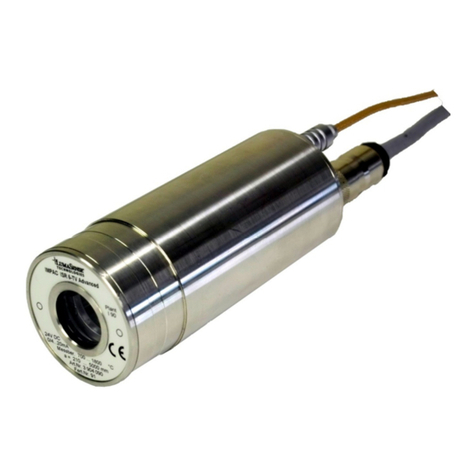
LumaSense technologies IS 6-TV Advanced manual
LumaSense technologies

LumaSense technologies IS 6-TV Advanced manual

Sirius Technologies ST501 user manual

Sirius Technologies

Sirius Technologies ST501 user manual

Stanley TLM65 Instrument Set-up

Stanley

Stanley TLM65 Instrument Set-up
Hanna Instruments HI 991401 user manual
Hanna Instruments

Hanna Instruments HI 991401 user manual

Keysight Technologies U1731C quick start guide

Keysight Technologies

Keysight Technologies U1731C quick start guide

GDS GASMAX CX Operation and maintenance manual
GDS

GDS GASMAX CX Operation and maintenance manual

ABB Sensyflow FMT400-VTS Commissioning instructions
ABB

ABB Sensyflow FMT400-VTS Commissioning instructions

C-LOGIC 5100 instruction manual

C-LOGIC

C-LOGIC 5100 instruction manual
Keysight NFA Series Performance Verification and Calibration Guide
Keysight

Keysight NFA Series Performance Verification and Calibration Guide

Chauvin Arnoux C.A 6609 user manual

Chauvin Arnoux

Chauvin Arnoux C.A 6609 user manual
manuals.online logo
manuals.online logoBrands
  • About & Mission
  • Contact us
  • Privacy Policy
  • Terms and Conditions

Copyright 2025 Manuals.Online. All Rights Reserved.