Tokenworks AgeVisor Touch User manual

AgeVisor ®
Touch™ ID Scanner
User’s Guide
AGE VERIFICATIONMACHINE
Contents of this Box
AgeVisor Touch ID Scanner
12V Power Supply
Users Manual

AgeVisor Touch User’s Guide Page 2 of 26
www.IDscanner.com www.IDscanner.us
www.IDVisor.com Rev 2.3 –May 27, 2020
Copyright
Copyright 2002 - 2020 TokenWorks, Inc. Printed in the USA
Information in this document is subject to change without notice. No part of this document may be reproduced or
transmitted in any form or by any means, electronic or mechanical, for any purpose, without the express wri tten
permission of TokenWorks, Inc.
www.TokenWorks.com (Company Web Site)
www.CardVisor.com, www.IDVisor.com, www.IDScanner.com (Product Web site)
TokenWorks®, CardVisor®, CardTool®, IDVisor®, IDVisor Pro®, IDVisor Smart®, and AgeVisor® are trademarks of
TokenWorks, Inc.

AgeVisor Touch User’s Guide Page 3 of 26
www.IDscanner.com www.IDscanner.us
www.IDVisor.com Rev 2.3 –May 27, 2020
Table of Contents
COPYRIGHT................................................................................................................................................................................................................................2
TABLE OF CONTENTS............................................................................................................................................................................................................3
1 INTRODUCTION.....................................................................................................................................................................................................................4
1.1DOCUMENTOVERVIEW.....................................................................................................................................................4
1.2SCANNER FEATURES.........................................................................................................................................................4
2 HOME SCREEN.......................................................................................................................................................................................................................5
2.1MAIN.................................................................................................................................................................................6
2.2SETTINGS...........................................................................................................................................................................7
2.3SCANNED DATA................................................................................................................................................................8
2.4HELP..................................................................................................................................................................................9
2.5PINCODE..........................................................................................................................................................................10
3 SETTINGS SCREEN .............................................................................................................................................................................................................11
3.1CONNECTION...................................................................................................................................................................12
3.2SCANNING PREFERENCES...............................................................................................................................................13
3.2.1ADVANCED SETTINGS-SCANNINGPREFERENCES .....................................................................................................14
3.3DATE AND TIME..............................................................................................................................................................15
3.4DISPLAY AND SOUND .....................................................................................................................................................16
3.5WIFI................................................................................................................................................................................17
3.6AGE THRESHOLD............................................................................................................................................................17
4 SETTINGS SCREEN .............................................................................................................................................................................................................18
4.1REPORTS -SCAN DATA...................................................................................................................................................18
4.2REPORTS -CUSTOMER DATA.........................................................................................................................................19
4.3SEARCH DATA ................................................................................................................................................................21
4.4DATABASE ......................................................................................................................................................................22
4.5 VIEWTAGGED CUSTOMERS..........................................................................................................................................23
4.6VIEW IMPORTEDTAG LIST.............................................................................................................................................24

AgeVisor Touch User’s Guide Page 4 of 26
www.IDscanner.com www.IDscanner.us
www.IDVisor.com Rev 2.3 –May 27, 2020
1 Introduction
This document will describe how to use the AgeVisor Touch scanner.
1.1 Document overview
This document is designed based on the form hierarchy of the application. Each chapter will begin with the top-level
form or screen and the sub paragraphs will be dedicated to the lower level forms that are accessible from the higher
form.
1.2 Scanner Features

AgeVisor Touch User’s Guide Page 5 of 26
www.IDscanner.com www.IDscanner.us
www.IDVisor.com Rev 2.3 –May 27, 2020
2 Home Screen
The Top Tabs allow navigation to the 4 main screens for the program.
The 4 tabs on the top will take you to the four main screens of the program. The Main screen will show the current
scan information. The Settings screen shows the different settings options. The Data screen allows you to view and
export customer and scan data. The Help screen allows access the help features of the program.

AgeVisor Touch User’s Guide Page 6 of 26
www.IDscanner.com www.IDscanner.us
www.IDVisor.com Rev 2.3 –May 27, 2020
2.1 Main
The Main tab is the landing point when the AgeVisor Touch application launches.
Below is a picture of the Main form after a scan, which displays a scanned card, and all the elements of the form:

AgeVisor Touch User’s Guide Page 7 of 26
www.IDscanner.com www.IDscanner.us
www.IDVisor.com Rev 2.3 –May 27, 2020
2.2 Settings
Tapping the Settings tab will display a screen of functions that are typically used by a system administrator. These
functions can be protected by pin-codes to keep settings and information secure. The unit comes with a default pin-
code of (5678) for the following functions: Connection, Scanning Preferences, Date and Time, Display and Sound,
WiFi, and Age Threshold.
The details of each of the buttons in the Settings menu are detailed in Chapter 3: Settings Screen.

AgeVisor Touch User’s Guide Page 8 of 26
www.IDscanner.com www.IDscanner.us
www.IDVisor.com Rev 2.3 –May 27, 2020
2.3 Scanned Data
Tapping the Data screen will display a list of options related to the data stored on the device.
The details of each of the buttons in the Data menu are detailed in Chapter 4: Data Screen.

AgeVisor Touch User’s Guide Page 9 of 26
www.IDscanner.com www.IDscanner.us
www.IDVisor.com Rev 2.3 –May 27, 2020
2.4 Help
Tapping the Help tab will display different options related to learning about the device and managing updates.
About –Shows the software Version installed and Serial Number of the unit.
User Guide –Displays an electronic pdf of the User Manual.
Check For Updates - Allows you to check for the latest updates.
NOTE: WiFi must be enabled to use this feature. Visit https://www.idscanner.us/general-support/how-to-connect-to-
wifi-on-agevisor-touch/ to learn how to connect your unit to WiFi.
Exit App –Allows you to exit the AgeVisor Touch application.
NOTE: Security Pincode is required to exit the application. See section 2.5 for more details.

AgeVisor Touch User’s Guide Page 10 of 26
www.IDscanner.com www.IDscanner.us
www.IDVisor.com Rev 2.3 –May 27, 2020
2.5 Pincode
Many features of AgeVisor Touch are protected by a pincode. When you attempt to access these features you will be
prompted with a popup window that asks for a password.
The default pincode is “5678”.

AgeVisor Touch User’s Guide Page 11 of 26
www.IDscanner.com www.IDscanner.us
www.IDVisor.com Rev 2.3 –May 27, 2020
3 Settings Screen
Settings Screen:
The Settings screen is used to initialize the device and set the parameters required to enable all the functionality.
The Connections button allows the device to connect with the built in scanners.
The Scanning Preferences button brings up a screen to enable or disable major functionality (age verification, anti pass back, Tag
feature).
The Date and Time allows the user to set the correct local date and time for the device. The system date and time has to be set
correctly in order to calculate the correct age of cardholders.
The Display and Sound button brings up options for controlling volume, brightness and themes for the device.
The WiFi button brings up options for connect to a local WiFi network. Generally, we recommend not connecting the device to
WiFi due to Windows Updates, but a connection is necessary in order to perform updates for AgeVisor Touch software.
The Age Threshold button allows the selection of the appropriate thresholds for age and the product category which the age
should apply to.

AgeVisor Touch User’s Guide Page 12 of 26
www.IDscanner.com www.IDscanner.us
www.IDVisor.com Rev 2.3 –May 27, 2020
3.1 Connection
The Connection button allows the Device to connect properly to the scanners. The Device should come with the scanners already
configured to connect automatically. However, if the device is not responding to the scanners, you can reconnect the scanners by
clicking on the Connection button.
Below is what the Scanner Connection Settings window should look like.
If you have a Magnetic Stripe Reader installed on your AgeVisor Touch, the MSR Magstripe enable box should be checked. You
may need to change the M260/MSR Port to match the correct port that the MSR is plugged into (commonly COM3 or COM4).
.
Ensure Automatic Port Open is selected. This will ensure your connection setting remain correct avoiding future issues.

AgeVisor Touch User’s Guide Page 13 of 26
www.IDscanner.com www.IDscanner.us
www.IDVisor.com Rev 2.3 –May 27, 2020
3.2 Scanning Preferences
The Scanning Preferences button allows you to adjust important settings at appear when you scan an ID.
AntiPassback Time –This will enable an alert to appear if an ID is scanned more than once during the set time.
Clear Screen –This will cause the scanned data to be cleared from the Main screen’s fields after the set time. Note: the
scanned data will still be saved to the database.
Enable Tagging –Allows you to apply tags to customers and have the tag appear when the customer is next scanned.
Disable the saving of all data –This function prevents data from being saved when an ID is scanned. AntiPassback, tagging
and raw data logging will stop functioning if this is enabled.
Enable Raw Data Logging –This creates a log of scans. This log is used for troubleshooting purposes.
M420 Sensitivity –This adjusts how well the barcode reader picks up movement.
Connect To Server –Allows you to send scans to the server, to sync multiple scanners. Require purchase of IDVisor Sync.
Display REALID status –This setting displays an icon in the top-right of the Main tab indicating whether the 2D barcode
is marked as being REAL ID compliant. Click “?” on screen for more details.

AgeVisor Touch User’s Guide Page 14 of 26
www.IDscanner.com www.IDscanner.us
www.IDVisor.com Rev 2.3 –May 27, 2020
3.2.1 Advanced Settings- Scanning Preferences
Limit Data Collection –This function allows you to disable saving of individual License field, like Address, DL number,
etc. If you disable certain fields, you will also disable features associated with them, e.g., disabling DL number will also
disable the anti-pass back feature. Only disable items if you understand and accept the consequences.
Allow Scan Navigation –When you enable this, navigation arrows will be added to the main form, allowing you to scroll
through the scan history
Allow Manual Entry –Allows you to manually enter customer information without having to scan an ID.
Simple Overlay –This creates window over the main form that only displays the age icons and calculated age. Click “What
is Simple Overlay?” for more information.
Enable USB Relay Connection –Allows you to control an external relay (purchased separately), that will generate a 5
second pulse to turn on an externally controlled appliance (lamp, door latch) when there is a scan that passes the primary age
threshold. Click “What is a USB Relay?” for more information.
Location Checking - allows you to upload a list of valid places. They can include any combination of Address, City, State,
or Zipcode. After an ID is scanned, an icon will be displayed indicating whether the location is on the list. If the location is
on the uploaded list, it is a “Good Location”. If the location is not on the uploaded list it is a “Bad Location”. Click “What
is Location Checking?” for more information on how to upload a location list.

AgeVisor Touch User’s Guide Page 15 of 26
www.IDscanner.com www.IDscanner.us
www.IDVisor.com Rev 2.3 –May 27, 2020
3.3 Date and Time
Set the Date and Time to ensure Age calculation will be correct.
If you set the time/date in the past, the application results will become unstable. Additionally, the calculated age of the
person will be incorrect. Always ensure the correct date/time is displayed in the lower left corner of the Main screen.

AgeVisor Touch User’s Guide Page 16 of 26
www.IDscanner.com www.IDscanner.us
www.IDVisor.com Rev 2.3 –May 27, 2020
3.4 Display and Sound
The Display and Sound button displays a window that allows the adjustment of the display and sound.
Volume: Allows the adjustment of the system volume.
Brightness: Allows adjustment of the screen’s brightness.
Themes: Allows selection of a theme that is appropriate to your business.

AgeVisor Touch User’s Guide Page 17 of 26
www.IDscanner.com www.IDscanner.us
www.IDVisor.com Rev 2.3 –May 27, 2020
3.5 WiFi
Visit https://www.idscanner.us/general-support/how-to-connect-to-wifi-on-agevisor-touch/ to learn how to connect
your unit to WiFi.
3.6 Age Threshold
The Age Threshold button allows you to select the minimum age requirement for the product type you select.
The Grandfather clause feature makes it so that the customer can have the age alerts work properly when states raise
the age limit for an age restricted product but grandfather's customers who were previously allowed to purchase the
product before the new law went into effect.
Visit - https://www.idscanner.us/general-support/how-to-set-grandfather-clause-on-the-agevisor-software/ for more information
on setting up the Grandfather clause feature.

AgeVisor Touch User’s Guide Page 18 of 26
www.IDscanner.com www.IDscanner.us
www.IDVisor.com Rev 2.3 –May 27, 2020
4 Settings Screen
4.1 Reports - Scan Data
The Reports –Scan Data button will display the scanned data stored on the Device.
Before the scanned data appears, you need to select a time range to view. After the time range is selected, press “View”. If you
would like to export the data from the device, press “Export”.
This will cause an options window appear, allowing you to choose how you want the scanned data to be exported, either to a file
on the Device or to an external USB drive.
The data will be exported as a .csv file that is readable in a spreadsheet program such as Microsoft Excel. The simplest way to get
this exported data off of the device is by plugging a USB Flash drive into one of the USB ports on the side of the Device and
selecting USB Drive. This will create a file on the USB drive called “Customer Scans.csv”.
Alternatively you can save the extracted data file to the device and pull the data off at a later time. This will require you to exit the
AgeVisor Touch application and use Windows File Explorer to navigate to C:\Tokenworks\ExportedData where the data will be
stored.

AgeVisor Touch User’s Guide Page 19 of 26
www.IDscanner.com www.IDscanner.us
www.IDVisor.com Rev 2.3 –May 27, 2020
4.2 Reports - Customer Data
The Reports - Customer Data button functions very similarly to the Reports –Scan Data button except the Customer Data is
displayed instead of the Scan Data.
You can view the customer data stored on the Device by selecting a time range to view.
After the time range is selected, press “View”. If you would like to export the data from the device, press “Export”. This will
cause an options window appear, allowing you to choose how you want the scanned data to be exported, either to a file on the
Device or to an external USB drive.
The data will be exported as a .csv file that is readable in a spreadsheet program such as Microsoft Excel. The simplest way to get
this exported data off of the device is by plugging a USB Flash drive into one of the USB ports on the side of the Device and
selecting USB Drive. This will create a file on the USB drive called “Customer.csv”.
Alternatively you can save the extracted data file to the device and pull the data off at a later time. This will require you to exit the
AgeVisor Touch application and use Windows File Explorer to navigate to C:\Tokenworks\ExportedData where the data will be
stored.

AgeVisor Touch User’s Guide Page 20 of 26
www.IDscanner.com www.IDscanner.us
www.IDVisor.com Rev 2.3 –May 27, 2020
You can view additional information about a customer by double clicking the row for the customer. Below is what the
additional information window looks like:
Table of contents
Other Tokenworks Scanner manuals
Tokenworks
Tokenworks CardVisor ID User manual
Tokenworks
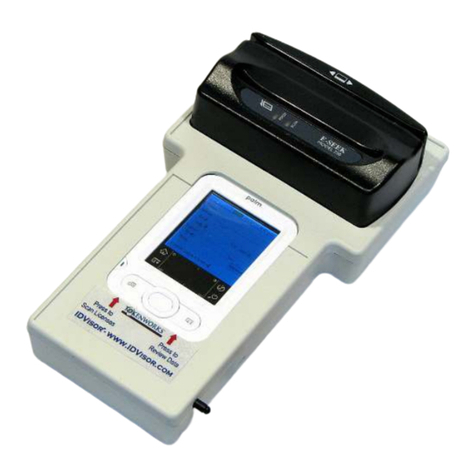
Tokenworks IDVisor Z22 CounterTop User manual
Tokenworks
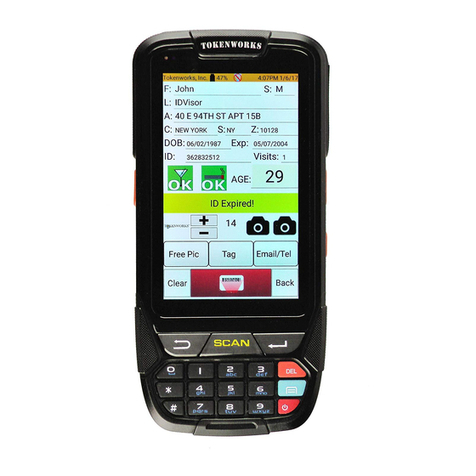
Tokenworks IDVisor Smart User manual
Tokenworks
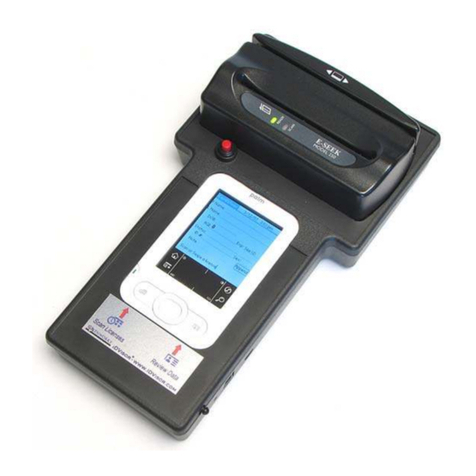
Tokenworks IDvisor Mobile User manual
Tokenworks
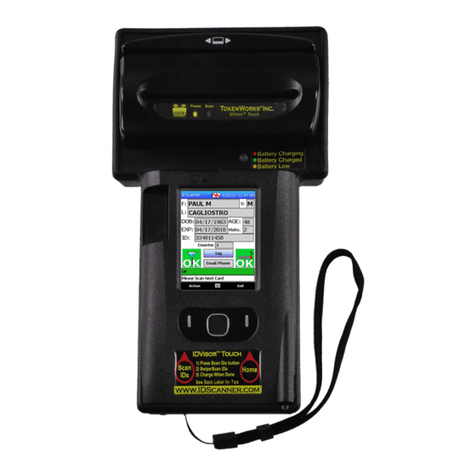
Tokenworks IDVisor Touch User manual
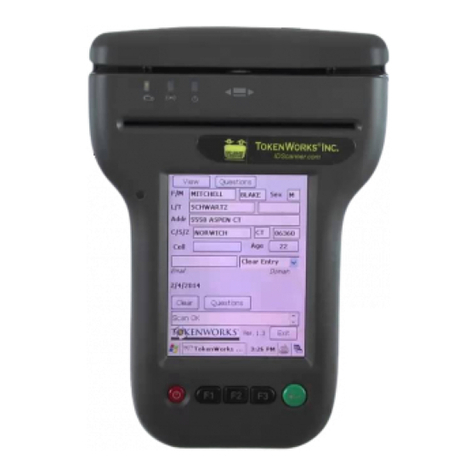
Tokenworks
Tokenworks IDVisor M310 User manual
Tokenworks
Tokenworks CardVisor ID Instructions for use
Tokenworks
Tokenworks CardVisor Instructions for use
Tokenworks
Tokenworks CardVisor User manual
