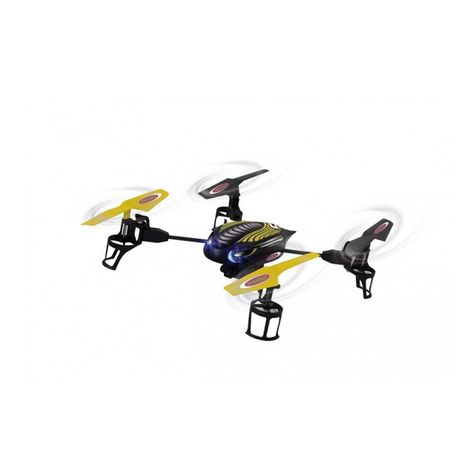
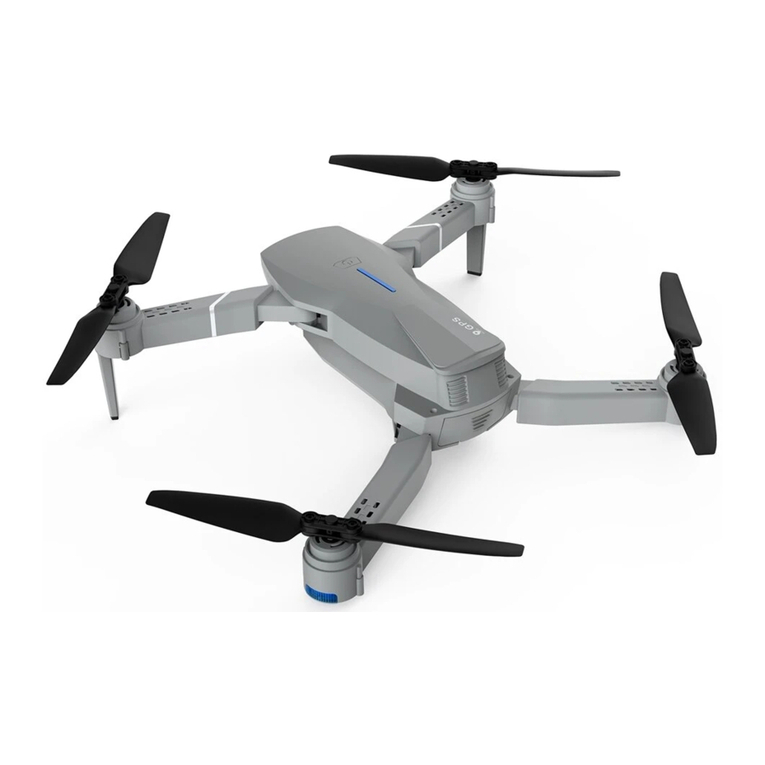
TOMZON A24 User manual

A24
User Manual • Uživatelský manuál •
Užívateľský manuál • Használati utasítás •
Benutzerhandbuch

2
English
3 –17
Čeština
18 –32
Slovenčina
33 –47
Magyar
48 –62
Deutsch
63 –77

3
Dear customer,
Thank you for purchasing our product. Please read the following instructions carefully
before first use and keep this user manual for future reference. Pay particular attention
to the safety instructions. If you have any questions or comments about the device,
please contact the customer line.
www.alza.co.uk/kontakt
✆+44 (0)203 514 4411
Importer Alza.cz a.s., Jankovcova 1522/53, Holešovice, 170 00 Praha 7, www.alza.cz
Safety Reminder
•It is forbidden to use all types of drones within a radius of 5000 metres from
centre point areas of airfield runways, in order to guarantee the electromagnetic
environment requirements of the aviation radio. No remote control and drone
shall be used when radio control instructions are issues by relevant state
authorities.
•Please use the drone indoors, or in a warm, sunny, and windless weather
outdoors. It is forbidden to use it in high temperature, low temperature, strong
wind, thunderstorm, and other bad weather conditions.
•Please keep a safe distance from people, pets, wires, and other obstacles when
using the drone indoors or outdoors and keep the drone within your line of sight
to avoid accidents.
•Once the drone is started, do not touch the parts such as high-speed gears and
propellers to avoid injury.

4
Product Description
Tip: The aircraft has two types of propellers (“A” and “B”), marked A and B. Please match
the Mark “A” or “B” while replacing the propellers.
Forward motor
(corresponding to propeller A)
Tilt motor
(corresponding to
propeller B)
Indicator light
Propeller A
Propeller B
Battery
Propeller A
Propeller B
Power switch

5
Remote Control
Tips: The drone supports two control modes: Mode 1 and Mode 2.
•Mode 1: Use the left joystick to make the drone fly up and down, rotate left and
right; use the right joystick to make the drone go up, down, left, and right.
•Mode 2: Use the left joystick to rotate to front, rear, left, and right; use the right
joystick to make the drone fly up, down, left, and right.
Note: Mode 1 is the default setting. Please press Speed switch button and turn on the
remote control to switch to Mode 2. Take Mode 1 for example to introduce the control
method of the drone.
Right joystick
WASD fine-tuning
Calibrate
Power
Left joystick
One buton takeoff /
landing
Speed switch
Headless mode
Emergency
stop
360° rotation
Battle mode
Orbit flight
Rotation

6
Battery
Battery Installation and Charging
First, place the battery in the drone and buckle it as shown in the picture below.
Then, recharge the battery as shown in the picture below. USB charger indicator turns
red during charging. Once charging is done, the charger indicator turns off.
Notes:
•Please use the original charger for charging. Do not use other chargers.
•Keep the battery away from high temperature, open fire, or electric heaters.
Otherwise, damage or explosion may occur.
•If the product has been idle for too long, please charge it once every two months
to keep the battery in active condition.
•Do not charge the battery on carpets, and other flammable items, in order to
avoid fire hazard.

7
Battery Installation of Remote Control
Open the battery cover of the remote control and install three AAA batteries (not
included in the package) as shown in the picture below.
Tips:
•Be sure that the batteries of the drone and remote control are fully charged
before flying. Otherwise, the drone cannot take off in low battery mode.
•It is not recommended to mix use of acid and alkaline batteries. Please take out
the batteries when drone is to be idle for too long.

8
Quick Start
Frequency Match
Long press the power button on the upper cover to turn on the drone, the indicator
flashes. Then place the drone on a horizontal ground.
Turn on the remote control, it will pair with the drone automatically. The pairing is
complete when the remote control beeps. At this time, the indicator lights of the remote
control and the drone are always on.
Calibration
Press the calibration button to start calibration. The indicator light flashes rapidly during
calibration and after the calibration is completed, the indicator light is always on.
When the drone falls, please calibrate it again. Don’t forget to place the drone on a
horizontal solid ground during calibration.

9
Takeoff and Landing
Method 1
As shown in the picture below, press the takeoff/landing button to take off. When the
drone is in the air, press the button again to make it land.
Method 2
As shown in the picture below, push both joysticks simultaneously to unlock the drone,
then push the left one upwards to takeoff. After the drone takes off, push the right one
downwards to land.
Emergency Stop
In case of emergency, press and hold the STOP button for one second, the drone stops
working and falls.
Tip: The motor should only be stopped in case of emergency to reduce the risk of
damage.
Unlock
Takeoff / Landing

10
Flight
In the following instructions, remote control Mode 1 is being used.
High Speed and Rotation
Use the left joystick to control the height and rotation of the drone during flight.
Front/Rear, Left/Right
Use the right joystick to control the left/right direction of the drone during flight.

11
Headless Mode
The drone flies at a fixed direction and does not change with the direction of the drone,
as shown in the picture below.
Tip: The default is head-on mode, please press Headless mode button to switch to
headless mode.
Fine-tuning
If the drone is tilted to a certain direction, instead of a stable state, press the fine-tuning
button after takeoff to the opposite flight direction to reach the stable mode.
Front
Front
Front
Front
Rear
Rear
Rear
Rear
Left
Left
Left
Left
Right
Right
Right
Right

12
Aerobic Flight
To perform a 3D rotation, first press the rotate button to enter the rotation mode and
the remote control beeps continuously. Then push the right joystick upwards and the
drone immediately rotates forward 360°.
Tip: To make the drone rotate in the other direction, push the right joystick to the other
direction in the second step.
Rotation Mode
As shown in the picture below, short press the rotation button to enable or disable the
rotation mode, and the remote control makes a beep sound. In this mode, the drone
rotates at a fixed speed.
Step 1
Step 2

13
Orbit Flight Mode
As shown in the picture blow, short press the orbit flight button to enable or disable the
orbit flight mode, and the remote control makes a beep sound. In this mode, the drone
flies along a circular orbit.
Tips:
•In this mode, only the up/down process of the drone can be controlled.
•The drone exits this mode automatically when you push the right joystick.
Battle Mode
Press the Battle mode button on the remote control to enter the battle mode. The drone
emits infrared waves, and the drone can fight in the air. Two or more drones can fight
each other.
Once the drone is it, it will shake, and its lights will flash while the remote control beeps.
After being hit four times, it will automatically land slowly. At this time, please recalibrate
it before taking off again.

14
Throw Takeoff
The drone can take off automatically after being thrown manually. Please connect the
drone to the remote control and calibrate it, then hold the drone in your hand and toss
it into the air, as shown in the picture blow.
Safety
Low Battery Alarm
When the voltage is lower than 3.5V, the indicator of the drone flashes slowly in red and
the remote control beeps, and the drone lands automatically when the battery runs out.
Be careful of the battery power during the flight.
Low Signal Alarm
When the drone loses connection with the remote control, it lands automatically and the
remote control beeps. Please make sure the drone is in your line of sight.

15
Specifications
Drone
Takeoff Weight
30g
Working Frequency
2.4G
Maximum Distance of the Remote Control
30 metres
Battery
3.7V 390mAh
Working Temperature
0-40°C
Remote Control
Working Frequency
2.4G
Battery of the Remote Control
3× AAA batteries

16
Warranty Conditions
A new product purchased in the Alza.cz sales network is guaranteed for 2 years. If you
need repair or other services during the warranty period, contact the product seller
directly, you must provide the original proof of purchase with the date of purchase.
The following are considered to be a conflict with the warranty conditions, for
which the claimed claim may not be recognized:
•Using the product for any purpose other than that for which the product is intended
or failing to follow the instructions for maintenance, operation, and service of the
product.
•Damage to the product by a natural disaster, the intervention of an unauthorized
person or mechanically through the fault of the buyer (e.g., during transport,
cleaning by inappropriate means, etc.).
•Natural wear and aging of consumables or components during use (such as
batteries, etc.).
•Exposure to adverse external influences, such as sunlight and other radiation or
electromagnetic fields, fluid intrusion, object intrusion, mains overvoltage,
electrostatic discharge voltage (including lightning), faulty supply or input voltage and
inappropriate polarity of this voltage, chemical processes such as used power
supplies, etc.
•If anyone has made modifications, modifications, alterations to the design or
adaptation to change or extend the functions of the product compared to the
purchased design or use of non-original components.

17
EU Declaration of Conformity
This equipment is in compliance with the essential requirements and other relevant
provisions of Directive 2014/53/EU and Directive 2011/65/EU amended (EU) 2015/863.
WEEE
This product must not be disposed of as normal household waste in accordance with
the EU Directive on Waste Electrical and Electronic Equipment (WEEE - 2012/19 / EU).
Instead, it shall be returned to the place of purchase or handed over to a public
collection point for the recyclable waste. By ensuring this product is disposed of
correctly, you will help prevent potential negative consequences for the environment
and human health, which could otherwise be caused by inappropriate waste handling of
this product. Contact your local authority or the nearest collection point for further
details. Improper disposal of this type of waste may result in fines in accordance with
national regulations.

18
Vážený zákazníku,
Děkujeme vám za zakoupení našeho produktu. Před prvním použitím si prosím pečlivě
přečtěte následující pokyny a uschovejte si tento návod k použití pro budoucí použití.
Zvláštní pozornost věnujte bezpečnostním pokynům. Pokud máte k přístroji jakékoli
dotazy nebo připomínky, obraťte se na zákaznickou linku.
www.alza.cz/kontakt
✆+420 225 340 111
Dovozce Alza.cz a.s., Jankovcova 1522/53, Holešovice, 170 00 Praha 7, www.alza.cz
Bezpečnostní připomenutí
•Je zakázáno používat všechny typy dronů v okruhu 5000 metrů od středových
bodů letištních drah, aby byly zajištěny požadavky na elektromagnetické
prostředí leteckého rádia. Dálkové ovládání a drony se nesmí používat, pokud
jsou vydány pokyny pro rádiové ovládání příslušnými státními orgány.
•Dron používejte v interiéru nebo za teplého, slunečného a bezvětrného počasí
venku. Je zakázáno jej používat při vysoké teplotě, nízké teplotě, silném větru,
bouřce a jiných špatných povětrnostních podmínkách.
•Při používání dronu v interiéru nebo exteriéru dodržujte bezpečnou vzdálenost
od lidí, domácích zvířat, drátů a jiných překážek a udržujte dron v zorném poli,
abyste předešli nehodám.
•Po spuštění dronu se nedotýkejte částí, jako jsou vysokorychlostní převody a
vrtule, aby nedošlo ke zranění.

19
Popis produktu
Tip: Letadlo má dva typy vrtulí ("A" a "B"), označené A a B. Při výměně vrtulí se řiďte
označením "A" nebo "B".
Motor vpřed
(odpovídá vrtuli A)
Naklápěcí motor
(odpovídá vrtuli B)
Kontrolka
Vrtule A
Vrtule B
Baterie
Vrtule A
Vrtule B
Vypínač napájení

20
Dálkové ovládání
Tipy: Dron podporuje dva režimy ovládání: Režim 1 a režim 2.
•Režim 1: Levý joystick slouží k tomu, aby dron letěl nahoru a dolů a otáčel se
doleva a doprava; pravý joystick slouží k tomu, aby dron letěl nahoru, dolů,
doleva a doprava.
•Režim 2: Levý joystick slouží k otáčení dopředu, dozadu, doleva a doprava; pravý
joystick slouží k letu dronu nahoru, dolů, doleva a doprava.
Poznámka: Režim 1 je výchozí nastavení. Pro přepnutí do režimu 2 stiskněte tlačítko
Speed switch a zapněte dálkové ovládání. Vezměte si pro představení způsobu ovládání
dronu například režim 1.
Pravý joystick
Jemné doladění WASD
Kalibrace
Zapínání
Levý joystick
Vzlet/přistání s
jedním tlačítkem
Přepínač rychlosti
Režim bez hlavy
Nouzové
zastavení
Otáčení o 360°
Bojový režim
Let na oběžnou dráhu
Rotace
Table of contents
Languages:
Other TOMZON Drone manuals
