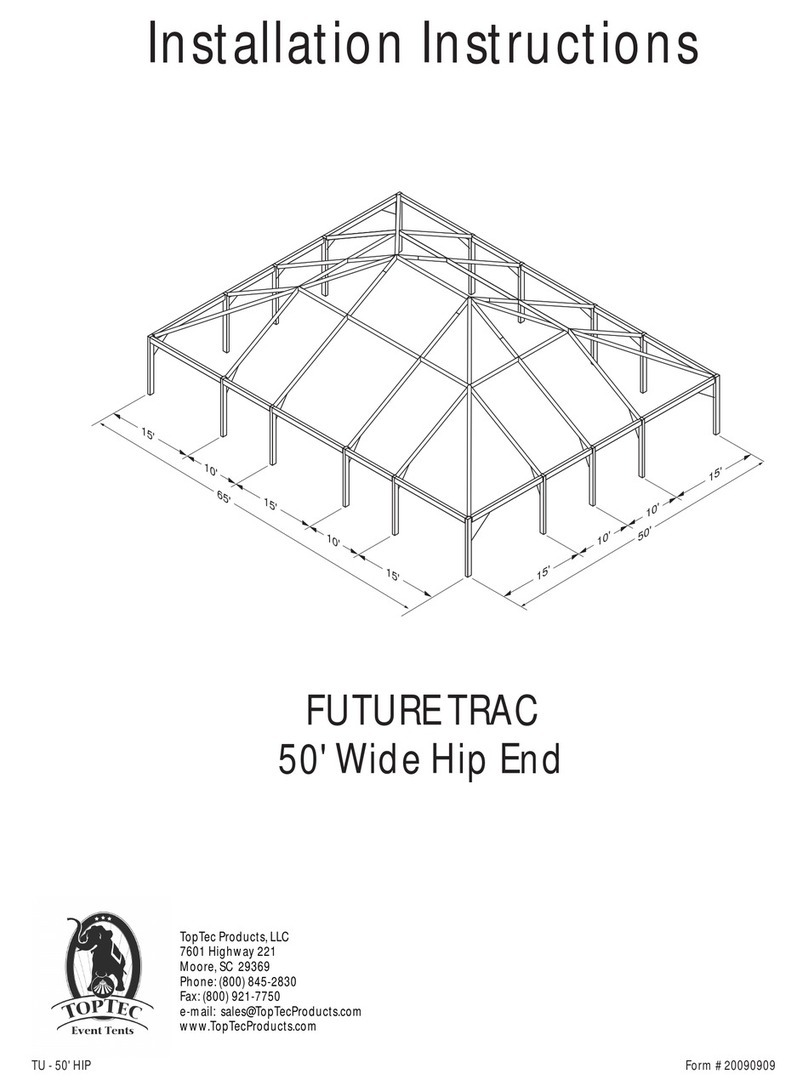
14' 1" 14' 1"
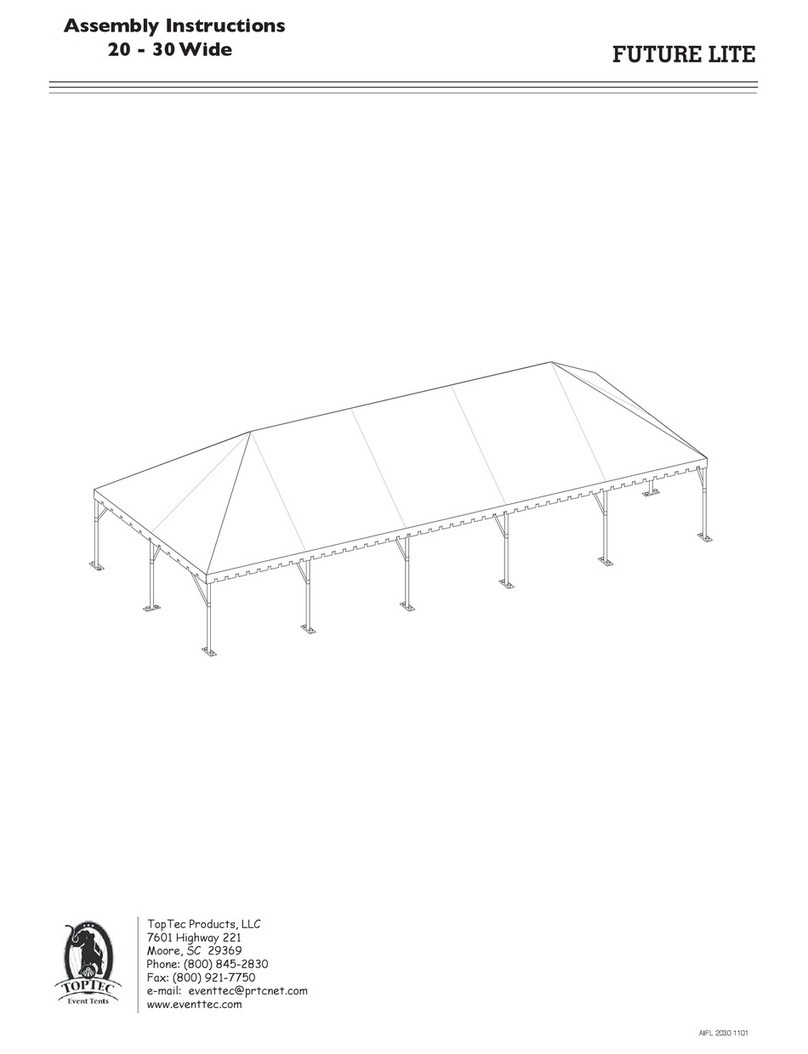
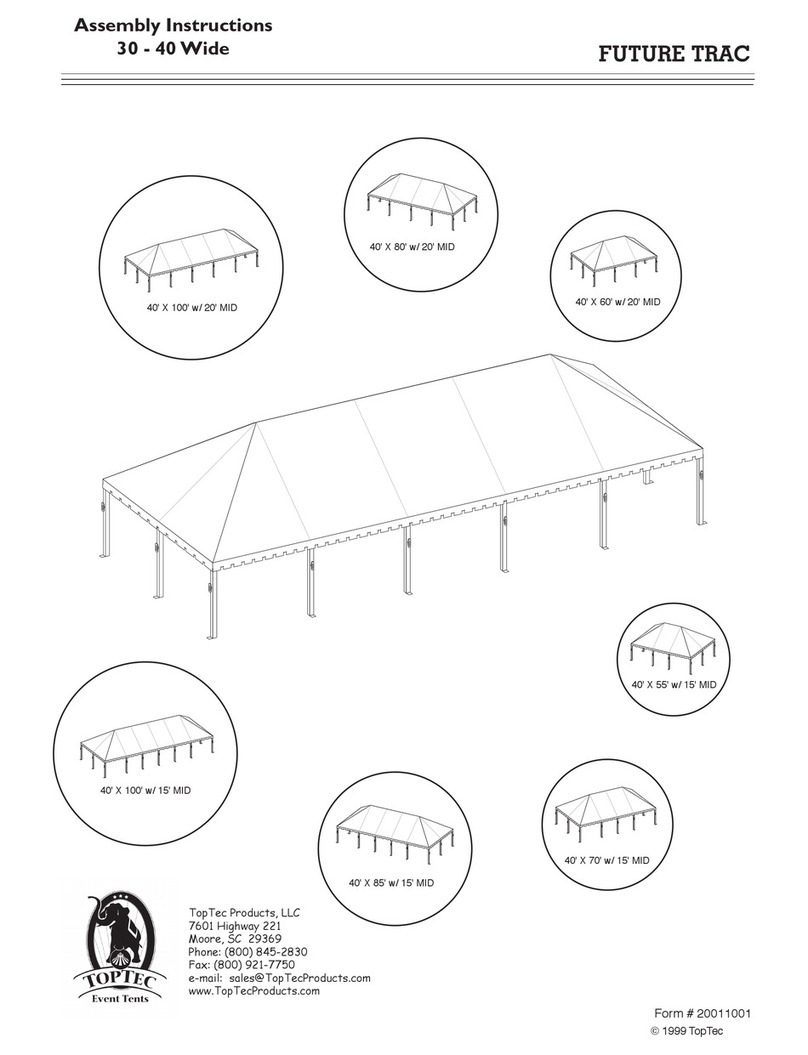
Upon completion the gable end frame should take on this configuration prior to leg installation. Assembly is similar to
the Future Trac assembly process in that the arch assembly is built first, using Keder rafters, crown clusters (gable
end), corner brackets (gable end), and roof tension cables. The only difference is the addition of a gable end upright
and special intermediate bracket. See the illustrations below for the assembly process.
A Gable Ended Tent consist's of the following components:
Perimeter P Yellow Dot
Blue/Green Dot
Perimeter P Yellow Dot (Cut at 650 for the gable end)
Gable E No Color (attaches perimeter to crown cluster)
Gable End Crown C Flat
Gable End C Left and Right Hand Brackets with flat side
Gable End Intermediate Bracket for attachment of the upright to the special perimeter poles
Gable End Leg Assembly - Special cut with 1" adjustment holes and adjustable base plate
Roof Tension Cables to provide strength to the gable end side of the tent
Roof Tension
Cable - Set
Gable End
Crown Cluster
Gable End
Corner Bracket
Gable End
Intermediate Bracket
Lay out all components for your job requirements. The assembly process involve the same techniques used in the
Future Trac or Future Lite assembly process. The following outlines the variations of this assembly process.
D-CLASP PIN
CABLE
D-CLASP PIN
Gable End
Upright
Attach the Keder rafters to the gable end crown cluster using
D-Clasp pins as shown. Using one set (two cables with an eye bolt) of
roof tension cables attach the gable end upright to the crown cluster
as show with the ny-lock nut to the outside as shown.
Gable End Instructions
