Tork EWZ201 User manual

MLI-212(B)

TABLE OF CONTENTS
egaPnoitpircseDnoitceS
Installation Instructions and
Capabilities . . . . . . . . . . . . . . . . . . . 1
1.0 Set Clock . . . . . . . . . . . . . . . . . . . . . . . 2
1.1 To Modify Clock
(After previously Set) . . . . . . . . . . . 2
2.0 Set Date . . . . . . . . . . . . . . . . . . . . . . . 2
2.1 To Modify Date
(After previously Set) . . . . . . . . . . . 3
3.0 Daylight Saving Time . . . . . . . . . . . . . 3
3.1 To Modify Daylight Saving Time . . . . . 4
4.0 Schedule Set Mode . . . . . . . . . . . . . . 4
4.1 Setting Hour, Minutes and Days . . . . . 5
5.0 To Set Astronomic . . . . . . . . . . . . . . . 5
5.1 Selecting Astro Days . . . . . . . . . . . . . 5
6.0 Astronomic ON and Time OFF . . . . . 6
6.1 Time ON and Astronomic OFF . . . . . 7
6.2 Delete Astronomic settings . . . . . . . . 7
7.0 Review, Modify, Delete Schedule . . . . 8
8.0 Manual Override . . . . . . . . . . . . . . . . 8
9.0 Update Status . . . . . . . . . . . . . . . . . . 8
10.0 Use as Momentary Unit . . . . . . . . . . . 9
11.0 Notes: Clear memory . . . . . . . . . . . . 9
Schedule Sheets . . . . . . . . . . . . . . . . . 11,12
Astronomic Latitude Zones . . . . . . . . 13

TORK MODEL EWZ201
2 CHANNEL 7 DAY DIGITAL TIME SWITCH
READ INSTRUCTIONS CAREFULLY BEFORE
ATTEMPTING TO INSTALL TIME SWITCH. SEE
WARNING ON FRONT PANEL – Failure to comply with
instructions could result in personal injury and/or proper-
ty damage.
INSTALLATION:
UNIT IS TO BE INSTALLED BY A LICENSED ELECTRICIAN
1. To remove unit from enclosure: Push the tab on right
to swing unit the left and remove.
2. Mount the enclosure at eye level using screws or
other suitable fastening device. Bring supply and load
wires in through or side knockouts. DO NOT USE
TOP.
3. Reinstall unit by reversing step #1 above and con-
necting wires to units as per suggested wiring dia-
grams. See illustration and warning on back page.
CAPABILITIES
- 7 Day scheduling.
- ON and OFF set points:
Total number of events: 20 per day / week.
- Minimum setting – 1 minute
- Field convertible from Maintained to Momentary
- Capable of different schedules each day of the week
- Astronomic Option. For automatic ON at sunset, OFF
at sunrise for outdoor lighting.
FEATURES
Daylight Saving Automatic (can be adjusted).
Leap Year Automatic compensation.
Display LCD
Manual Override Until the next schedule ON or OFF.
Automatic operation then resumes.
Power Outage Permanent schedule retention
Super capacitor maintains real time
up to 4 days.
1

PROGRAMMING YOUR EWZ 201
NOTE: AFTER MAKING ANY CHANGES TO THE
PROGRAM, PRESS MODE TO GO TO RUN MODE
AND THEN PRESS EVENT TO UPDATE THE
LOAD STATUS.
AT POWER UP:
Unit should be program with AC power. Do not pro-
gram under super cap back up power. When power-
ing up the unit for the first time, wait 1-2 minutes to
charge the supercap, then 12:00 AM will flash on display.
Press MODE to go to the CLK mode.
After pressing the MODE key the display will show:
1.0 TO SET CLOCK
Press HOUR and MIN to advance to the present
hour and mins. Check AM/PM, and press ENTER.
1.1 TO MODIFY CLOCK
Press MODE until the display shows: CLK. Press
HOUR and MIN. to modify clock and press ENTER.
2.0 TO SET DATE
If you are setting for the first time, display will show:
2
MOTUWETHFR SA SUASTRO
CH1 MOM AM PM OFFSET CH2
CLK DATE SCH AUTO MAN
MO TUWETHFRSASUASTRO
CLK SCH AUTO MAN
DATE

Press MONTH, DATE, and YEAR key to advance to
the desired Month, Date and Year, then press
ENTER.
NOTE: The day of the week will be automatically set
once the date is set.
2.1 TO MODIFY DATE
Press MODE until the display shows DATE. Press
MONTH, DATE and YEAR to modify present set-
tings and then press ENTER.
3
3.0 DAYLIGHT SAVING TIME
After setting or modifying the date, display will
show:
ON
OFF
For standard USA daylight savings (DSt), press MODE
then go to step 4.0. For dates other than standard USA
dates, press MONTH and go to step 3.1. If daylight
saving time (DSt) is NOT required, press DEL display
will show:
Press ENTER then go to step 4.0.
OFF

4.0 SCHEDULE SET MODE
Press MODE until display shows:
Press CH1/CH2 to select channel 1 or 2.
4
CH1 MOMAM PMOFFSETCH2
CLKDATE AUTO MAN
3.1 TO MODIFY STANDARD USA
DAYLIGHT SAVINGS DATES
MOTUWE THFR SA SU ASTRO
Press MONTH and DATE, to modify S (starting) DST
settings. NOTE: DATE will choose the week of the month
to be assigned. Choices are 01 (1st), 02 (2nd), 03 (3rd)
or L (Last) week of the month. The default day in SU
(Sunday). Pressing DAY changes default day. EXAMPLE:
04:01 SU S represents the first Sunday in April.
Press ENTER and the display will show:
MO TU WE TH FRSA SU ASTRO
Press MONTH and DATE, to modify E (ending) DST
settings. NOTE: DATE will choose the week of the
month to be assigned. Choices are 01 (Ist), 02 (2nd),
03 (3rd) or L (Last) week of the month. The default day
is SU (Sunday). Pressing DAY changes default day.
EXAMPLE: 10:L SU E represents last Sunday in
October.
Press ENTER and the display will show the modified
DSt starting date.
Press MODE to go to step 4.0.
SCH

4.1 SETTING HOURS, MINUTES AND DAYS
a. Press HOUR and MIN to set desired time.
b. Press EVENT to set desired event (ON/OFF).
Press DAY to select desired days and then press
ENTER. The display will show:
Follow the same procedures above to set more
schedule entries for channel 1. At the next blank
screen press CH1/CH2 to select desired channel
and proceed with the steps above to set more
schedule entries.
5.0 TO SET ASTRONOMIC SCHEDULE
Press MODE until display shows:
Press CH1/CH2 to select channel 1 or 2.
Press LAT key to advance to the desired degree of
latitude, from 0° to 60° north or 0° to 60° south.
Press ENTER. The display will show:
5.1 SELECTING ASTRO DAYS
Press DAY to select desired days in which you want
the indicated channel to turn ON at sunset and then
press ENTER.
NOTE: Sunset Time will be based on Date and
Latitude entered. The display will show:
5
CLK DATE SCH AUTO MAN
MO TU WE TH FR SA SUASTRO
MO TU WE TH FR SA SU ASTRO
ON
OFF
CH1 MOM AM PM OFFSET CH2
CH1 MOM AM PMOFFSETCH2
MO TU WE TH FR SA SU ASTRO
ON
OFF

If an offset to sunset time is required, press HOUR
and MIN. Offset can be set to 4 hours and 59 min-
utes max. Press EVENT to select + or – and then
press ENTER.
NOTE: A + sign will turn load ON that many hours
and/or minutes after sunset. A -sign will turn load
ON that many hours and/or minutes before sunset.
The display will show:
Press DAY and then ENTERto activate sunrise time.
NOTE: To turn load OFF at a preset OFF time, leave
this field bank. Press ENTER. The display will show:
If an offset to sunrise time is required, press HOUR
and MIN. Offset can be set to 4 hours and 59 min-
utes max. Press EVENT to select + or – and then
press ENTER.
NOTE: A + sign will turn load OFF that many hours
and/or minutes after sunrise. A -sign will turn load
OFF that many hours and/or minutes before sunrise.
Press the MODE to return to the AUTO mode.
6.0 ASTRONOMIC ON AND TIME OFF
Set astronomic ON per sections 5.0 and 5.1
TIME OFF:
Press MODE until “sch01” appears. Press ENTER
until a blank schedule appears then press CH1/CH2
to select channel 1 or 2. Press HOUR, MIN and
EVENT to set desired OFF time. Press DAY to
select desired days and then press ENTER.
6
CH1 MOM AM PM
MO TU WE TH FR SA SU ASTRO
ON
OFF
MO TU WE TH FR SA SU ASTRO
CH1 MOM AM PMOFFSET CH2
ON
OFF

6.1 TIME ON AND ASTRONOMIC OFF
Press MODE until “sch01” appears. Press ENTER
until a blank schedule appears then press CH1/CH2
to select channel 1 or 2. Press HOUR, MIN and
EVENT to set desired ON time. Press DAY to select
desired days and then press ENTER.
ASTRO OFF:
Set astronomic OFF per sections 5.0 and 5.1
6.2 TO DELETE ASTRONOMIC SETTINGS
a. To delete selected channel
Press MODE until the display shows:
Press CH1/CH2 to select desired channel and press
ENTER. Press DEL and then ENTER to delete all
unwanted entries.
b. To delete the astro schedule for both channels
press MODE until the display shows:
Press DEL and ENTER. The display will show:
Press the MODE key to return to the AUTO mode.
7
MO TU WE TH FR SA SU ASTRO
CH1 MOM AM PM OFFSET CH2
MO TU WE TH FR SA SU ASTRO
CH1 MOM AM PM OFFSET CH2
MO TU WE TH FR SA SUASTRO

7.0 REVIEW, MODIFY AND DELETE
Press MODE to advance to any of the following
MODES:
1. CLOCK MODE: Press HOUR and MIN to modify
existing settings. Press ENTER.
2. DATE MODE: Press MONTH, DATE and YEAR
to modify existing settings. Press ENTER. DAY is
automatically adjusted.
3. DST Daylight Saving Time: To review press
ENTER. To modify press MONTH, DAY and
DATE to change existing setting. Press ENTER.
4. SCHEDULE MODE: Press ENTER to advance
to desired channel.Press HOUR, MINand
EVENT to modify time settings. Press DAY to
modify days, DEL to delete. Press ENTER after
each modification.
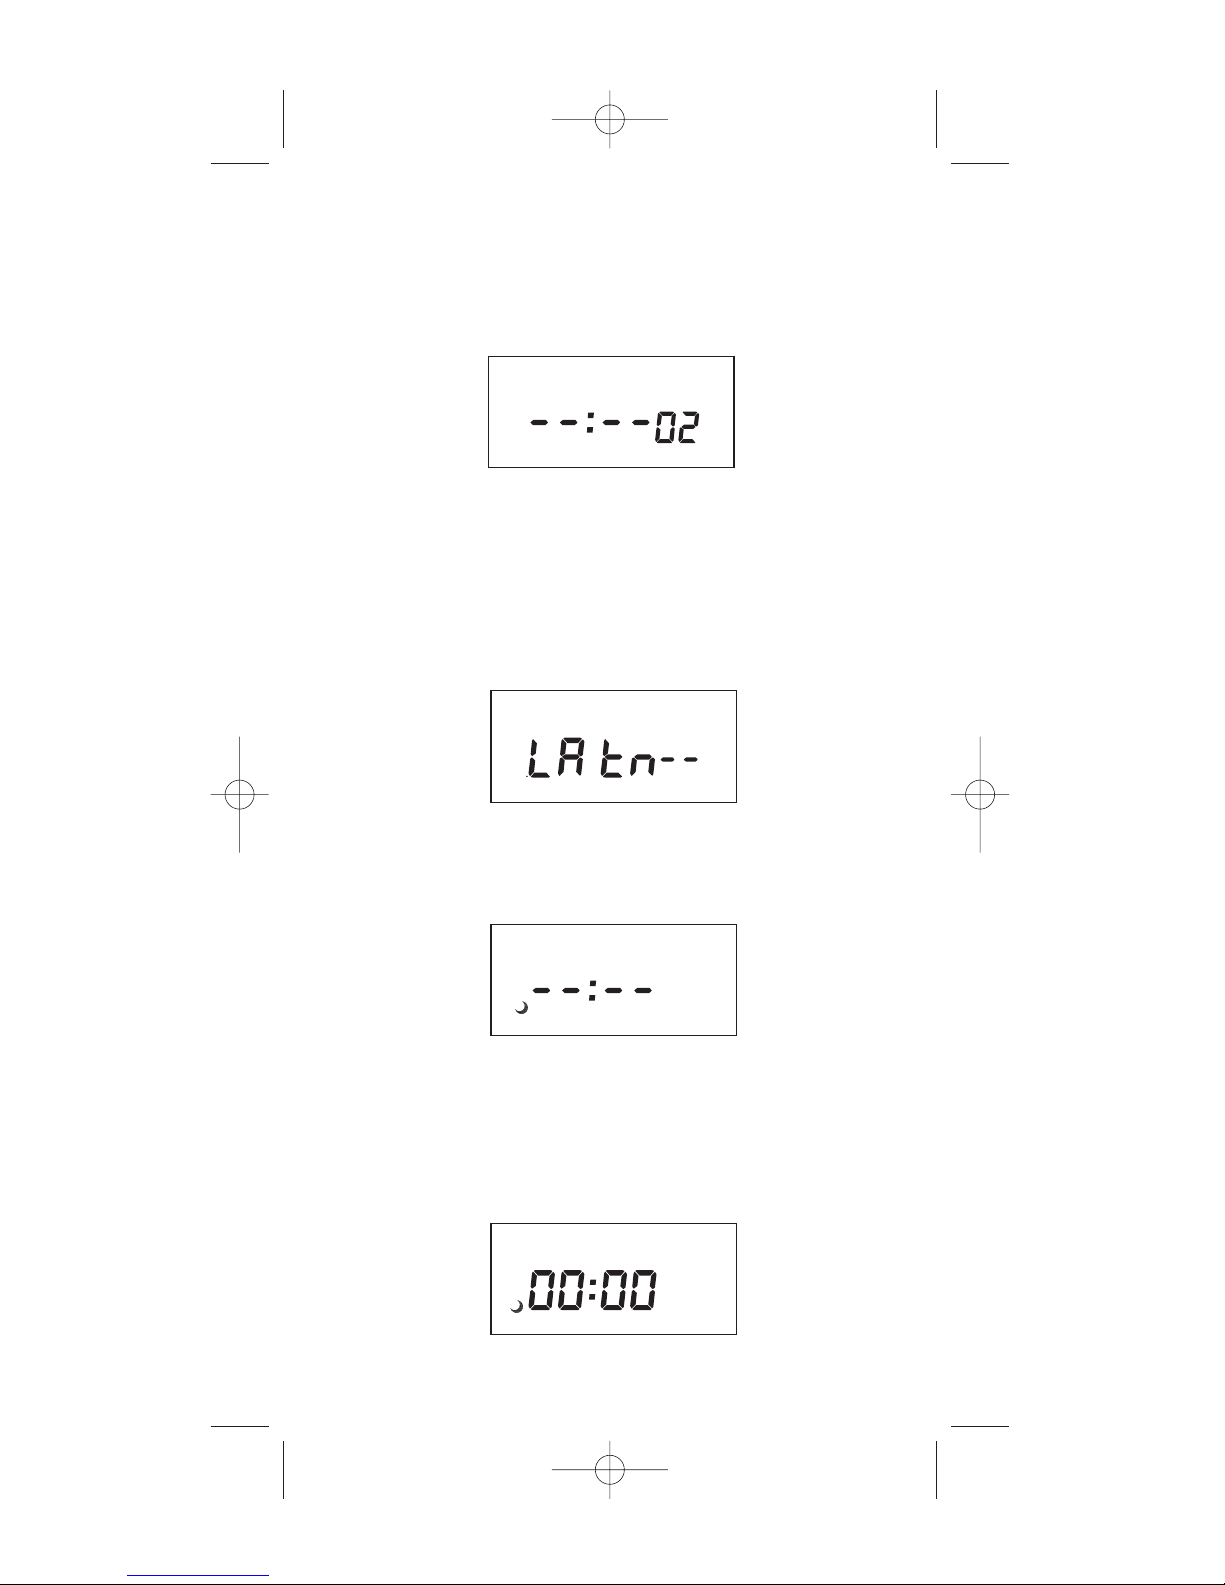
5. ASTRO MODE:Press CH1/CH2to select
desired channel. Press LAT to change latitude.
Press ENTER. Press DAY to add or delete days
in the sunset mode. Press ENTER. Press HOUR
and/or MIN to change offset time for sunset.
Press EVENT to change offset from + to –. Press
ENTER and follow the same procedure above to
modify or review sunrise settings.
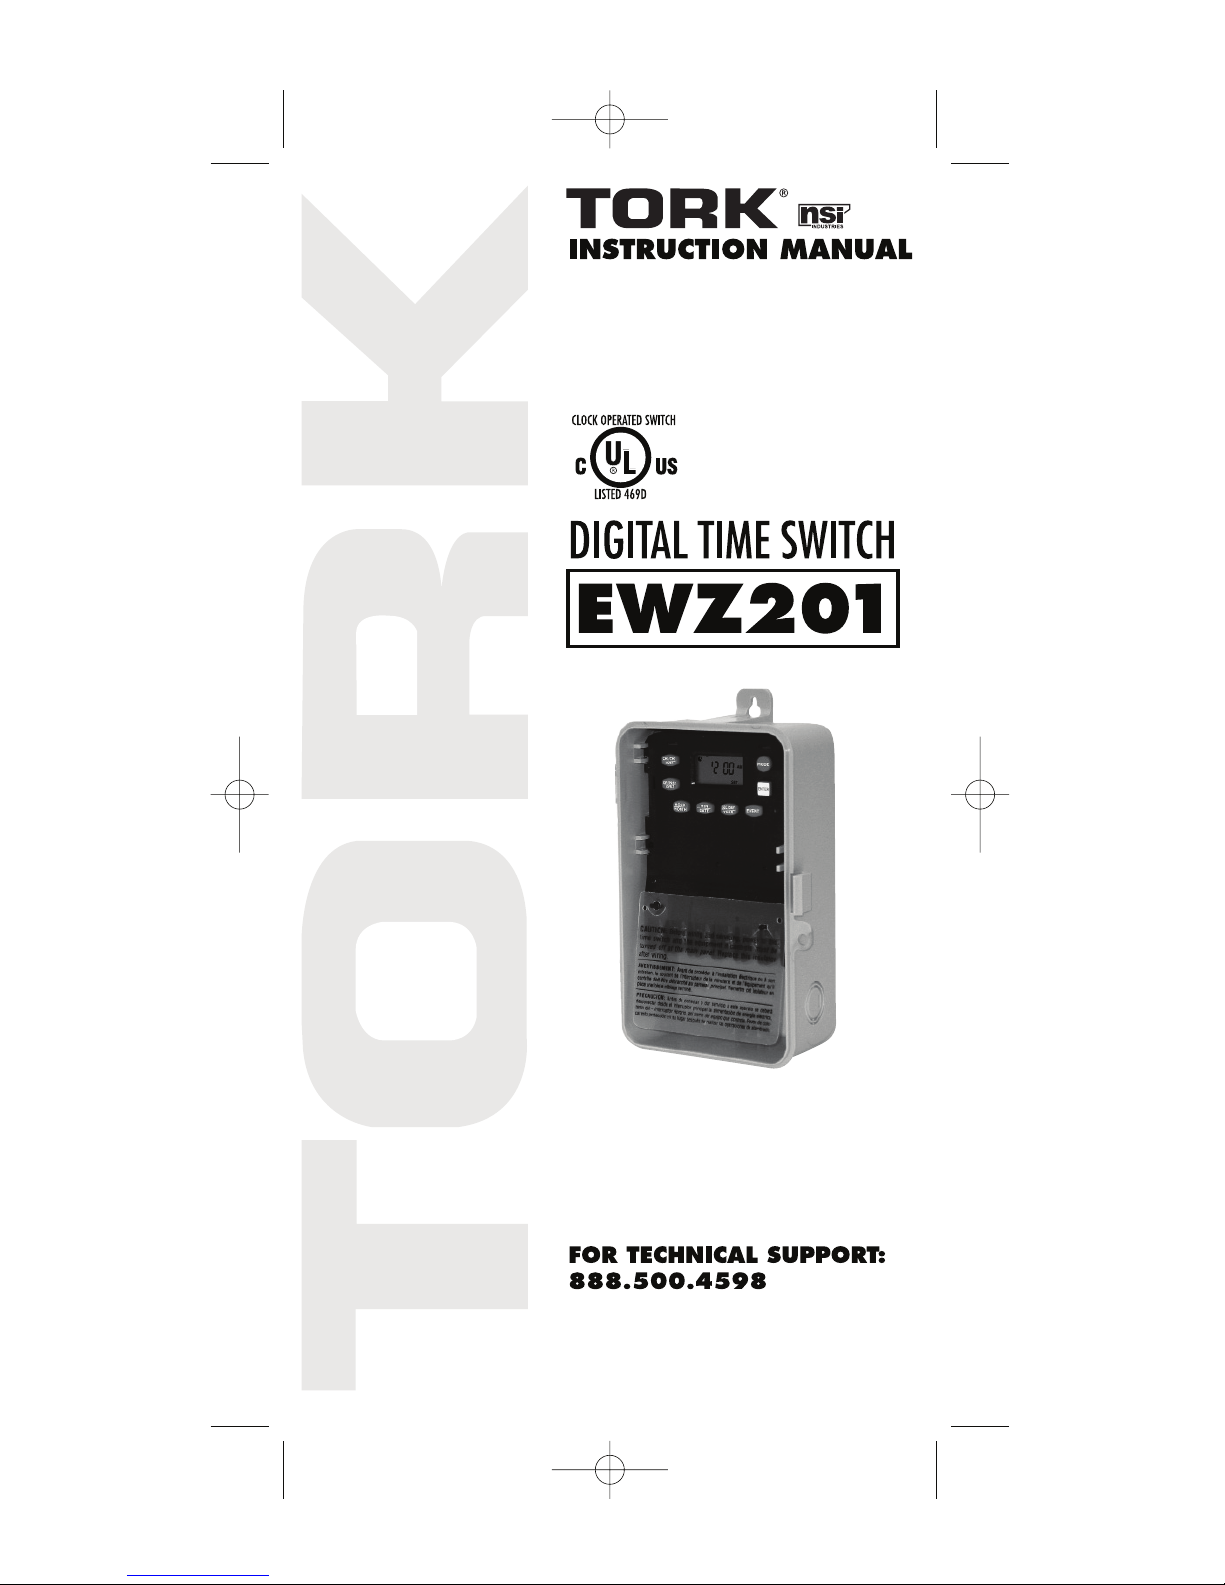
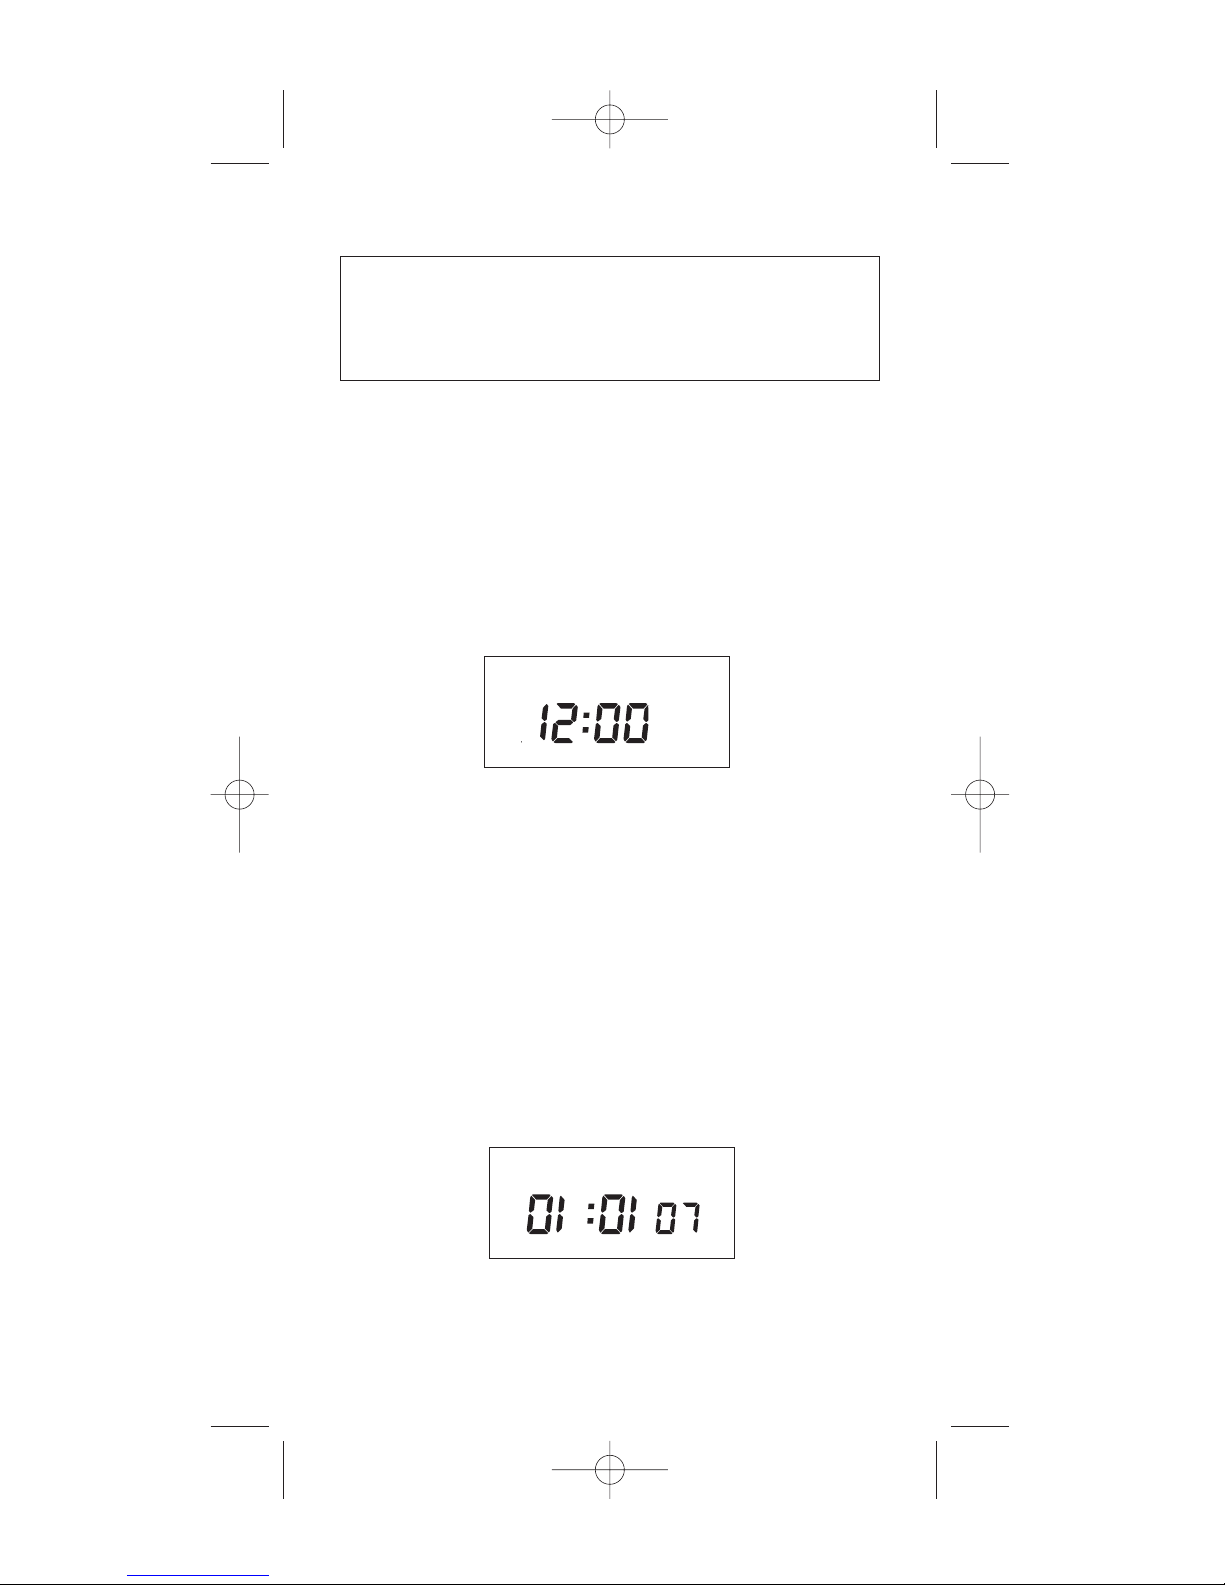
6. RUN MODE: The time, day, seconds, the status
of both channels and AUTO is displayed.
8.0 OVERRIDE
OVR (Override) is effective in the AUTO mode
and the manual mode. OVR on the AUTO mode
is effective until the next event. OVR on the man-
ual mode is effective indefinitely.
9.0 EVENT (in the RUN mode) key is used to update
the load status. It will execute the last scheduled
event for CH1 and CH2.
The display will only show the last scheduled
event for CH1. To view the last schedule event
for CH2, simply press the EVENT key again. If
there is no schedule programmed for CH1 or
CH2, the display will show —:—
8

10.0 USE AS MOMENTARY UNIT
This unit can also be field converted to be used as
momentary unit. To make this conversion, remove
jumper in back of the unit. Reset the unit by insert-
ing a small pin or paper clip into the small hole
next to the EVENT key and re-setting the clock
and date.
NOTES:
1. Upon removing the jumper and re-setting the
unit, CH1 will be configured as momentary On
and OFF. ONLY CH1 will need to be pro-
grammed. CH2 can still be viewed and pro-
grammed but will not take effect.
2. 2 second closure between terminals 3 and 4 at
ON event and 2 second closure between termi-
nals 5 and 6 at OFF event.
11.0 NOTES:
1. MAN mode: Under this mode the unit disre-
gards the settings in the schedule mode and
remains in its manually set status ON or OFF.
NOTE: To resume regular schedule execution
press the mode key to return to AUTO mode.
2. Unit will go to RUN MODE automatically
(except on the MAN mode) if no key is pressed
for 5 minutes.
3. Clear all memory. All memory can be cleared
using the following procedure: While in the RUN
mode, press ENTER, display will show:
Use EVENT key to display:
9
ON
OFF
CLK DATE SCH AUTO MAN
ON
OFF
CLK DATE SCH AUTO MAN

4. Now press ENTER briefly and everything in the
timer memory will be erased, including real
time and date. NOTE: Unit has permanent
memory and will not be erased unless done
through procedure above.
5. Upon powering up your EWZ201 the display
will show at what frequency the unit is operat-
ing, 50 will determine 50Hz or 60 for 60Hz.
NOTE: While in the AUTO mode, if AC power is
absent, the display will show a PF (power fail-
ure) instead of the seconds scrolling up.
6. A “Lo” on the display indicates that the super
cap has run low and the unit needs to be pow-
ered with AC. A minimum of 8 hours is required
to fully charge the super cap.
NOTE: AFTER MAKING ANY CHANGES TO THE
PROGRAM, PRESS MODE TO GO TO RUN MODE
AND THEN PRESS EVENT TO UPDATE THE
LOAD STATUS.
10

11
SUSAFRTHWETU
Sch.# OFFONTime OMnoitpircseDdaoL

12
Latitude
tSUSAFRTHWETU
Ch. #Sch. #
Sunset Sunrise
MO
ASTRONOMIC SCHEDULE

13
ASTRONOMIC LATITUDE ZONES
MAINE
VT
NH
MASS
NEW YORK
PENNSYLVANIA
OHIO
IND
ILLINOIS
KENTUCKY VIRGINIA
NORTH CAROLINATENNESSEE
WEST
VIRGINIA
SOUTH
CAROLINA
GEORGIAALABAMA
MISS
FLORIDA PUERTO
RICO
LOUISIANA
ARKANSAS
OKLAHOMA
MISSOURI
TEXAS
KANSAS
NEW MEXICO
MEXICO
ARIZONA
CALIFORNIA
HAWAII
NEVADA UTAH COLORADO
NEBRASKA
WYOMING
IDAHO
OREGON SOUTH DAKOTA
IOWA
WISCONSIN
MICHIGAN
MINN
NORTH DAKOTA
MONTANA
WASHINGTON
RHODE ISLAND
CONNECTICUT
NEW JERSEY
MARYLAND
DELAWARE
45°
42°
40°
38°
34°
30° 18°
26°
18°

888.500.4598 • www.nsiindustries.com
Table of contents
Other Tork Switch manuals
Popular Switch manuals by other brands

Allied Telesis
Allied Telesis AT-8600 Series How to use

Riello UPS
Riello UPS RB1-R-EMBS-32A-2P-RTY installation manual

Eaton
Eaton DMVS-160/SE5 Series Instruction leaflet

D-Link
D-Link DUB-9240 - UWB Wireless USB installation guide

TKB Home
TKB Home TZ79 quick start guide

Belkin
Belkin OmniView Secure F1DN102U Specifications

Moxa Technologies
Moxa Technologies EtherDevice EDS-P510-T Quick installation guide

3Com
3Com OfficeConnect 5 Specifications

Cisco
Cisco Catalyst WS-C2960L-8TS-LL Easy setup guide

IDT
IDT Tsi578 user manual

Cabletron Systems
Cabletron Systems MICROMMAC-22T user guide

VigilLink
VigilLink VLSW-41H20ER user manual