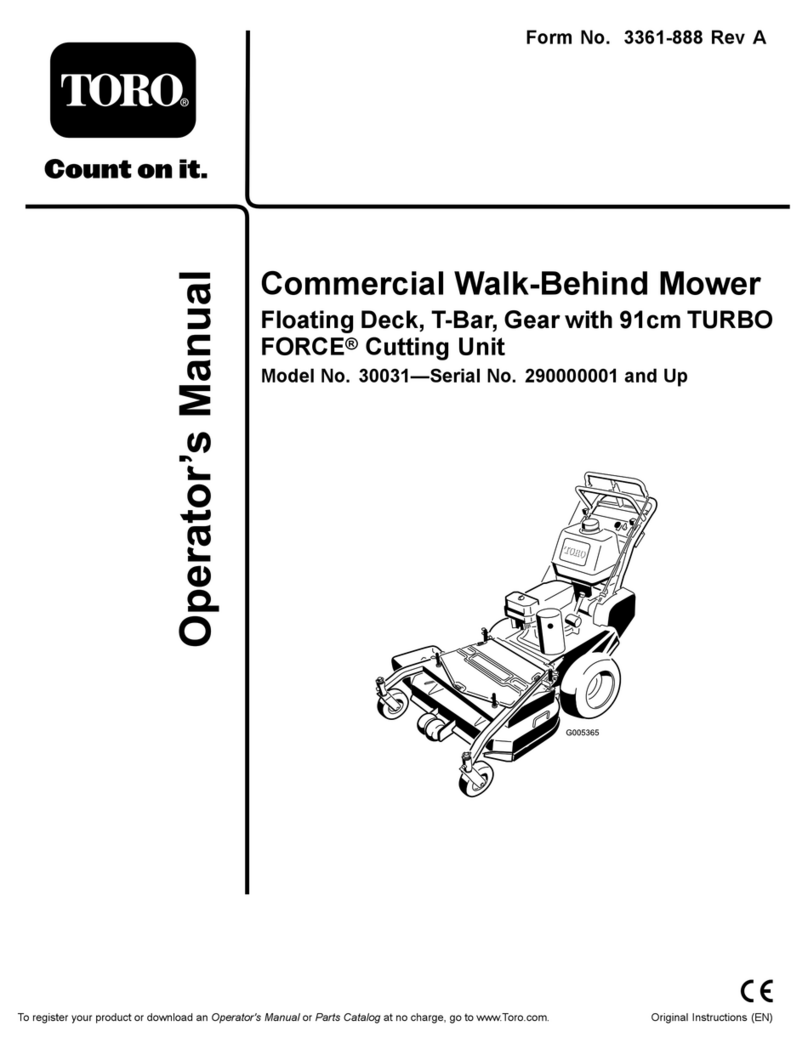
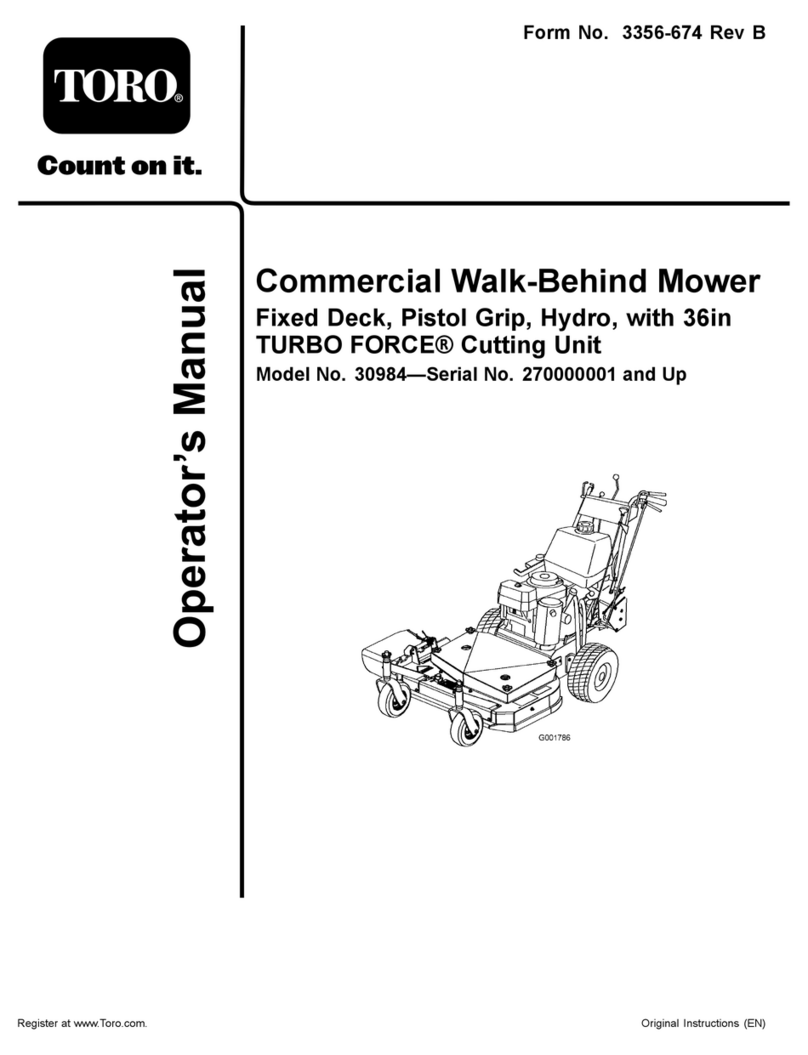
Toro Groundsmaster 4000 Series User manual
Other Toro Lawn Mower manuals
Toro
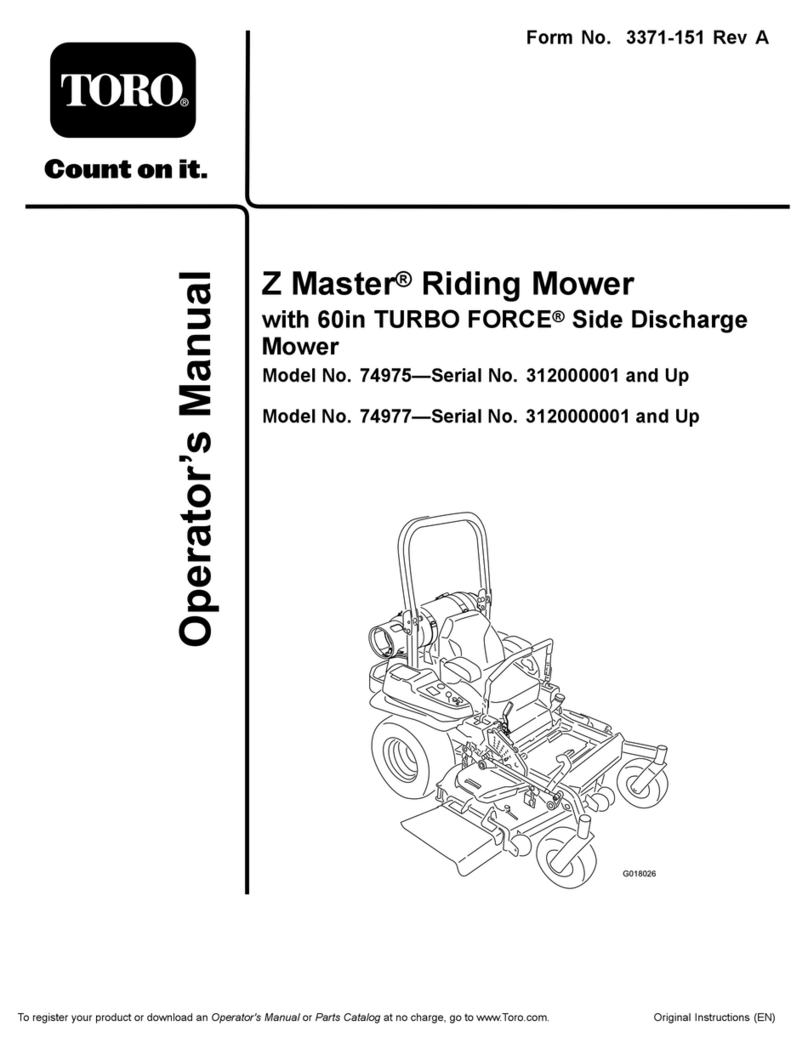
Toro Z Master 74975 User manual
Toro
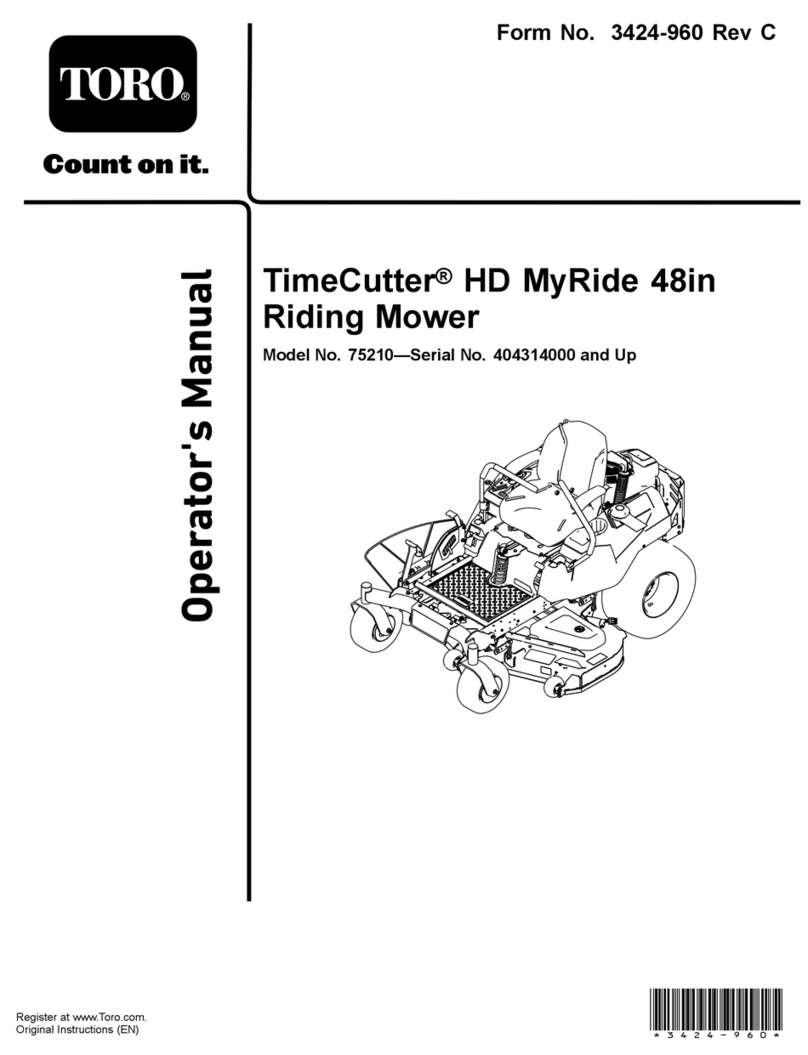
Toro 75210 User manual
Toro
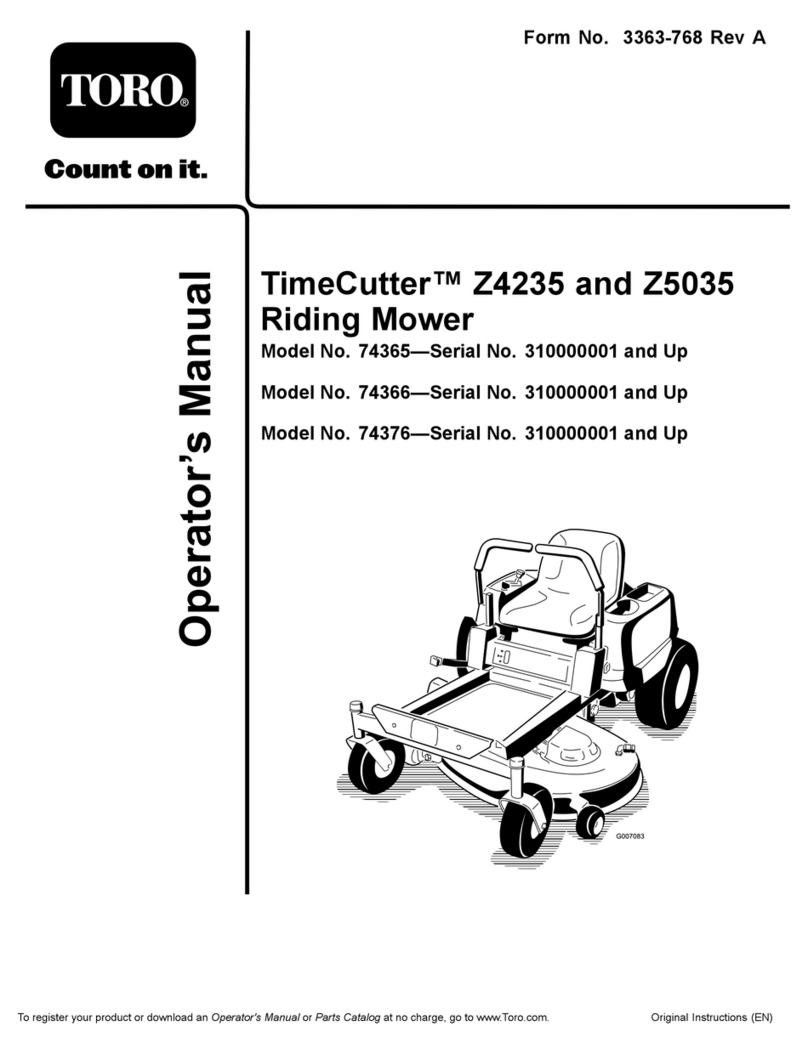
Toro TimeCutter Z4235 User manual
Toro
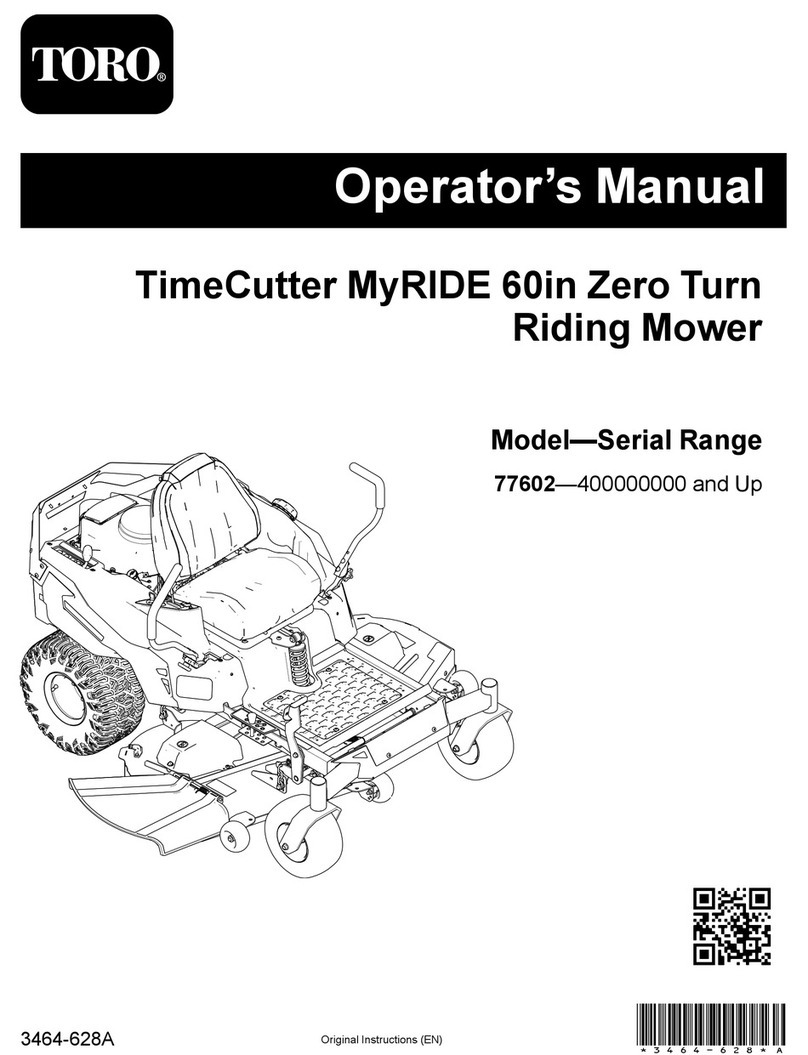
Toro TimeCutter MyRIDE 77602 User manual

Toro
Toro REELMASTER 4500-D User manual
Toro
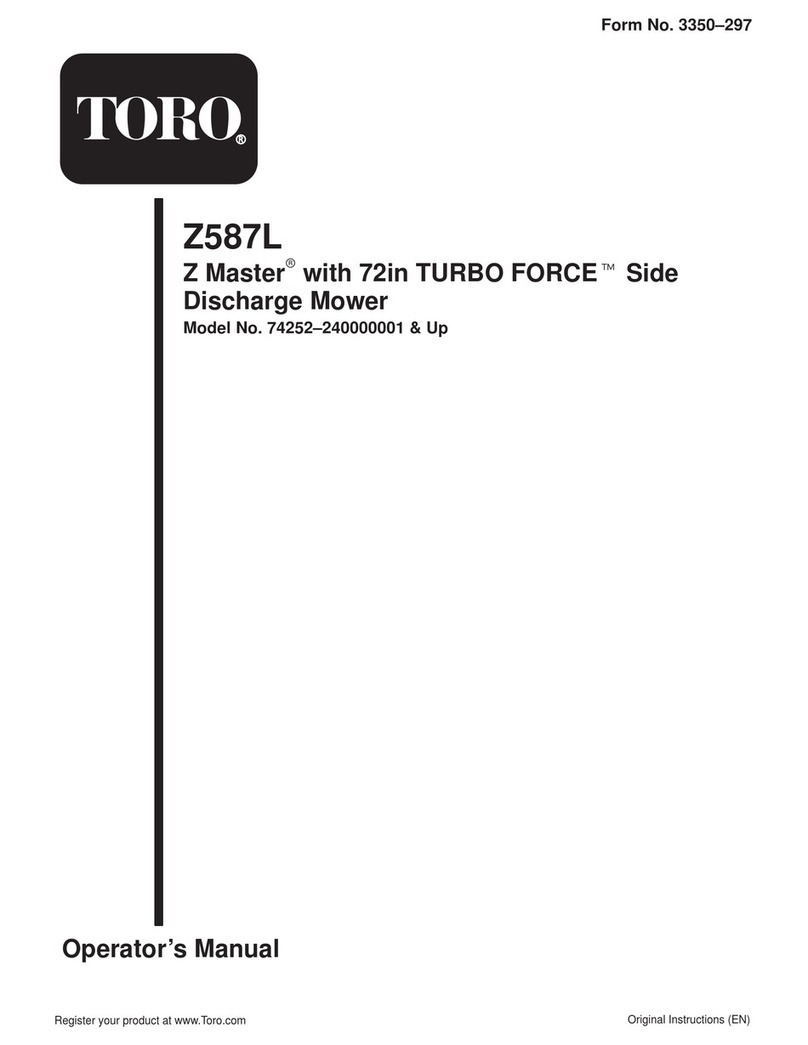
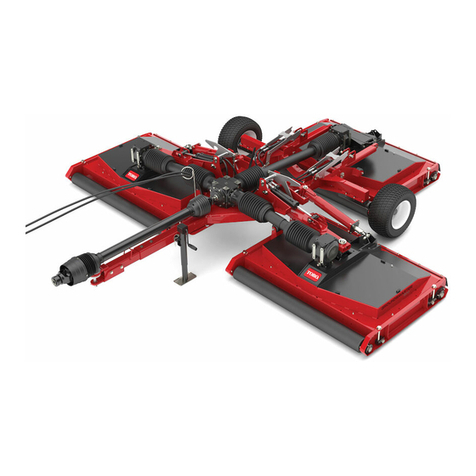
Toro Z587L Z Master User manual
Toro
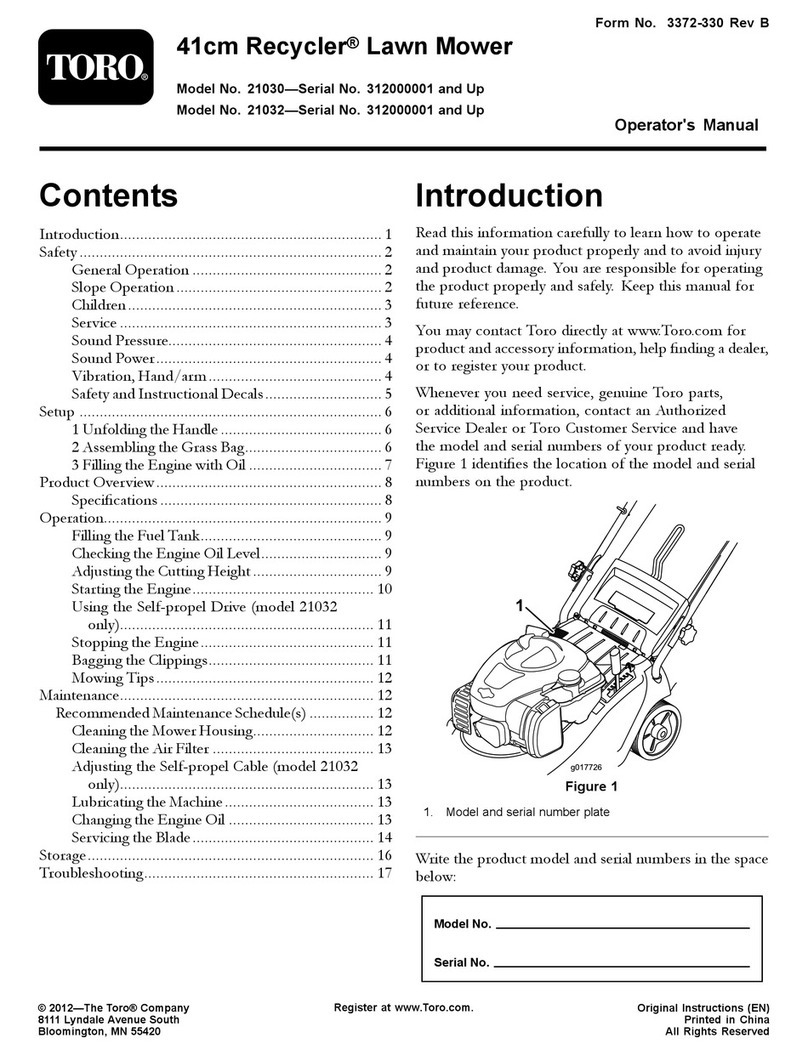
Toro Groundsmaster 1200 Series User manual

Toro
Toro 25433 User manual
Toro
Toro 30164 User manual
Toro
Toro Emotion User manual
Toro
Toro 22276 User manual
Toro
Toro 74301 User manual
Toro
Toro TimeCutter 138-2537 User manual

Toro
Toro GROUNDSMASTER 345 User manual
Toro
Toro Greensmaster Flex21 04021 User manual
Toro
Toro TimeCutter Z4200 User manual
Toro
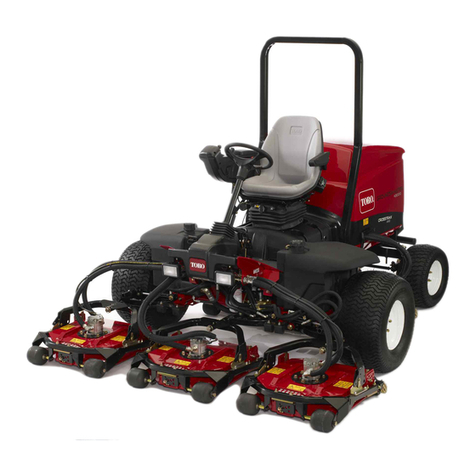
Toro Groundsmaster 4300-D User manual
Toro
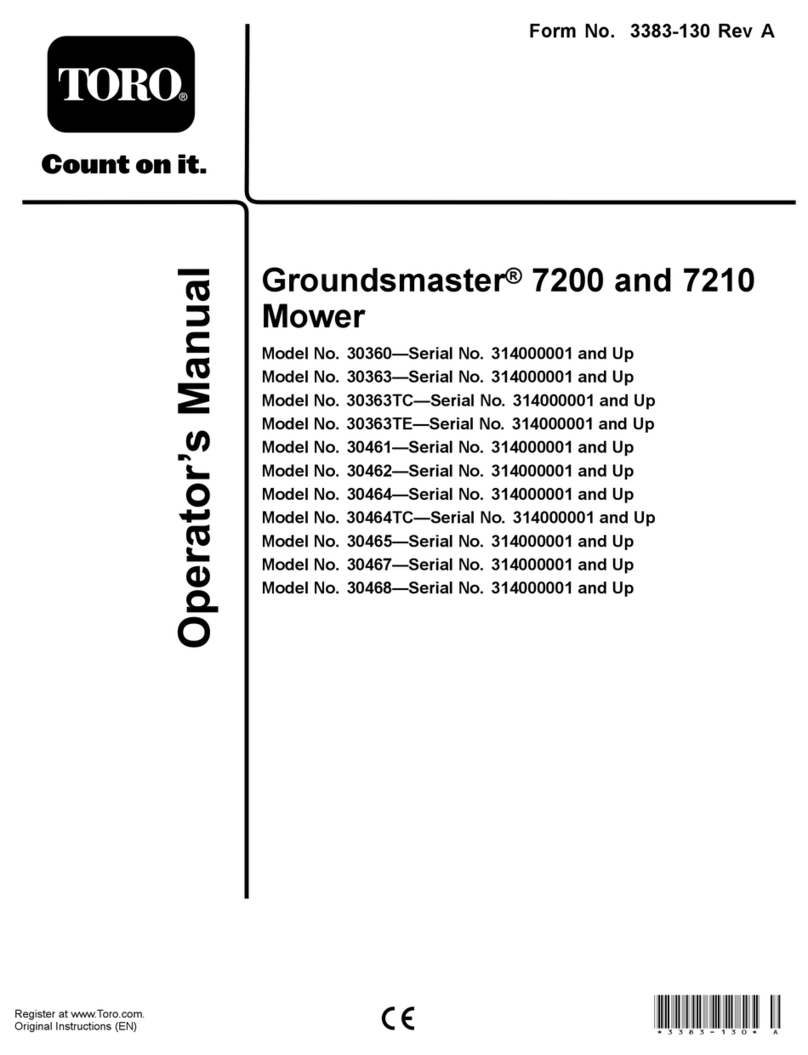
Toro 30360 User manual

Toro
Toro 22196 User manual

Toro
Toro 74950 User manual
Popular Lawn Mower manuals by other brands

DEWEZE
DEWEZE ATM-725 Operation and service manual

Weed Eater
Weed Eater 180083 owner's manual

Husqvarna
Husqvarna Poulan Pro PP185A42 Operator's manual

Better Outdoor Products
Better Outdoor Products Quick Series Operator's manual

Cub Cadet
Cub Cadet 23HP Z-Force 60 Operator's and service manual

MTD
MTD 795, 792, 791, 790 Operator's manual
