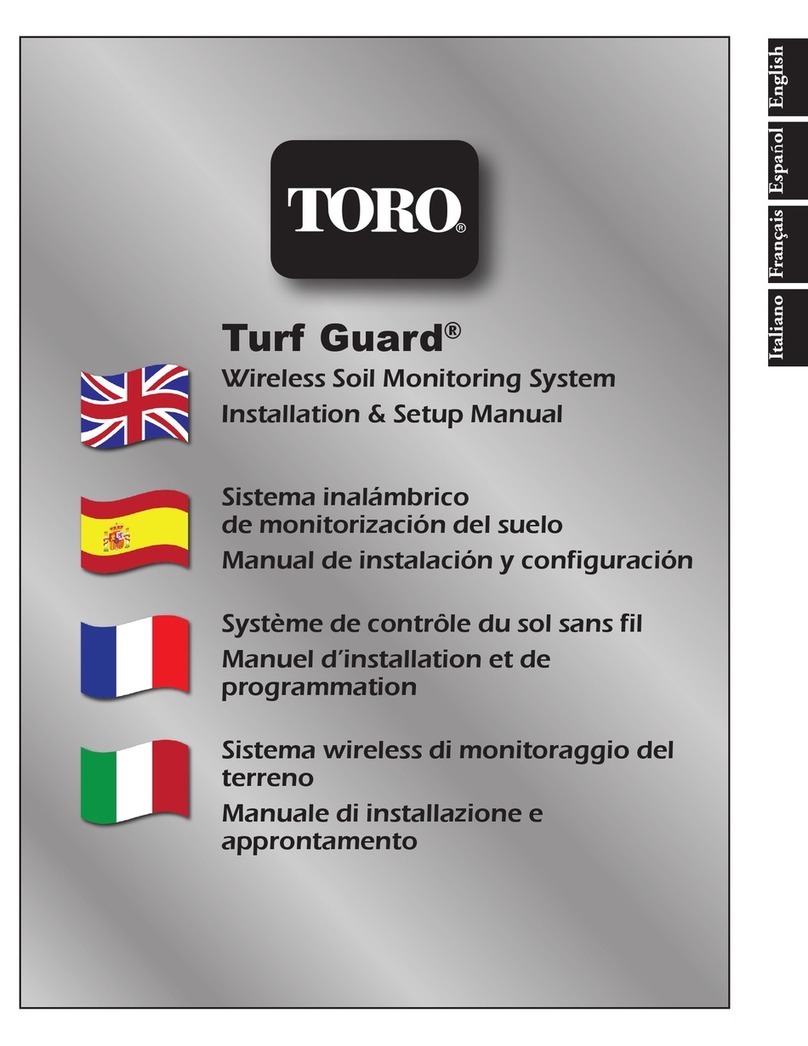
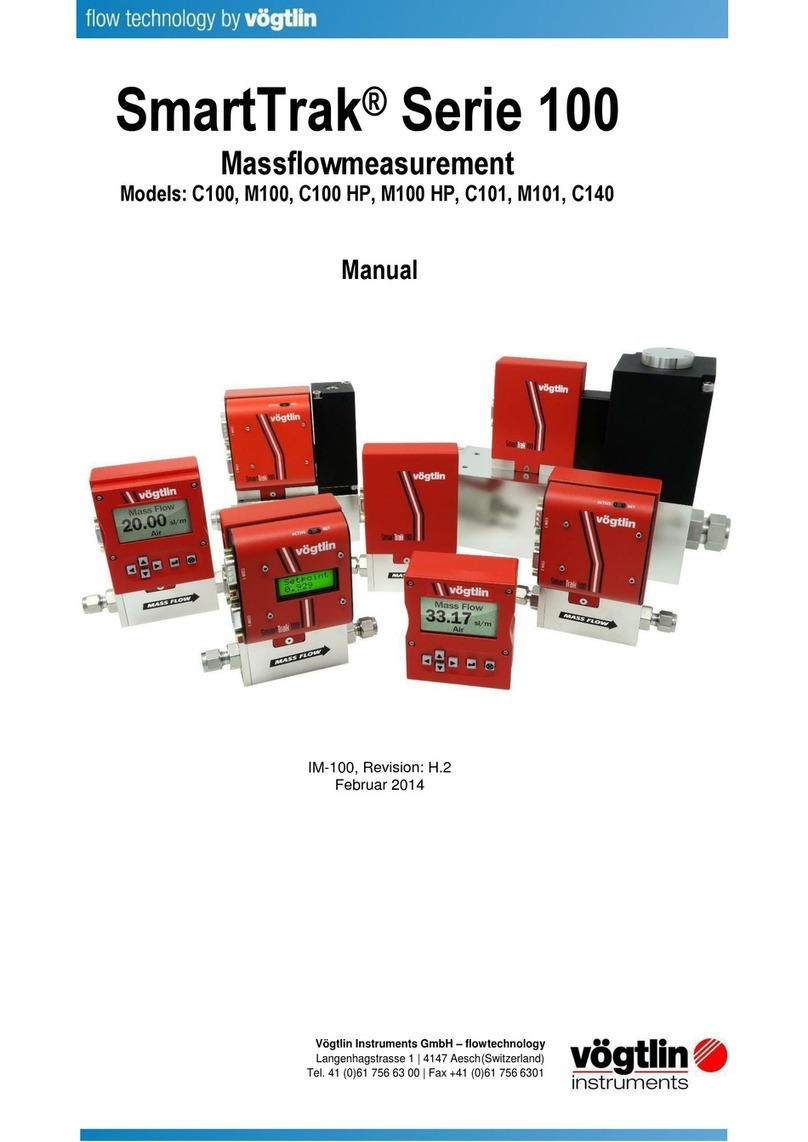
Toro Precision Soil Sensor User manual

PrecisionTM Soil Sensor
Quick Start Guide / Guía Rápida / Guide rapide
English Español Français

2
The Quick Start Guide provides information to quickly
and properly install and congure the Precision Soil
Sensor.
For complete information, download your Precision Soil
Sensor User’s Guide at: www.toro.com/pss.
You will need:
t
one (1) small Phillips screwdriver
t
three (3) AA alkaline batteries
The Quick Start Guide contains the following:
Step 1 - Site Selection ............................................................... p. 3
Step 2 - Install and Connect the Receiver ............................ p. 4
Step 3 - Adjust the Watering Program.................................. p. 5
Step 4 - Sensor Installation and Calibration........................ p. 5
General Operation..................................................................... p. 7
The Precision Soil Sensor is designed to help maintain healthy landscape plants while reduc-
ing water usage by allowing watering only when needed. To gain the full benet of your Precision
Soil Sensor, it is important to make sure the automatic sprinkler system is properly installed and in
good working order.
PrecisionTM Soil Sensor
Quick Start Guide
Precision Soil Sensor Components
Sensor
Stakes
Probes
Receiver

3
Note: Only one sensor is needed for the entire landscape. Choosing the right location to
place the sensor is important for the overall eectiveness of the Precision Soil Sensor
system.
The illustration in Figure 1 below depicts a typical residential landscape. The areas indicated
in white are suitable for the sensor, since they provide the most direct sunlight throughout
the day. Install the sensor in the site
that best meets the following
qualications:
t8JUIJOSFDFJWFSDPNNVOJDBUJPO
range, up to 500’ (152m) line-of-
sight.
t3FQSFTFOUTUIFPWFSBMMTPJM
composition and condition.
t 5IFIJHIFTUFMFWBUJPOJOUIFBSFB
t*TBUMFBTUNBXBZGSPNBSPPG
overhang, downspout, walkway,
driveway or sprinkler.
t/PUDPOUBDUFECZPWFSTQSBZGSPNB
bordering watering zone.
t/PUJOBGPPUQBUIPSTQFDJöFEQMBZ
area.
Step 1– Site Selection
X
XX
X
= Suitable sensor location.
Fig. 1
English

1. Attach the receiver next to the irrigation controller using the two
stainless steel screws provided (Fig. 2). Where appropriate, foam tape
(provided) can be used to attach the receiver.
Warning: Disconnect 24 VAC power to controller before connecting
receiver. DO NOT connect receiver to 110/220 VAC (house current).
3PVUFUIFSFDFJWFSDBCMFJOUPUIFDPOUSPMMFSDBCJOFU
Note: If your controller has a sensor bypass switch, make sure
JUJTTFUUPFOBCMFUIFTFOTPS3FGFSUP
the irrigation controller’s user guide
for specifics.
3. Connect the receiver per the applicable
wiring diagram (Fig. 3a or 3b).
*Note'PSB/PSNBMMZ0QFOTFOTPS
application, connect the Yellow wire in
place of the Brown wire.
"QQMZQPXFSUPDPOUSPMMFS The receiver
will appear as shown below when power
is first applied. If the display and LED are
OPUPODIFDLUIF3FEXJSFDPOOFDUJPOT
Step 2 - Install and Connect the Receiver
4
Remove
Jumper
Red
Red
Brown
White
Receiver Cable
24 VAC
Controller with Sensor Terminals
Yellow (see *Note)
Yellow (not used)
Transformer
(power to the controller)
Fig. 3a
Fig. 2
Transformer
(power to the controller)
Fig. 3b
Controller without Sensor Terminals
Brown
White
Red
Red
Valve
Common
from Field
Receiver Cable
24 VAC Valve Common
Rain Sensor Terminal

1. Set the watering day schedule to water every day of the week (except watering-
restricted days).
2. Set the run time for each zone to those used during the summer months.
Visit http://schedulingadvisor.toro.com to download free software to help with this step.
Step 3– Adjust the Watering Program
1. Before installing the batteries in the probe, press the Menu button on the receiver once
so “CA” (calibration) is displayed.
2. At this point you have two calibration options: Manual or Automatic.
Manual*GZPVIBQQFOUPLOPXUIFTPJMIBTCFFOUIPSPVHIMZTPBLFEXJUIJOUIFQBTUIPVST
BOEIBTIBEIPVSTUPTPBLJOGPSFYBNQMFBGUFSBOJODIPSNPSFPGSBJOPSBGUFSNVMUJQMF
watering cycles), press or hold down the Minus button until zero is displayed. This will
set the calibration duration to last zero hours, effectively telling the sensor to set whatever
the current moisture level is as 100%.
Automatic*GUIFTPJMIBTOPUCFFOTPBLFEXJUIJOUIFQBTUIPVSTQSFTTPSIPMEEPXOUIF
Minus button to set the number of hours for the calibration period duration so it will
MBTUVOUJMUIF&/%PGUIFOFYUBVUPNBUJDXBUFSJOH"EEJUJPOBMMZJGUIFJSSJHBUJPODPOUSPMMFSJT
TFUVQUPBVUPNBUJDBMMZGBMMCBDLJOUPi3VOww"VUPwNPEFBGUFSDPNQMFUJOHBNBOVBMQSPHSBN
run a manual program immediately after installation as well. This will allow for a total of two
watering cycles (one automatic and one manual) within the calibration period, making for a
more accurate calibration.
Note: For additional calibration methods, refer to the full-length User Guide available at
www.toro.com/pss.
8IJMFTUBOEJOHOFYUUPUIFSFDFJWFSMPDBUFBOESFNPWFUIFTFOTPSCBUUFSZDPNQBSUNFOU
cover.
Step 4– Sensor Installation and Calibration
5
English

*OTFSUUISFF""BMLBMJOFCBUUFSJFTBTTIPXO*OTUBMMCBUUFSZ
compartment cover (Fig. 4). The sensor’s LED will turn green and the
receiver will display “10.0”. At this point the sensor must be installed
within 30 minutes.
5. Move the sensor to the selected site and verify signal strength as
indicted by the sensor LED color:
Green - Excellent
Yellow - Acceptable
Red (blinking) - Relocate the sensor
6. Holding the sensor parallel to the ground, push the probes and
stakes straight down through the lawn into the soil until the sensor is
pressed at against the ground (Fig. 5).
Note: The sensor must remain in the ground for it to work. Every
12-15 minutes it will blink red indicating communication with
the receiver. There are two methods to calibrate the Soil Sensor:
Automatic or Manual. Follow the steps below:
7. At the receiver, press the Bypass button ( ) once. The green
LED will blink and the receiver will display “CA” and an hourglass icon
(Fig. 6) until the calibration is complete. If you opted for the Manual
calibration method, this will occur when the sensor sends its next
transmission (within 12-15 minutes), at which point it will set the cur-
rent moisture level in the soil as 100% (displayed as “100”). If you opted
for the Automatic calibration method, this will occur when it completes the calibration for the
EVSBUJPOZPVTFUFHIPVSTJGZPVTFUJUUPBUXIJDIQPJOUJUXJMMEJTQMBZUIFDVSSFOUNPJT-
ture level in the soil as a percentage of the peak moisture level that was reached during the
calibration period.
LED Signal
Indicator
Fig. 4
Stakes
Probes
Fig. 5
Step 4– Sensor Installation (continued)
Fig. 6
6

After calibration has been completed, the receiver will
begin to toggle between the current moisture level
and “watering completion time”.
i8BUFSJOH DPNQMFUJPO UJNFw JT B GFBUVSF UIBU FOTVSFT BMM
other zones in the irrigation program that’s currently
running get watered before the sensor begins blocking
irrigation after it has been triggered by the moisture
level in the soil approaching 100%. The default delay
JTTFUUPIPVSTJOEJDBUFECZUIFOVNCFSi04” and
the hourglass icon , counting down to zero as time
progresses.
After watering completion time has timed out,
XBUFSJOHSFTUSJDUJPOXJMMCFHJO8IJMFJOXBUFSJOH
restriction mode, the current moisture level (%) and
the “no watering” icon will be displayed and the
red LED on the receiver will remain on. The Precision
Soil Sensor is preset to restrict watering until the soil
NPJTUVSF MFWFM ESPQT UP PS PG UIF UPUBM
moisture that can be retained in the soil. Meaning, the
Soil Sensor will allow watering only after 50% of the
water is gone.
It is possible to raise or lower this percentage,
increasing watering frequency or decreasing it. Push
the Plus button to increase the level to the
desired percentage; push the Minus button to
lower the percentage (Fig. 8).
General Operation
Fig. 7
Fig. 8
/PUJDF IPX JU JT QPTTJCMF GPS UIF TFOTPS UP SFBE BCPWF
100%, indicating the soil is saturated beyond a level
that is useable by the plants.
Waste*
Capacity
Optimum
Stress
Permanent Wilt
Irrigation
allowed
Irrigation
blocked
Current Moisture Level (%)
Indicates signal strength with
Indicates battery strength with
To adjust moisture press or
7
English
Other manuals for Precision Soil Sensor
1
Table of contents
Other Toro Measuring Instrument manuals


