3
To reduce the risk of burns, electrocution, fire
or injury to persons:
1.
Close supervision is necessary when this product is used by, on, or near children or invalids.
2. Use this product only for its intended use as described in this manual. Do not use
attachments not recommended by the manufacturer.
3. Never operate this product if it has a damaged cord or plug, if it is not working properly, if
it has been dropped or damaged, or dropped in water. Return the product to a service
center for examination and repair.
4. Keep cord away from heated surfaces.
5. Never block the air openings of the product or place it on a soft surface, such as a bed or
couch, where the air openings may be blocked. Keep the air openings free of lint, hair,
and the like.
6. Never use while sleepy or drowsy.
7. Never drop or insert any object into any opening or hose.
8. Do not use outdoors or operate where aerosol (spray) products are being used or where
oxygen is being administered.
9. Connect this product to a properly grounded outlet only. See Grounding Instructions.
1 . Do not use this product while smoking.
11. Do not stand on or place heavy objects on top of the toilet.
●To avoid injury or damage to the toilet unit, do not stand on or place heavy objects on
top of the toilet.
12. Do not bend or crush the connection hose.
●Bending or crushing the connection hose may result in water leakage.
13. Use only a mild dish detergent diluted with water to clean your NEOREST. Do not use the
following to clean the NEOREST:
●Toilet bowl cleaner, household cleaner, benzene, paint thinner, powdered cleanser, or
nylon scrubbing pads.
●Use of any cleaning product other than diluted dish detergent may crack the plastic and
cause injury to the user or may damage the hose resulting in water leakage.
14.
To prevent sudden water leakage, do not remove the water supply filter before. Refer to
Page 34 for instructions on cleaning the water supply filter.
15. When installing the water supply filter, make sure that it is securely placed in its proper
position.
●Improper positioning of the water supply filter may
result in water leakage.
16. If water leakage should occur, always turn the water
shutoff valve and then turn off the water.
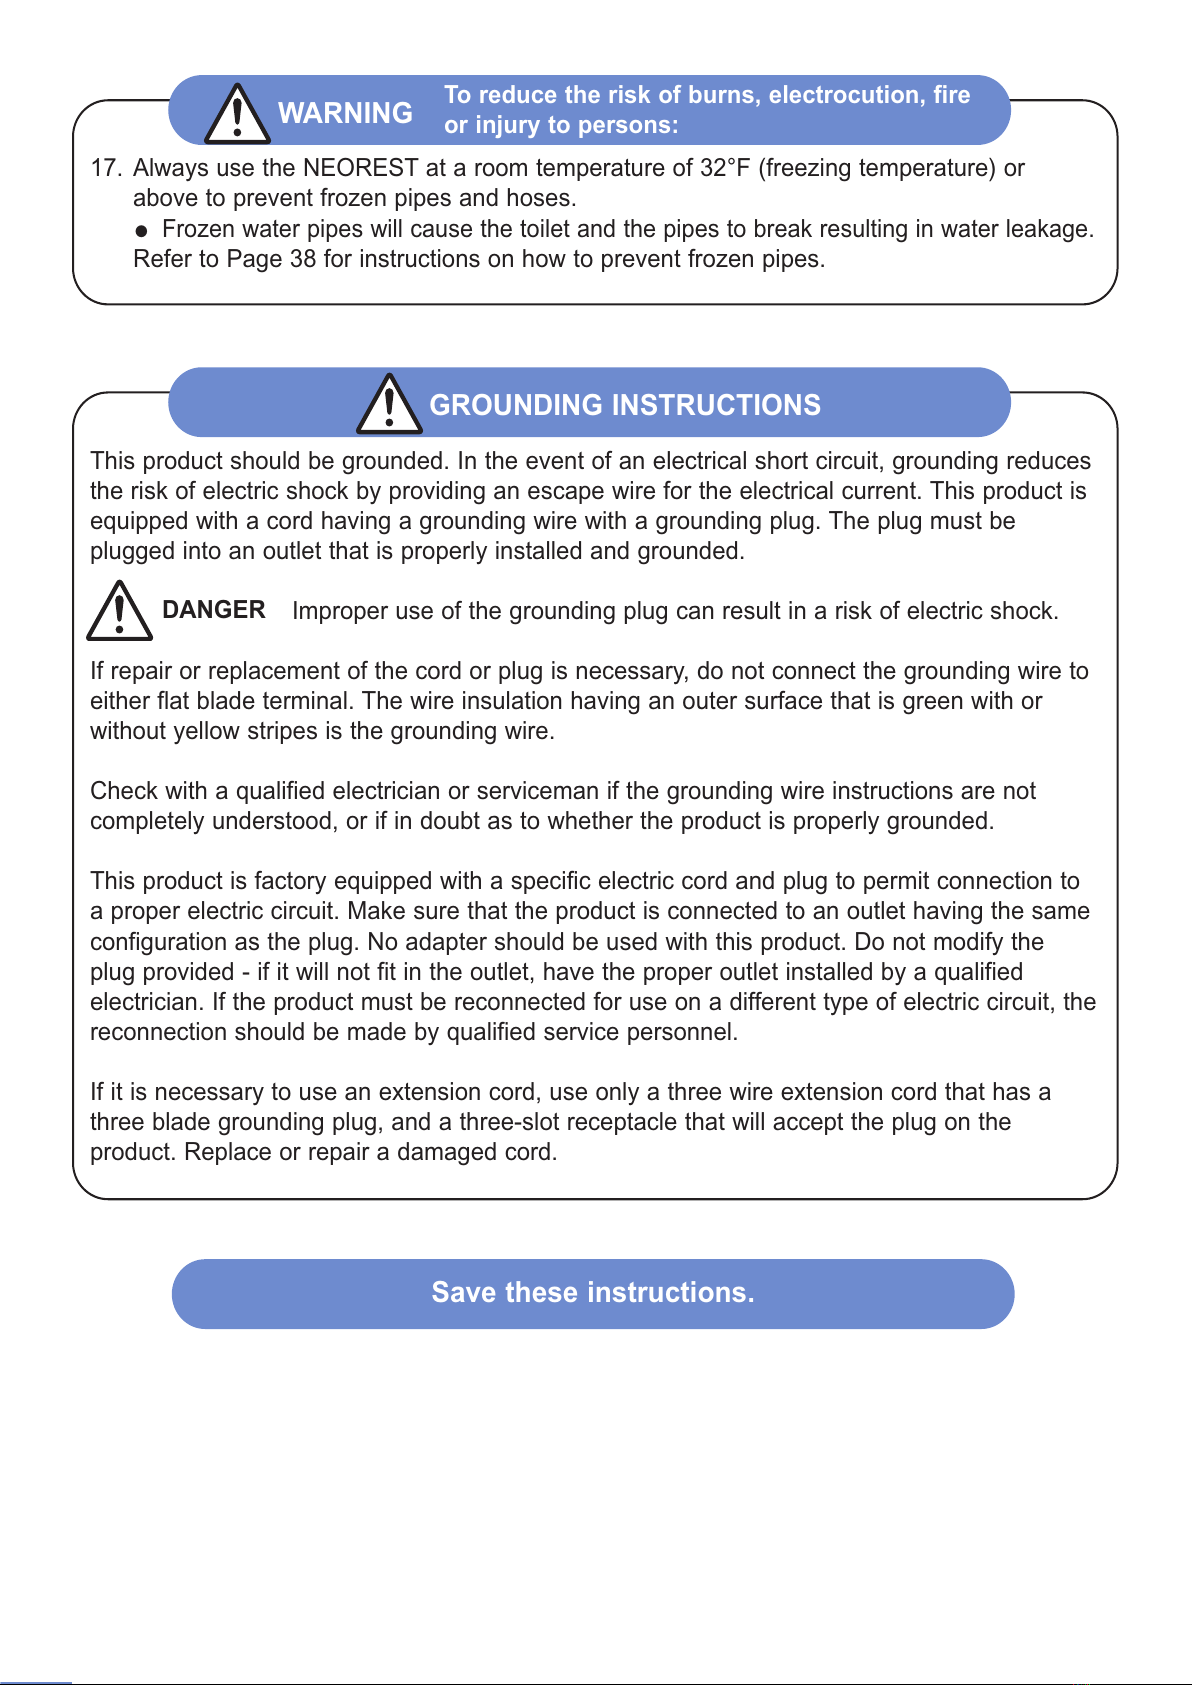
WARNING
To reduce the risk of electrocution:
13. Periodically remove dust and dirt from the power plug and make sure they are tightly
plugged into the wall outlet.
●Failure to do so may result in electrical shock or fire.
●Pull the plug out from the outlet and wipe clean with a dry cloth.
14. Do not unplug by pulling on cord. To unplug, grasp the plug, not the cord.
●Pulling on the cord may cause damage and result in electrical shock or fire.
DANGER


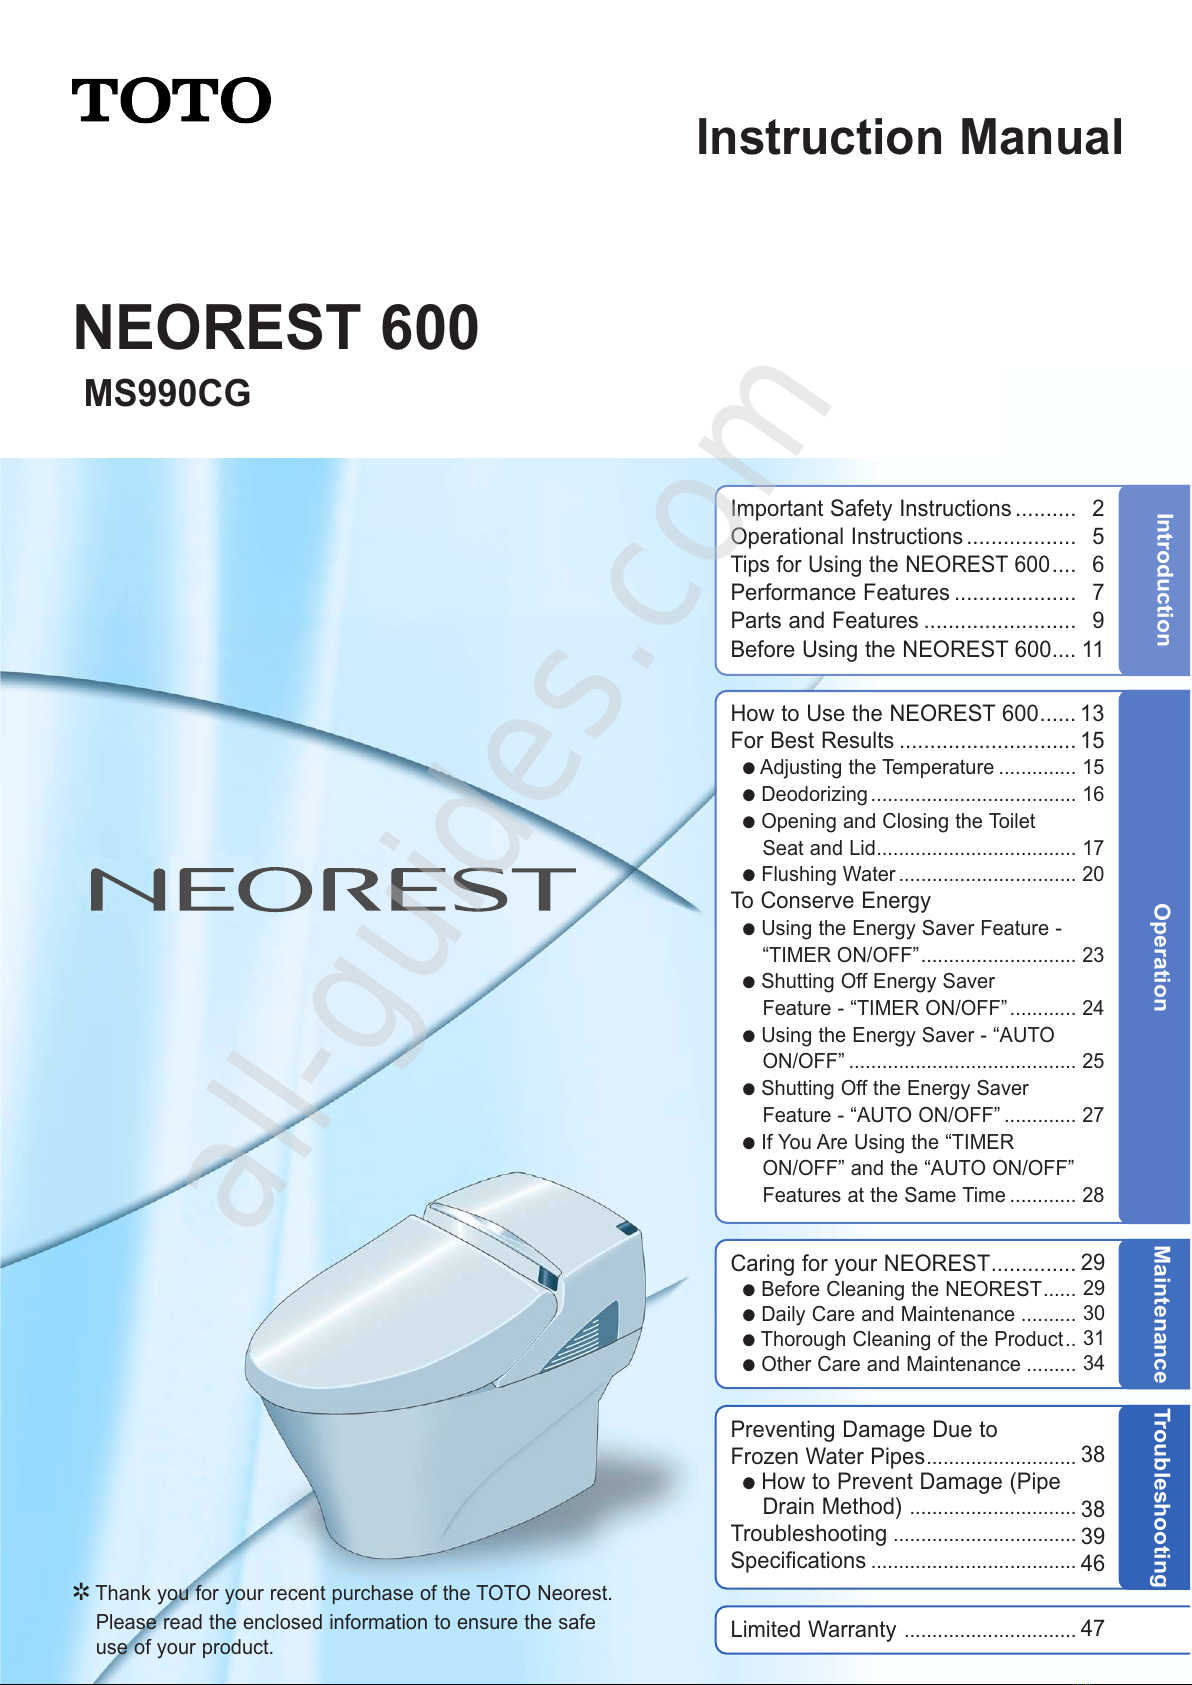
 User manual")