manuals.online logo
Brands
  1. Home
  2. •
  3. Brands
  4. •
  5. Toto
  6. •
  7. Toilet
  8. •
  9. Toto C971 Series User manual

Toto C971 Series User manual

Other manuals for C971 Series

1

This manual suits for next models

1

Other Toto Toilet manuals

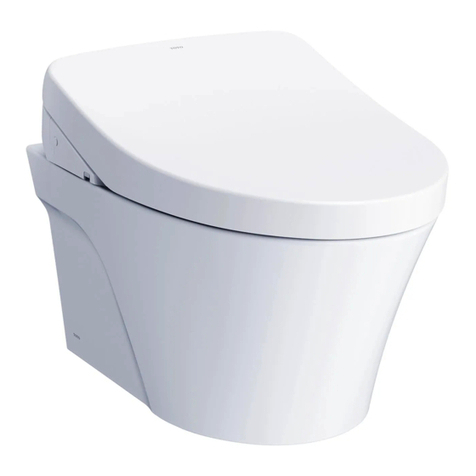
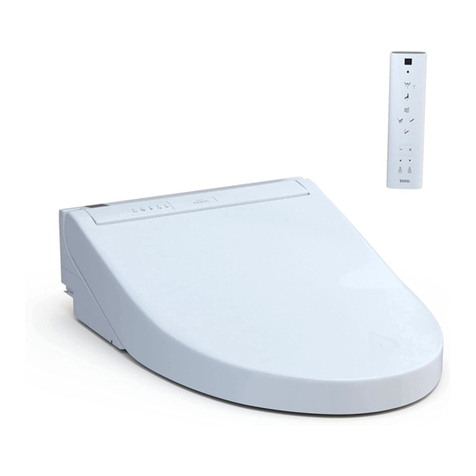
Toto Washlet TCF4911 Series User manual

Toto

Toto Washlet TCF4911 Series User manual

Toto CST703X.10 User manual

Toto

Toto CST703X.10 User manual

Toto CST423SF User manual

Toto

Toto CST423SF User manual

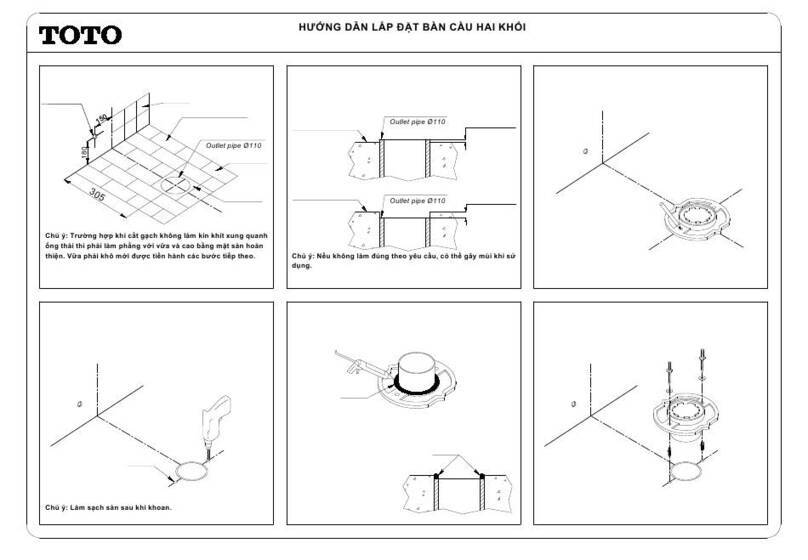
Toto CS320D Series User manual

Toto

Toto CS320D Series User manual

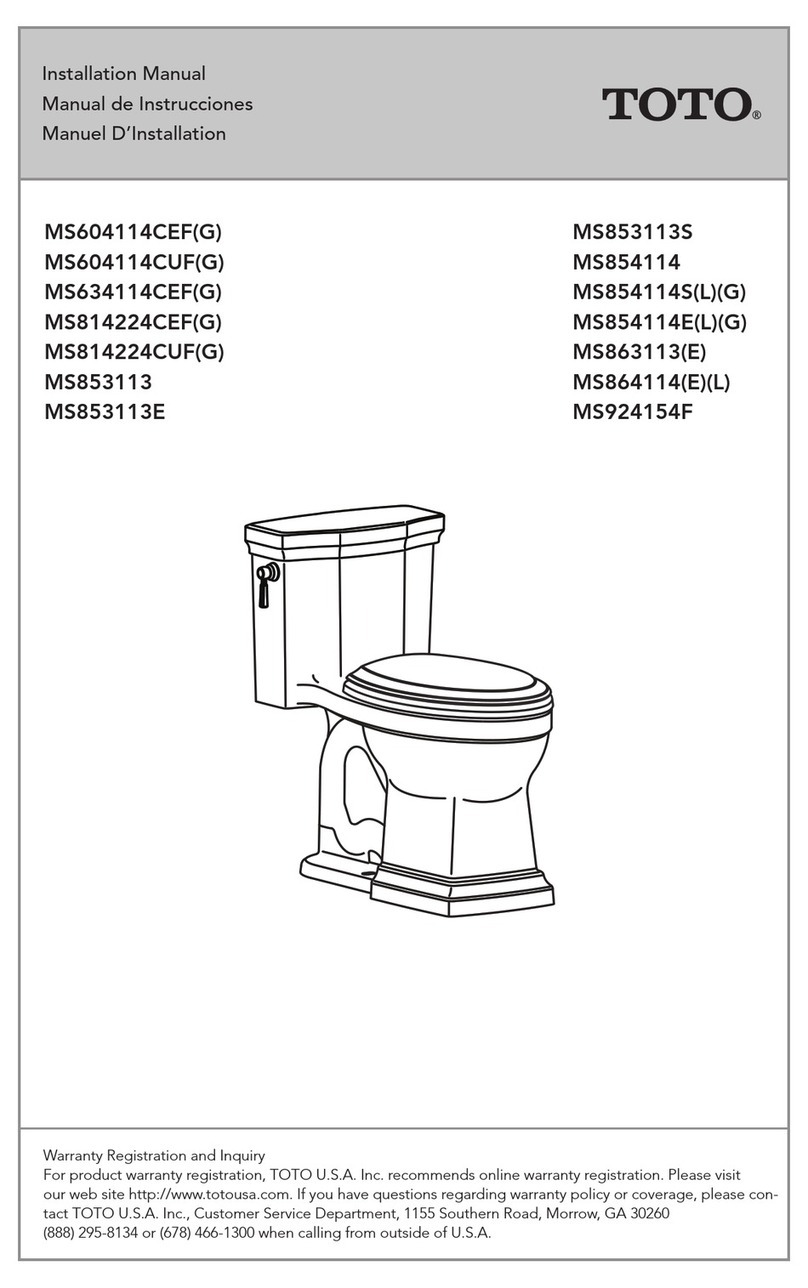
Toto MS604114 Series User manual

Toto

Toto MS604114 Series User manual

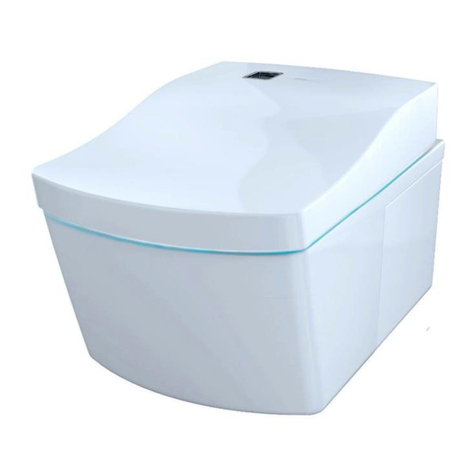
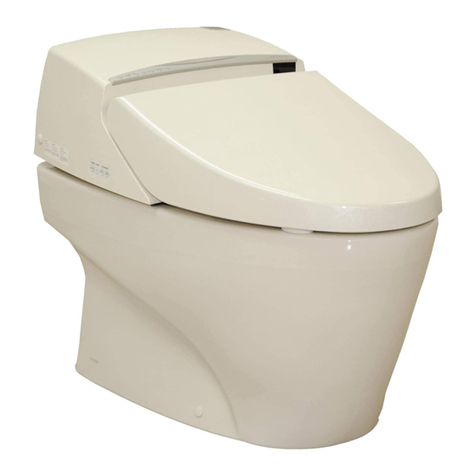
Toto NEOREST User manual

Toto

Toto NEOREST User manual

Toto Washlet E200 User manual

Toto

Toto Washlet E200 User manual

Toto Washlet SG User manual

Toto

Toto Washlet SG User manual

Toto NEOREST 500 User manual

Toto

Toto NEOREST 500 User manual

Toto CS818 Series User manual

Toto

Toto CS818 Series User manual

Toto Washlet Series User manual

Toto

Toto Washlet Series User manual

Toto DRAKE CST775 User manual

Toto

Toto DRAKE CST775 User manual

Toto CST405F Installation instructions

Toto

Toto CST405F Installation instructions

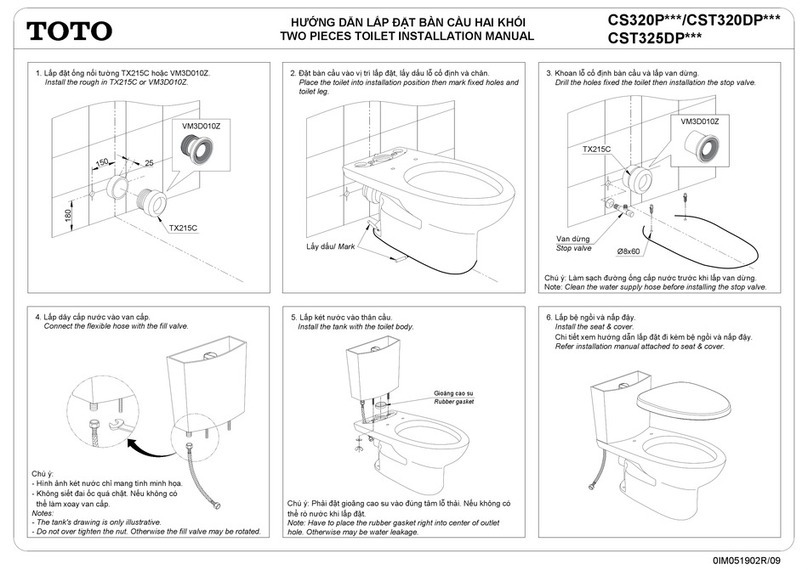
Toto CS320P Series User manual

Toto

Toto CS320P Series User manual

Toto NEOREST 750H User manual

Toto

Toto NEOREST 750H User manual

Toto CST764S User manual

Toto

Toto CST764S User manual

Toto Washlet EK TCF6402G User manual

Toto

Toto Washlet EK TCF6402G User manual

Toto WASHLET SW3074T40 User manual

Toto

Toto WASHLET SW3074T40 User manual

Toto CST244EF User manual

Toto

Toto CST244EF User manual

Toto AP WASHLET CWT4263046CMFG User manual

Toto

Toto AP WASHLET CWT4263046CMFG User manual

Toto SoftClose SS117 User manual

Toto

Toto SoftClose SS117 User manual

Toto NEOREST DH CS989VT User manual

Toto

Toto NEOREST DH CS989VT User manual
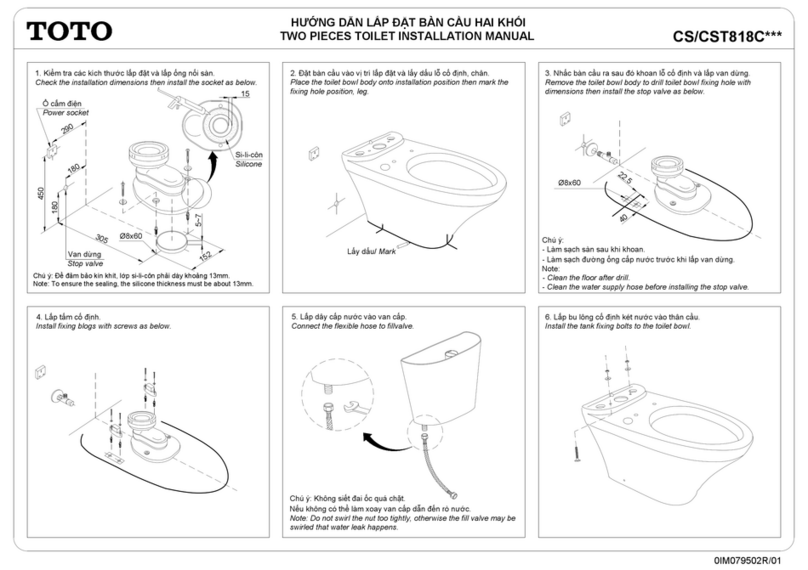
Toto washlet Assembly instructions

Toto

Toto washlet Assembly instructions

Toto C887 Series User manual

Toto

Toto C887 Series User manual
Popular Toilet manuals by other brands

nella LOCH NBMU-4062 ADA installation instructions

nella

nella LOCH NBMU-4062 ADA installation instructions

Crosswater US-PRO9005 manual

Crosswater

Crosswater US-PRO9005 manual

Kohler K-77780T-0 installation guide

Kohler

Kohler K-77780T-0 installation guide

Kohler K-6419 quick start guide

Kohler

Kohler K-6419 quick start guide

DENCK PURE-D user manual

DENCK

DENCK PURE-D user manual

Grohe Sensia ARENA user manual

Grohe

Grohe Sensia ARENA user manual

Kohler K-5171K Installation and care guide

Kohler

Kohler K-5171K Installation and care guide

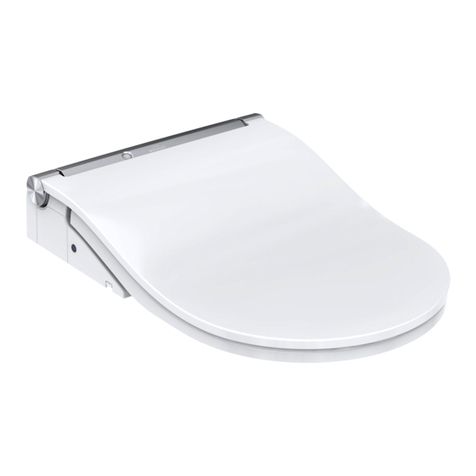
Geberit AQUACLEAN MERA CLASSIC user manual

Geberit

Geberit AQUACLEAN MERA CLASSIC user manual

Kohler K-24097X Installation and care guide

Kohler

Kohler K-24097X Installation and care guide

Better Bathrooms BUN/BeBa 27555/78725 user manual

Better Bathrooms

Better Bathrooms BUN/BeBa 27555/78725 user manual

American Standard CONCEPT Cube TF-2704 installation manual

American Standard

American Standard CONCEPT Cube TF-2704 installation manual

BIOLAN ECO Instructions for installation, use and maintenance

BIOLAN

BIOLAN ECO Instructions for installation, use and maintenance

Thetford C260 Series user manual

Thetford

Thetford C260 Series user manual

KELISS T162A Series instruction manual

KELISS

KELISS T162A Series instruction manual

Silent Venus SVP600 Installation & maintenance

Silent Venus

Silent Venus SVP600 Installation & maintenance

Kohler K-22241K Installation and care guide

Kohler

Kohler K-22241K Installation and care guide

Kohler ESCALE K-32771T-NS installation instructions

Kohler

Kohler ESCALE K-32771T-NS installation instructions
BIOLAN GARDEN TOILET Instructions for installation, use and maintenance

BIOLAN

BIOLAN GARDEN TOILET Instructions for installation, use and maintenance

manuals.online logo
manuals.online logoBrands
  • About & Mission
  • Contact us
  • Privacy Policy
  • Terms and Conditions

Copyright 2025 Manuals.Online. All Rights Reserved.

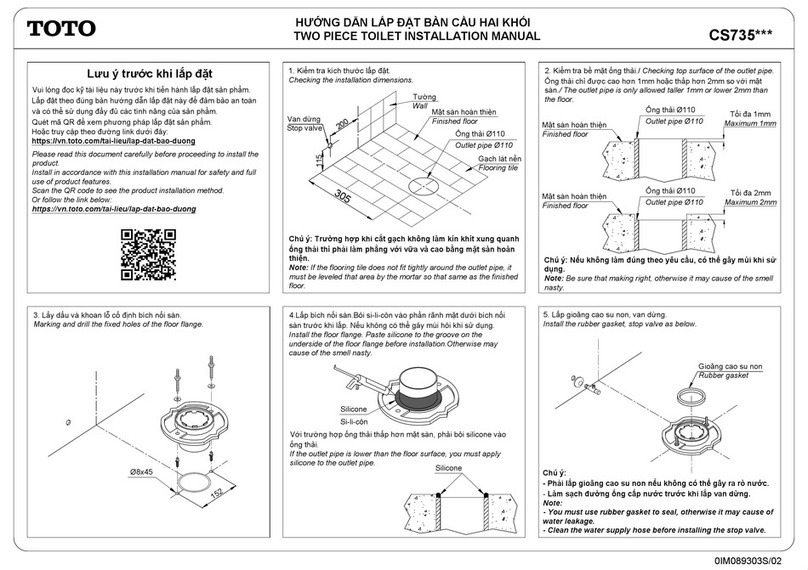
2. Kiểm tra bề mặt ống thải/ Checking top surface of the outlet pipe.
Ống thải chỉ được cao hơn 1mm hoặc thấp hơn 2mm so với mặt
sàn/ The outlet pipe is only allowed taller 1mm or lower 2mm than the
floor.
Tối đa 1mm
Maximum 1mm
Tối đa 2mm
Maximum 2mm
Ống thải Ø110
Outlet pipe Ø110
Chú ý: Nếu không làm đúng theo yêu cầu, có thể gây mùi khi sử
dụng.
Note: Be sure that making right, otherwise it may cause of the
smell nasty.
Ống thải Ø110
Outlet pipe Ø110
Mặt sàn hoàn thiện
Finished floor
Mặt sàn hoàn thiện
Finished floor
0IM075403R1/05
5. Bôi si-li-côn vào phần rãnh ở mặt dưới bích nối sàn.
Nếu không có thể gây mùi hôi khi sử dụng.
Paste silicone to the groove on the underside of the floor flange.
Otherwise may cause of the smell nasty.
6. Lắp cố định bích nối sàn.
Install the floor flange.
3. Lấy dấu lỗ cố định bích nối sàn.
Marking the fixed holes of the floor flange.
Lấy dấu
Mark
Với trường hợp ống thải thấp hơn mặt sàn, phải bôi si-li-côn vào
ống thải.
If the outlet pipe is lower than the floor surface, you must apply
silicone to the outlet pipe.
Si-li-côn
Silicone
Si-li-côn
Silicone
4. Khoan lỗ.
Drill the fixed holes.
Ø8x60
Chú ý: Làm sạch sàn sau khi khoan.
Note: Clean the floor after drill.
C971***/MS971***
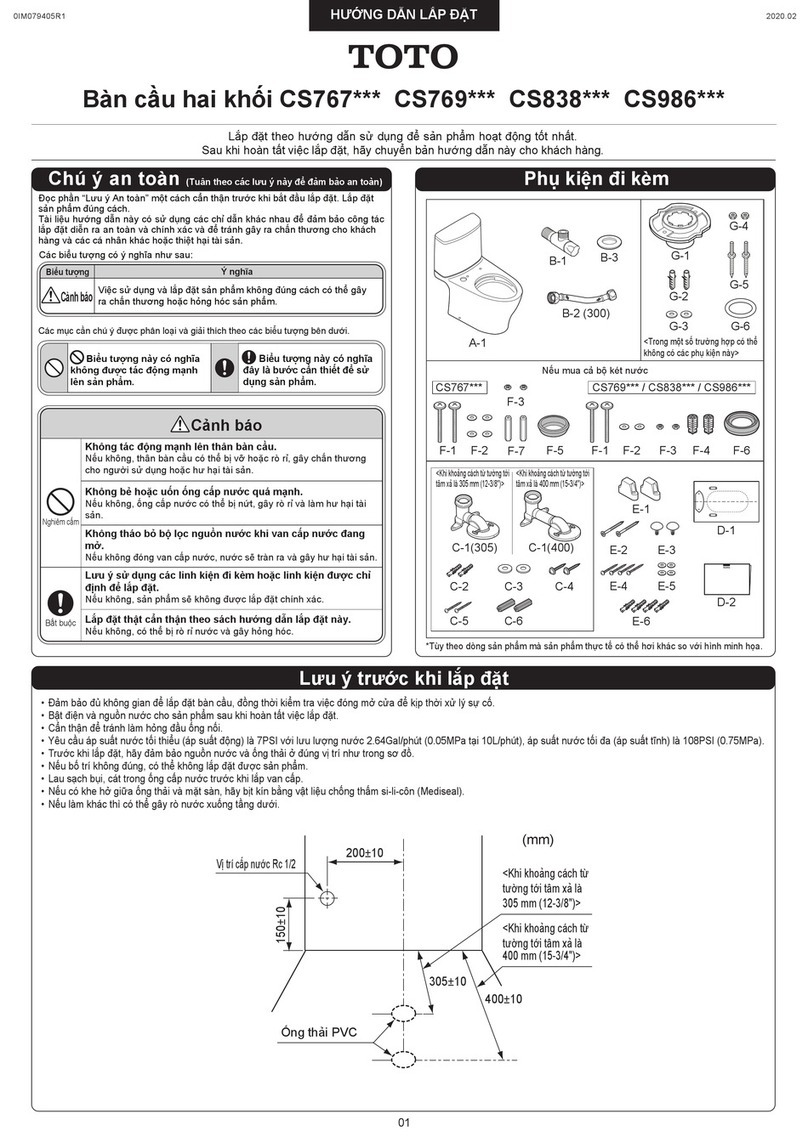
HƯỚNG DẪN LẮP ĐẶT BÀN CẦU
TOILET INSTALLATION MANUAL
1. Kiểm tra kích thước lắp đặt.
Checking the installation dimensions.
Ống thải Ø110
Outlet pipe Ø110
Vữa
Mortar
Chú ý: Trường hợp khi cắt gạch không làm kín khít xung quanh
ống thải thì phải làm phẳng với vữa và cao bằng mặt sàn hoàn
thiện. Vữa phải khô mới được tiến hành các bước tiếp theo.
Note: If the flooring tile does not fit tightly around the outlet
pipe, it must be leveled that area by the mortar so that same as
the finished floor. Let wait the mortar dry, then doing next steps.
Mặt sàn hoàn thiện
Finished floor
Tường
Wall
Gạch lát nền
Flooring tile
305
290
150
220~260
430~480
Ổ cắm điện
Power socket
Lỗ cấp nước
Water supplied
hole
01
HƯỚNG DẪN LẮP ĐẶT BÀN CẦU
TOILET INSTALLATION MANUAL
9. Lấy dấu lỗ cố định và chân.
Mark fixed holes and toilet leg.
Gioăng cao su non
P-seal
Lấy dấu/ Mark
11. Lắp tấm cố định.
Install the fixed plate.
305
Ø6x45
160
Chú ý:
- Phải lắp gioăng cao su non nếu không có thể gây ra rò nước
- Đối với phụ kiện số (1, 2, 3, 4) nếu khách hàng không mua kèm. Xin
vui lòng chuẩn bị trước khi lắp đặt.
Note:
-You must use P-seal to seal, otherwise water leak happens.
-With (1, 2, 3, 4) parts, if you do not buy together with toilet bowl. Please
prepare before the installtion.
7. Lắp ống nối sàn.
Install the socket.
1
2
3
4
Chú ý: Làm sạch sàn sau khi khoan.
Note: Clean the floor after drill.
258.5
8. Đặt bàn cầu vào vị trí lắp đặt.
Place the toilet into installation position.
50
Ø6x45
45
10. Khoan lỗ lắp tấm cố định.
Drill to install fixed plate.
Chú ý: Làm sạch sàn sau khi khoan.
Note: Clean the floor after drill.
C971***/MS971***
02 0IM075403R1/05
12. Lắp van dừng.
Install the stop valve.
16. Dùng tay lắp đai ốc nhựa với bu-lông.
Install the plastic nuts with the bolts by hand.
13. Lắp gioăng cao su vào nắp rửa tự động.
Install the rubber gasket on the washlet.
14. Lắp bu-lông vào lỗ cố định trên nắp rửa tự động.
Insert bolts into the installation holes on the washlet.
HƯỚNG DẪN LẮP ĐẶT BÀN CẦU
TOILET INSTALLATION MANUAL
15. Lắp nắp rửa tự động với bàn cầu.
Install the washlet to the toilet bowl.
C971***/MS971***
03
Chú ý: Làm sạch đường ống cấp nước trước khi lắp van dừng.
Note: Clean the water supply hose before installing the stop valve.
Chú ý: Không được dùng dụng cụ vặn lực để vặn đai ốc với bu-lông, nếu không có thể gây ra nứt, vỡ.
Note: Do not use tools to tighten the plastic nut with the bolt, otherwise it may cause cracking or breakage.
0IM075403R1/05
HƯỚNG DẪN LẮP ĐẶT BÀN CẦU
TOILET INSTALLATION MANUAL C971***/MS971***
04
17. Lắp đặt bàn cầu xuống sàn.
Install the toilet bowl onto the floor.
20. Lắp dây cấp nước vào van dừng.
Install the flexible hose with the stop valve.
21. Làm kín bề mặt áp sàn bằng si-li-côn.
Seal the gap between leg and floor by silicone.
Si-li-côn
Silicone
18. Cố định bàn cầu bằng vít và lắp nút trang trí.
Fix the toilet bowl with screws then install the cover.
19. Loại bỏ miếng băng dính dán trên cửa vòi rửa.
Remove the tape from the washing hose door.
22. Cắm nguồn điện.
Connect the power.
Băng dính
Tape
0IM075403R1/05
33mm
HƯỚNG DẪN LẮP ĐẶT BÀN CẦU
TOILET INSTALLATION MANUAL C971***/MS971***
05
Ø3mm x2
Ø3mm x3
24. Lắp đặt giá đỡ cho bộ điều khiển./ Install the bracket for the controller.
300
760
1060
Vị trí lắp đặt: Lắp đặt giá đỡ bộ điều khiển tại mặt tường bên trái hoặc
bên phải đều được.
Installation position: Installing the controller bracket on the side wall,
left or right wall is fine.
Lựa chọn 1: Nắp rửa tự động dùng bộ điều khiển cầm tay hoặc
bảng điều khiển gắn tường.
Option 1: The washlet using handheld controller or wall control panel.
Vị trí lắp đặt: Lắp đặt giá đỡ bộ điều khiển tại mặt tường phía sau,
bên trái hoặc bên phải đều được.
Installation position: Installing the controller bracket on the rear wall,
left or right is fine.
Lựa chọn 2: Nắp rửa tự động dùng bộ điều khiển cầm tay.
Option 2: The washlet using handheld controller.
250 400 250
760
1060
450
23. Lắp pin vào bộ điều khiển cầm tay hoặc bảng điều khiển gắn
tường, tùy theo loại điều khiển đi kèm với nắp rửa tự động.
Install the batteries in the handheld controller or wall control panel,
depending on the type of controller that attached with the washlet.
Bộ điều khiển cầm tay
25. Khoan lỗ để lắp giá đỡ bộ điều khiển./ Drill holes to mount the controller bracket.
Lựa chọn 1: Lắp giá đỡ cho bộ điều khiển trên tường gỗ.
Option 1: Install the bracket for the controller on a wooden wall.
Lựa chọn 2: Lắp giá đỡ cho bộ điều khiển trên tấm thạch cao, tường lát gạch.
Option 2: Install the bracket for the controller on a plaster board, tiled wall.
Ø6mm x2
Ø6mm x3
33mm
Bảng điều khiển gắn tường
Handheld controller
Wall control panel
0IM075403R1/05
MS971P***
HƯỚNG DẪN LẮP ĐẶT BÀN CẦU
TOILET INSTALLATION MANUAL
1. Lắp đặt ống nối tường.
Install the rough in.
290
150
180
128
220~260
430~480
2. Đặt bàn cầu vào vị trí lắp đặt.
Place the toilet into installation position.
3. Lấy dấu lỗ cố định và chân.
Mark fixed holes and toilet leg.
Lấy dấu/ Mark
50
45
Ø6x45
5. Lắp tấm cố định.
Install the fixed plate.
6. Lắp van dừng.
Install the stop valve.
4. Khoan lỗ lắp tấm cố định.
Drill to install fixed plate.
Chú ý: Làm sạch sàn sau khi khoan.
Note: Clean the floor after drill.
06
Chú ý: Làm sạch đường ống cấp nước trước khi lắp van dừng.
Note: Clean the water supply hose before installing the stop valve.
0IM075403R1/05
HƯỚNG DẪN LẮP ĐẶT BÀN CẦU
TOILET INSTALLATION MANUAL MS971P***
07
7. Lắp gioăng cao su vào nắp rửa tự động.
Install the rubber gasket on the washlet.
8. Lắp bu-lông vào lỗ cố định trên nắp rửa tự động.
Insert bolts into the installation holes on the washlet.
10. Dùng tay lắp đai ốc nhựa với bu-lông.
Install the plastic nuts with the bolts by hand.
9. Lắp nắp rửa tự động với bàn cầu.
Install the washlet to the toilet bowl.
Chú ý: Không được dùng dụng cụ vặn lực để vặn đai ốc với bu-lông, nếu không có thể gây ra nứt, vỡ.
Note: Do not use tools to tighten the plastic nut with the bolt, otherwise it may cause cracking or breakage.
0IM075403R1/05
HƯỚNG DẪN LẮP ĐẶT BÀN CẦU
TOILET INSTALLATION MANUAL
08
11. Lắp đặt bàn cầu xuống sàn.
Install the toilet bowl onto the floor.
14. Lắp dây cấp nước vào van dừng.
Install the flexible hose with the stop valve.
15. Làm kín bề mặt áp sàn bằng si-li-côn.
Seal the gap between leg and floor by silicone.
Si-li-côn
Silicone
12. Cố định bàn cầu bằng vít và lắp nút trang trí.
Fix the toilet bowl with screws then install the cover.
13. Loại bỏ miếng băng dính dán trên cửa vòi rửa.
Remove the tape from the washing hose door.
16. Cắm nguồn điện.
Connect the power.
Băng dính
Tape
MS971P***
0IM075403R1/05
33mm
HƯỚNG DẪN LẮP ĐẶT BÀN CẦU
TOILET INSTALLATION MANUAL
09
Ø3mm x2
Ø3mm x3
17. Lắp pin vào bộ điều khiển cầm tay hoặc bảng điều khiển gắn
tường, tùy theo loại điều khiển đi kèm với nắp rửa tự động.
Install the batteries in the handheld controller or wall control panel,
depending on the type of controller that attached with the washlet.
Bộ điều khiển cầm tay
19. Khoan lỗ để lắp giá đỡ bộ điều khiển./ Drill holes to mount the controller bracket.
Lựa chọn 1: Lắp giá đỡ cho bộ điều khiển trên tường gỗ.
Option 1: Install the bracket for the controller on a wooden wall.
Lựa chọn 2: Lắp giá đỡ cho bộ điều khiển trên tấm thạch cao, tường lát gạch.
Option 2: Install the bracket for the controller on a plaster board, tiled wall.
Ø6mm x2
Ø6mm x3
33mm
Bảng điều khiển gắn tường
Handheld controller
Wall control panel
MS971P***
18. Lắp đặt giá đỡ cho bộ điều khiển./ Install the bracket for the controller.
300
760
1060
Vị trí lắp đặt: Lắp đặt giá đỡ bộ điều khiển tại mặt tường bên trái hoặc
bên phải đều được.
Installation position: Installing the controller bracket on the side wall,
left or right wall is fine.
Lựa chọn 1: Nắp rửa tự động dùng bộ điều khiển cầm tay hoặc
bảng điều khiển gắn tường.
Option 1: The washlet using handheld controller or wall control panel.
Vị trí lắp đặt: Lắp đặt giá đỡ bộ điều khiển tại mặt tường phía sau,
bên trái hoặc bên phải đều được.
Installation position: Installing the controller bracket on the rear wall,
left or right is fine.
Lựa chọn 2: Nắp rửa tự động dùng bộ điều khiển cầm tay.
Option 2: The washlet using handheld controller.
250 400 250
760
1060
450
0IM075403R1/05