manuals.online logo
Brands
  1. Home
  2. •
  3. Brands
  4. •
  5. Tower Hobbies
  6. •
  7. Toy
  8. •
  9. Tower Hobbies NO GRAVITY User manual

Tower Hobbies NO GRAVITY User manual

Our model kits are subject to constant quality checks throughout the production process, and we sincerely
hope that you are completely satisfied with the contents of your kit. However, we would ask you to check all
the parts before you start construction, referring to the Parts List, as we cannot exchange components which
you have already modified. If you find any part is not acceptable for any reason, we will readily correct or
exchange it once we have examined the faulty component. Just send the offending part to our Model
Department. Please be sure to include the enclosed complaint form, duly completed. We are constantly
working on improving our models, and for this reason we must reserve the right to change the kit contents
in terms of shape or dimensions of parts, technology, materials and fittings, without prior notification.
Please understand that we cannot entertain claims against us if the kit contents do not agree in every
respect with the instructions and the illustrations.
Radio-controlled models, and especially model aircraft, are by no means playthings in the usual sense of the
term. Building and operating them safely requires a certain level of technical competence and manual skill,
together with discipline and a responsible attitude at the flying field. Errors and carelessness in building and
flying the model can result in serious personal injury and damage to property. Since we, as manufacturers,
have no control over the construction, maintenance and operation of our products, we are obliged to take
this opportunity to point out these hazards and to emphasise your personal responsibility.
Specifications
Steps of assembly
Choose a flying field
Center of gravity
Safety
1.Fuselage 1pc
2.Wing 1pc
3.Elevator 1pc
4.Rudder 1pc
5.Equipment canopy 1pc
6.Right wing fence 1pc
7.Left wing fence 1pc
8.Spinner 1pc
9.Fuselage foam block 1pc
10.Left part of landing gear 1pc
11.Right part of landing gear 1pc
12.Pull-pull fishing line 1pc
13.Vector system 1pc
14.Motor mount 1pc
15.Aileron servo control horn 1pc
16.GWS HD 8040 1pc
17.Screw (ST1.4*6 ) 14pcs
18.Adjustor 2pcs
19.O ring 2pcs
20.Spinner connecting part 1pc
21.Aileron push rod 2pcs
22.Wing bracings #1 2pcs
23.Elevator push rod 1pc
24.Washers 2pcs
25.Vector system push rod 2pcs
26.Elevator bracings 2pcs
27.Wing bracings #2 2pcs
1. Matched with vector rotating system on rudder which increases the flexibility on rudder control.
2. Good wind-resistance and stability, easy for control.
3. EPO foam construction that is beaufiful, crash-resistant and easy for maintenance makes very
robust airframe.
4. A thoughtful equipment cabin design, all electronic equipments can be installed and safely
secured inside.
5. Simple design, 85% pre-assembled and super convenient assembly process keeps you far
away from the complicated traditional assembly process of indoor 3D plane and long time
waiting.
6. Professional airframe configuration and special airfoil design makes it a great lightweight 3D
airplane for a wide flight speed range.
7. No matter you’re professional 3D flyer or just starting out in 3D, we believe Sbach342 is a
good choice.
Battery
3S 400mAh
20C Li-Po
Motor
AT2206V2
KV 1500
ESC
10A
With BEC
8
NO GRAVITY Specification
33.1 in (840 mm)
37.8 in (960 mm)
0.61 lb-0.65 lb (275g-295g)
Always be careful of propeller when plugging in the lipo batter y and
the lipo batter y is installed !!!!
NO GRAVITY
NO GRAVITY
Steps of ASSEMBLY
1.Install left and right landing gear into corresponding slots on fuselage, then fix
with glue.
2.Insert wing into corresponding slots on fuselage, then use glue to fix. Make
sure the wing without installed control horn pass through fuselage first, and
ensure the wing is perpendicular to fuselage. A=B.
3.Install aileron servo control horn into corresponding slot on aileron, then
fix with glue.
4.Insert stabilizer into the slot of rear fuselage and fix with glue. Make sure
C=D.
NO GRAVITY
5.Install fuselage foam block into slot that shown in above picture, then fix with glue.
6.Attach rudder onto the rear fuselage according to their corresponding cuttings
and fix with glue. Make sure the rudder is on the same level as fuselage.
7.Insert left and right wing fences into slots on wing, make sure they’re perpendicular
to wing, then fix with glue.
8.Install wing bracing rod 1 and 2 on corresponding places on wing and fuselage,
after make sure wing and fuselage is perpendicular to each other, fix the bracings
with glue.
9.Install elevator bracings as picture shown. Make sure fuselage and elevator is
perpendicular to each other, then fix the bracings with glue.
9.1.Place adjustors into holes on servo arm, and fix them with nuts both upside
and downside. Befor adding glue on joints between servo arm and nuts,
make sure adjustors are in function.
9.2.Pass the servo wires through the servo house as picture shown.
9.3.Fix the assembled servo arm onto servo with screw.
9.4.Put this servo which will be used for vector system into the servo house, then
fix with glue.
NO GRAVITY
10.1.Pass aileron servo wires through corresponding servo house.
10.2.Fix servo arm on servo with screw.
10.3.Place aileron servo into correpsonding servo house, then fix with glue.
11.1.Pass elevator servo wires through corresponding servo house.
11.2.Fix servo arm on servo with screw.
11.3.Place elevator servo into correpsonding servo house, then fix with glue.
12.1.Pass rudder servo wires through corresponding servo house.
12.2.Fix servo arm on servo with screw.
12.3.Place rudder servo into correpsonding servo house, then fix with glue.
13.Install the aileron pushrod, one end connected to aileron control horn, another
end connected to servo arm. You can adjust the length of pushrod with clips on
the two ends.
NO GRAVITY
14.1.Remove one clip from the elevator pushrod, then pass the pushrod through the
pushrod guiding tube.
14.2.Put on the removed clip on pushrod.
14.3.Install the elevator pushrod, one end connected to control horn, another end
connected to servo arm. You can adjust the length of pushrod with clips on the
two ends.
15.1.Thread the pull-pull fishing line through the rudder servo hole, then fix it with glue.
15.2.Adjust the pull-pull line to a proper length, and pass another end of fishing line
through the servo arm, then fix it with screw and washer as picture shown.
16. Vector system installation
16.1.Install the motor on vector system, then fix it with screws.
16.2.Connect the vector stystem pushrod with Z bend to the corresponding
holes.
16.3.Install vector system on motor mount with screws. And pass the
pushrod wire through the hole on adjustor, then adjust the wire length
with screw on adjustor.
NO GRAVITY
11 12
17. If you don’t need the vector system, please read following installation steps.
17.1. Skip step 9 on how to install vector system servo.
17.2.Pass ESC through the middle part of motor mount.
17.3.Install motor on motor mount with screws.
17.4.Fix motor mount on fixing mount of fuselage with screws.
18. Install 8040 propeller on motor with O rings.
19.1.Insert spinner connecting part into middle hole of propeller. (no need
to drop glue)
19.2.Another end connect to spinner, then fix with glue.
20. Place receiver and battery into equipment cabin, then fix with velcro.
21.Cover the equipment canopy.
NO GRAVITY
1413
Choose a Flying Field
In order to have the most success and to protect your property and aircraft, it is very
important to select a place to fly that is very open. Consult local laws and ordinances before
choosing a location to fly your aircraft.
The site should:
• Have a minimum of 200m of clear space in all directions.
• Stay clear of pedestrians.
• Stay free of trees, buildings, cars, power lines or anything that could entangle your aircraft or
interfere with your line of sight.
Plan on flying in an area that gives you more space than you think you need, especially with first
flights.
The center of gravity (CG) should be at a position of 60mm-70mm away from leading edge,
please refer to above picture.
Safety is the First Commandment when flying any model aircraft.
Third party insurance should be considered a basic essential. If you join a model club suitable
cover will usually be available through the organisation. It is your personal responsibility to
ensure that your insurance is adequate. Make it your job to keep your models and your radio
control system in perfect order at all times. Check the correct charging procedure for the
batteries you are using. Make use of all sensible safety systems and precautions which are
advised for your system. An excellent source of practical accessories is our main catalogue,
as our products are designed and manufactured exclusively by practising modellers for other
practising modellers.
Always fly with a responsible attitude. You may think that flying low over other people’s heads
is proof of your piloting skill; others know better. The real expert does not need to prove
himself in such childish ways. Let other pilots know that this is what you think too.
Always fly in such a way that you do not endanger yourself or others. Bear in mind that even the
best RC system in the world is subject to outside interference. No matter how many years of
accident-free flying you have under your belt, you have no idea what will happen in the next minute.
We hope you have many hours of pleasure building and flying your new model.
Wing
Fuselage
Stabilizer
Vertical fin Landing gear set
Equipment canopy
NO GRAVITY
15 16
Spinner Vector system
Motor mount
Pushrod set
Bracings
O ring
Other accessory pack
NO GRAVITY
Motor:2206 Kv1500
Servo: 8g micro servo
ESC :10Amp
Battery3S 400mAh 20C Li-Po
17 18
NO GRAVITY
NO GRAVITY
NO GRAVITY
Other Tower Hobbies Toy manuals

Tower Hobbies VISTA GRANDE EP User manual

Tower Hobbies

Tower Hobbies VISTA GRANDE EP User manual

Tower Hobbies TOWA2200 User manual

Tower Hobbies

Tower Hobbies TOWA2200 User manual

Tower Hobbies CrazE Wing EP ARF User manual

Tower Hobbies

Tower Hobbies CrazE Wing EP ARF User manual

Tower Hobbies Laser 200 Flatty User manual

Tower Hobbies

Tower Hobbies Laser 200 Flatty User manual

Tower Hobbies EDGE 540 User manual

Tower Hobbies

Tower Hobbies EDGE 540 User manual

Tower Hobbies P-51 MUSTANG MKII EP Rx-R User manual

Tower Hobbies

Tower Hobbies P-51 MUSTANG MKII EP Rx-R User manual

Tower Hobbies Uproar V2 .46 EP ARF User manual

Tower Hobbies

Tower Hobbies Uproar V2 .46 EP ARF User manual

Tower Hobbies TOWER TRAINER 60 MKII User manual

Tower Hobbies

Tower Hobbies TOWER TRAINER 60 MKII User manual

Tower Hobbies Slow Ride User manual

Tower Hobbies

Tower Hobbies Slow Ride User manual

Tower Hobbies UPROAR User manual

Tower Hobbies

Tower Hobbies UPROAR User manual

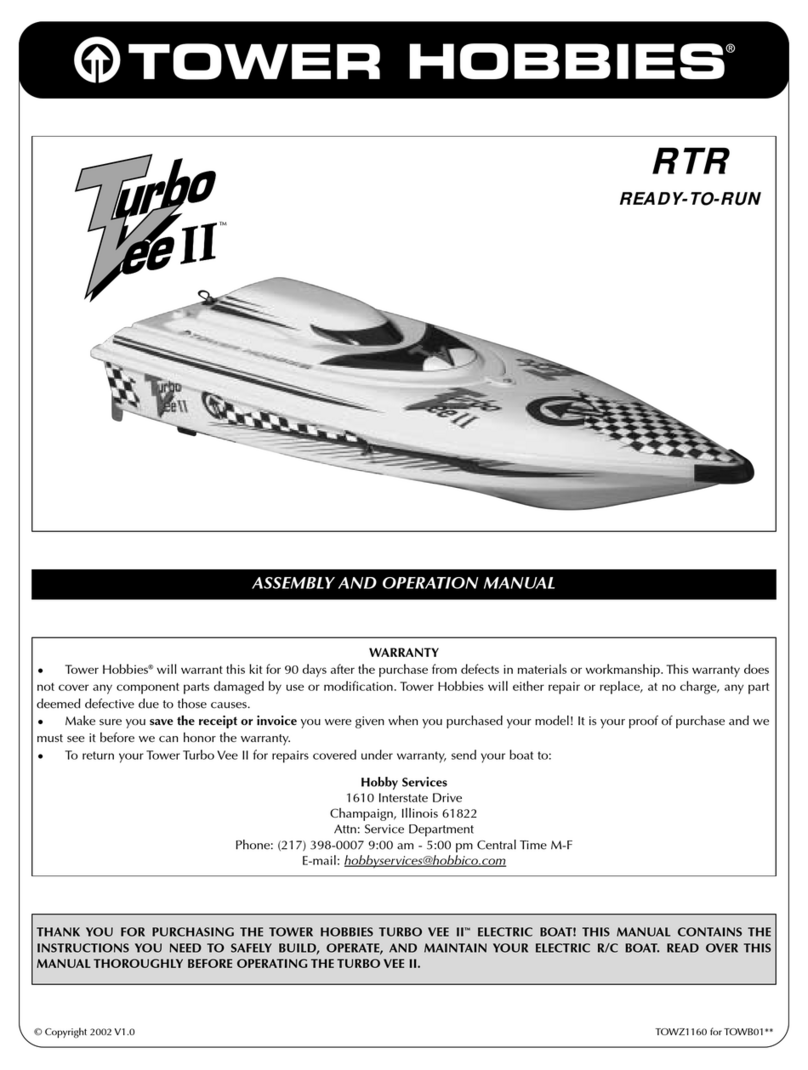
Tower Hobbies Turbo Vee 2 Installation and operating instructions

Tower Hobbies

Tower Hobbies Turbo Vee 2 Installation and operating instructions

Tower Hobbies KAOSARF .60/EP User manual

Tower Hobbies

Tower Hobbies KAOSARF .60/EP User manual

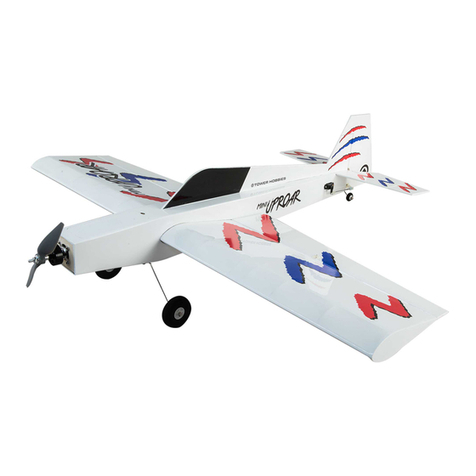
Tower Hobbies Mini Uproar User manual

Tower Hobbies

Tower Hobbies Mini Uproar User manual

Tower Hobbies Ultimate User manual

Tower Hobbies

Tower Hobbies Ultimate User manual

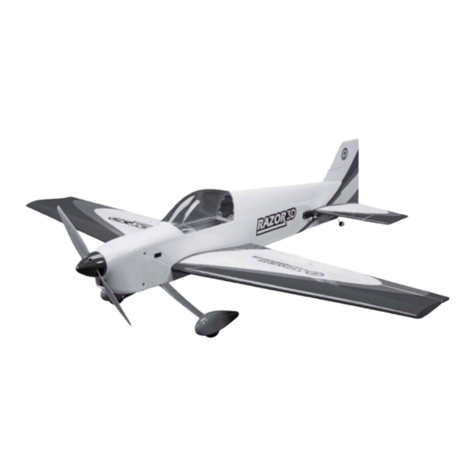
Tower Hobbies Razor 3D User manual

Tower Hobbies

Tower Hobbies Razor 3D User manual

Tower Hobbies FUN 51 User manual

Tower Hobbies

Tower Hobbies FUN 51 User manual

Tower Hobbies SPORT User manual

Tower Hobbies

Tower Hobbies SPORT User manual

Tower Hobbies UPROAR User manual

Tower Hobbies

Tower Hobbies UPROAR User manual

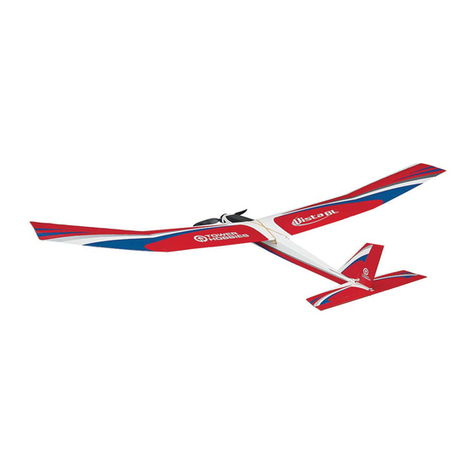
Tower Hobbies Vista User manual

Tower Hobbies

Tower Hobbies Vista User manual

Tower Hobbies Vista EP User manual

Tower Hobbies

Tower Hobbies Vista EP User manual

Tower Hobbies Sbach User manual

Tower Hobbies

Tower Hobbies Sbach User manual

Tower Hobbies VistaBL User manual

Tower Hobbies

Tower Hobbies VistaBL User manual

Tower Hobbies Tower Trainer 40 ARF User manual

Tower Hobbies

Tower Hobbies Tower Trainer 40 ARF User manual

Tower Hobbies F6F Hellcat User manual

Tower Hobbies

Tower Hobbies F6F Hellcat User manual

Popular Toy manuals by other brands

Aeronaut Canadair CL-415 Building instructions

Aeronaut

Aeronaut Canadair CL-415 Building instructions

protech ZOOM 450 IC instruction manual

protech

protech ZOOM 450 IC instruction manual

E Star AIR TRACTOR AT-802 instructions

E Star

E Star AIR TRACTOR AT-802 instructions

Top R/C Hobby BLAZER Operation manual

Top R/C Hobby

Top R/C Hobby BLAZER Operation manual

Step 2 Fire Engine for Two instruction manual

Step 2

Step 2 Fire Engine for Two instruction manual

V-tech Bob the Builder Laptop user manual

V-tech

V-tech Bob the Builder Laptop user manual

V-tech Chomp & Count Dino user manual

V-tech

V-tech Chomp & Count Dino user manual

LaserPegs NFL003 Lift the House Assembly instruction

LaserPegs

LaserPegs NFL003 Lift the House Assembly instruction

InspirationWorks My Magical Secret Book instruction manual

InspirationWorks

InspirationWorks My Magical Secret Book instruction manual

V-tech nickelodeon PAW Patrol Learning Watch Parents' guide

V-tech

V-tech nickelodeon PAW Patrol Learning Watch Parents' guide

Avantco Aurora 90 Electric Assembly manual

Avantco

Avantco Aurora 90 Electric Assembly manual

V-tech Sliding Songs Bead Maze user manual

V-tech

V-tech Sliding Songs Bead Maze user manual

V-tech Kidizoom camera Connect user manual

V-tech

V-tech Kidizoom camera Connect user manual

V-tech Smart Stunts RC Cruiser user manual

V-tech

V-tech Smart Stunts RC Cruiser user manual

protech Onyx 140 instruction manual

protech

protech Onyx 140 instruction manual

Hobby King Plug-N-Fly Paramotor instruction manual

Hobby King

Hobby King Plug-N-Fly Paramotor instruction manual

KNEX ORANGE COUNTY CHOPPERS MIKEY'S ALL-STAR BIKE manual

KNEX

KNEX ORANGE COUNTY CHOPPERS MIKEY'S ALL-STAR BIKE manual

V-tech Kidizoom Plus user manual

V-tech

V-tech Kidizoom Plus user manual

manuals.online logo
manuals.online logoBrands
  • About & Mission
  • Contact us
  • Privacy Policy
  • Terms and Conditions

Copyright 2025 Manuals.Online. All Rights Reserved.