TPCAST TX-1 Instruction Manual

1
User Guide on installation of
TPCAST Wireless Adaptor for VIVE
CE-01H-UG-EN-008
新版印刷(无蓝牙)英文 2017-06-28-US.indd 1 2017/6/28 下午3:57
1
Installation of Software Client
1
What's inside the box
2
Instructions of main components
3
Connection instructions
4
Operation instructions
5
Instructions on erection of PC transmitter
6
Safety and Note
7
Frequently asked questions
8
CONETENTS
新版印刷(无蓝牙)英文 2017-06-28-US.indd 1 2017/6/28 下午3:57
2
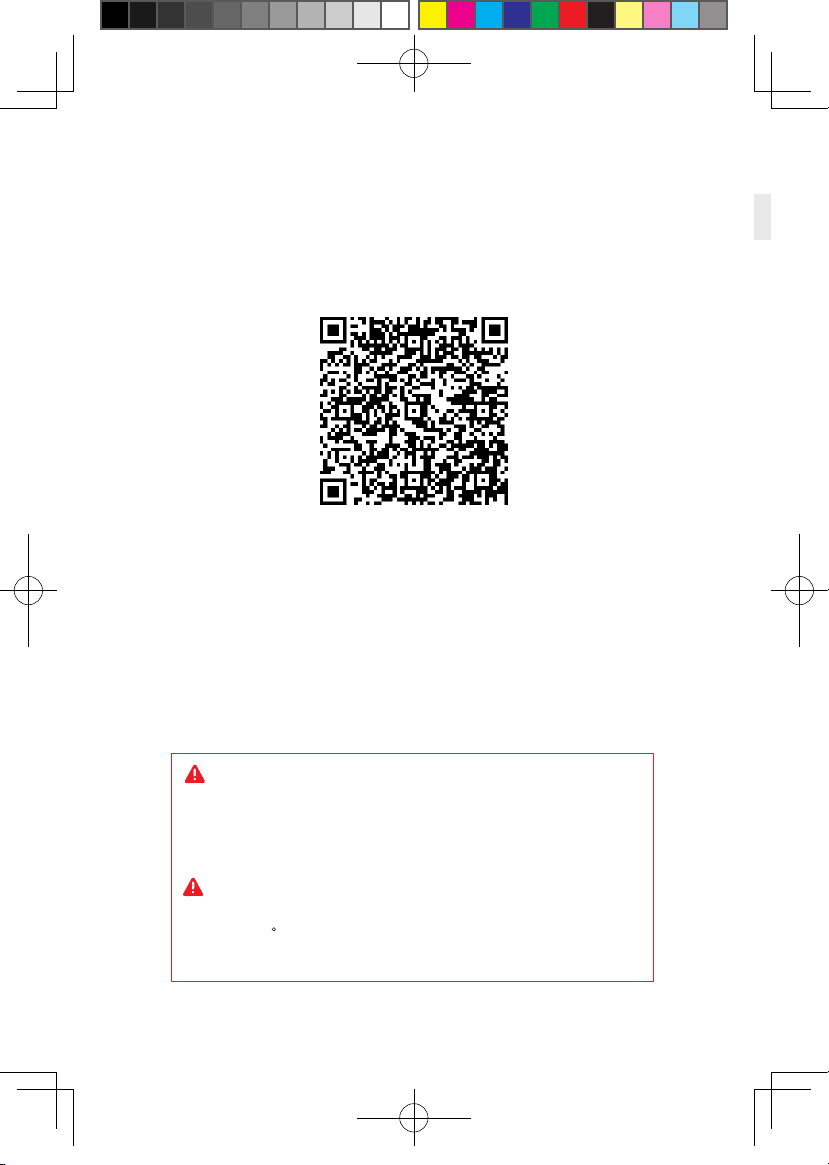
Scan code to view installation
video of Wireless Adaptor for VIVE
Because there is no cable effect, you should pay attention to
the safety of game area during using TPCAST Wireless Adaptor
for VIVE, to ensure that will not touch to the surrounding objects,
or take the experience under the care of others.
TPCAST Wireless Adaptor for VIVE and portable power bank
will get warm in the normal usage, if the partial temperature
reached 120 F, please stop using, in order to avoid burning people
or other hazards.
新版印刷(无蓝牙)英文 2017-06-28-US.indd 2 2017/6/28 下午3:57

3
1、Download the software client
1. Installation of Software Client
www.tpcast.cn/download
Visit the website of TPCAST which is www.tpcast.cn and log in,
browse the page of TPCAST wireless adaptor for VIVE, click to
download the wireless adaptor for VIVE assistant. The current
version of client is compatible with Windows 7, Windows 8 or later
version, Windows 10.
①Double click the icon to run the downloaded .exe file for
installation. If already installed any other versions of the client,
please uninstall and restart the PC according to the prompt.
2、Install the connection assistant software
②Following the instructions of the system, select the installation
path, complete the client installation, and generate desktop
shortcut icon of wireless adaptor connection assistant.
TPCAST
Setup.exe
TPCAST Wireless Adaptor for VIVE
TPCAST Wireless Adaptor for VIVE
新版印刷(无蓝牙)英文 2017-06-28-US.indd 3 2017/6/28 下午3:57

04
2. What's inside the box
910 11
②PC transmitter
③Power box
⑦Instructions and warranty card
④Portable power bank of 20100mAh
⑤Dedicated cable for long distance connection
⑥HDMI short connection cable
⑧Nylon bag
①HMD receiver
⑨Router
⑩Router power supply
1 2 3
578
4
6
Network cable
11
新版印刷(无蓝牙)英文 2017-06-28-US.indd 4 2017/6/28 下午3:57

05
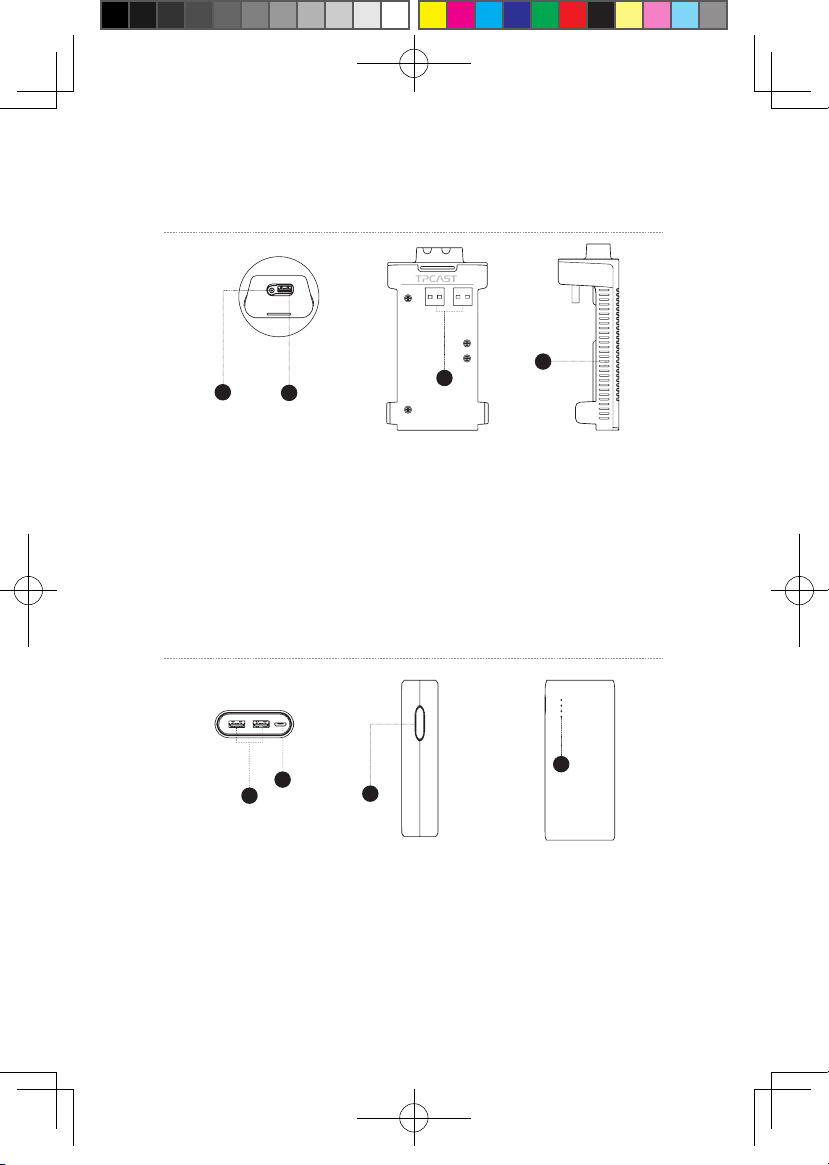
3. Instructions of main components
1、HMD Receiver
2、PC transmitter
①HDMI connection port
②DCIN power port
③Video link pairing button
④Port for fixing the platform
⑤Indicator for video signal connection
1 2 3 4 5
①HMD strap and cable port
②HDMI short connection port
③Indicator for video signal connection
④USB port
⑤Video link pairing button
5
1
2
3
4
新版印刷(无蓝牙)英文 2017-06-28-US.indd 5 2017/6/28 下午3:57
06
3、Power box
4、Portable power bank
①DCIN power port for dedicated long distance connection cable
②USB port for dedicated long distance connection cable
③USB port for portable power bank
④Indicator for VR wireless operating signal
12
3
4
①USB power output port
②Micro USB charging port
③Battery indicator button
④Battery indicator
1
2
4
3
新版印刷(无蓝牙)英文 2017-06-28-US.indd 6 2017/6/28 下午3:57
07
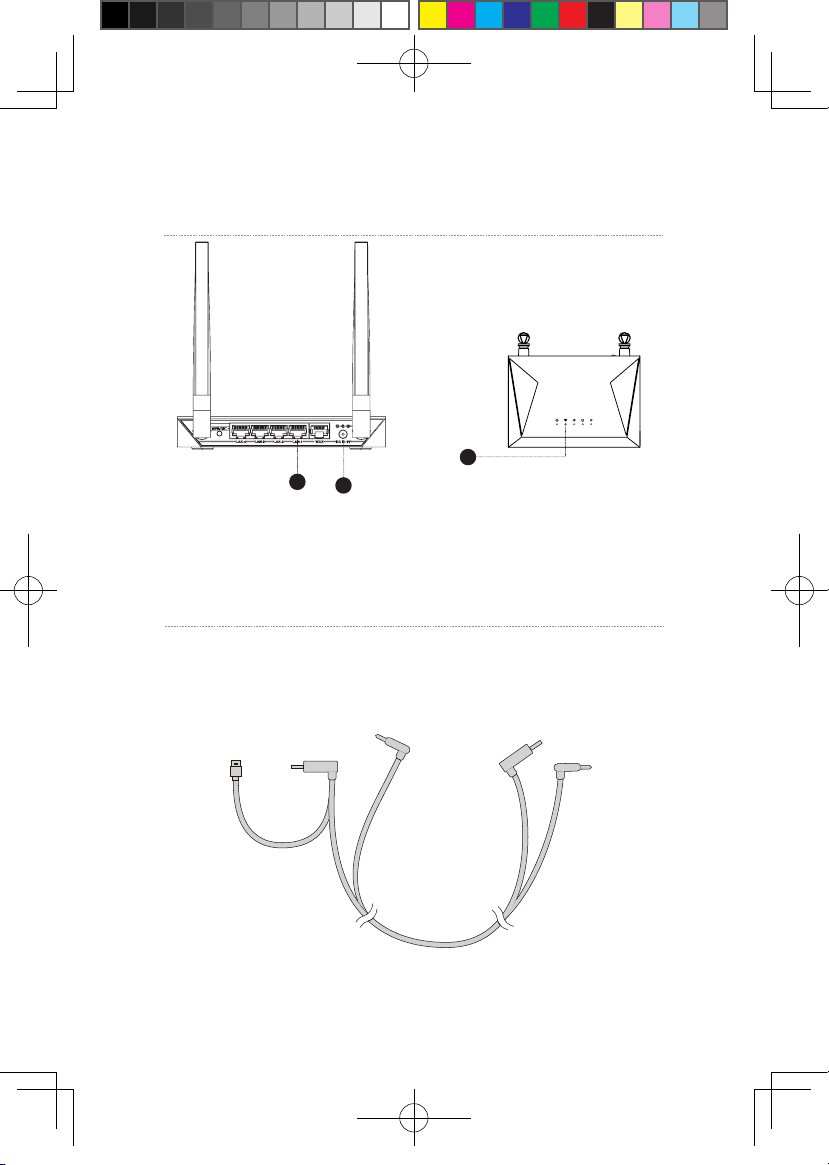
5、Router
①Network cable port
②Router power adapter port
③Status light for the router
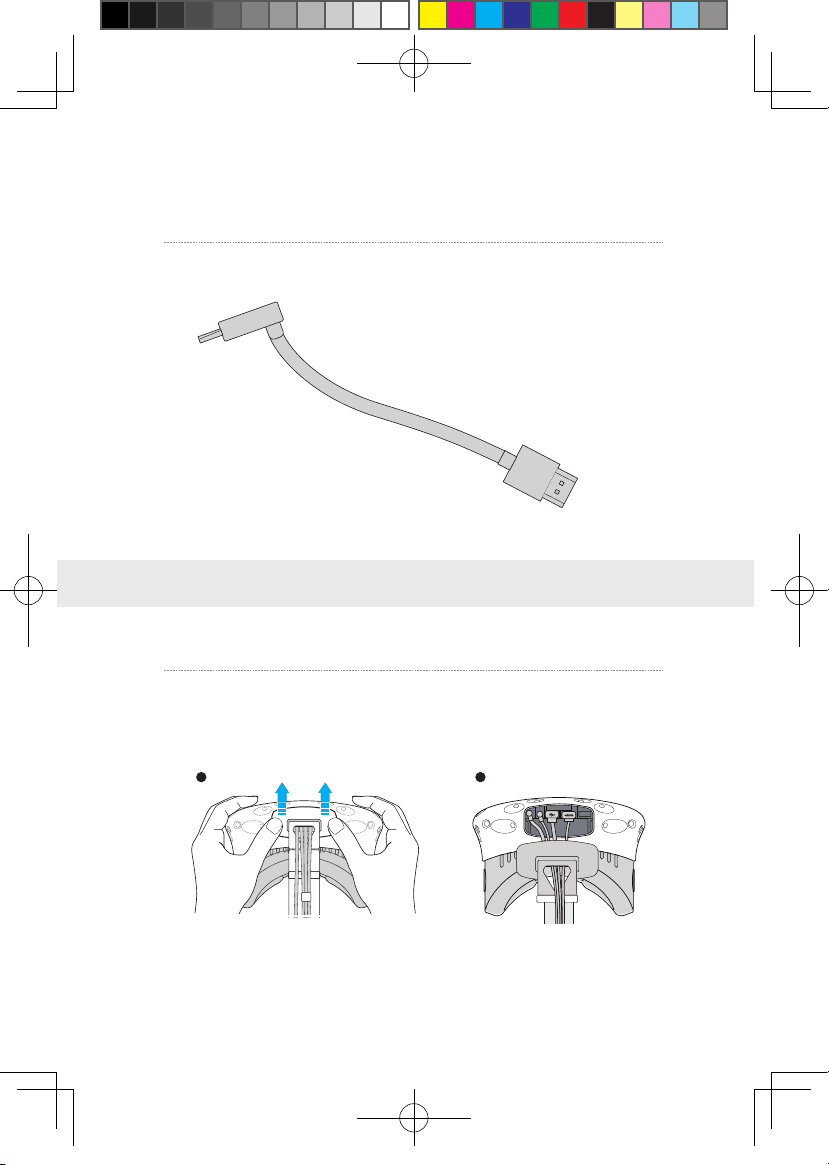
6、Cable
Dedicated cable for long distance connection
1-A
1-C
1-B 1-D
1-E
USB
USB
DC
DC
2
3
1
新版印刷(无蓝牙)英文 2017-06-28-US.indd 7 2017/6/28 下午3:57
08
4. Connection instructions
HDMI cable for short distance connection
2-A
2-B
Step one: Unplug the connected cables
①As shown in the figure, open the compartment cover.
1、Instructions on connection of HMD Receiver
1 2
HDMI
HDMI
新版印刷(无蓝牙)英文 2017-06-28-US.indd 8 2017/6/28 下午3:57

09
②Unplug all power cable, 3-in-1 cable as well as the audio cable, there are four
interfaces in total.
③Pull the 3-in-1 cable and audio cable out of the compartment
and the strap to completely separate from the HMD.
④Separate the strap from the compartment.
新版印刷(无蓝牙)英文 2017-06-28-US.indd 9 2017/6/28 下午3:57
Table of contents
Other TPCAST Adapter manuals


