T+A MP 1250 R User manual

Software Version V 1.8
Order No. 9103-0379
USER MANUAL
MP 1250 R

2
Welcome.
We are delighted that you have decided to purchase a
product. With your new MP 1250 R you have acquired a
top-quality piece of equipment which has been designed and developed with the wishes of the audiophile music lover as
absolute top priority.
This system represents our very best efforts at designing practical electronic equipment incorporating solid quality, user-
friendly operation and a specification and performance which leaves nothing to be desired.
All these factors contribute to a piece of equipment which will satisfy your highest demands and your most searching
requirements for a period of many years. All the components we use meet the German and European safety norms and
standards which are currently valid. All the materials we use are subject to painstaking quality monitoring.
At all stages of production we avoid the use of substances which are environmentally unsound or potentially hazardous
to health, such as chlorine-based cleaning agents and CFCs.
We also aim to avoid the use of plastics in general, and PVC in particular, in the design of our products. Instead we rely
upon metals and other non-hazardous materials; metal components are ideal for recycling, and also provide effective
electrical screening.
Our robust all-metal cases exclude any possibility of external sources of interference affecting the quality of
reproduction. From the opposite point of view our products’ electro-magnetic radiation (electro-smog) is reduced to an
absolute minimum by the outstandingly effective screening provided by the metal case.
We would like to take this opportunity to thank you for the faith you have shown in our company by purchasing this pro-
duct, and wish you many hours of enjoyment and sheer listening pleasure with your MP 1250 R.
elektroakustik GmbH & Co KG
All the components we use meet the European safety norms and standards which are currently valid. The ope-
ration instructions, the connection guidance and the safety notes are for your own good - please read them
carefully and observe them at all times.
This product complies with the Low Voltage Directive (73/23/EEC), EMV Directives (89/336/EEC, 92/31/EEC) and CE
Marking Directive (93/68/EEC).

3
Contents
Operation
Front panel controls ........................................................................................................ 4
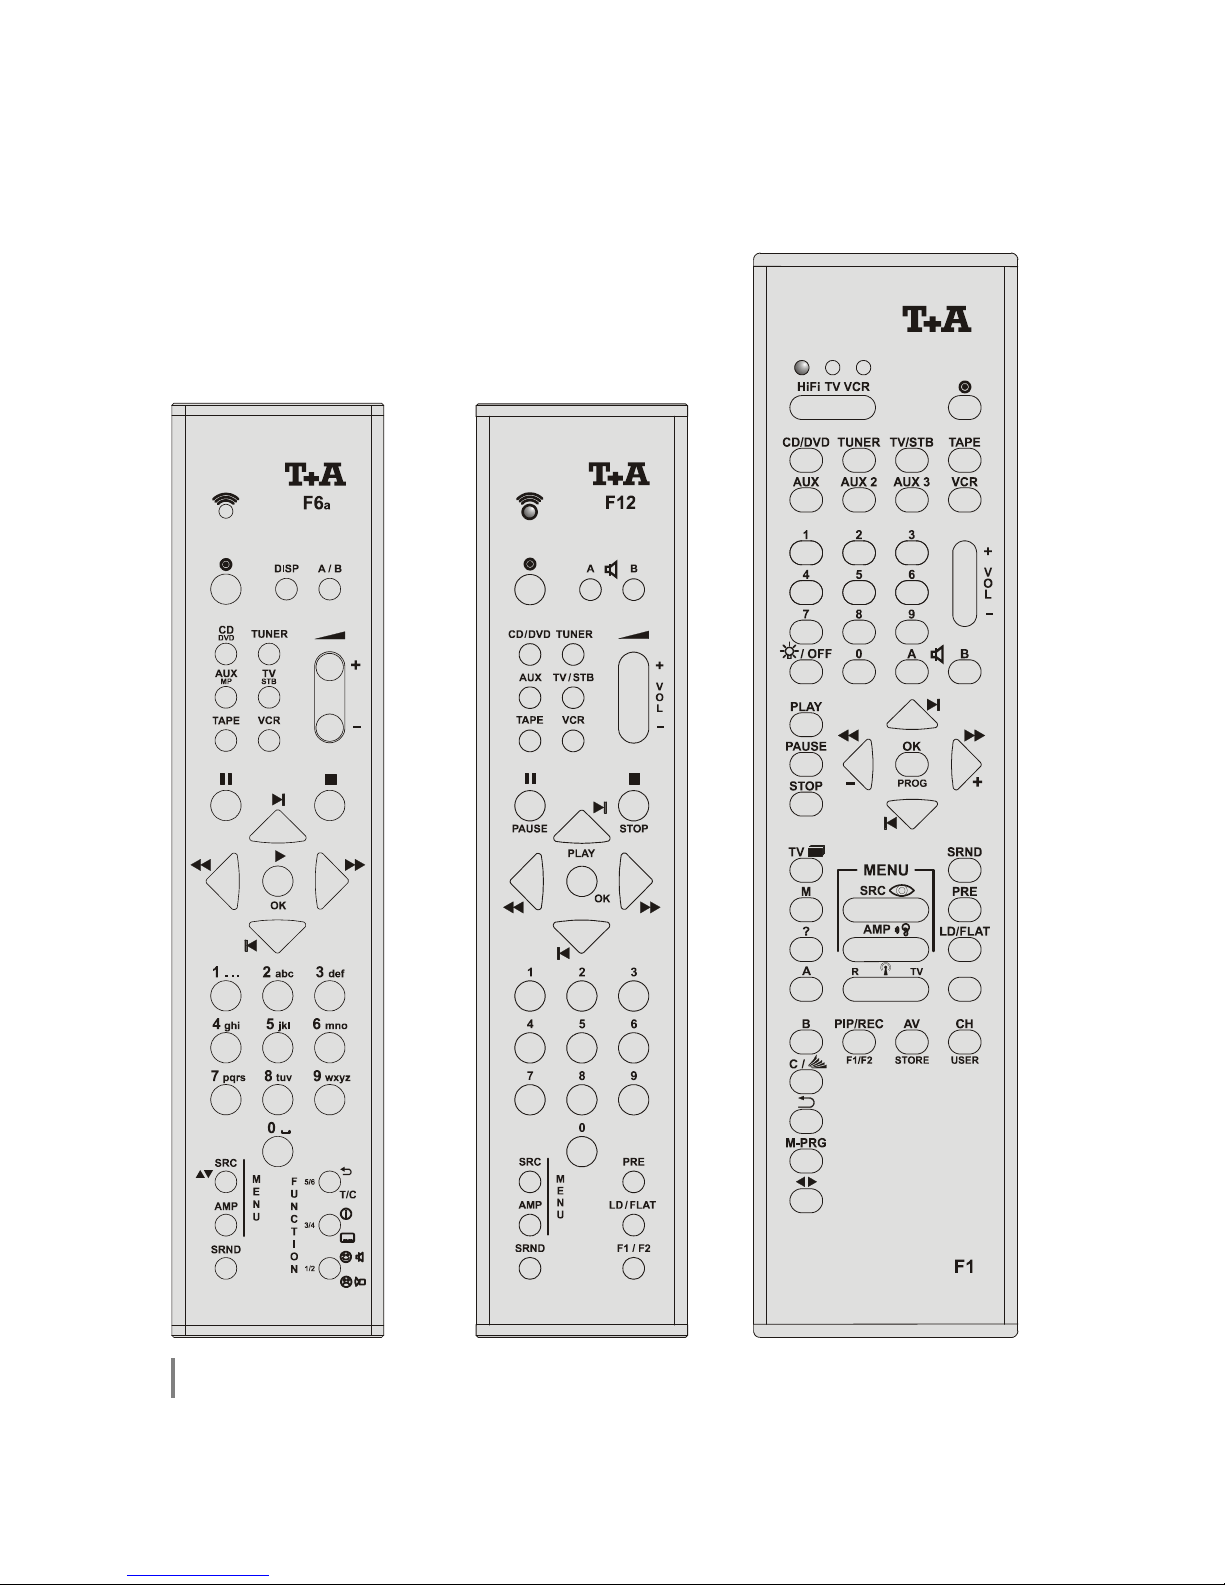
Remote Control ............................................................................................................. 8
Basic Functions of the
MP 1250 R
............................................................................... 10
System Settings (System Configuration menu) ............................................................. 10
Network Settings ........................................................................................................... 10
D/A Converter Settings .................................................................................................. 11
Operating the Streaming Client ................................................................................. 12
Access to Media Content via the Main Menu (Home Menu) ......................................... 13
Accessing Media Content using the Favourites List ...................................................... 14
The
MP 1250 R
as D/A Converter ................................................................................. 15
Using the system for the first time
Back panel connections ................................................................................................. 18
Installation and wiring .................................................................................................... 20
Safety notes ................................................................................................................... 22
FCC Information to the user .......................................................................................... 23
Network Configuration ................................................................................................ 24
The vTuner Premium Service ..................................................................................... 29
Assigning a Device Address .......................................................................................... 31
Activating optional functions ........................................................................................... 31
General
Trouble-shooting ............................................................................................................ 32
Glossary / Supplementary Information .......................................................................... 35
Network Terms .............................................................................................................. 37
Appendix
Wiring diagram .............................................................................................................. 40
Specification .................................................................................................................. 43
About these instructions
All the controls and functions of the MP 1250 R which are frequently used are described in the first section of these
operating instructions.
The second part - 'Basic settings, Installation, Using the system for the first time' covers connections and settings
which are very seldom required; they are generally required only when the machine is set up and used for the first time.
Here you will also find a detailed description of the network settings required for connecting the MP 1250 R to your
home network.
Symbols used in these instructions
Caution!
Text passages marked with this symbol contain important information which must be observed if the
machine is to operate safely and without problems.
This symbol marks text pas
sages which provide supplementary notes and background information; they
are intended to help the user understand how to get the best out of the machine.
Kursiv
Technical terms printed in italics are explained in detail at the end of the instructions.

4
Front panel controls
All the important functions of the MP 1250 R can be operated using the buttons on the front panel. Direct-acting buttons
are provided for fundamental functions such as source select and track select. Functions used not frequently are
operated by menues which can be accessed by the
/
buttons.
All information relating to the machine’s state, the current track and the associated transmitting station are displayed on
the integral screen. The main information is displayed in a larger font to be readable more easily. The following section
explains the functions of the buttons on the machine, and the information provided on the screen.
(On / Off switch)
A brief press on the
button switches the unit on and off. When the
machine is switched on, the green indicator light above the button glows.
Caution!
The mains button is not a mains isolation switch. Even when the green LED
is not glowing, some parts of the machine are still connected to mains
voltage. If the machine is not to be used for a long period, we recommend
that you isolate it from the mains by pulling out the plug at the wall socket.
Selects the MP 1250 R’s Streaming Client function (Internet radio, access to
music server, iPod playback)
Selects the MP 1250 R’s digital inputs 1.
Selects the MP 1250 R’s digital inputs 2.
Brief press: Öpens the 'Source Select' menu, enables selection of the
listening source
Long press: Opens the 'Network Settings'menu (see chapter 'Network
Configuration')
Brief press: Opens the System Configuration menu (see Chapters
'System settings (System Configuration Menu)')

5
Navigation
Brief press: Back to the previous point / change button
Long press: Fast rewind: searches for a particular passage.
Brief press: Confirms input / change button
Long press: Fast forward: searches for a particular passage.
Selects the next point within a list / select button
Selects the previous point within a list / select button
Confirm button / Starts playback / halts playback (pause) / resumes playback
after a pause
Ends playback
Halts playback (pause) / resumes playback after a pause
/
Repeat functions (not possible with all media)
Brief press: Repeat Track, Repeat ALL, 'Normal'
Long press: Mix-Mode (Shuffle)
Brief button presses in MIX mode: Mix, Repeat Track, Reapeat Mix
/
Brief press: Adds a favourite to the Favourites list created on the
MP 1250 R
Long press: Removes a favourite from the Favourites list created on the
MP 1250 R
/
Brief press: Toggles the display between the ‚Now Playing‘ view and track
list / station list navigation.
Long press: Displays the Favourites list created on the MP 1250 R
/
Brief press: Switches between the Digital filters
Long press: only when connected to a WLAN network: switch display to
field strength indicator (for WLAN antenna adjustment)

6
Display
All information relating to machine status, the current music track and
navigation in lists is displayed on the MP 1250 R’s graphic screen. The display
is context-sensitive, and varies in part according to the capabilities and facilities
of the service to which you are currently listening.
The most important pieces of information are displayed in a bigger font.
Additional information is displayed by symbols. The meaning of the symbols is
explained in the table further down below.
e. g.
The screen functions and symbols vary according to the currently active
function (SCL, Digital IN), and according to the type of music being played.
Please see the following chapters for a detailed explanation of the screen
displays.
The basic areas of the screen:
•Display field (a) shows information relating to the piece of music being
played. The essential information is displayed enlarged in the main line.
•The bottom line (b) displays supplementary context-sensitive information and
operating notes:

7
The screen can display the following symbols:
Making connection (Wait / Busy)
The rotating symbol indicates that the MP 1250 R is processing a command, or
is making the connection to a service. These processes may take a little while,
depending on the speed and current load of the network.
During this period the MP 1250 R may be muted, and may not respond to
commands. If this should happen, please wait until the symbol disappears.
Indicates a playable music track or a playback list (Playlist)
Indicates a folder, concealing further folders or lists.
Indicates that the MP1250R is connected to the network by cable LAN.
Indicates that the listen source is connected by wireless WLAN.
Indicates that the MP 1250 R is playing a station or a music track.
Pause indicator
Indicates fast forward and fast rewind searching
/ 1 / / Repeat functions indicators
Buffer display (full indicator, memory indicator) and
(if supporterd by the source) indication of bit-rate of the stream.
The higher the bit rate, the better the audio quality will be.
Time display: elapsed playback time.
This display is not available for all services.
Indicates that it is possible to switch to a higher menu level or select menu
using the
button.
0 / 0 Position indicator in Select lists. The first figure indicates the current position in
the list, the second figure the total number of list entries (list length).
Indicates that the selected menu point / list point can be activated by pressing
the
button.
ABC or
123 or
abc
Character input mode indicator

8
Remote Control
General Information
In general terms the remote control buttons have the same function as the corresponding buttons on the MP 1250 R’s
front panel.
The following tables show the remote control buttons and their functions when operating the machine.
For the remote control handsets F11 and F12 a sticker with the alpha-numeric symbols is supplied with the
accessories of the MP 1250 R to convert the printing of the number block to the F6a print.

9
F6a F11 / F12
F1
Source buttons (eg.
)Switch ON the MP 1250 R with the assigned source button (eg.
)
See chapter 'Basic Functions of the MP 1250 R, System Settings
(System Configuration menu), Menu item Divice Adr' for details.
(red)
(red)
(red)
Switches the MP 1250 R off
-
Starts a piece of music
-
Selects an Internet radio station
-
Confirm buttons during input process
-
Halts playback (pause) / resumes playback after a pause
Ends playback
Halts playback (pause) / resumes playback after a pause
-
In a list or menu: selects the next item
-
During playback: next title (playlist) / next station (station list)
-
In a list or menu: selects the previous item
-
During playback: previous title (playlist) / previous station (station list)
-
Back to the next higher menu level
-
Hold button pressed in for rewind
-
Opens a folder
-
Starts a piece of music
-
Selects an Internet radio station
-
Hold button pressed in for fast forward
abc
...
xyz
...
...
-
Direct alpha-numeric input, e.g. track number, fast station select, radio
station.
-
The
and
buttons are also used for non-standard
characters.
During text input you can switch between numeric and alpha-numeric
input, and between capitals and lower case by pressing the
button.
-
Storing and calling up a Preset
Brief press: Calling up a Preset
Long press: Storing a Preset
(blue)
(right)
Brief press: Opens the source select menu
Long press:
While navigating through lists: Calls up the Search function (Alpha search)
During playback: Calls up oversampling filter menu
During character input operations:
when pressed repeatedly this button toggles between numeric and
alpha-numeric input, and between capitals and lower case
(not
possible
with all
media)
(not
possible
with all
media)
Repeated brief presses cycle through the repeat functions:
Rpt Trk, Rpt All, Normal
Rpt Trk The current piece is repeated
Rpt All All pieces in the current folder / the current playlist are
repeated
Normal Repeat function switched off
Long press: Switches Mix mode (Shuffle) ON and OFF
Subsequent repeated brief button presses cycle through
the shuffle functions:
Mix,
Rpt Trk,
Rpt Mix
Displays the Favourites list
(F12 only)
Brief press: Adds a favourite to the Favourites list created on the
MP 1250 R
If the memory is full the display shows the message 'Favorite List Full'.
(F12 only)
Long press: Removes a favourite from the Favourites list created on
the MP 1250 R

10
Basic Functions of the MP 1250 R
There are a few basic functions of the MP 1250 R which are always available regardless of the selected source
(Streaming Client, …). For example, these include the System Configuration menu, in which device settings such as
screen brightness and language can be carried out.
System Settings (System Configuration menu)
In the System Configuration menu general device settings are adjusted. This menu is described in detail in the following
chapter.
Calling up and operating
the menu
•The menu is called up by briefly pressing the
button on the front
panel
•When the menu is opened, the following select points appear on the screen:
•Display Brightness (Screen brightness)
•Language
•Device Adr
•Use the
/
to select a menu point.
•To change a selected menu point, first press the
button, then change
it using the / buttons.
•To accept the setting, press the
button after completing the change.
•You can press the
button at any time to interrupt the procedure, i.e. to
conclude without accepting a change.
•Press the
button again to leave the menu.
Menu item
Display Brightness
(Screen brightness)
At this point you can adjust the brightness of the integral screen to suit your
personal preference. Available settings are:
•Off
•Medium
•High
Menu item
Language
This menu item lets you select the display language for the MP 1250 R.
The language of data received from external sources (eg. iPod, UPnP-AV-
server) depends on the settings of the external device and can not be selected
in MP 1250 R’s language menu.
Menu item
Device Adr
Here you can assign the source button which selects and activates the
MP 1250 R as listening source.
The MP 1250 R must be connected to the corresponding audio inputs of your
amplifier or receiver.
Network Settings
With this menu the network settings are adjusted. This is necessary only when installing and setting up the MP 1250 R
or if your home network shall be reconfigured.
The operation of this menu is described in detail in the chapter Installation / Using the system for the first time,
Network Configuration.
Entering the network
settings menu
•To enter this menu keep the
-
button on the front panel pressed until
the menu opens on the display.

11
D/A Converter Settings
A number of special settings are available for the MP 1250 R’s D/A converter;
they are designed to fine-tune the characteristics of your amplifier to suit your
listening preferences.
Calling up and operating
the D/A converter options
To enter the D/A converter options press the
button on the front panel
briefly.
Alternatively you can enter the D/A converter options by a long press on the
button of the remote control.
This action opens a set-up window in which the various options are displayed.
•Now use the
/
buttons to select a set-up option.
•In each case the displayed option can be altered using the
/
buttons.
•If no further action is taken for a period of a few seconds, the set-up window
disappears again from the screen.
D/A set-up option
OVS
(not with iPod and Tuner)
Pressing this button causes the currently active digital filter to be displayed on
the screen for a period of about one second, e. g.: 'FIR lang'.
During this period pressing the
/
button repeatedly calls up and
selects the five available digital filters in turn. For more information on filters
please refer to the Section 'Glossary / Supplementary Information, Digital
filters'.
Note:
A continuously glowing code number (1... 4) on the screen indicates the active
filter.
D/A set-up option
Output
(not with iPod and Tuner)
At this point it is possible to toggle between normal and inverted phase in the
signal.
With particular instruments or voices the human ear is certainly capable of
detecting whether absolute phase is correct or not. However, absolute phase is
not always correctly recorded. The problem can be corrected by pressing this
button to invert the signal (i.e. turn it through 180°).
The correction is carried out at the digital level, and has absolutely no adverse
effect on sound quality.

12
Operating the Streaming Client
General Information on
the Streaming Client
The MP 1250 R includes what is known as a 'Streaming Client'. This is a
new class of playback devices for media content, providing a means of playing
music which is stored on a vast variety of sources. These sources may be an
iPod or a USB hard disc connected directly to the MP 1250 R, but they may
also be thousands of miles away (e.g. Internet radio station). The Streaming
Client can access such remote sources via a home network and the Internet.
The network configuration is explained in the Chapter 'Network Con-figuration'.
The MP 1250 R’s Streaming Client can access the following sources:
Local sources
(direct connection)
Remote sources
(via home network or Internet)
USB memory sticks and
USB hard discs
Internet radio
iPod
NAS server (with UPnP-AV server)
PC (with UPnP-AV server)
The media content formats which the MP 1250 R can reproduce are very wide-
ranging, and extend from compressed formats such as MP3, WMA, AAC and
OGG Vorbis to high-quality non-compressed data formats such as FLAC and
WAV, which are thoroughly audiophile in nature. A full listing of all possible
data and playlist formats is included in the Specification, which you will find in
the Appendix to these instructions.
Since virtually no read or data errors occur when electronic memory media are
accessed, the potential reproduction quality is even higher than that of CD. The
quality level may even exceed that of SACD and DVD-Audio.
Select Lists
The music content to be played is chosen from Select Lists. These lists are
operated using the navigation buttons (cursor buttons) which you will find on
the remote control handset and on the front panel. All content can be accessed
via the main menu. Internet Radio in particular offers a huge number of
stations, which can result in long searches or periods of navigation. We
therefore recommend that you store your preferred stations in a Favourites
List, as this makes them easy and fast to access, with no protracted searching.
It is also possible to store Internet radio stations as Presets, just as you do with
normal radio; they can then be called up directly just by entering a number.
The media content can be listed according to various criteria - Internet radio
stations e.g. by country of origin, genre or alphabetical, music from media
servers e.g. by artiste, album, track, genre, etc.
The exact form of the displayed list and the preparation of the content also
depend to a large extent on the capabilities of the server, i.e. the full facilities of
the MP 1250 R cannot be exploited with all servers or media. You may
therefore find that in many cases not all the functions described in these
instructions can be used.

13
Access to Media Content via the Main Menu (Home Menu)
Main Menu
(Home-Menu)
When you call up the Streaming Client by pressing the
button on the
front panel or the
button on the remote control, the front panel screen
displays a list of accessible media sources:
-
USB
-
iPod
-
Internet Radio
-
UPnP-AV Server (Media server) in the local network *)
-
Favorites
*) To play back media files that are stored on PC’s or NAS storage devices on
your home network, a UPnP-AV server software must be installed on these
devices to make the media content accessible through the network.
Selecting and Playing
Media Content
You can now select a device or a service using the
/
buttons.
The selected list point is shown enlarged, and can be called up by pressing the
button.
The content of the device is displayed in the form of a list. The individual list
entries are followed either by a folder symbol ( ) or a note symbol ( ).
You can now again move to the individual list points using the
/
buttons, and open them with the
button.
If the list entry you open is a folder, the screen displays the contents of the
folder: you can now navigate further within the new folder.
If the entry is followed by a note symbol, this indicates that the content is
playable (pieces of music, playlists, radio station etc.). If you open an entry of
this type, its content will be played.
The lists and music tracks you can see when you select a device vary
according to the machine and the transferred data.
Alpha-Search
(Letter Search Function)
When you are navigating through lists you can call up the MP 1250 R’s letter
search function at any time by briefly pressing the
button. The screen
now displays the message ‘Search’. While this is on the screen, enter a letter
or a numeral using the remote control handset; the letters assigned to the
numeric buttons are printed below the buttons. To obtain a particular letter,
press the appropriate button repeatedly until the correct letter appears on the
screen. If you make no further entry, after a brief delay the MP 1250 R moves
to the first entry in the list which starts with the letter you entered.

14
Accessing Media Content using the Favourites List
The Favourites List
The Favourites list can be used to store your preferred Internet radio stations
and the paths to your preferred music tracks. At any subsequent time you can
then very quickly access these stations and tracks using the 'Favorites' entry in
the Home Menu.
Adding Favourites to the
List
If you are currently enjoying a particular Internet radio station, simply press the
green
button on the F100 handset: this adds the station to the
Favourites list.
In principle you can also add pieces on a NAS server or a USB hard disc to
your Favourites list, but we only recommend this if the content of the relevant
storage medium is available at all times (e.g. permanently connected USB hard
disc).
Calling up Favourites
Open the Favourites list using the
button, then select an entry from the
list using the
/
buttons. Start the track or the station by pressing
the
/
button.
Erasing Favourites
Entries are removed from the Favourites list by first selecting the entry to be
erased using the
/
buttons, and then holding the red
button on the F100 handset pressed in for several seconds.
Caution!
Erase the paths to files on USB hard discs or UPnP-AV servers from the
Favourites list using the
button before you erase or move files.
Using Presets
Preset function
You can store Internet radio stations as Presets using the process familiar from
VHF radio. These stations can subsequently be called up directly using the
numeric buttons on the remote control handset.
Storing a Preset First select an Internet radio station (e.g. using the Home menu / Internet
radio). When you hear the station, hold a key
to
pressed until
the massage 'Px stored' appears. The station is now stored under this number.
It is possible to store a total of ten Presets under the numbers
to
.
Calling up a Preset Briefly press one of the numeric buttons
to
. The associated
Preset is now called up, and after a brief delay you will hear it.
Presets are particularly useful when the front panel screen is not in view, but
you wish to call up stations (e.g. when operating the system from an adjacent
room, or when operating it via a domestic control system).
Adding Internet Radio
Stations
The lists of Internet radio stations displayed by the MP 1250 R are very
complete and comprehensive, but since new stations are constantly being
added you may find that one of your favourite stations is not (yet) included in
the Select lists.
In this case you can add the stations using the vTuner service (see also the
Chapter 'vTuner Premium Service'). The station added can then be accessed
from the MP 1250 R’s main menu under the Internet Radio / Added Stations
point.

15
The MP 1250 R as D/A Converter
General Information on
D/A Converter Operation
The MP 1250 R can be used as a high-quality D/A converter for other
devices such as satellite receiver, digital radio etc. which are fitted with poor-
quality converters or no converter at all. The MP 1250 R features two digital
inputs on the back panel to allow this usage.
Devices with an electrical co-axial output or an optical light-pipe output can be
connected to the digital inputs of the MP 1250 R. The MP 1250 R accepts
digital stereo signals conforming to the S/P-DIF norm, with sampling rates of 32
to 96 kHz.
D/A Converter Operation
Selecting a
D/A Converter Source
Select the MP 1250 R as listening source on your amplifier.
Now press the
or
button on the front panel to select one of the
digital inputs.
Alternatively you can open the source select menu by a brief press on the
button on the remote control. In this menu you can select the digital
input which is to be played.
As soon as the source device delivers digital music data, the MP 1250 R
automatically adjusts itself to the format and sampling rate of the signal, and
you will hear the music.
Screen Display
During D/A converter operations the MP 1250 R’s integral screen displays the
characteristics of the digital input signal.

16

17
Installation
Using the system for the first time
Safety notes
This section describes all those matters which are of fundamental importance when setting up and first using the
equipment. This information is not relevant in daily use, but you should nevertheless read and note it before using the
equipment for the first time.

18
Back panel connections
ANALOG OUT
Analog audio output
Please connect the analog output sockets to the inputs sockets of your
amplifier.
Use the amplifier input (*) corresponding to the device address which you have
assigned to the MP 1250 R in the Configuration menu 'Device Adr' (chapter
Basic Functions of the MP 1250 R) .
(*) normally the AUX1 input
ANT
Space for input sockets of optional add-on modules.
DIGITAL OUT
Digital co-axial output for connection to an external digital/analogue converter
with an co-axial cable.
DIGITAL IN
Inputs for digital source devices with optical or coaxial digital audio output.
WLAN
Input socket for WLAN antenna
Automatic Activation of the WLAN Module
After powering on the MP 1250 R detects if it is connected to a wired LAN
Network. If no wired LAN connection is found, the MP 1250 R will automatically
activate ist WLAN module and it will try to get access to your WLAN network.
Attention!
When WLAN shall be used, the LAN socket must be left unconnected.
LAN
Socket for connection to a wired LAN (Ethernet) home network.
If a LAN cable is connected this will have priority over wireless WLAN net-
works. The WLAN module of the MP 1250 R will automatically be disabled.
USB
Socket for the connection of USB Storage devices (USB-sticks or USB hard
discs). The storage device must be formatted with a FAT16 or FAT32
filesystem.
The USB device (example 2,5 inch HDD) can be supplied with power from the
MP 1250 R via the USB socket provided the power consumption of the USB
device conforms to the USB standard.

19
iPOD
Socket for connecting an iPod (adapter cable is included in the accessory box)
RS 232
Interface for firmware upgrades
In a R-System the connection to a home automation system is
accomplished through the RS 232 Interface (type MRA/C-K which is available
as an optional accessory).
If the MP 1250 R is operated outside a R-System, this interface can also
be used for control of the MP 1250 R – for example in combination with a
CRESTRON or AMX home automation system.
To enable device control via the RS232 interface, the MP 1250 R must be
equipped with a special firmware. A description of the control interface and the
control protocol can be found in the download section of the website
(http://www.taelektroakustik.de).
RC-IN
Control input for older systems with RC control interface.
Connect this socket to the control output of your amplifier – eg. The AUX1
control output
(see chapter 'Appendix A, Wiring diagram: MP 1250 R in a system with
RC control').
If your amplifier or receiver is equipped with a R
LINK
control output,
please use the R
LINK
control. In this case the RC-IN socket may not be used.
Direct remote control with remote control set FBS6a (optional accessory)
If the MP 1250 R shall be operated ‚stand-alone‘ outside a system, the
remote control receiver type E2000 from the remote control set FBS6a can be
conected to the RC-IN socket.
R
LINK
Control input / output for R
LINK
– systems:
Both sockets are equivalent – one is used as input, the other one serves as
output towards other R
LINK
devices
(see chapter 'Appendix A, Wiring diagram: MP 1250 R in a system with
R
LINK
control').
Mains input
The mains cable is plugged into this socket.
For correct connections refer to the sections 'Installation and wiring'and
'Safety notes'.

20
Installation and wiring
Carefully unpack the MP 1250 R and store the original packing materials
carefully. The carton and packing are specially designed for this unit and will be
needed again if you wish to move the equipment at any time.
Please be sure to read the safety notes in these instructions.
If the unit gets very cold (e. g. when being transported), condensation may form
inside it. Please do not switch it on until it has had plenty of time to warm up to
room temperature, so that any condensation evaporates completely.
Before placing the unit on a sensitive surface, please check the compatibility of
the lacquer and the unit’s feet at a non-visible point.
The unit should be placed on a rigid, level base. When placing the unit on
resonance absorbers or de-coupling components make sure that they do not
compromise the stability of the unit.
The quality and characteristics of the base on which your high-quality Hi-Fi
equipment stands define the limits of sound quality which can be achieved. The
base surface should be as heavy, rigid, hard and level as possible.
The receiver should be set up in a dry, well-ventilated site, out of direct sunlight
and away from radiators.
The unit must not be located close to heat-producing objects or devices, or
anything which is heat-sensitive or highly inflammable.
When installing the unit on a shelf or in a cupboard it is essential to provide an
adequate flow of cooling air, to ensure that the heat produced by the unit is
dissipated effectively. Any heat build-up will shorten the life of the unit and could
be a source of danger. Be sure to leave at least 10 cm free space above the unit
for ventilation. If the system components are to be stacked then the amplifier must
be the top unit. Do not place any object on the top cover.
Mains and loudspeaker cables, and also remote control leads must be kept as
far away as possible from signal leads and antenna cables. Never run them
over or under the unit.
A complete connection diagram is shown in 'Appendix A'.
Notes on connections:
•Be sure to push all plugs firmly into their sockets. Loose connections can
cause hum and other unwanted noises.
•When you connect the input sockets of the amplifier to the output sockets on
the source devices always connect like to like, i. e. 'R' to 'R' and 'L' to 'L'. If you
fail to heed this then the stereo channels will be reversed.
•To achieve maximum possible interference rejection the mains plug should
be connected to the mains socket in such a way that phase is connected to
the mains socket contact marked with a dot (). The phase of the mains
socket can be determined using a special meter. If you are not sure about
this, please ask your specialist dealer.
We recommend the use of the 'POWER LINE' ready-to-use mains lead in
conjunction with the 'POWER BAR' mains distribution panel, which is fitted with a
phase indicator as standard.
When you have completed the wiring of the system please set the volume
control to a very low level before switching the system on.
The screen on the MP 1250 Rs should now light up, and the unit should
respond to the controls.
If you encounter problems when setting up and using the amplifier for the first
time please remember that the cause is often simple, and equally simple to
eliminate. Please refer to the section of these instructions entitled 'Trouble
shooting'.
Table of contents
Other T+A Media Converter manuals