Transcension LED Master 64 User manual

LED Master 64
Order code: BOTE04
Manual
Please read these instructions carefully before use

LED Master 64 manual
1
Contents
1. Features .................................................................................................................... 2
2. General Instructions.................................................................................................... 3
3. Overview
3.1 Front View ........................................................................................................ 4
3.2 Rear View......................................................................................................... 5
4. Operation Guide
4.0 Enter Programming Mode ................................................................................ 5
4.1 Channel Assignment...................................................................................... 6-7
4.2 Store Saved Colours ........................................................................................ 7
4.3 Delete Saved Colours....................................................................................... 8
4.4 Program Chase ............................................................................................. 8-9
4.5 Insert Step into a Chase .............................................................................. 9-10
4.6 Delete Step from a Chase .............................................................................. 10
4.7 Delete Chase.................................................................................................. 11
4.8 Factory Reset ................................................................................................. 11
4.9 Manual Mode.................................................................................................. 11
4.10 Run Saved Colours ...................................................................................... 12
4.11 Run CHASE............................................................................................. 12-13
4.12 Run Pre Set Colours..................................................................................... 14
4.13 Manual control.............................................................................................. 15
4.14 Strobe........................................................................................................... 15
4.15 Blackout ...................................................................................................... 15
4.16 Foot Switch (CA-8F) ................................................................................ 15-16
4.17 Update by USB drive .................................................................................... 16
4.17 Upload files to USB memory stick ................................................................ 17
4.17 Downloading files to the controller from USB memory stick ......................... 17
In the box:
1 x LED Master 64 DMX Controller
1 x Power adaptor
1 x USB gooseneck lamp
1 x Pair of 19” rack ears
1 x Manual

LED Master 64 manual
2
1. Features
1. The LED Master 64 is a user-friendly LED controller
2. Designed to control all LED lighting fixtures with up to 8 channels
3. Control up to 64 channels of 8 LED groups
4. 8 individual buttons for selecting 8 groups of lighting fixtures
5. LED display for easy navigation
6. 8 colour pre-set buttons
7. 6 saved colours with 4 Banks
8. 8 chases, each with up to 32 steps
9. 4 operation modes: Auto Chase, Sound Chase, Manual Control and Fade
10. Optional Foot Controller (CA-8F) for ease of operation
NOTE: Knowledge of DMX is required to fully utilise this unit.

LED Master 64 manual
3
2. General Instruction
Please read this manual carefully, as it includes important information regarding the units
operation, maintenance and technical data. Keep this manual with the unit for future
consultation.
WARNINGS!
Avoid any flammable liquids, water or metal objects entering the unit.
Should any liquid be spilled on the unit, DISCONNECT the power supply
to the unit immediately.
STOP using the unit immediately in the event of serious operation problems
and contact your local dealer to have the unit serviced.
DO NOT open the unit - there are no user-serviceable parts inside.
NEVER try to repair the unit yourself. Repairs undertaken by unqualified people
could cause damage or malfunction.
CAUTIONS!
After removing the packing, check that the unit is NOT damaged in any way. If in doubt,
DO NOT use the unit and contact the dealer where the item was purchased.
Packaging material (plastic bags, polystyrene foam, staples, etc) MUST NOT be
left within children's reach, as it can be dangerous.
This unit must only be operated by adults, DO NOT allow children to tamper
or play with it.
NEVER use the unit under the following conditions: excessive dryness or humidity
(ideal conditions are between 35% and 80%), vibrations or bumps, or in places with
a temperature of over 45°C/113°F or less than 2°C/35.6°F.
DO NOT dismantle or modify the unit.

LED Master 64 manual
4
3. Overview
3.1 Front View
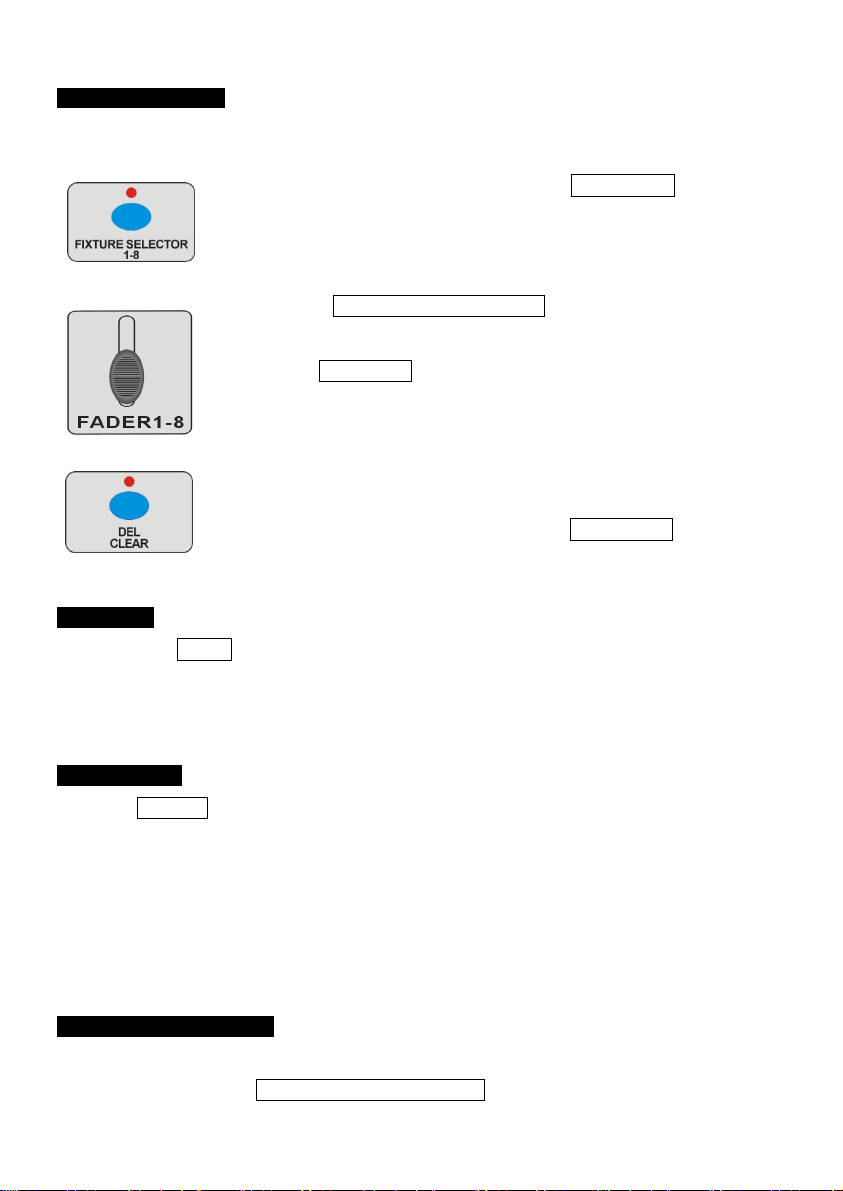
1. FIXTURE SELECTOR 1-8
Use to select fixtures
2. AUTO CHASE
Run the built-in chase
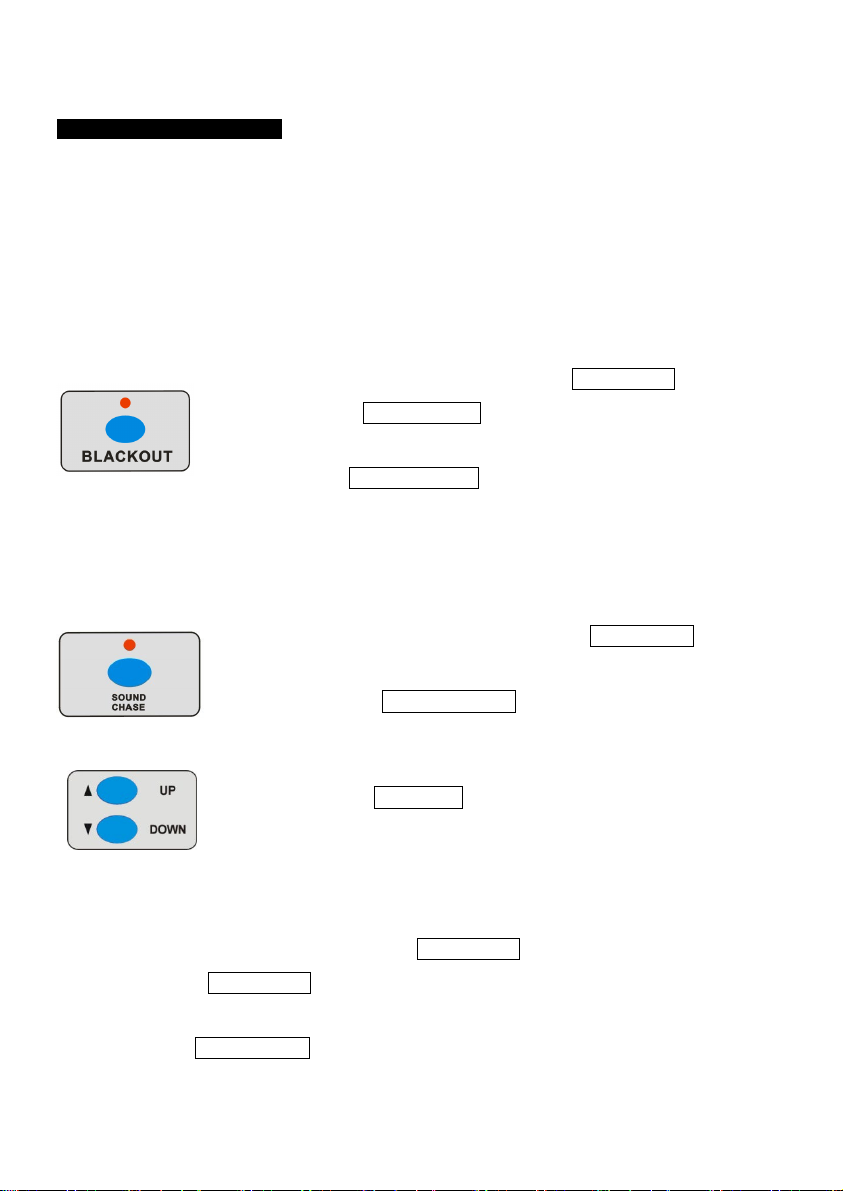
3. SOUND CHASE
Run the built-in chase to the music
4. AUTO FADE
Run the built-in fade
5. MANUAL CONTROL
Press the button, for manual control
6. CHANNEL ASSIGNMENT
For channel assignment, in programme mode
7. USB PORT
Use to update software and connect a gooseneck lamp
8. PRE-SET COLOURS
For instant recall of colours
9. SAVED COLOURS
Select 24 colors by UP/DOWN button (4 banks of 6)
10. LED DISPLAY
The operation values will show on the LED display
11. PROGRAMME/RECORD
Enter or exit program/record mode
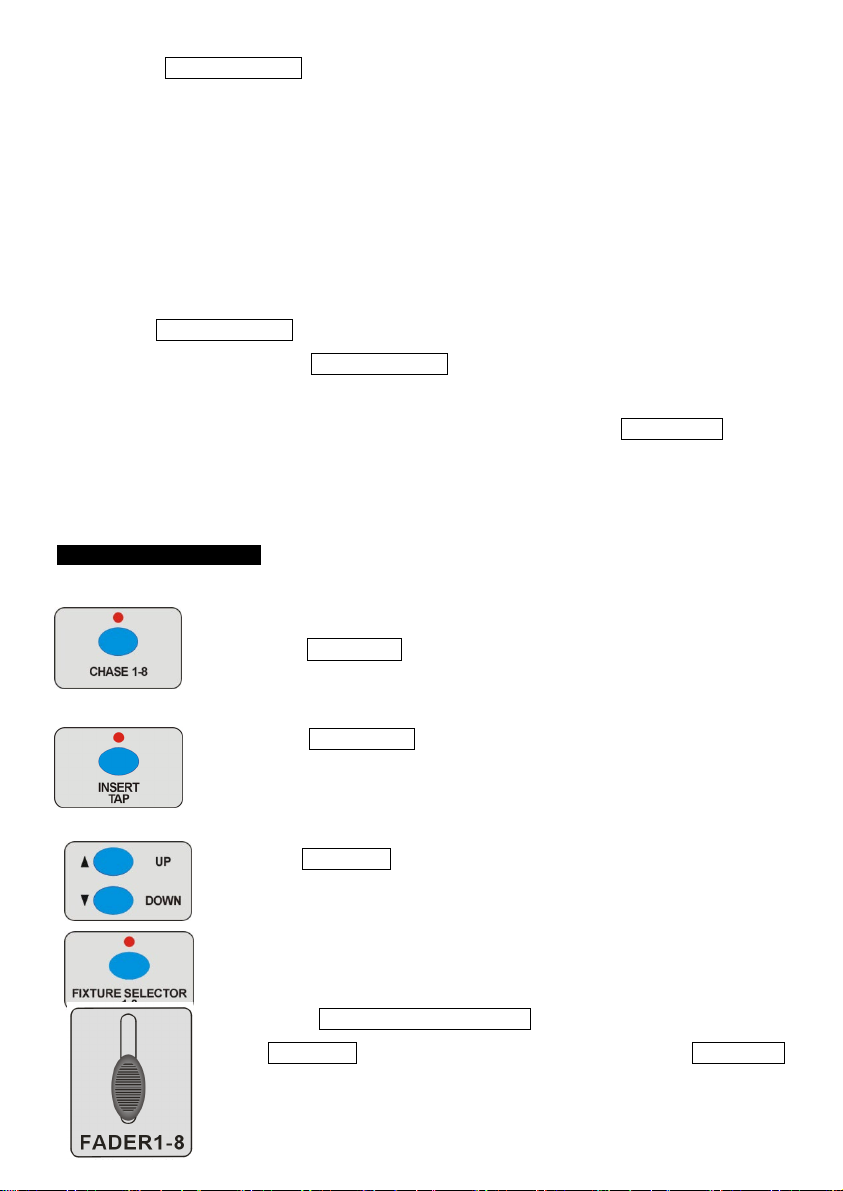
12. INSERT/TAP
Insert one step/set up a tap speed for chases
13. UP/DOWN buttons
Select bank, run chase manually, adjust the sound sensitivity and the
speed of chase auto run
14. DEL/CLEAR
Delete preset color, chase or step/clear output
15. SAVED CHASES
Use to select chase 1-8
16. FADER 1-6
Adjust the output of 1-6 channels
17. USER DEFINED FADERS
For user-defined operation
18. MANUAL/MUSIC/AUTO
When using the CA-8F to control, the corresponding LED will be on
indicating Manual Mode, Sound Mode or Auto Mode
19. BLACKOUT/FOOTSWITCH
Used for blackout and to activate CA-8F operation
20. STROBE
Activates strobe on all fixtures
21. CHASE/STROBE SPEED
Use to adjust the chase speed and set the strobe speed
22. FADE SPEED
Use to adjust the fade speed as a percentage of the run time

LED Master 64 manual
5
3.2 Rear View
1 POWER SWITCH
Power on/off the unit
2 POWER IN
9-12DC min 300mA
3 3pin DMX Out
3pin DMX-512 output
4 5pin DMX Out
5pin DMX512 output
○5 RJ45 CONNECTOR
RJ 45 Cable port
○6 CA-8F FOOT CONTROLLER
CA-8F connector
4
4. Operation Guide
When you turn on the power to the LED Master 64, it will continue
running the last function/programme from when it was previously
powered down.
4.0 Enter Programming mode
To enter the programming mode: Hold PROGRAM/REC button for
3 seconds, when the LED display shows LOCK, you should press the
fixture selector button 6 six times to unlock. That means the code is
“666666”. Then the PROGRAM/REC button LED and the LED indicator
above the saved colors button, as well as the saved chases button, will
blink indicating programme mode is active.

LED Master 64 manual
6
4.1 Channel Assignment
The ability to assign/patch the 8 channels of the LED Master 64 is one of its most powerful
features. This gives you the option of customising the controller to the DMX channels of your
lighting fixtures. For example: If you have a lighting fixture with the following channels:
1 – Master dimmer
2 – Red
3 – Green
4 – Blue
You can now assign/patch the controller in the following way:
Set the MASTER DIMMER fader of the controller to ‘1’
(If no dimmer channel is present, set to ‘n’)
Set the RED fader of the controller to ‘2’
Set the GREEN fader of the controller to ‘3’
Set the BLUE fader of the controller to ‘4’
Set all the remaining faders to ‘Zero’
When this has been completed the master dimmer, red, green and blue faders will now
control the fixture correctly.
Also, you will now be able to use the pre-set colours, auto chase, auto fade etc.
If the controller has been updated to V1.5 or later the user may now patch a virtual dimmer
for any fixture that does not feature its own onboard dimmer channel(i.e. 3 DMX channel
RGB fixtures).During the patch process please assign the MASTER DIMMER fader to
display ”n”, this will activate the controllers virtual dimmer function. The virtual dimmer will
then give control over intensity for all functions of control including manual colours, fades
and chases.
NOTE: If 2 or more channels are set to the same number during assignment they will flash
to indicate an error. Please ensure all channels have a different number prior to saving.
The only exception to this is ‘0’ or zero, as you can set multiple channels to zero
(no DMX output).
1. Enter programming mode
2. Press CHANNEL ASSIGNMENT button for 3 seconds, the

LED Master 64 manual
7
LED indicator above will light indicating the assignment mode is active.
3. Press FIXTURE SELECTOR 1-8 button to choose units.
4. Use FADER 1-8 to assign the colour etc for each channel; at
this point you can also set any unwanted channels to zero.
5. Press the PROGRAM/REC button, and all LED indicators will
blink 3 times and then go out, indicating that any changes have
been stored successfully.
6. Repeat steps 3-5 to assign all other channels for the remaining fixtures.
7. Hold PROGRAM/REC button for 3 seconds to exit programming mode.
4.2 Store Saved Colours
1 Enter programming mode.
2 Press FIXTURE SELECTOR 1-8 button to choose units.
3 Use fader FADER 1-8 to adjust the output.
4 Press PROGRAM/REC button once.
5 Press UP/DOWN button to choose bank 1-6 to store saved color
(Jump this step if you have chosen a bank before).
6 Press SAVED COLOURS button, and all LED indicatorswill blink
3 times and then go out, the corresponding LED will then be
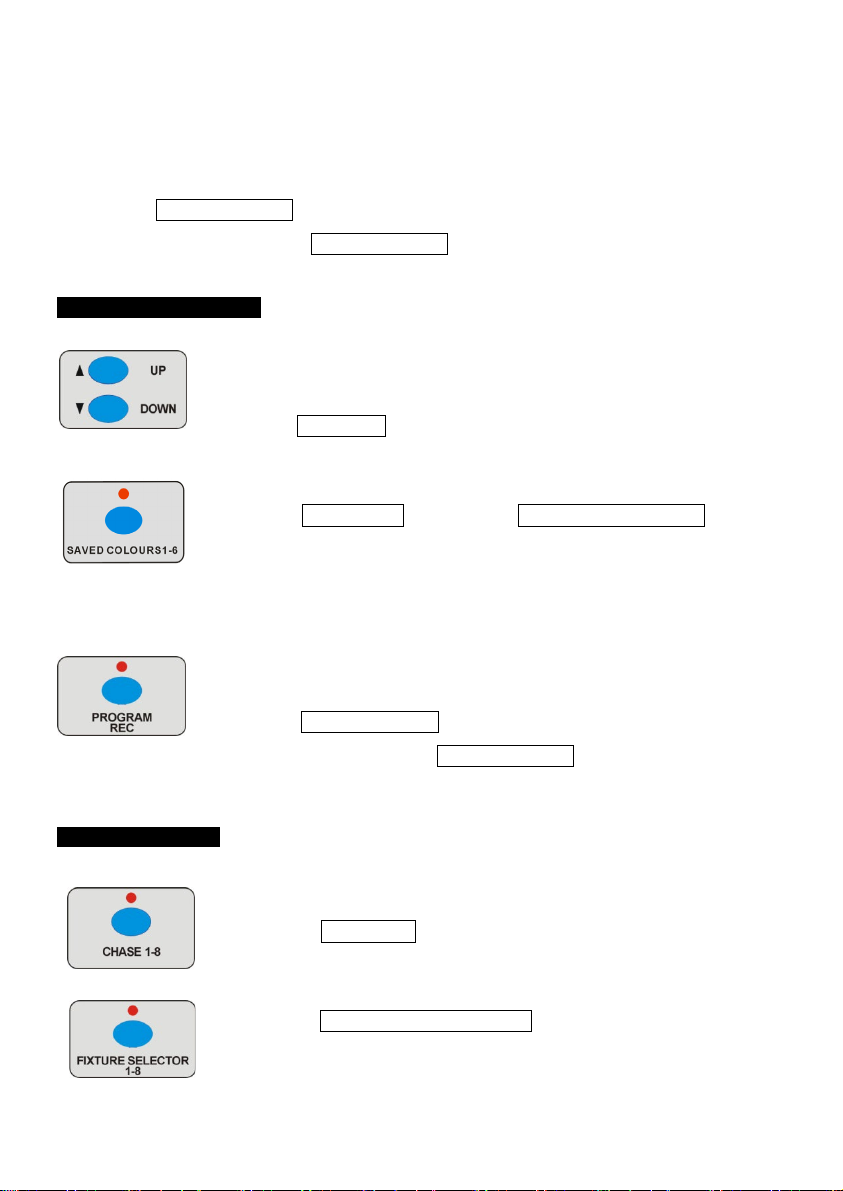
LED Master 64 manual
8
blinking, indicating that it has stored successfully (when the LED
indicator is off, this means there is no colour saved).
7 Repeat steps 2-6 to store more saved colours.
8 Hold PROGRAM/REC button for 3 seconds to exit programming mode,
the LED indicator above PROGRAM/REC will go off.
4.3 Delete Saved Colors
1 Enter programming mode.
2 Use UP/DOWN button to choose bank 1-6 to save the colour into
(Jump this step if you have chosen bank before).
3 Hold DEL/CLEAR button, press SAVED COLOURS 1-6,
all LEDs will blink 3 times and then go out, the corresponding
LED will then go off, indicating the saved colour has been
deleted successfully.
4 Repeat 2-3 steps to delete more colour presets.
5 Hold PROGRAM/REC button for 3 seconds to exit programming
mode, the LED above PROGRAM/REC button will go off.
4.4 Program Chase
1 Enter programming mode.
2 Press CHASE 1-8 button to choose chase
which you want to store in.
3 Press FIXTURE SELECTOR 1-8 button to choose units,
using fader 1-8 to adjust the light effect, or open a
previously saved colour.
LED Master 64 manual
9
4 Press PROGRAM/REC button, all LEDs will blink 3 times and then go out indicating
that one step has stored successfully (it will show ‘NULL’ and will not store if all
outputs are ‘0’).
5 Repeat steps 3-4 to store more steps, each chase can store 32 steps maximum,
it will show “FULL” when up to 32 steps.
6 Repeat steps 2-5 to store more chases.
7 Hold PROGRAM/REC button for 3 seconds to exit programming mode,
the LED indicator above PROGRAM/REC will go off.
ATTENTION: Before using any saved color or lighting effect, press DEL/CLEAR button
to clear any output you set inadvertently, so that you can avoid storing any unwanted
lighting effect.
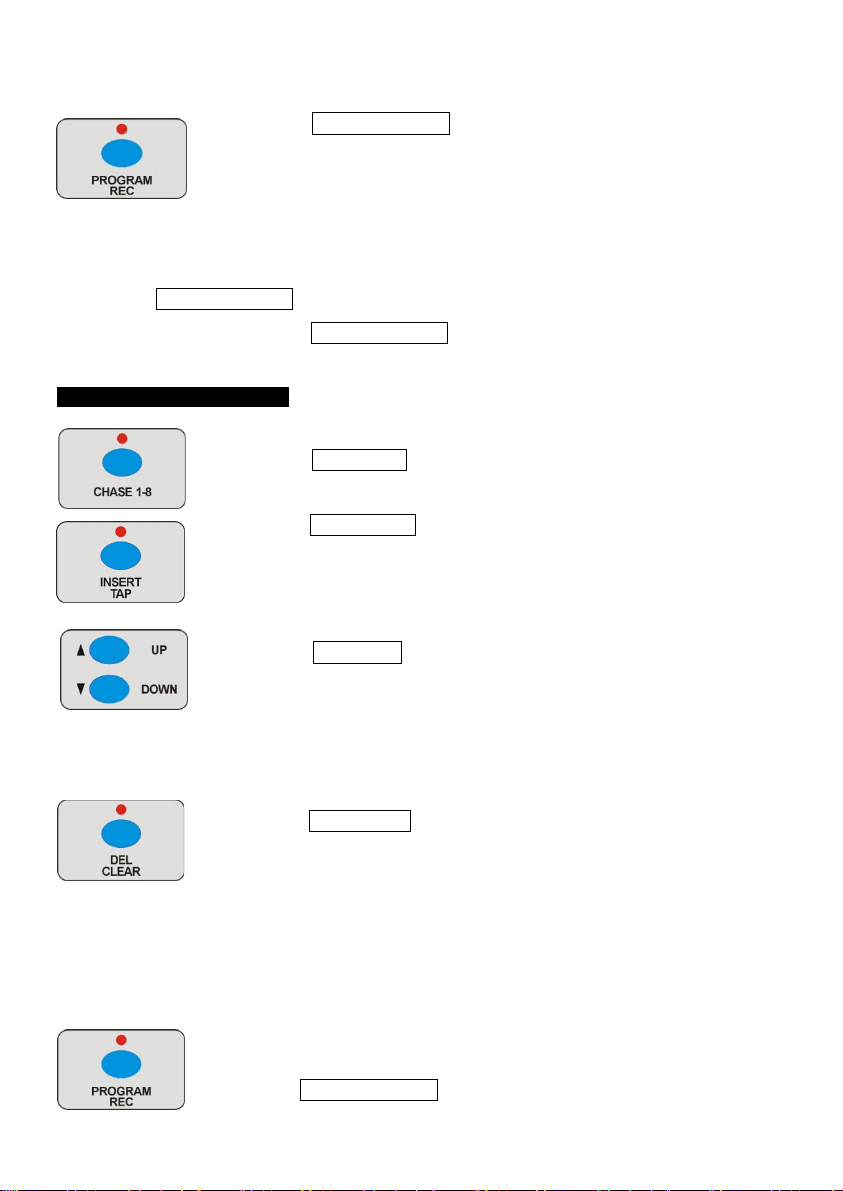
4.5 Insert Step to Chase
1 Enter programming mode.
2 Press CHASE 1-8 button to choose the desired chase
to insert step.
3 Press INSERT/TAP button, the LED indicator above it will go on,
the present step will show on the display (for example, it will
show ‘ST00’ when there is no step).
4 Use UP/DOWN button to select the position of inserted steps
(If you want to insert a fifth step, you should set the present step
to be ‘ST05’).
5 Press FIXTURE SELECTOR 1-8 button to choose fixture, use
UP/DOWN button to choose saved color or push the FADER 1-8
to adjust the lighting effect.
LED Master 64 manual
10
6 Press PROGRAM/REC button, all LEDs will blink 3 times and
then go out indicating the new step was inserted correctly.
7 Repeat steps 3-6 to insert more steps, 32 steps maximum, if this is exceeded
it will show “FULL”.
8 Hold PROGRAM/REC button for 3 seconds to exit programming mode,
the LED indicator above PROGRAM/REC will go off.
4.6 Delete Step from Chase
1 Enter programming mode.
2 Press CHASE 1-8 button, to choose the chase whose step you
desire to delete.
3 Press INSERT/TAP button, the LED indicator above it will light up,
the present step will show on the display (it will show “ST00” if no
step has been stored).
4 Press UP/DOWN button to choose the step desired to delete (If
you want to delete the fifth step, set the present display to “ST05”).
5 Press DEL/CLEAR button, all LEDs will blink 3 times and then go
out indicating it has been deleted successfully. (The steps behind it
will move forward one step, for example, if you delete
the fifth step, the sixth step will move to be the fifth step. If there
is no step behind the step deleted, it will show the last step.
Delete all steps, and then it will show “NULL”.)
6 Repeat steps 4-6 to delete more steps.
7 Hold PROGRAM/REC button for 3 seconds to exit programming

LED Master 64 manual
11
mode, the LED indicator above PROGRAM/REC will go off.
4.7 Delete Chase
1 Enter programming mode.
2 Hold DEL/CLEAR button, and press one of the CHASE 1-8
buttons. All LEDs will blink 3 times and then go out, the
corresponding LED indicator will go off indicating the chase
has been deleted successfully.
3 Repeat steps 2-3 to delete more chases.
4 Hold PROGRAM/REC button for 3 seconds to exit programming
mode, the LED indicator above PROGRAM/REC will go off.
4.8 Factory Reset
Be careful, factory reset will delete all the settings!
1 Turn off the power.
2 Press the PROGRAM/REC and DEL/CLEAR buttons at the same
time, turn on the power, wait until all LEDs are blinking, release the
buttons, the LEDs will stop blinking indicating the factory reset has
been successful.
4.9 Manual Mode
1 Ensure the LED above the BLACK OUT button is off.
2 Press FIXTURE SELECTOR 1-8 button to choose units desired.
3 Push FADER 1-8 to adjust the effect.

LED Master 64 manual
12
4.10 Run Saved Colours
1 Ensure the LED above the BLACK OUT button is off.
2 Use UP/DOWN button to choose BANK 1-6 to recall the
SAVED COLOURS.
3 Press saved colour1-6 button to recall the SAVED COLOURS in
the bank selected.
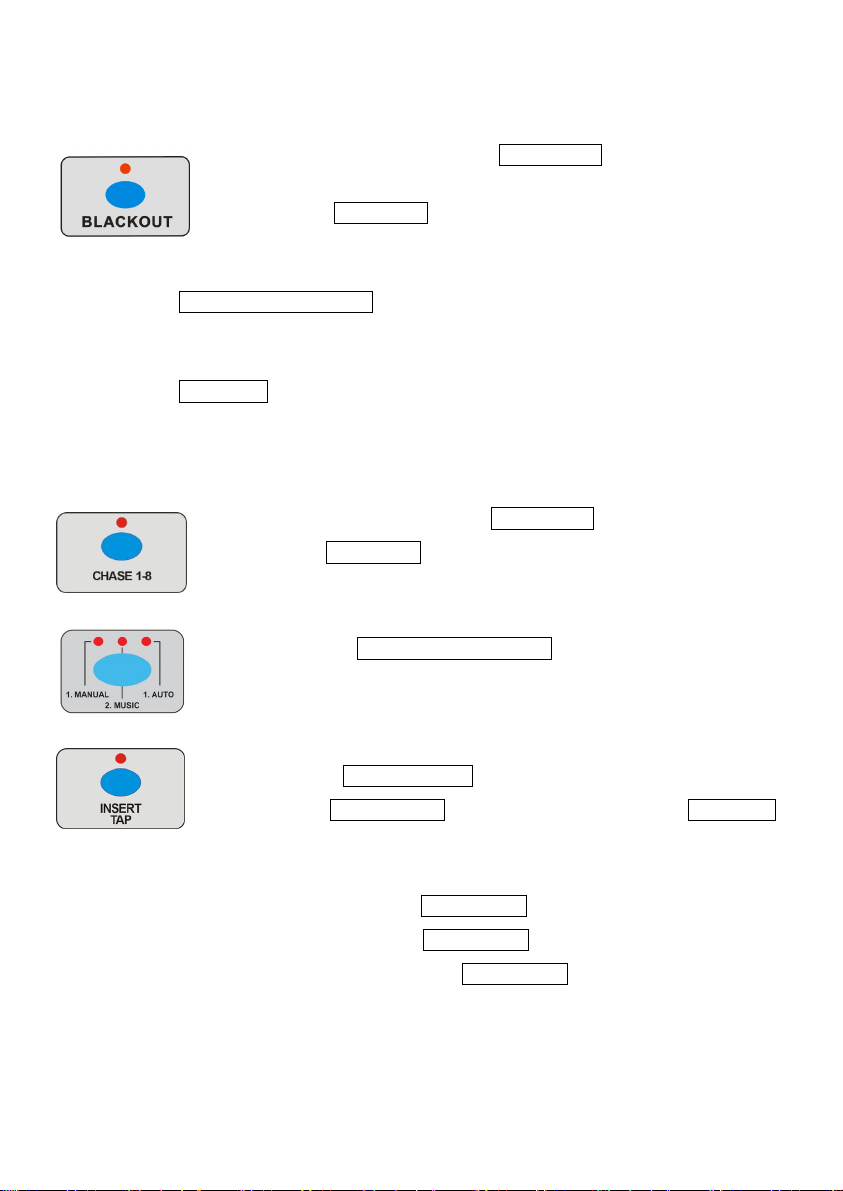
4.11 Run CHASE
Be sure there are CHASES stored. Press CHASE 1-8 buttons to
run CHASE directly, the corresponding LED will be on. If you choose
more than one CHASE at a time, then the first chase selected LED will
be on and others will be blinking, all the CHASES will cycle through
one by one.
There are three modes: Manual Mode, Sound Mode and Auto mode.
A. Manual mode
1 Ensure the LED above the BLACK OUT button is off.
2 Press CHASE 1-8 button to run the CHASE, the display will
show the present CHASE selected.
3 Press the MANUAL/MUSIC/AUTO button until the MANUAL
LED is on indicated manual mode has been selected.
4 Press the UP/DOWN button to step through the chase scene
by scene.
LED Master 64 manual
13
B. Sound Mode
1 Ensure the LED above the BLACK OUT button is off.
2 Press CHASE 1-8 button to select the CHASE,
the display will show the present CHASE.
3 Press MANUAL/MUSIC/AUTO button to select Sound Mode,
the MUSIC LED will now be on indicating Sound Mode is selected.
4 Press UP/DOWN button to adjust the sound sensitivity,
the CHASE will now run to the music.
C. Auto mode
1 Ensure the LED above the BLACK OUT button is off.
2 Press CHASE 1-8 button, the display will show the selected
CHASE.
3 Press the MANUAL/MUSIC/AUTO button to select Auto Mode,
the AUTO LED will now be on indicating Auto Mode has
been selected.
4 Use the CHASE SPEED fader to adjust the CHASE speed,
or use FADE SPEED to adjust the fade time. Press UP/DOWN
button to set the run time for CHASE (It’s useful when running
more than one CHASE at a time). You can also change the
CHASE speed via INSERT/TAP button. When running the
CHASE, press the INSERT/TAP button and the indicator will be
blinking, then press the INSERT/TAP button and the indicator
will go off, the blinking time will then be the CHASE speed.
LED Master 64 manual
14
4.12 Run Pre-Set Colours
NOTE: That before running the Pre-Set Colors ensure that the procedure 4.1 channel
assignments have been completed, or it will result in random colours or no operation.
There are three modes: Auto Chase Mode, Sound Mode, Auto Fade. Before you choose the
three modes, you should select fixtures 1-8 first, otherwise the modes will be unavailable.
A. Auto Chase Mode
1 Ensure the LED indicator above the BLACK OUT button is off.
2 Press the AUTO CHASE button, the LED indicator above it will
be on indicating that it is in Auto Mode.
3 Use the CHASE SPEED fader to adjust the CHASE speed.
B. Sound Mode
1 Ensure the LED indicator above the BLACK OUT
button is off.
2 Press the SOUND CHASE button, the LED indicator will be
on indicating that Sound Mode has been selected.
3 Press the UP/DOWN button to adjust the sound sensitivity,
the CHASE will now run to the music.
C. Auto Fade mode
1. Ensure the LED indicator above the BLACK OUT button is off.
2. Press the AUTO FADE button, the LED indicator above it will be on indicating that
the Auto Fade Mode has been selected.
3. Use the FADE SPEED to adjust the fade time.
LED Master 64 manual
15
4.13 Manual control
Manually control this unit when running COLOUR PRESET, CHASE or FADE.
1 Ensure the LED indicator above the BLACK OUT button is off.
2 Select COLOUR PRESET or CHASE.
3 Press FIXTURE SELECTOR 1-8 button to choose units.
4 Use FADER 1-8 to adjust the lighting effect, the changes of
the channel values are independent of the COLOUR PRESET
or CHASE.
5 To revert back to normal, simply take down any sliders you
adjusted in manual mode and press DEL/CLEAR.
4.14 Strobe
Hold down the Strobe button, all the lights will strobe, and at this time you can adjust the
strobe speed by adjusting the Strobe Speed Fader. When you release the strobe button, the
speed will be saved in the memory.
4.15 Blackout
Press the Blackout button, the LED indicator above it will light up, you have now entered the
Blackout mode. When you hold the Blackout button for about 3 seconds, the LED indicator
above it will blink, you have now entered into the Foot Switch (CA-8F) Mode. At this time, on
the controller, only the Dimmer Fader can be used to adjust the total lighting intensity, any
other button on the panel will deactivated. You can use the foot switch (CA-8F) to control the
LED Master 64.
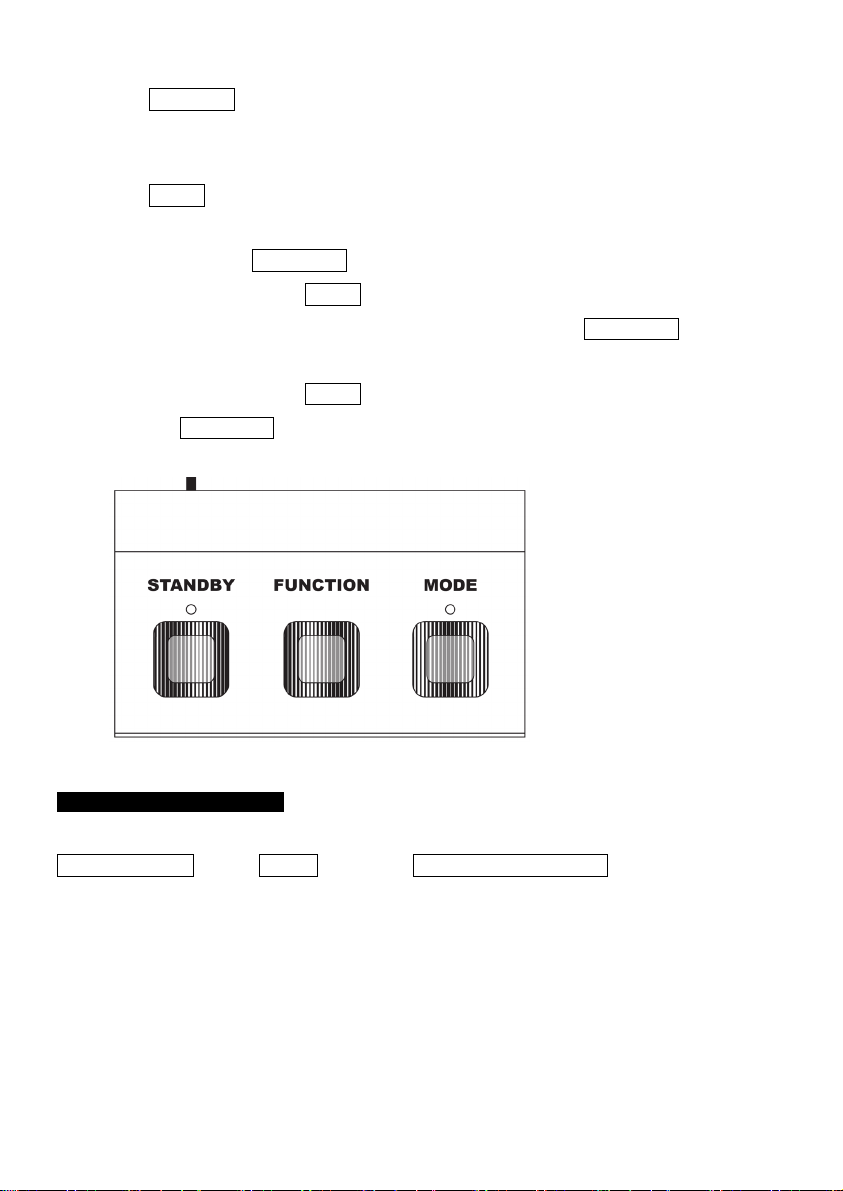
4.16 Foot Switch (CA- 8F)
The LED Master 64 will work with the CA-8F, when the CA-8F is connected to the
LED Master 64, hold the BLACKOUT/FOOT SWITCH button for 3 seconds and the
LED Master 64 manual
16
LED indicator above it is blinking the CA-8F has been activated.
1. STANDBY button used to activate the CA-8F or interrupt the connection.
Hold it for about 2 seconds, the LED indicator will go out, then the CA-8F has
been activated.
2. MODE button is used to change the mode. Pressing it when the LED indicator
above is lit up but not flashing, means it has entered into the saved chase mode,
pressing the FUNCTION button can change the chase.
3. When pressing the MODE button till the indicator above is lit up and flashing,
means it has entered into the step mode, pressing the FUNCTION button will
change the step and the number of steps will display on the screen.
4. When pressing the MODE button till the indicator above it is off and then press
the FUNCTION button, all the fixtures’ channels will be on 255, for full on/flood.
CA-8F Foot controller
4.17 Update by USB drive
Power off the unit, and then insert the USB drive with the specific program in it. Hold
PROGRAM/REC button, DOWN button and MANUAL/MUSIC/AUTO button simultaneously,
then power on the unit, when all the lights light up, you can then release the button. The LED
display will show ‘USB-LINK’. The program will update automatically, after it has finished the
update, the LED display will show ‘UPDAP OK’. You can restart the unit and the unit has
been updated successfully.
NOTE: Please use memory stick of between 1GB-2GB. The format of the memory disk
should be FAT16 or FAT32 and the memory disk should be clear before starting.
LED Master 64 manual
17
4.18 Upload files to USB memory stick
You can save the channel assignment data onto your memory stick in the following way:
1. Insert the USB memory stick into the controller.
2. Hold BANK UP and MANUAL/MUSIC/AUTO buttons at the same time, the LED display
will then show ‘UPF’ (upload files). You can then press any of the fixture buttons that you
have assigned to your fixtures the data will then be saved. When it has completed the
display will show ‘OK’ and the controller will exit the upload mode.
4.19 Downloading files to the controller from USB memory stick
1. Insert the USB memory stick into the controller.
2. Hold BANK DOWN and MANUAL/MUSIC/AUTO buttons at the same time, the LED
display will then show ‘DLF’ (download files). If the memory stick has assignment data
saved onto it, then the LEDs next to the fixture buttons will light up to show that data is
available to download. Simply press any of the fixture buttons that are illuminated and that
data will be downloaded. When the download has completed the display will show ‘OK’ and
the controller will exit download mode.
NOTE: If no data is saved onto the USB memory stick and you try to download, the display
will show ‘LOAD’ and no transfer will take place.
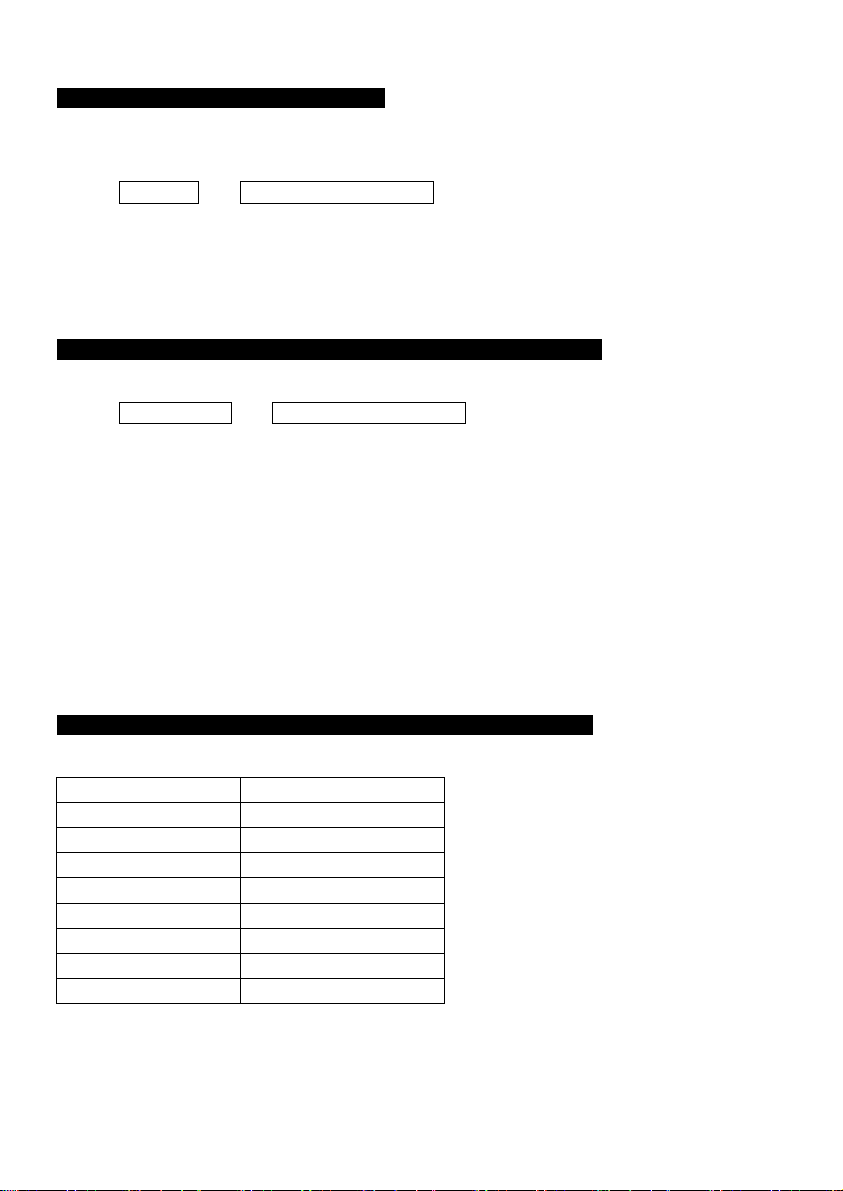
4.19 DMX Address
Fixture Number
DMX Start Address
Fixture 1
1
Fixture 2
9
Fixture 3
17
Fixture 4
25
Fixture 5
33
Fixture 6
41
Fixture 7
49
Fixture 8
57
LED Master 64 manual
18
Technical specifications:
Power Input: 9-12 DC min 300mA
DMX Output: 3/5 pin DMX output and RJ45 port
Dimensions: 280 x 170 x 66 mm
Weight: 1.8kgs
EC Declaration of Conformity
We declare that our products comply with the following specification
and bears the CE mark in accordance with the provision of the
Electromagnetic Compatibility (EMC) Directive 89/336/EEC.
EN55103-1:199601-2; EN55103-2:1996;
EN61000-3-2:2000+A2:2005;
EN61000-3-3:1995+A1:2001+A2:2005.
&
Harmonized Standard
EN 60598-1: 2004
IEC 60598-1:2003+ corrigendum 2004
Part 1:General requirements and test
Following the provisions of the low voltage directive
73/23/EEC and 93/68/EEC

LED Master 64 manual
19
This manual suits for next models
1
Table of contents
Other Transcension Power Distribution Unit manuals


