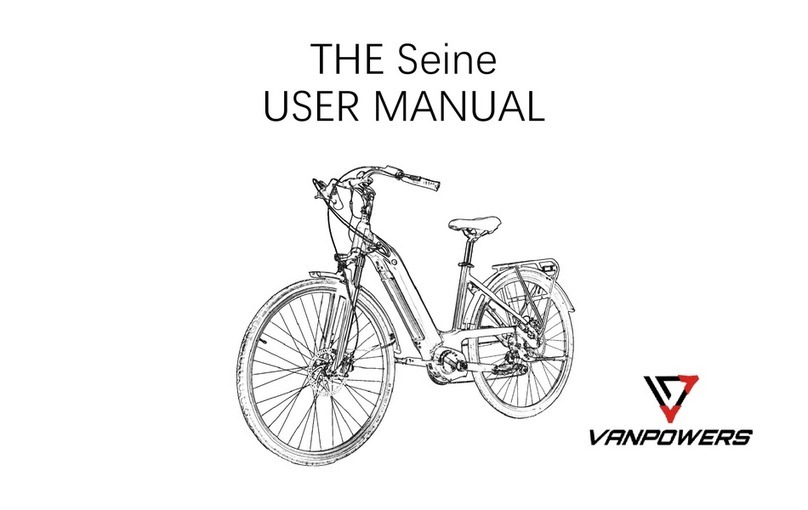
Transition RELAY User manual

QUICK START GUIDE:
Charging and Controller Commands

QUICK START GUIDE:
Powering the System ON and OFF
Charging Your Battery
1. To turn on your bike, press and hold the Ring-
Controller in the up position for 2 secs.
2. To turn off your bike, press and hold the Ring-
Controller in the down position for 2 secs.
Note: The battery does NOT come fully charged and
must be completely charged before riding. The Relay
battery must be removed from the bike in order to
charge it.
1. Remove the battery from the bike.
2. Plug the battery charger cord into a standard outlet.
3. Plug the power cable into the port on the back side
of the battery.
The LED on the charger will light up RED when the
battery is initially plugged in. When the battery is fully
charged the LED will change to green to indicate the
battery is fully charged.
ON OFF
Tip: Once the system has been turned on, the lights on the LED hub will illuminate to indicate the charge level.
1 LED = 0-20%, 2 LEDs = 20-40%, 3 LEDs = 40-60%, 4 LEDs = 60-80%, 5 LEDs = 80-100%
Switching Support Modes
• To increase the support level, push the ring controller
up once.
• To decrease the support level, push the ring controller
down once.
Tip: The LED Hub will indicate the current support level.
Switching Support Modes
1. 2.
3.a 3.b
1. 2.

QUICK START GUIDE:
Installing Your Battery
Removing Your Battery
Installing Your Battery Door
1. With the handle of the battery facing outwards,
insert the bottom of the battery into the frame of the
bike.
2. Swing the top of the battery into the bike, lining up
the metal plate with the slot on the back side of the
battery.
3. Press the battery into the frame until you hear an
audible “Click.”
Tip: With your hand, move the battery back and forth in
the frame to make sure that it is secure. If you did not
hear an audible click, remove the battery and try again.
1. Remove the battery door by turning the dial to the
horizontal position and sliding the door up and
forward.
2. Hold on to the battery with one hand.
3. Using the other hand press the rubber push button
in the handle, as much as you can, to release the
battery.
4. Keep holding the button while gently pulling down
on the battery.
5. Remove the battery by swinging the top portion
down and forward.
Before installing the battery door, ensure the battery is
securely installed in the bike.
1. Make sure the door dial is in the horizontal position
and positioned towards the front of the bike.
2. Slide the bottom of the door into the bike so that the
bottom tab is secure in the frame.
3. Swing the top of the door up against the frame.
4. While holding the door against the frame, turn the
door dial either clockwise or counterclockwise into
the vertical position.
Tip:
• Make sure the battery door is secure by lightly pulling
down on the door. If the door is not secure, attempt
again or rotate the dial 180 degrees to ensure that the
internal stopper is correctly lined up.
• Some doors were misprinted and the circular indent
marks may not line up. Rotate the dial 180 degrees to
the vertical position and ensure the door is secure
before riding.
“CLICK”
2.
1.
Hold and Press
Button to Release
2.
3.
LOCKED
UNLOCKED
ROTATE
180°
ROTATE
180°

QUICK START GUIDE:
Riding Support Modes
Alternate Support Modes
The Relay comes with 4 different riding-support modes in addition to Boost and Walk Assist
modes. The Ring-Controller on the handlebar can be used to toggle between modes. The current
mode will be indicated by the LED Hub. The Hub will change color based on the level of support.
No Support (white) is indicated by white LEDs. Breeze (green) will be the least amount of support
and will give you the longest battery life. River (blue) will be a moderate amount of power. Rocket
(magenta) will give you the most amount of support but leaving it in this mode will use the most
battery life.
• To engage "Walk Mode," cycle the support mode to
white/no support. Once in this mode, press and hold
the ring controller inwards toward the center of the
bike while walking with the bike. The LED Hub lights
will cycle from top to bottom to indicate that you are
in walk mode.
• To disengage, simply release the ring controller.
• To use "Boost Mode," the bike must be in Breeze, River,
or Rocket Mode. Boost Mode will give you the maxi-
mum amount of power regardless of the current mode
for a short period of time.
• To engage, press and hold the ring controller in the up
position, until the lights on the LED Hub start to cycle.
• To disengage, either cycle support to No Support or
press and hold the ring controller in the up position
until the LED Hub lights stop cycling.
NONE BREEZE RIVER ROCKET

QUICK START GUIDE:
App Connection
Each Relay will come with its own specific app-connection ID #, which will be listed on both the
invoice and on the tag attached to the LED Hub. You can use this number to connect your Relay to
the Fazua app, in order to download new profiles and change your support mode settings.
For complete instructions on how to connect to the Fazua Rider App, check out their website:
https://fazua.com/en/support/help-center/bluetooth-connections/fazua-app/
Updating Software
New firmware is periodically available and can be applied to your bike using the Fazua Toolbox
software. To update firmware, go to Fazua's website using the below link and follow the directions
to download the toolbox and update your software.
https://fazua.com/en/support/help-center/toolbox-software/overview//
Table of contents
