Introduction
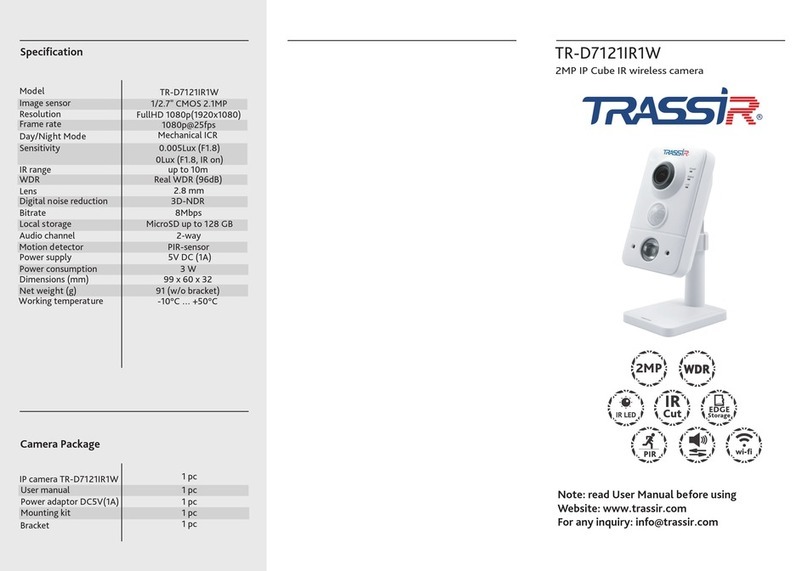
Congratulations with purchasing of IP camera TR-D7101IR1W.
Key feature of TR-D7101IR1W is high resolution and ability to transfer
video via Wi-Fi.
Please read User Manual before using a camera.
Product description:
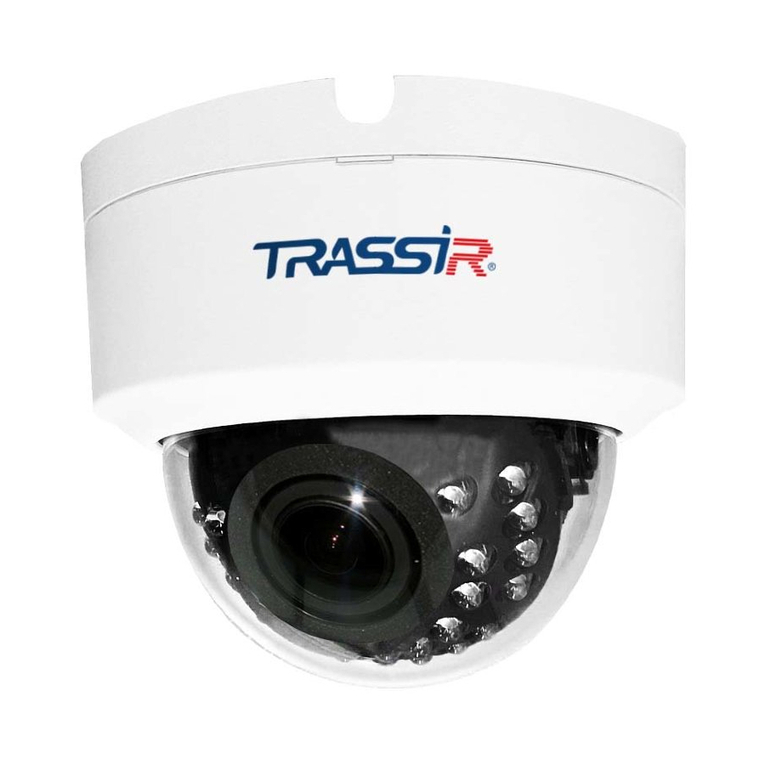
IP camera TR-D7101R1W is a compact camera for internal use.
This model has 1 Mpx CMOS image sensor of latest generation with
support of hardware WDR which let you obtain a video with maximal
image resolution and you can use a camera in different conditions of
video recording: either in difficult and constantly changing lighting
condiitons during a daytime or in a full dark at night time.
Key features of this IP camera are:
- Wide Dynamic Range (D-WDR)
- Mechanical IR-filter
- Onboard video archive (Edge Storage) – local recording
on MicroSD card* up to 32GB
- IR range up to 10 m
- Support of 2 video streams
- Two-way audio (built-in speaker and microphone)
- Motion detector (PIR-sensor)
- Both Wi-Fi and Ethernet video transmission
*MicroSD card is not included into camera package
Manual setting of network parameters.
Setting of Wi-Fi in camera:
Set up Wi-Fi on your IP camera using TRASSIR app or via web interface
connecting to a camera through Ethernet before.
Connection via Ethernet
IP camera and PC should be in one local network to connect to each
other. In this case IP address of a camera, PC or any other devices
shouldn't match each other.
IP camera has the following default settings:
- IP address: 192.168.1.188
- Subnet mask: 255.255.0.0
- Gateway: 192.168.1.1
- HTTP-port: 80
- username: admin
- password: admin
Example of network settings for PC to connect to IP camera:
- IP address: 192.168.1.10;
- Subnet mask: 255.255.0.0.
There are 3 options to set up your camera:
1. Change IP address of a camera manually.
To do this start your browser, connect to IP camera and enter your
username and password. Choose appropriate menu item and change
network settings of IP camera.
2. Set IP address of a camera using fast configuration utility which could
be downloaded from www.trassir.com.
3. Change IP camera settings using TRASSIR professional software.
Find detailed instruction on camera settings in user manual which could
be downloaded from our website www.trassir.com.
Notes:
Power supply should meet the requirements: output voltage, current,
polarities and working temperature. Pay attention that you have
lightning conductor while using IP camera during a storm or plug off
power connector.
Pay attention to temperature requirements of IP camera. Avoid of using
IP camera in high or low temperatures. Working temperature from -10°C
to +50°C. Don't direct camera lens to the sun or bright object. It could
harm your image sensor.
Don't install your IP camera near heaters.
How to connect your camera to TRASSIR Cloud
1. Plug in power adaptor from a package. Camera will turn on in a minute.
2. Create your user account at cloud.trassir.com.
3. Download TRASSIR app for your smartphone from Google Play or
AppStore.
4. Launch TRASSIR app and sign in using your account created earlier.
5. Set WiFi on your IP-camera:
Add device > Add device into Cloud > Trassir >
Setting Wi-Fi in IP camera.
6. Add IP camera by reading QR-code from a sticker or enter
MAC address manually.
IPcamera is ready to work.
Dimensions
