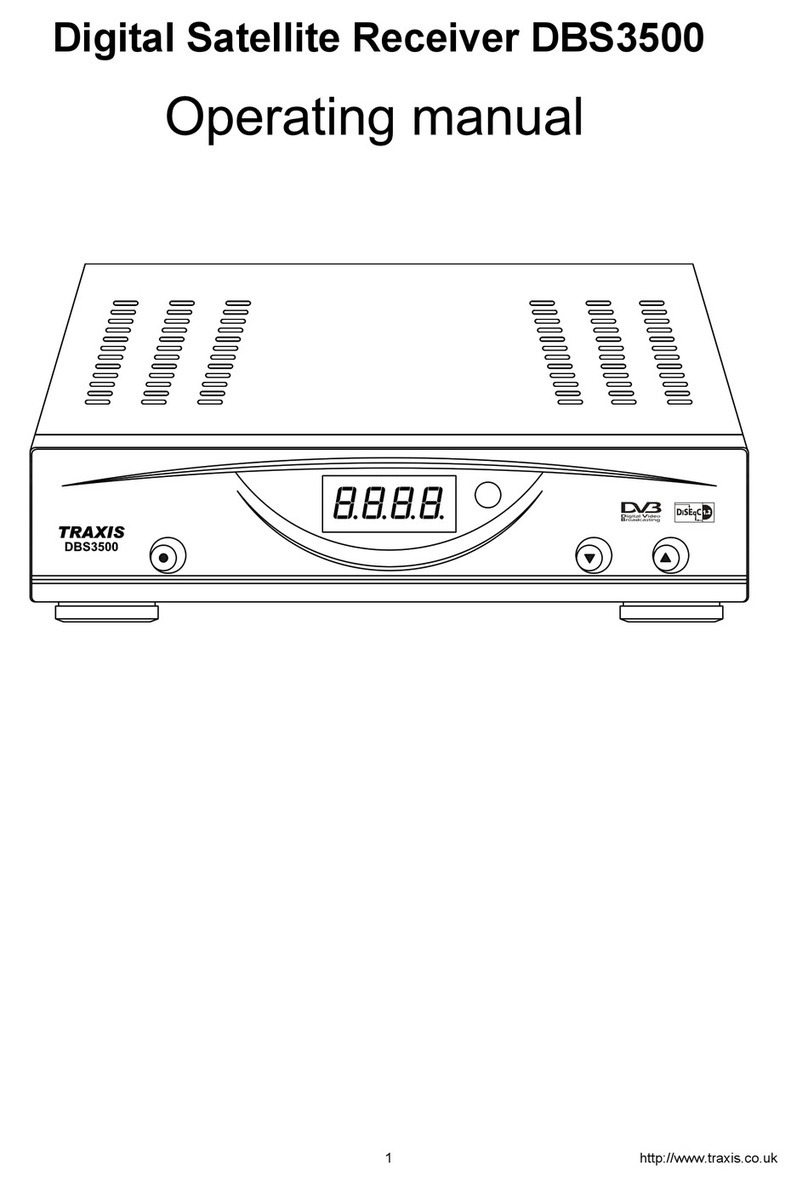
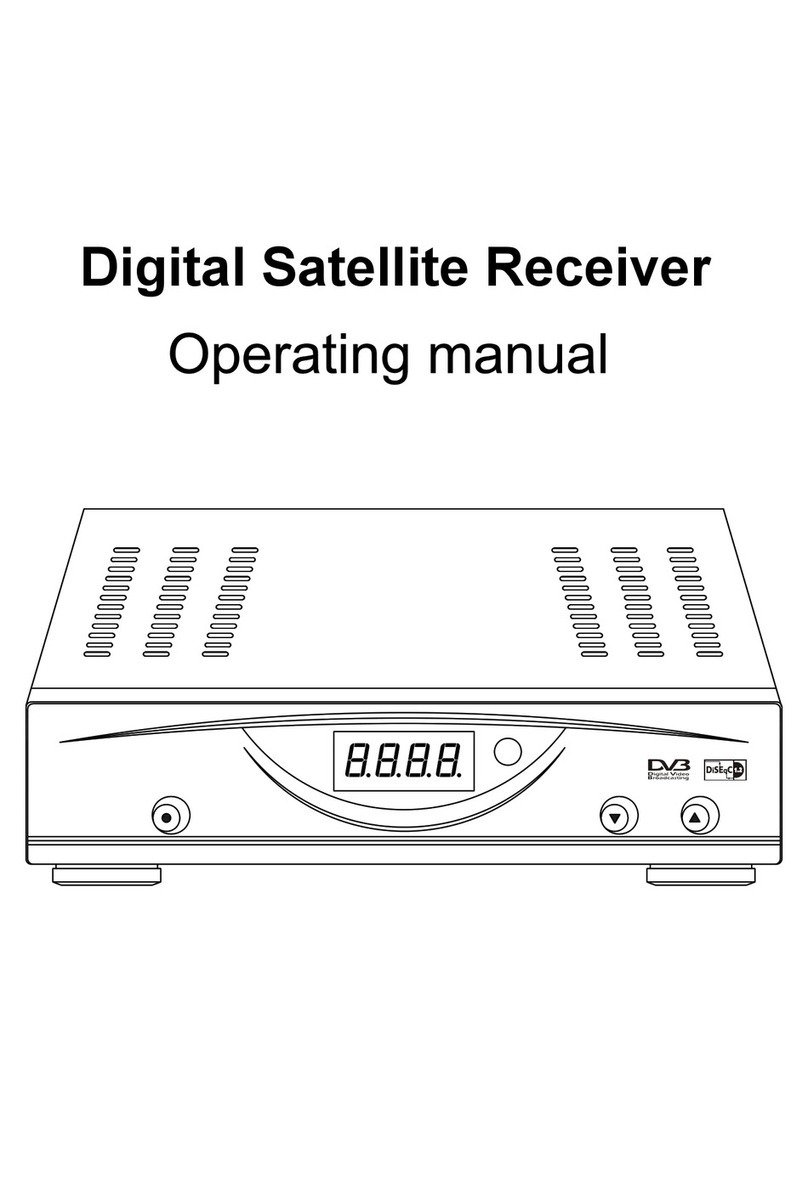
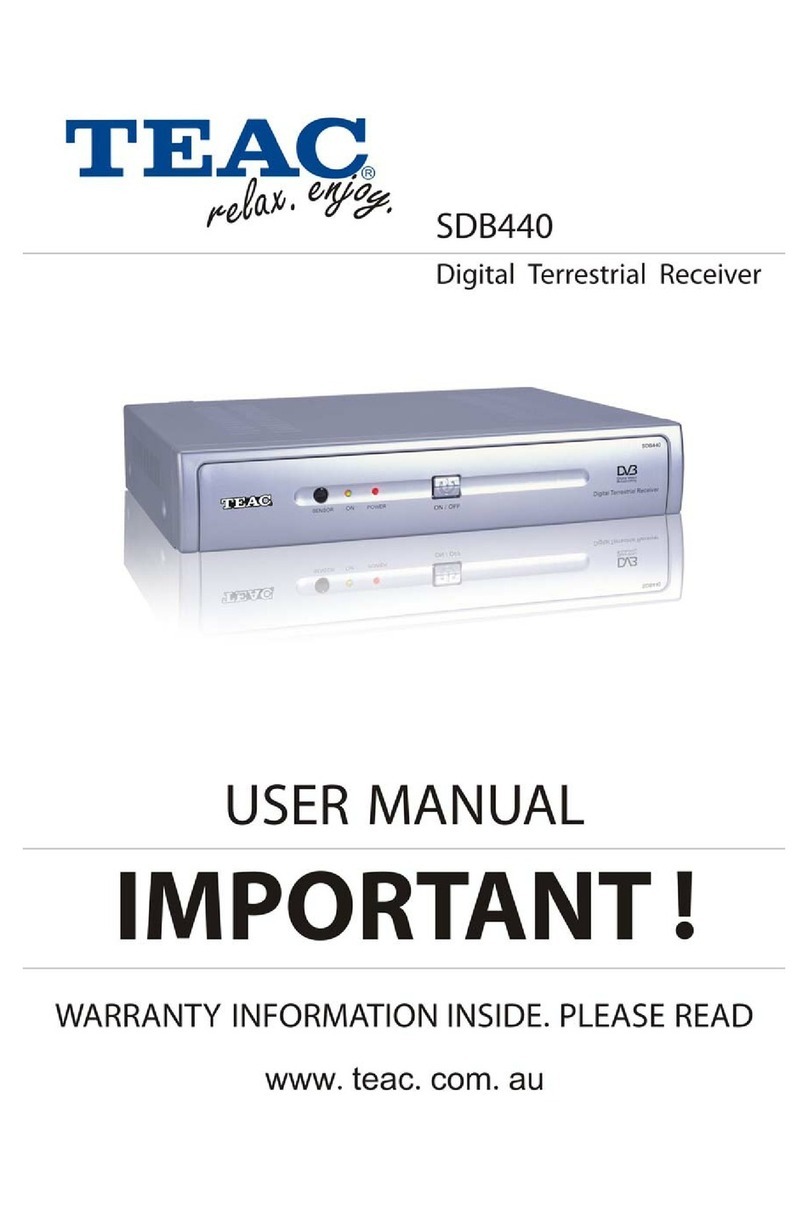
Traxis DBS-2800 User manual

Digital Satellite Receiver
DBS-2800
Headend Equipment
1
http://www.traxis.co.uk

CABLEOFCONTENTS
1.Safety/Precaution........................................................................................1
1.1Safety.........................................................................................................1
1.2Precaution.................................................................................................1
2.Check PointsbeforeUse
2.1Accessories...............................................................................................2
3.Description &Installation
3.1Frontpanel................................................................................................3
3.2Rearpanel.................................................................................................4
4.Systemconnection......................................................................................5
5.MainMenu
5.1TVChannel...............................................................................................6
5.2RadioChannel...........................................................................................9
5.3Installation.................................................................................................10
5.4OSD.........................................................................................................22
5.5AboutDVB...............................................................................................23
6.ENTER......................................................................................................24
7.Technicalspecification...............................................................................25
2
http://www.traxis.co.uk

1
Safety/Precaution
1Safety/Precaution
Besuretoread tothe user’smanualbeforestarting the operation ofthe unit.
Neveropen the cover.It isverydangeroustotouchthe inside ofthe unitdue to
possibleelectricshock.
When you do notusethisunitforalong time,makesurethatpowercordispulled out
fromthe outlet. Alsodo notuseadamaged powercordthatmaycausefireorelectric
shock.
Donottouchthe powercordwithwethand.thatmaycauseelectricshock.
Placethe unitinthe well ventilated and no heatenvironment.
1.1Safety
1.2Precaution
If the receiverantenna isnotworking properly,consultyourdealer.Professionalin-
stallation isrequired foracorrectdirection and angle.
Install the unithorizontally.Unleveled installationmaycausethe unitbytobe damaged.
Donotputheavy objectssuchasaTVon the unit. Thatmaycausethe unittobe
damaged.
Donotinstall the unit:
Subjecttovibrating influence
Exposed tothe directsunrays
Inexcessivehumidity
Wheretemperatureistoo high ortoo low
Withoutventilation
When the unitissuddenlymoved toahotarea fromacoldarea,itmaycauseprob-
lemsbydewforming.Inthatcase,turnoff the power,and afterone ortwohoursturn
on the power.
3
http://www.traxis.co.uk

2
CheckPointsbeforeUse 2.1Accessories
2
User’smanual:1
Cable:1
4
http://www.traxis.co.uk

3
Description&Installation 3.1Frontpanel
3
1.POWER:Toswitchthe receiverpowerON/OFF.
2.MENU:Toenterintothe MainMenu orexitfrommenu.
3.Display(4-Digit/7-Segment):Indicatesoperating statusofthe receiver.
4.CHANNEL▲/q:Tochange channels,ortomovecursorinthe menu.
5.ENTER:Toselectan iteminthe menu and confirmit.
6.VOLUME/:Toadjustthe volumelevel.
5
http://www.traxis.co.uk

4
Description&Installation 3.2Rearpanel
3
1.
2.
3.
4.
5.
6.
7.
SATELLITEOUT:IFinputfromLNBtodigitaltuner.
SATELLITEIN:IFoutputfromLNBtootherdigitaltuner.
AUDIOR/L
VIDEO
RS-232:Serialporttoupgrade software.
ACPOWEROUTPUT.
ACPOWERINPUT.
6
http://www.traxis.co.uk

5
The following figureshowscableconnectionsrequired forsatelliteLNB,TVand etc.
asmay,differentequipmentconfigurationsarepossible.
Ifyou need anyassistanceforspecificequipmentconnection,pleasecontactyour
localdistributor.
SystemConnection
4SystemConnection
7
http://www.traxis.co.uk

6
②Audio
a.Select<Audio>withVOLUME/Onthe frontpanel.
b.Selectachannelyou wanttoAudiowithCHANNEL▲/q,and press ENTER,you
will see the sub-menu asshowninthe following figure.
MainMenu
55.1TVChannel
Press MENU Onthe frontpanel,the mainmenu will display:
Select<TVChannel>inmainmenu withCHANNEL▲/q,and press ENTER,you
will see the sub-menu asshowninthe following figure.
①Delete
a.Select<Delete>withVOLUME/Onthe frontpanel.
b.Selectachannelyou wanttodeletewithCHANNEL▲/q,and press ENTER,
the channelwill marked with.Cancelyourselection,press ENTERagain.
c.The channelwill be deleted when you exitfromthe menu inthe Notesmenu.
8
http://www.traxis.co.uk

7
MainMenu
65.1TVChannel
③Move
a.Select<Move>withVOLUME/Onthe frontpanel.
b.Selectachannelyou wanttomovewithCHANNEL▲/q,and press ENTER,you
will see the sub-menuasshowninthe followingfigure.
④Edit
a.Select<Edit>withVOLUME/Onthe frontpanel.
b.Selectachannelyou wanttoeditwithCHANNEL▲/q,and press ENTER,you
c.Press CHANNEL▲/qand VOLUME/Onthe frontpanel,then press
ENTER,you can moveittothe newposition.
d.Press MENU toreturntothe previousmenu.
9
http://www.traxis.co.uk

8
MainMenu
5
will see the sub-menu asshowninthe following figure.
⑤Rename
a.Select<Rename>withVOLUME/Onthe frontpanel.
b.Selectachannelyou wanttorenamewithCHANNEL▲/q,and press ENTER,
you will see the sub-menu asshowninthefollowing figure.
c.Adjustthe PIDdatawithCHANNEL▲/qand VOLUME/.
d.Press ENTERtoconfirmit.
c.Press CHANNEL▲/qorVOLUME/and press ENTERtoconfirmit.
d.Press MENU toreturntothe previousmenu.
5.1TVChannel
Notes:Video,AudioPCR and TeletextPIDaremandatory,and you can
find PIDvaluesfromsatelliteinformation resources.
10
http://www.traxis.co.uk

9
Select<RadioChannel>inmainmenu withCHANNEL▲/q,and press ENTER,
you will see the sub-menu asshowninthe following figure.
Select<RadioChannel>inmainmenu withCHANNEL▲/q,and press ENTER,
you will see the sub-menu asshowninthe following figure.
The operation forthe RadioChannelisthe sameasTVChannel.
MainMenu
55.2RadioChannel
11
http://www.traxis.co.uk

10
MainMenu
55.3Installation
Select<Installation>inmainmenu withCHANNEL▲/q,and press ENTER,you
will see the sub-menu asshowninthe following figure.
Antenna Config
Select<Antenna Config>withCHANNEL▲/q,and press ENTER,you will see
the sub-menu asshowninthe following figure.
①Setup
Select<Setup>withVOL/,selectasatelliteyou wantwithCH ▲/q,and
press ENTER.
a.Universal
Incaseyou areusing universalLNB,select<On>withVOL/,LNB(low)and
LNB(high)will displaydefault(9750MHzand 10600MHz).Tochange LNBfrequency,
when universalselect<Off>withVOL/.
12
http://www.traxis.co.uk

11
MainMenu
5
②Add
a.Select<Add>withVOLUME/Onthe frontpanel,and press ENTER,the new
satellitewill be displayed:
5.3Installation
b.LNBPower
Incaseyou need tosupply13/18VDC toLNB,Select(13/18V)withVOL/.
d.DiSEqC
If the DiSEqCboxisDiSEqC1.0,positionershouldbe setDisable,then selectan
tenna inputDiSEqCA~DiSEqCD,ButstAorBurstB.Ifthe DiSEqCboxisDiSEqC
1.2,positionershouldbe setEnable,then selectMototosetsomedata.
③Rename
a.Select<Rename>withVOLUME/Onthe frontpanel.
b.Selectasatelliteyou wanttoRenamewithCHANNEL▲/q,and press ENTER,
you will see the sub-menu asshowninthefollowing figure.
13
http://www.traxis.co.uk

12
⑤1Sat(Searchall transpondersfromone satellite)
a.Select<1Sat>withVOLUME/Onthe frontpanel.
b.SelectasatellitewithCHANNEL▲/q,and press ENTER,you will see the sub-
menu asshowninthe following figure.
c.Press CHANNEL▲/qorVOLUME/,and press ENTERtoconfirmit.
d.Press MENU toreturntothe previousmenu.
④Delete
a.Select<Delete>withVOLUME/Onthe frontpanel.
b.Selectasatelliteyou wanttodeletewithCHANNEL▲/q,and press ENTER,you
will see the sub-menu asshowninthe following figure.
MainMenu
55.3Installation
c.If Select<Yes>withVOLUME/,and press ENTER,then deletethe satellite,
elsecanceloperation.
c.Duringsearching,you canpressENTERtoskipthe transponder,pressMENUtoexitthemenu.
14
http://www.traxis.co.uk

13
Select<TPList>withCHANNEL▲/q,and press ENTER,you will see the sub-
menu asshowninthe following figure.
①Add
Select<Add>withVOLUME/Onthe frontpanel,and press ENTER,the
screen will display:
TPList
MainMenu
55.3Installation
a.Inputfrequency,symbolrate,polarization and FTAONLYwithCHANNEL▲/q
orVOLUME/Onthe frontpanel.
b.Press ENTER,then add aTP,elsecanceloperation.
15
http://www.traxis.co.uk

14
Notes:FTA<Free toair>OnlyNO:Searchall channels.
FTAONLYYes:Searchfree toairchannels.
②Edit
a.Select<Edit>withVOLUME/Onthe frontpanel.
b.SelectaTPyou wanttoeditwithCHANNEL▲/q,andpress ENTER,youwill see
the sub-menu asshowninthe following figure.
MainMenu
55.3Installation
③Delete
a.Select<Delete>withVOLUME/Onthe frontpanel.
b.SelectaTPyou wanttodeletewithCHANNEL▲/q,and press ENTER,you will
see the sub-menu asshowninthe following figure.
b.Adjustfrequency,Symbol,polarization,FTAONLYwithCHANNEL▲/q,VOLUME
/.
c.Press ENTER,then editthe TP,elsecancelthe operation.
16
http://www.traxis.co.uk

15
MainMenu 5.3Installation
c.Ifselect<Yes>withVOLUME/,press ENTER,then deletethe TP,elsecancel
operation.
④1TP
a.Select<1TP>withVOLUME/.
b.Press ENTERtostartchannelsearching,you will see the sub-menu asshowninthe
following figure.
5
c.When channelsearching isdone,press MENU toexit.
17
http://www.traxis.co.uk

16
MainMenu
⑤1Sat(Searchall transpondersfromone satellite)
a.Select<1Sat>withVOLUME/.
b.SelectasatellitewithCHANNEL▲/q,and press ENTER,you will see the sub-
menu asshowninthe following figure.
c.When satellitesearching isdone,press MENU toexit.
⑥PID
a.Select<PID>withVOLUME/.
55.3Installation
b.SelectaTPyou wantwithCHANNEL▲/q.
c.Press ENTER,you will see the sub-menu asshowninthe following figure.
18
http://www.traxis.co.uk

17
MainMenu
d.Adjustthe PIDdatawithCHANNEL▲/q,VOLUME/.
e.Press ENTER,you will add aprogram.
Notes:Video,AudioPCR and TeletextPIDaremandatory,and you can
find PIDvaluesfromsatelliteinformation resources.
⑦Signal
a.Select<Signal>withVOLUME/.
b.Press ENTERtocheck signalstrengthofthe TPyou havechosen,you will see the
sub-menu asshowninthe following figure.
55.3Installation
c.Press MENU toreturntothe previousmenu.
19
http://www.traxis.co.uk

18
FTAOnly<Yes>:Searchonlyfree toairchannels.
FTAOnly<No>:Searchall channels.
MainMenu
Select<SystemSetting>withCHANNEL▲/q,and press ENTER,you will see
the sub-menu asshowninthe following figure.
SystemSetting
①TVSystem
SelectyourTVtype among NTSC,PAL,SECAMandAutowithVOLUME/.
②TVScreen Format
SelectyourTVaspectratio4:3or16:9withVOLUME/.
③LNBPower
WithVOLUME/selectON/OFF.
④FTAOnly
55.3Installation
20
http://www.traxis.co.uk
Table of contents
Other Traxis Receiver manuals
