Installing Transmitter Batteries
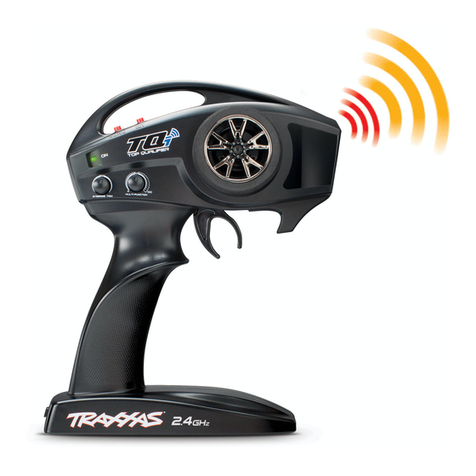
Your TQ-4 transmitter uses 8 AA
batteries. The battery compartment is
located in the base of the transmitter.
1. Remove the battery compartment
door by pressing the tab and lifting
the door up.
2. Install the batteries in the correct
orientation as indicated in the
battery compartment.
3. Reinstall the battery door and snap it closed.
4. Turn on the transmitter and check the power indicator for a solid red light.
If the power indicator light flashes, then the transmitter batteries are weak,
discharged or possibly installed incorrectly. Replace with new or freshly
charged batteries. The power indicator light does not indicate the charge
level of the battery pack installed in the model.
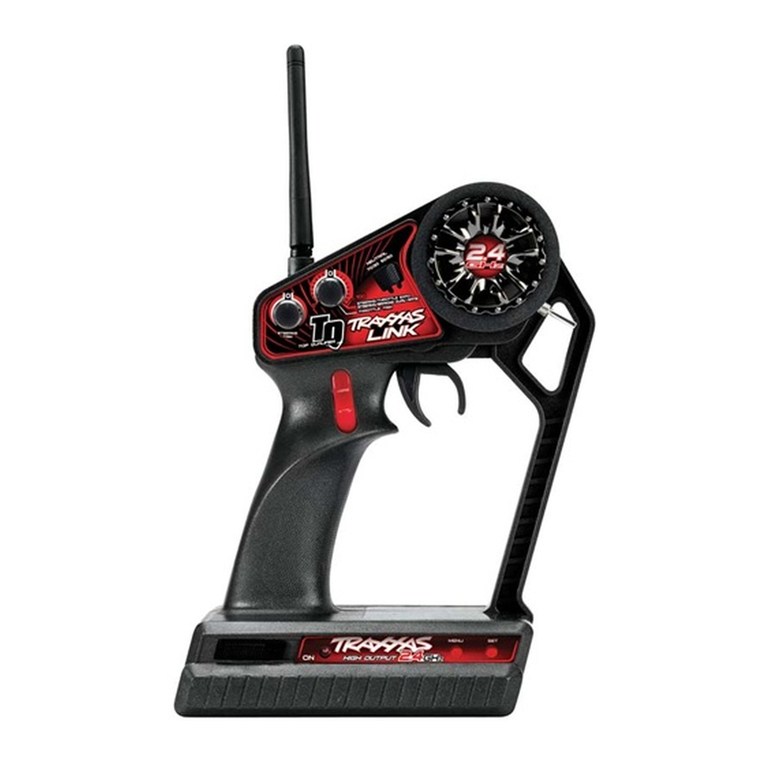
TQ 2.4 Transmitter Binding Instructions
For proper operation, the transmitter and receiver must be electronically
‘bound.’ Thishasbeendoneforyouatthefactory. Should you ever need
to re-bind the system, follow these instructions. Note: the receiver must be
connected to a 4.8-7.2v power source for binding.
1. Press and hold the transmitter’s SET button as you switch transmitter on.
The SET LED will flash.
2. Press and hold the receiver’s LINK button as you switch receiver on.
The LINK LED will flash.
3. When both LEDs stop flashing (this will take just a moment or two), the
system is bound and ready for use. Confirm that the steering and throttle
operate properly before driving your model.
Setting the TQ 2.4 Transmitter Throttle Endpoints
TheTraxxasTQ2.4GHzradiosystemispre-setatthefactoryandisready
foruse.If you wish to reprogram the receiver to make certain the throttle
endpoints are correctly set, follow the steps below.
1. Switch the transmitter and receiver on.
2. Press and hold the receiver’s LINK button until the LED blinks red once then
switches off. Release the LINK button.
3. Pull the throttle trigger to the full-throttle position and hold until the
receiver’s LED blinks red twice.
4. Push the trigger to full brake and hold until the red LED blinks twice.
5. Return the trigger to neutral. The LED will blink three times then remain on
(the LED will shine green if fail-safe is active, or red if fail-safe is disabled).
TQ 2.4 Transmitter Fail-Safe Operation
When bound to the transmitter, the 2.4GHz Micro Receiver automatically
sets its fail-safe position to throttle neutral. This means the receiver will
automatically return the throttle setting to neutral in the event of signal
loss due to interference, low battery power, or accidentally switching the
transmitter off while driving. When powered on, the receiver’s green LED will
glow to indicate fail-safe mode is active. If the LED glows red, the fail-safe
mode has been deactivated. Use these steps to reactivate the fail-safe system:
1. Switch the transmitter and receiver on.
2. Press and hold the receiver’s LINK button. The LED will flash once, then
turn off. Continue to hold the LINK button. After about three seconds, the
LED will flash on and off. It will continue flashing as long as you hold the
LINK button.
3. Release the LINK button. The LED will now light green and glow steadily,
indicating fail-safe mode is active.
Should you ever wish to deactivate the fail-safe mode (for example, when
using a speed control that has its own fail-safe circuitry), simply repeat the
steps above.
Traxxas 2.4GHz Parts
WarrantyInformation
Traxxas warrants your Traxxas electronic components to be free from defects in materials or
workmanship for a period of thirty (30) days from the date of purchase. Before returning any
product for warranty service, please contact our service department (1-888-TRAXXAS)* to discuss
the problem you are having with the product. After contacting Traxxas, send the defective unit
along with your proof of purchase indicating the date purchased, your return address, e-mail, a
daytime phone number, and a brief description of the problem to:
Traxxas
1100KleinRoad
Plano,TX75074
DetailedLimitationsforElectronicComponents:
• Allowingwater,moisture,orotherforeignmaterialtoenterthecomponentorgetontothePC
board.
• Exceedingthemaximuminputvoltageoftheelectroniccomponent.
• Reversevoltageapplication.
• Incorrectinstallationorwiring.
• Componentswornfromuse.
• Splicestotheinputorswitchharnesses.
• Disassemblingthecase.
• Excessiveforcewhenadjusting,pressing,orturninganyofthecontrols.
• Tamperingwiththeinternalelectronics.
• IncorrectwiringofanFETservo.
• Allowingexposedwiringtoshortcircuit.
• Anydamagecausedbycrash,ooding,oractofGod.
Limitations
Anyandallwarrantycoveragedoesnotcoverreplacementofpartsandcomponentsdamaged
byabuse,neglect,improperorunreasonableuse,crashdamage,waterorexcessivemoisture,
chemicaldamage,improperorinfrequentmaintenance,accident,unauthorizedalterationor
modication,oritemsthatareconsideredconsumable.Traxxaswillnotpayforthecostofshipping
ortransportationofadefectivecomponentfromyoutous.
LimitationsofLiability
Traxxasmakesnootherwarrantiesexpressedorimplied.Traxxasshallnotbeliableforanyspecial,
indirect,incidental,orconsequentialdamagesarisingoutoftheassembly,installation,oruseof
theirproductsoranyaccessoryorchemicalrequiredtousetheirproducts.Bytheactofoperating/
usingtheproduct,theuseracceptsallresultingliability.InnocaseshallTraxxas’liabilityexceedthe
actualpurchasepricepaidfortheproduct.Traxxasreservestherighttomodifywarrantyprovisions
withoutnotice.AllwarrantyclaimswillbehandleddirectlybyTraxxas.TheTraxxaswarrantygives
thecustomerspeciclegalrightsandpossiblyotherrightsthatvaryfromstatetostate.The
customerisrequiredtolloutandreturntheRegistrationCardenclosedwiththeproductasa
conditionofthecoverageandperformanceofthewarranty.AlldollaramountsstatedareinUnited
Statesdollars.Theterm“lifetime”shallrefertotheproduct’sproductionlifeatTraxxas.Traxxasisnot
obligatedtoprovideupgradedproductsatareducedratewhenapreviousproduct’sproduction
cyclehasended.
TraxxasExtendedLifetimeElectronicsWarranty:
Aftertheexpirationdateofthefreewarrantyperiod,Traxxaswillrepairelectroniccomponentsfor
aatrate.Theelectronicproductscoveredbythisextendedserviceplanincludeelectronicspeed
controls,transmitters,receivers,servos,andbatterychargers.Motors,batteries,andmechanical
speedcontrolsarenotcovered.Thecoveredrepairsarelimitedtonon-mechanicalcomponents
thathaveNOTbeensubjectedtoabuse,misuse,orneglect.Productsdamagedbyintentionalabuse,
misuse,modication,orneglect,maybesubjecttoadditionalcharges.VisitTraxxas.comorcall
1-888-TRAXXAS(1-888-872-9927)fordetailsonextendedwarrantyserviceandrates.
FCCCompliance
ThisdevicecomplieswiththelimitsforaClassBdigitaldeviceasdescribedinpart15oftheFCC
rules.Operationissubjecttothefollowingtwoconditions:(1)Thisdevicemaynotcauseharmful
interference,and(2)thisdevicemustacceptanyinterferencereceived,includinginterferencethat
maycauseundesiredoperation.
ThelimitsforaClassBdigitaldevicearedesignedtoprovidereasonableprotectionagainstharmful
interferenceinresidentialsettings.Thisproductgenerates,usesandcanradiateradiofrequency
energy,and,ifnotoperatedinaccordancewiththeinstructions,maycauseharmfulinterferenceto
radiocommunications.
Theuseriscautionedthatchangesormodificationsnotexpresslyapprovedbytheparty
responsibleforcompliancecouldvoidtheuser’sauthoritytooperatetheequipment.
TRAXXAS.com
Traxxas, 1100 Klein Road, Plano, TX 75074,
DualChannel-1Ports(Steering)
Channel2Port(Throttle)
Channel3Port
Channel4/BatteryPort
(MaximumVoltageInput,7.2volts)
ProgrammingLED
LINKButton
TheTQ2.4Receiver
Ifyouhavequestionsorneedtechnicalassistance,callTraxxasat
1-888-TRAXXAS
(1-888-872-9927)(U.S.residentsonly)
*U.S. Customers Only
