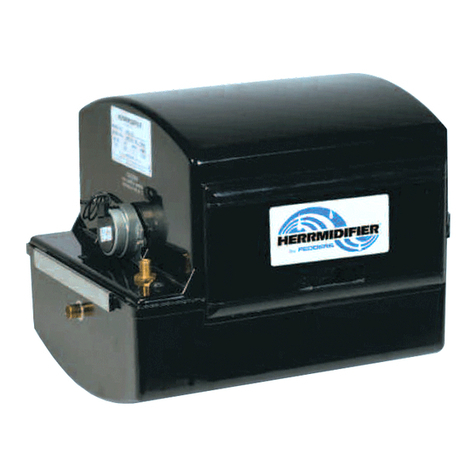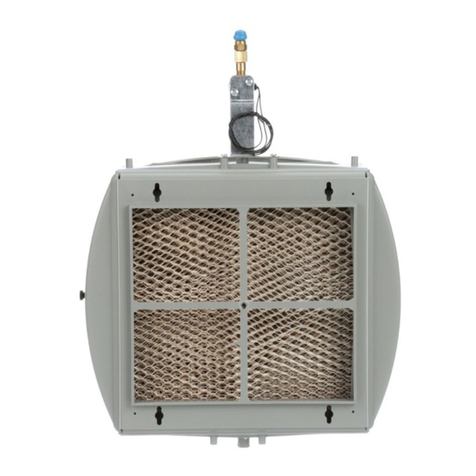
Model CM200
Installation, Operation, & Maintenance Manual
3
www.trioniaq.com
7. Connecting the water supply tubing to the selenoid valve.
» Remove the plastic cap from the solenoid
valve inlet port.
» Install the water supply tubing on the
inlet which has a compression tting to
receive the supply tubing. Slip the brass
compression nut onto the plastic supply
tube, then the nylon sleeve with its most
tapered end towards the end of the tube.
Finally, install a brass insert into the end of the plastic tubing.
» Push the supply tube fully into the brass compression tting. Tighten the brass compression nut with small
wrenches, without stripping, using the double wrench method in order to apply the torque on the tting only.
8. Installing the water supply valve.
The water supply is taken from the nearest suitable cold, hot, softened or unsoftened water line. The use of service
hot water (140°F / 60ºC Max) improves the evaporative capacity.
9. Installing the transformer.
The transformer supplied is for 120 volts operation only.
Do not install it on a furnace supplied with a different
voltage. Connect the transformer primary to the relay
activated when the furnace is in a heating cycle. Some
furnaces have power terminals than can be used for
accessories. Please refer to the furnace installation
manual.
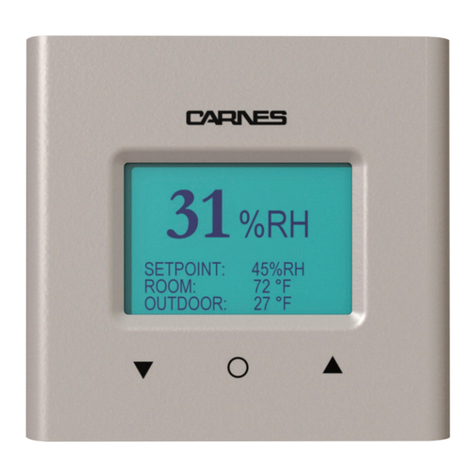
10. Installing the humidistat and nal wiring.
The humidistat should be installed on a at and vertical surface of the RETURN duct. Attach the humidistat template
on the return duct at 6 inches minimum from the humidier top. Mark and drill the mounting holes and cut an opening
for the humidistat. Push the two quick connectors on the humidistat terminals. Run the two humidistat wires through
a little opening located at the bottom of the front panel. Install the humidistat in the opening and fasten it to the duct.
The mechanism is exposed in the duct. Check that the metal of the duct neither touches the connections nor cuts the
wire insulation. Complete the wiring of the humidistat according to the above diagram.
11. Humidier Start-Up.
Open the saddle valve, put the furnace power back on and start the furnace in a
heating cycle. Set the humidistat at the maximum setting. After a few ON/OFF cycles
of the electric valve, you should see water owing through the drain tube. Check that
the water is evenly distributed by the water diffuser across the pad. Carefully check
that both ends of the water supply tube are rmly held in place by their respective
compression tting. After peeling off the backing, afx the faceplate to the cover of
the humidistat and re-install the control knob. Set the humidistat according to the
recommended setting on the label. Check the system several times to make sure there is a free ow in the drain tube
and there is no leak before leaving the installation unattended. When everything is working ne, afx the adhesive
nameplate on the humidier cover.
Note for the contractor:
Please ensure that customer receives the owner’s manual.
brass insert nut
nylon sleeve
Water Valve
white black
Humidistat
»Install the other end of the supply tube and make the connection to the saddle
valve installed on the copper supply pipe.
»Turn the valve handle completely clockwise until it stops. This will pierce the
copper pipe and close the valve.
»This saddle valve is designed to be fully open or closed. Do not use it to adjust
the water ow.


