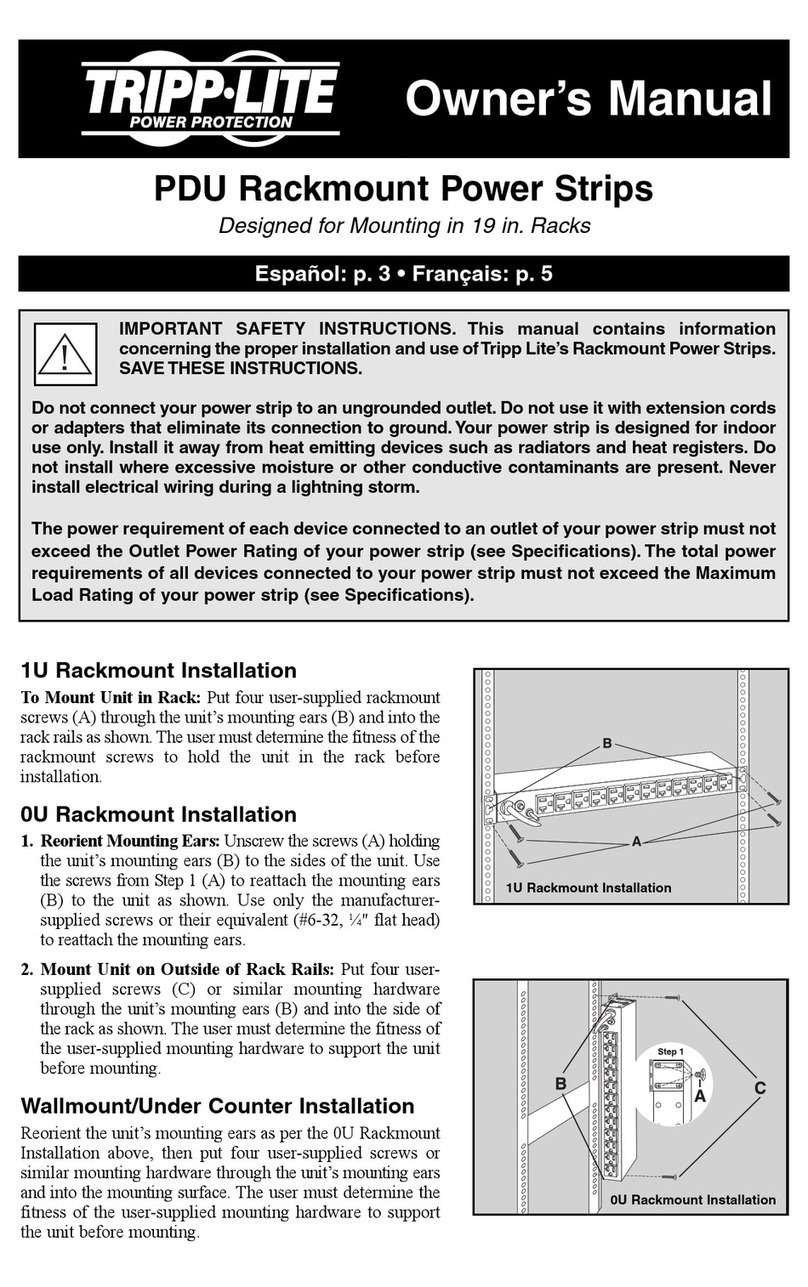
Manual del usuario
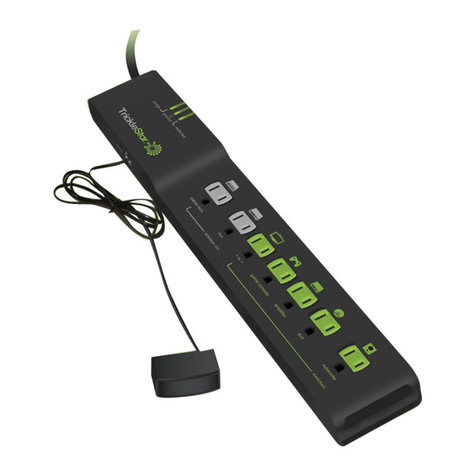
Regletas de contacto para montaje en bastidor
del modelo PDU
Diseñado para montaje en bastidores de 19 pulg.
IMPORTANTES INSTRUCCIONES DE SEGURIDAD. Este manual contiene
información concerniente a la instalación y uso apropiados de las barras de
contacto para montaje en bastidor de Tripp Lite. GUARDE ESTAS
INSTRUCCIONES.
No conecte la regleta de contactos a una toma de corriente que no tenga conexión a
tierra. No la use con cables de extensión o adaptadores que eliminen la conexión a tierra.
La regleta de contactos está diseñada exclusivamente para uso en interiores. Instálela
alejada de dispositivos que emitan calor tales como radiadores y rejillas de calefacción.
No la instale donde haya humedad excesiva, ni cualquier otro tipo de contaminante
conductivo. Nunca instale un cableado eléctrico durante tormentas eléctricas.
Los requerimientos de energía eléctrica de cada dispositivo conectado a una toma de
corriente de la regleta de contactos, no deberá exceder el valor nominal de potencia de
salida de la regleta de contactos (refiérase a la Ficha técnica). Los requerimientos totales
de energía eléctrica de todos los dispositivos conectados a la toma de corriente de la
regleta de contactos no deberán exceder el valor nominal de carga máxima de la regleta
de contactos (refiérase a la Ficha técnica).
English: pg. 1 • Français: pg. 5
Instalación para montaje en bastidor del
modelo 1U
Para realizar el montaje de la unidad en un bastidor: Introduzca
cuatro tornillos para montaje en bastidor (A), proporcionados por el
usuario, a través de las lengüetas de montaje (B) y dentro de los
rieles del bastidor tal como se muestra. El usuario debe determinar
si los tornillos para montaje en bastidor son adecuados para
sostener la unidad antes de realizar la instalación.
Instalación para montaje en bastidor del
modelo 0U
1. Reoriente las lengüetas de montaje: Retire los tornillos (A)
que sostienen las lengüetas de la unidad (B) a ambos lados de
ésta. Utilice los tornillos (A) del Paso 1 para volver a unir las
lengüetas de montaje (B) a la unidad tal como se muestra.
Utilice únicamente los tornillos suministrador por el fabricante
u otros equivalentes (#6-32, de cabeza plana de 1/4"), para
volver a unir las lengüetas de montaje.
2. Realice el montaje de la unidad fuera de los rieles del
bastidor: Ponga cuatro tornillos (C), proporcionados por el
usuario u otro equipo de montaje similar, a través de las
lengüetas de montaje (B) y en la sección lateral del bastidor tal
como se muestra. El usuario debe determinar si el equipo de
montaje utilizado es adecuado para soportar la unidad antes de
realizar el montaje.
Montaje sobre la pared / Instalación bajo
el mostrador
Reoriente las lengüetas de montaje de la unidad según la
instalación de montaje en bastidor del modelo 0U indicada
anteriormente, luego coloque cuatro tornillos proporcionados
por el usuario u otro equipo de montaje similar a través de las
lengüetas de montaje y en la superficie de montaje. El usuario
debe determinar si el equipo de montaje utilizado es adecuado
para soportar la unidad antes de realizar el montaje.
Instalación para montaje en
bastidor del modelo 1U
Instalación para montaje en
bastidor del modelo 0U
2
Specifications
PDU1215 PDU1220 PDU2430
Nominal Voltage/Frequency: 120V/50 or 60 Hz 120V/50 or 60 Hz 120V/50 or 60 Hz
Output Power Rating (amps): 15 amps 20 amps 24 amps
AC Receptacles: 13 x NEMA 5-15R 13 x NEMA 5-15/20R 24 x NEMA 5-15R
(12 rear/1 front) (12 rear/1 front) (12 rear/12 front)
AC Line Cord: 15', w/NEMA 5-15P plug 15', w/NEMA 5-20P plug 15', w/NEMA L5-30P plug
Circuit Breaker(s) (Resettable): 15 amps 20 amps 2 x 15 amps
Dimensions (HxWxD, inches): 1¾ × 17¼ × 3¾ 1¾ × 17¼ × 3¾ 1¾ × 17¼ × 3¾
Approvals: UR, cUR UR, cUR UL, cUL
PDU12IEC PDU1220T
Nominal Voltage/Frequency: 100V to 240V/50 or 60Hz 120V/50 or 60 Hz
Output Power Rating (amps): 15 amps for 100V to 120V or 20 amps
16 amps for 208 to 240V
AC Receptacles: 4 x IEC-C13 (front), 13 x NEMA 5-15/20R
8 x IEC-C13/2 x IEC-C19 (rear) (12 rear/1 front)
AC Line Cord: N/A (IEC320-C20 inlet) 15', w NEMA L5-20P plug
Circuit Breaker(s) (Resettable): 2 x 16 amps 20 amps
Dimensions (HxWxD, inches): 1¾ × 17¼ × 3¾ 1¾ × 17¼ × 3¾
Approvals: CE, UL, cUL UR, cUR
Features
Circuit Breaker(s)
If the current draw of the equipment connected to your power strip exceeds your model’s Maximum Load
Rating (see Specifications) for longer than a few seconds, a circuit breaker will trip to prevent any possible
damage. When a circuit breaker trips, its plunger will pop up. Remove excess equipment and allow the breaker
to cool one minute before depressing its plunger to reset the breaker.
Grounding Lug
Use this screw (located by the power strip’s receptacles) to connect your power strip to ground.
Input Receptacle (IEC Model Only)
The PDU12IEC has no power cord. Instead, it has a IEC320-C20 inlet receptacle. To connect a PDU12IEC
to utility power, use a user-supplied detachable power cord with an IEC plug on one end and a plug
appropriate to your local utility outlets on the other.
Seller warrants this product, if used in accordance with all applicable instructions, to be free from original defects in material and
workmanship for its lifetime. If the product should prove defective in material or workmanship within that period, Seller will repair or
replace the product, in its sole discretion. Service under this Warranty can only be obtained by your delivering or shipping the product
(with all shipping or delivery charges prepaid) to: Tripp Lite, 1111 W. 35th Street, Chicago, IL 60609. Seller will pay return shipping
charges. Call Tripp Lite at (773) 869-1234 before sending any equipment back for repair.
THIS WARRANTY DOES NOT APPLY TO NORMAL WEAR OR TO DAMAGE RESULTING FROM ACCIDENT, MISUSE, ABUSE OR
NEGLECT. SELLER MAKES NO EXPRESS WARRANTIES OTHER THAN THE WARRANTY EXPRESSLY SET FORTH HEREIN.
EXCEPT TO THE EXTEND PROHIBITED BY APPLICABLE LAW, ALL IMPLIED WARRANTIES, INCLUDING ALL
WARRANTIES OF MERCHANTABILITY OR FITNESS, ARE LIMITED IN DURATION TO THE WARRANTY PERIOD SET FORTH
ABOVE; AND THIS WARRANTY EXPRESSLY EXCLUDES ALL INCIDENTAL AND CONSEQUENTIAL DAMAGES. (Some states
do not allow limitations on how long an implied warranty lasts, and some states do not allow the exclusion or limitation of incidental
or consequential damages, so the above limitations or exclusions may not apply to you. This Warranty gives you specific legal rights,
and you may have other rights which vary from jurisdiction to jurisdiction).
WARNING: The individual user should take care to determine prior to use whether this device is suitable, adequate or safe
for the use intended. Since individual applications are subject to great variation, the manufacturer makes no
representation or warranty as to the suitability or fitness of these devices for any specific application.
Policy of Tripp Lite is one of continuous improvement. Specifications are subject to change without notice.
Limited Lifetime Warranty
3
Paso 1
200303057 93-2120 PDU Owner’s Manual.qxd 4/16/2003 10:07 AM Page 2
