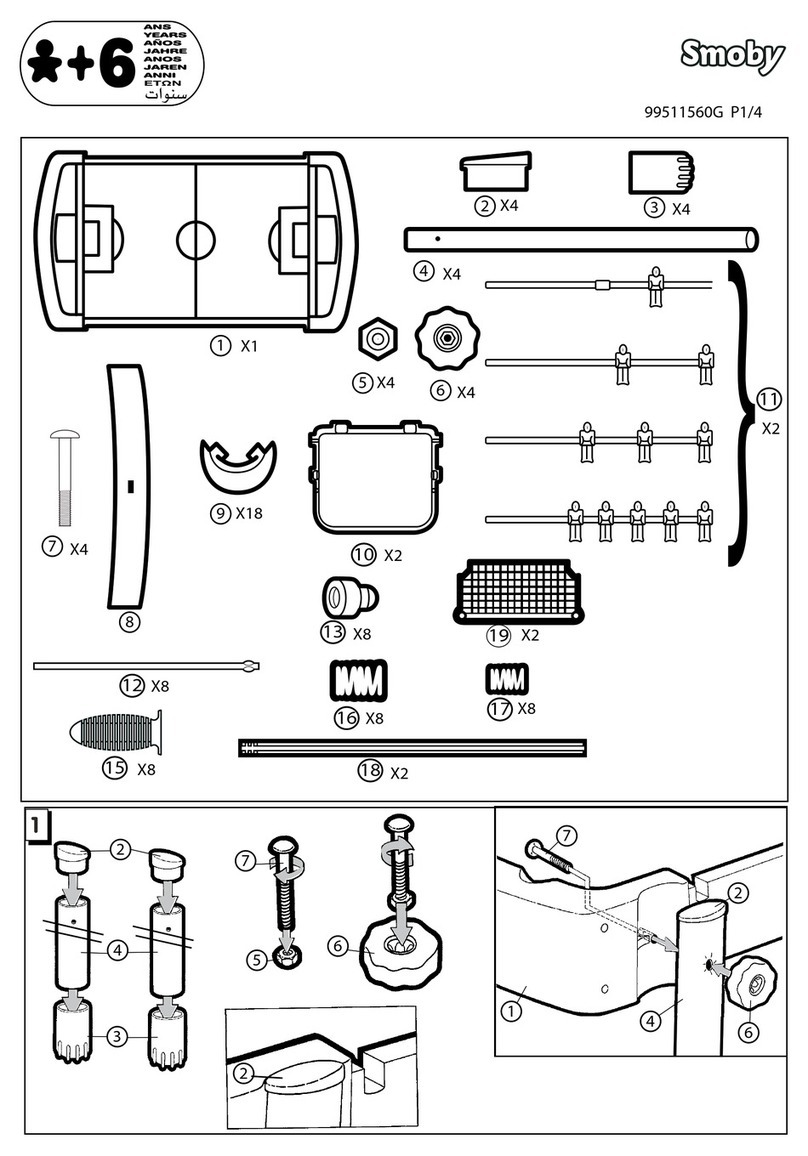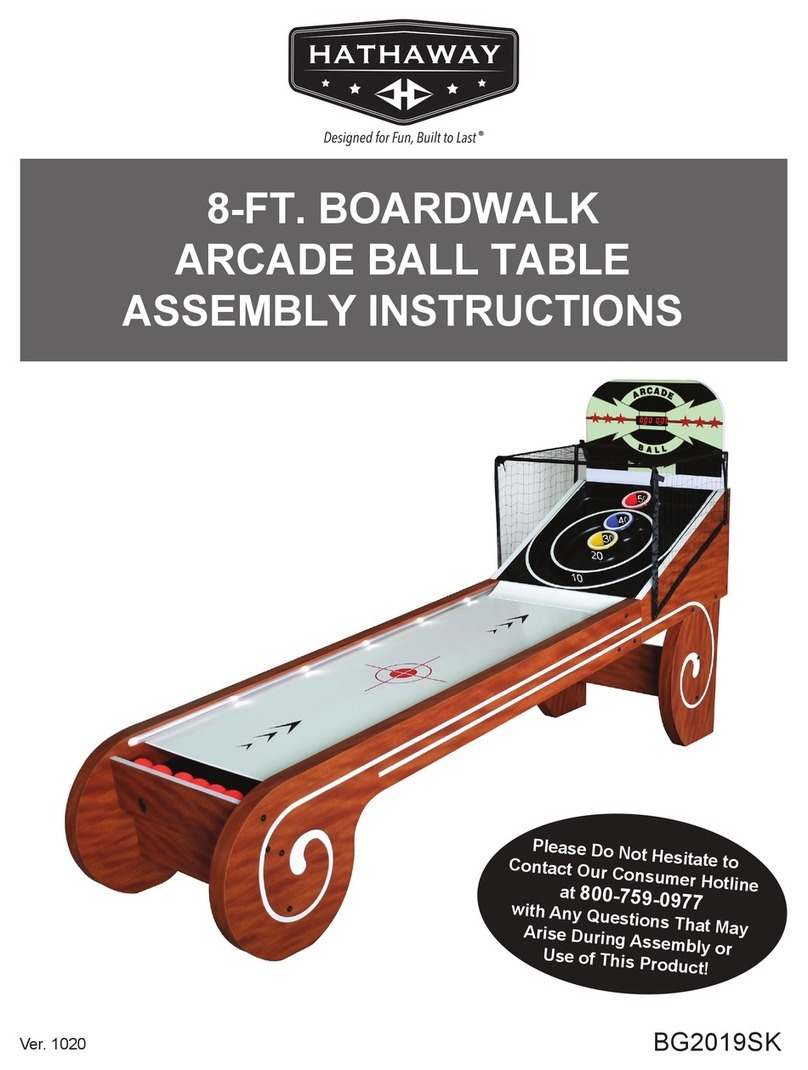
1. Read all instructions-All the safety and operating instructions should be read carefully before the hockey game is
played.
2. Caution-This is not a toy and is intended for use by or under the supervision of adults. Adults should review
safety guidelines with children to avoid possible risk of electric shock or other injuries.
3. Power sources-This hockey game should be operated only from 110-120V A.C., 60 cycle current as indicated on
the identification label. If you are not sure of the type of power supply to your home, consult your appliance dealer
or local power company.
4. Power cord protection-Power cord should be routed so that it is not likely to be walked on or pinched by items
placed upon or against it. Pay particular attention to cords at plugs, convenience receptacles, and the point of
exit from the game.
5. Overloading-Do not overload wall outlets and extension cords as this can result in a risk of fire or electric shock.
6. Object and liquid entry-Never push objects of any kind into this game through openings as they may touch
dangerous voltage points or short-out parts which could result in a fire or electric shock. Never spill liquid of any
kind on the game.
7. Ventilation-Openings in the game are provided for the exhaust air to create a cushion effect. The openings on
the air blower are for the intake air. Keep clear of the air blower when it is on. Do not put hand or other objects
near the intake openings. To ensure reliable operation of the game and protect it from overheating these openings
must not be blocked or covered.
8. Damage requiring service-Unplug the game from the wall outlet.
Do not attempt to service the blower yourself as opening or removing covers may expose you to dangerous
voltage or other hazards. Refer servicing to qualified service personnel under the following conditions.
A. When the power supply cord or plug is damaged.
B. If liquid has spilled, or objects have fallen into the blower.
C. When the air blower exhibits a distinct change in performance e.g. abnormal noise, this indicates a need for
service.
9. CAUTION-ELECTRICALLY OPERATED PRODUCT-Not recommended for children
under 8 years of age. As with all electrical products, precautions should be observed
during handling and use to reduce the risk of electric shock.
10. We recommend that the game be periodically examined for conditions that may result in the risk of fire, electrical
shock, or injury to persons. In the event such conditions exist, the game should not be used until properly
repaired.
11. RISK OF FIRE, ELECTRIC SHOCK, OR INJURY TO PERSONS
WARNING-When using electric appliances, basic precautions should always be followed, including the following:
A) Read all the instructions before using the appliances.
B) To reduce the risk of injury, close supervision is necessary when an appliance is used near children.
C) Do not contact moving parts.
D) Only use attachment recommended or sold by the manufacturer.
E) Do not use outdoors.
F) For a cord-connected appliance, the following shall be included:
-To disconnect, turn all controls to the off position, then remove plug from outlet.
-Do not unplug by pulling on cord. To unplug, grasp the plug, not the cord.
-Unplug from outlet when not in use and before servicing or cleaning.
-Do not operate any appliance with a damaged cord or plug, or after the appliance malfunctions or is dropped or
damaged in any manner. Return appliance to the nearest authorized service facility for examination, repair, or
electrical or mechanical adjustment.
SAVE THESE INSTRUCTIONS
WARNING: To Reduce The Risk Of Fire Or Electric Shock, Do Not Use This Fan With Any
Solid-State Speed Control Device.
For Household use only.
IMPORTANT SAFETY INSTRUCTIONS
READ ALL INSTRUCTIONS
3

