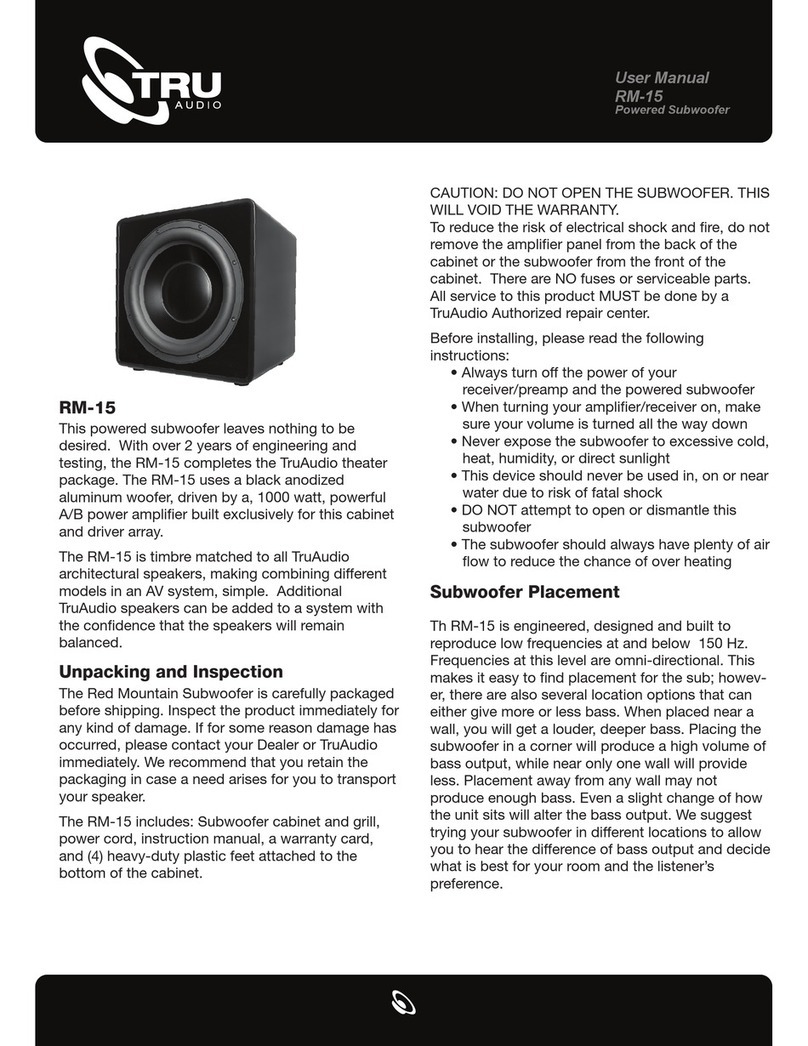
TRU Audio cSUB-8 User manual

Introduction
Since 1997, TruAudio has been designing and
engineering some of the finest loudspeakers
available. Having come from the installation
industry, we understand the need to develop
products that adapt to the installation
environment. Obviously, with our architectural
products it’s a lot easier to make a speaker
“disappear” but even our freestanding speakers
and subwoofers look great and blend into the
room’s décor.
The Compact series subwoofers are the perfect
combination of small size and outstanding
quality audio. Over a year in development,
these subwoofers offer the best in sound
reproduction. The Compact series subwoofer
family features three sizes of subs to better help
you design your ideal system.
Model CSUB-8, CSUB-10 & CSUB-12
These subwoofers use an active polymer
bonded cellulose woofer and two polypropylene
passive radiators. The woofer is driven by a
powerful, digital amplifier developed exclusively
for this cabinet and driver array. In layman’s
terms, the Compact Series subwoofers are
specially designed to produce tons of bass at
high volumes for extended periods of time.
Unpacking and Inspection:
The Compact Series subwoofers are packaged
extremely well to protect them during shipping.
When you receive your subwoofer carefully
open the box and remove the speaker and
inspect it for any kind of damage. The
subwoofer left our warehouse in perfect
condition so any damage that has occurred
probably happened in transit. If for some
reason your subwoofer does arrive damaged,
please contact TruAudio immediately for further
instruction regarding returns.
Caution; for NO reason should you open this
subwoofer. This will void the warranty!
To reduce the risk of electrical shock and fire, do
not remove the amplifier panel from the back of
the cabinet or do not remove the subwoofer
from the front of the cabinet. There are NO
fuses or serviceable parts.
All service to this product MUST be done by a
TruAudio Authorized repair center.
Before installing the subwoofer, please read the
following instructions:
• Always turn off the power of your
receiver/preamp and the powered subwoofer.
• When turning your amplifier/receiver back
on, make sure your volume is turned all the
way down.
• Never expose this subwoofer to excessive
cold, heat, humidity or direct sunlight.
• This device should never be used in, on or
near water due to risk of fatal shock.
• DO NOT attempt to open or dismantle this
subwoofer.
• These models should always have plenty of
Air flow to reduce the chance of over heating.
Subwoofer Placement:
These Compact Series powered subwoofers
provide a crucial impact in a home theater
system. Since low bass frequencies are
omnidirectional, you can usually place your
subwoofer just about anywhere in your home
theater room with good results.
Placing your subwoofer near a wall will
generally result in more bass, and
placement near a corner — where
three room boundaries come together
— will get you even more. Keep in mind
that even though the bass increases as
you place the sub near a wall or corner, the
quality of bass may be slightly "boomier" and
less controlled. Aim for a spot where you get a
compromise between quality and quantity of
bass. Choose the phase control setting that
produces the most bass.
Input Connections
of the Subwoofers:
These subwoofers offer several different
“input” connections and should be
compatible with almost all A/V
equipment. The “Line Level” input
connection is usually the best choice
when connecting the subwoofer to a
system that uses a Preamp/Processor
with a separate Amplifier or with a
Receiver that features main channel
preamp output or subwoofer outputs.
The “Speaker Level” inputs are typically used
when connecting the subwoofer to a receiver
that offers no subwoofer outputs or preamp
outputs and you are using the subwoofer in a
stereo system.
“Line-in” Line Level input Connections:
If your surround sound receiver or amplifier has
only one subwoofer output, simply plug it into
the left line input. If your receiver or
amplifier has a built-in preamplifier, the
left and right pre-outputs can be
connected to the left and right line
inputs.
“Speaker in” speaker cable input
connections:
To connect your subwoofer using the
“High Level Input”, connect a quality
speaker cable from the left and right
speaker outputs on you’re a/V
processor to the left and right inputs on
the back of the subwoofer. Please
observe proper polarity of the connections ( + to
+ and - to -).
“LFE in” input connection:
To use the LFE input on this subwoofer, connect
the output from your A/V processor’s LEF output
to the LFE input on the sub. You may need to
go into the menu of your A/V processor to
activate this function. Using this input will
bypass the internal cross-over in the
CSUB’s amplifier, any frequency
adjustments will be done through your
A/V processor.
Volume knob:
Use this control to match the output of
the CSUB to that of the main speakers in the
system. We recommend that you play a variety
of material before selecting a setting. Start with
the control in the “Min” position (completely
counterclockwise) and slowly turn it up.
Frequency knob:
Use this control to adjust the upper frequency
limit of the CSUB. The purpose is to control the
overlap the upper frequencies of the
CSUB and the main speaker’s lower
frequencies. Remember this knob will
not function if you are using an LFE
input.
Phase switch:
This switch allows you to toggle
between 0° and 180° phase modes.
With the subwoofer placed in the room,
listen to the system and set the phase
switch to the setting that gives more
audible bass.
Auto switch:
There are three positions on this
switch: “off”, “auto” and “on”. In the “off”
position the subwoofer will be off, in
“auto” the subwoofer is put into an auto
sensing mode, meaning the subwoofer
will turn on when an audio signal is
present and go into a sleep mode when
no signal is present. The last position,
on, will leave the subwoofer in an
always on mode. Adjust the auto
switch according to your needs.
Main power switch:
There are two positions on this switch
“on” or “off”, in the off position the
subwoofer will not function.
User Manual - Compact Sub Series

Introduction
Since 1997, TruAudio has been designing and
engineering some of the finest loudspeakers
available. Having come from the installation
industry, we understand the need to develop
products that adapt to the installation
environment. Obviously, with our architectural
products it’s a lot easier to make a speaker
“disappear” but even our freestanding speakers
and subwoofers look great and blend into the
room’s décor.
The Compact series subwoofers are the perfect
combination of small size and outstanding
quality audio. Over a year in development,
these subwoofers offer the best in sound
reproduction. The Compact series subwoofer
family features three sizes of subs to better help
you design your ideal system.
Model CSUB-8, CSUB-10 & CSUB-12
These subwoofers use an active polymer
bonded cellulose woofer and two polypropylene
passive radiators. The woofer is driven by a
powerful, digital amplifier developed exclusively
for this cabinet and driver array. In layman’s
terms, the Compact Series subwoofers are
specially designed to produce tons of bass at
high volumes for extended periods of time.
Unpacking and Inspection:
The Compact Series subwoofers are packaged
extremely well to protect them during shipping.
When you receive your subwoofer carefully
open the box and remove the speaker and
inspect it for any kind of damage. The
subwoofer left our warehouse in perfect
condition so any damage that has occurred
probably happened in transit. If for some
reason your subwoofer does arrive damaged,
please contact TruAudio immediately for further
instruction regarding returns.
Caution; for NO reason should you open this
subwoofer. This will void the warranty!
To reduce the risk of electrical shock and fire, do
not remove the amplifier panel from the back of
the cabinet or do not remove the subwoofer
from the front of the cabinet. There are NO
fuses or serviceable parts.
All service to this product MUST be done by a
TruAudio Authorized repair center.
Before installing the subwoofer, please read the
following instructions:
• Always turn off the power of your
receiver/preamp and the powered subwoofer.
• When turning your amplifier/receiver back
on, make sure your volume is turned all the
way down.
• Never expose this subwoofer to excessive
cold, heat, humidity or direct sunlight.
• This device should never be used in, on or
near water due to risk of fatal shock.
• DO NOT attempt to open or dismantle this
subwoofer.
• These models should always have plenty of
Air flow to reduce the chance of over heating.
Subwoofer Placement:
These Compact Series powered subwoofers
provide a crucial impact in a home theater
system. Since low bass frequencies are
omnidirectional, you can usually place your
subwoofer just about anywhere in your home
theater room with good results.
Placing your subwoofer near a wall will
generally result in more bass, and
placement near a corner — where
three room boundaries come together
— will get you even more. Keep in mind
that even though the bass increases as
you place the sub near a wall or corner, the
quality of bass may be slightly "boomier" and
less controlled. Aim for a spot where you get a
compromise between quality and quantity of
bass. Choose the phase control setting that
produces the most bass.
Input Connections
of the Subwoofers:
These subwoofers offer several different
“input” connections and should be
compatible with almost all A/V
equipment. The “Line Level” input
connection is usually the best choice
when connecting the subwoofer to a
system that uses a Preamp/Processor
with a separate Amplifier or with a
Receiver that features main channel
preamp output or subwoofer outputs.
The “Speaker Level” inputs are typically used
when connecting the subwoofer to a receiver
that offers no subwoofer outputs or preamp
outputs and you are using the subwoofer in a
stereo system.
“Line-in” Line Level input Connections:
If your surround sound receiver or amplifier has
only one subwoofer output, simply plug it into
the left line input. If your receiver or
amplifier has a built-in preamplifier, the
left and right pre-outputs can be
connected to the left and right line
inputs.
“Speaker in” speaker cable input
connections:
To connect your subwoofer using the
“High Level Input”, connect a quality
speaker cable from the left and right
speaker outputs on you’re a/V
processor to the left and right inputs on
the back of the subwoofer. Please
observe proper polarity of the connections ( + to
+ and - to -).
“LFE in” input connection:
To use the LFE input on this subwoofer, connect
the output from your A/V processor’s LEF output
to the LFE input on the sub. You may need to
go into the menu of your A/V processor to
activate this function. Using this input will
bypass the internal cross-over in the
CSUB’s amplifier, any frequency
adjustments will be done through your
A/V processor.
Volume knob:
Use this control to match the output of
the CSUB to that of the main speakers in the
system. We recommend that you play a variety
of material before selecting a setting. Start with
the control in the “Min” position (completely
counterclockwise) and slowly turn it up.
Frequency knob:
Use this control to adjust the upper frequency
limit of the CSUB. The purpose is to control the
overlap the upper frequencies of the
CSUB and the main speaker’s lower
frequencies. Remember this knob will
not function if you are using an LFE
input.
Phase switch:
This switch allows you to toggle
between 0° and 180° phase modes.
With the subwoofer placed in the room,
listen to the system and set the phase
switch to the setting that gives more
audible bass.
Auto switch:
There are three positions on this
switch: “off”, “auto” and “on”. In the “off”
position the subwoofer will be off, in
“auto” the subwoofer is put into an auto
sensing mode, meaning the subwoofer
will turn on when an audio signal is
present and go into a sleep mode when
no signal is present. The last position,
on, will leave the subwoofer in an
always on mode. Adjust the auto
switch according to your needs.
Main power switch:
There are two positions on this switch
“on” or “off”, in the off position the
subwoofer will not function.
SPEAKER OUTPUT
BLURAY INPUT DVD INPUT AUDIO INPUT
STANDARD RECIEVER
cSUB
SPEAKER OUTPUTS SUBWOOFER
OUTPUT
LFE BLURAY INPUT
SUBWOOFER
PREOUT DVD INPUT AUDIO INPUT
SURROUND SOUND RECIEVER
cSUB
Connection Diagrams

SoundVision Technologies dba TRUAUDIO
PRODUCT WARRANTY
All in-wall, in-ceiling, outdoor speakers, volume controls and freestanding loudspeakers have a limited lifetime warranty.
This warranty includes lifetime parts and repair labor on all components. Powered subwoofers and active electronics
have a five (5) year limited warranty. This warranty includes five (5) year parts and repair labor on all components.
TRUAUDIO’s obligation under these warrantees is limited to repairing or replacing any component found defective in
material or workmanship under normal conditions of use. These warrantees shall not apply to products which have
been abused, modified, disassembled, or repaired by anyone other than TRUAUDIO or one of its appointed service
centers. Products to be repaired under this warranty must be returned to the factory or designated service center with
all transportation and insurance charges pre-paid.
WARNING:SHOCK HAZARD - DO NOT OPEN
AVIS:RISQUE DE CHOC ÉLECTRIQUE - NE PAS OUVRIR
Speaker Type:
Enclosure Design:
Driver:
Power:
Frequency Range,
Lowpass:
Frequency Range,
LFE:
Sensitivity:
Crossover:
Boost:
Inputs:
Grill Type:
Cabinet Dimensions
Width:
Height:
Without Feet:
Depth:
Color:
Compact Powered Subwoofer
Front-firing, with Dual Passive
Radiators
8” Cellulose Composite
150 Watt Internal Amplifier
28-200Hz
28-200Hz
200mV@150W
40-200Hz
8dB@40Hz
1) RCA L / R 2) LFE
3) High Level Input
Magnetically Mounted MDF
Frame w/ Black Speaker Cloth
12” (305mm)
12” (305mm)
11 1/2” (292mm)
12 3/4” (324mm)
Black, Glossy
Speaker Type:
Enclosure Design:
Driver:
Power:
Frequency Range,
Lowpass:
Frequency Range,
LFE:
Sensitivity:
Crossover:
Boost:
Inputs:
Grill Type:
Cabinet Dimensions
Width:
Height:
Without Feet:
Depth:
Color:
Compact Powered Subwoofer
Front-firing, with Dual Passive
Radiators
12” Cellulose Composite
350 Watt Internal Amplifier
20-200Hz
20-200Hz
200mV@350W
40-200Hz
9dB@30Hz
1) RCA L / R 2) LFE
3) High Level Input
Magnetically Mounted MDF
Frame w/ Black Speaker Cloth
15 1/4” (387mm)
15 1/4” (387mm)
14 5/8” (371mm)
15 7/8” (403mm)
Black, Glossy
Speaker Type:
Enclosure Design:
Driver:
Power:
Frequency Range,
Lowpass:
Frequency Range,
LFE:
Sensitivity:
Crossover:
Boost:
Inputs:
Grill Type:
Cabinet Dimensions
Width:
Height:
Without Feet:
Depth:
Color:
Compact Powered Subwoofer
Front-firing, with Dual Passive
Radiators
10” Cellulose Composite
250 Watt Internal Amplifier
25-200Hz
25-200Hz
200mV@250W
40-200Hz
9dB@35Hz
1) RCA L / R 2) LFE
3) High Level Input
Magnetically Mounted MDF
Frame w/ Black Speaker Cloth
13 1/4” (337mm)
13 1/4” (337mm)
12 3/4” (324mm)
14” (356mm)
Black, Glossy
This manual suits for next models
2
Table of contents
Other TRU Audio Subwoofer manuals

TRU Audio
TRU Audio RM-12 User manual
TRU Audio
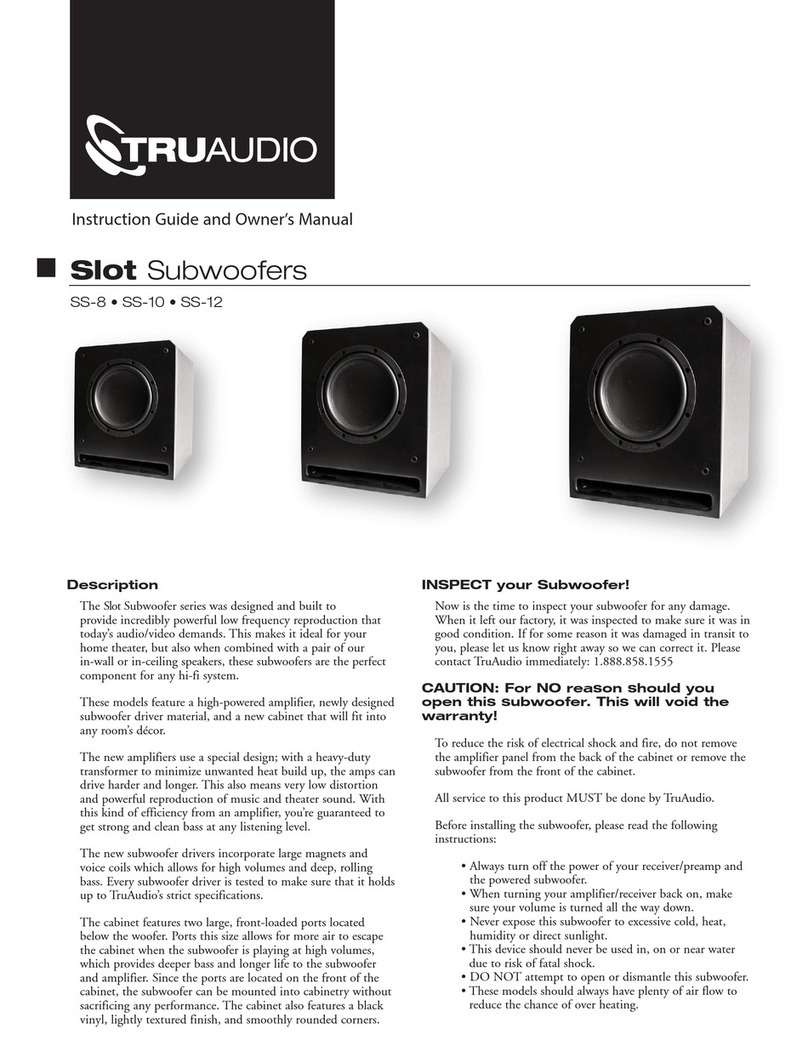
TRU Audio SS-8 User manual
TRU Audio
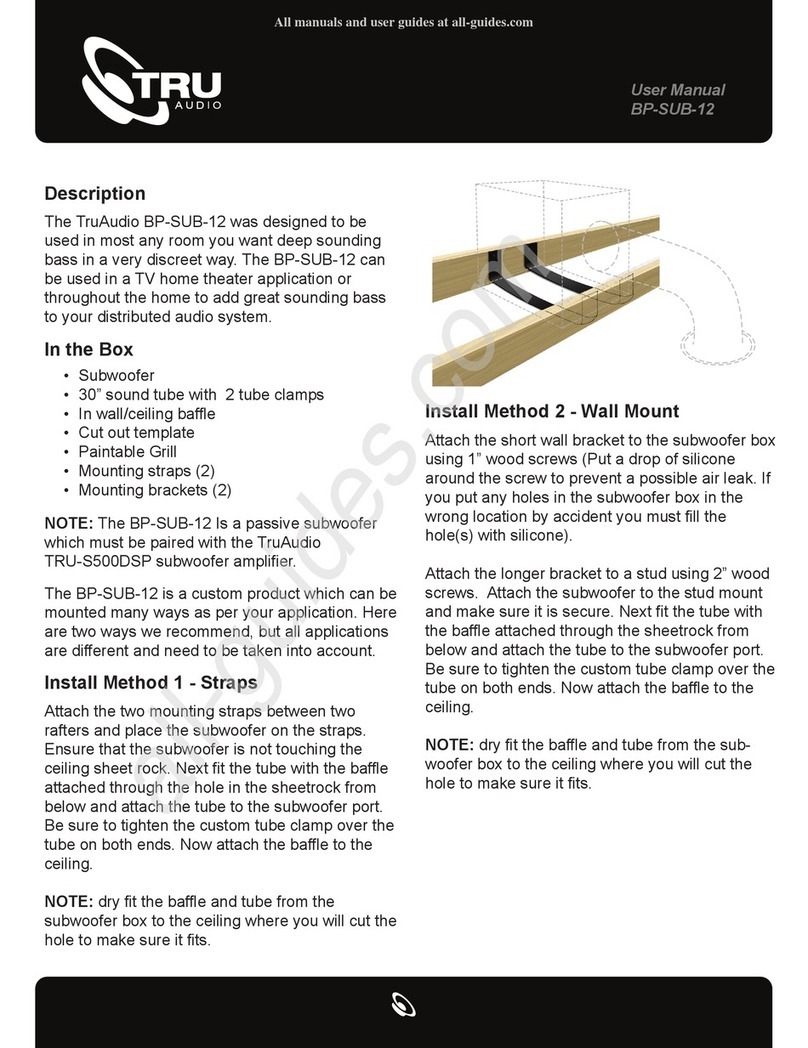
TRU Audio BP-SUB-12 User manual
TRU Audio
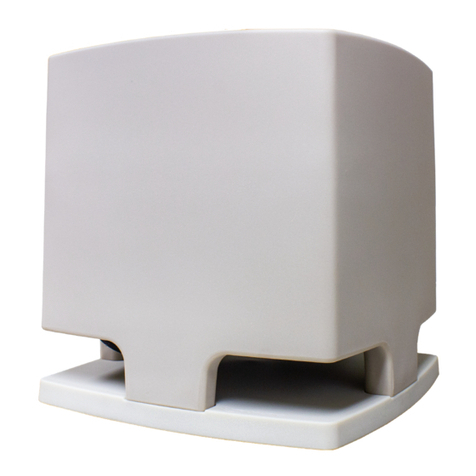
TRU Audio HS-SUB-12 User manual
TRU Audio
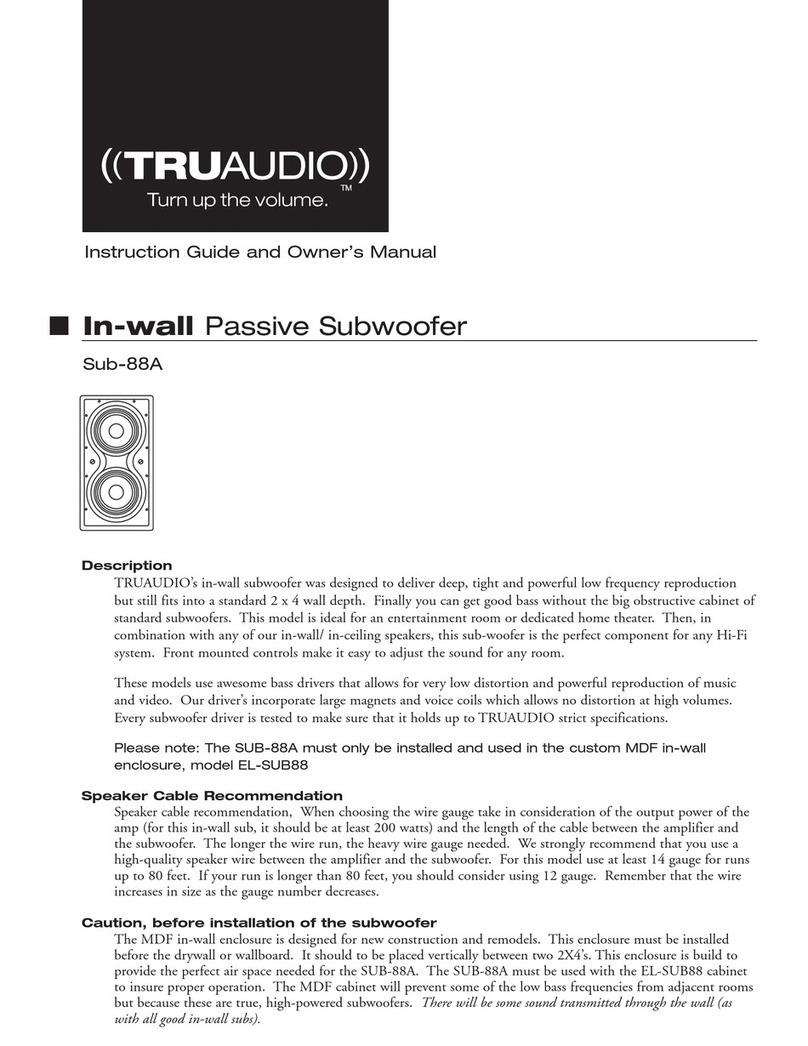
TRU Audio Sub-88A User manual
TRU Audio
TRU Audio IC-SUB-8 User manual
TRU Audio
TRU Audio ST-SUB-10 User manual
TRU Audio
TRU Audio RM-12 User manual
TRU Audio
TRU Audio HS-SUB-12 User manual
TRU Audio
TRU Audio Trunami User manual
