TRU Audio Sub-88A User manual
Instruction Guide and Owner’s Manual
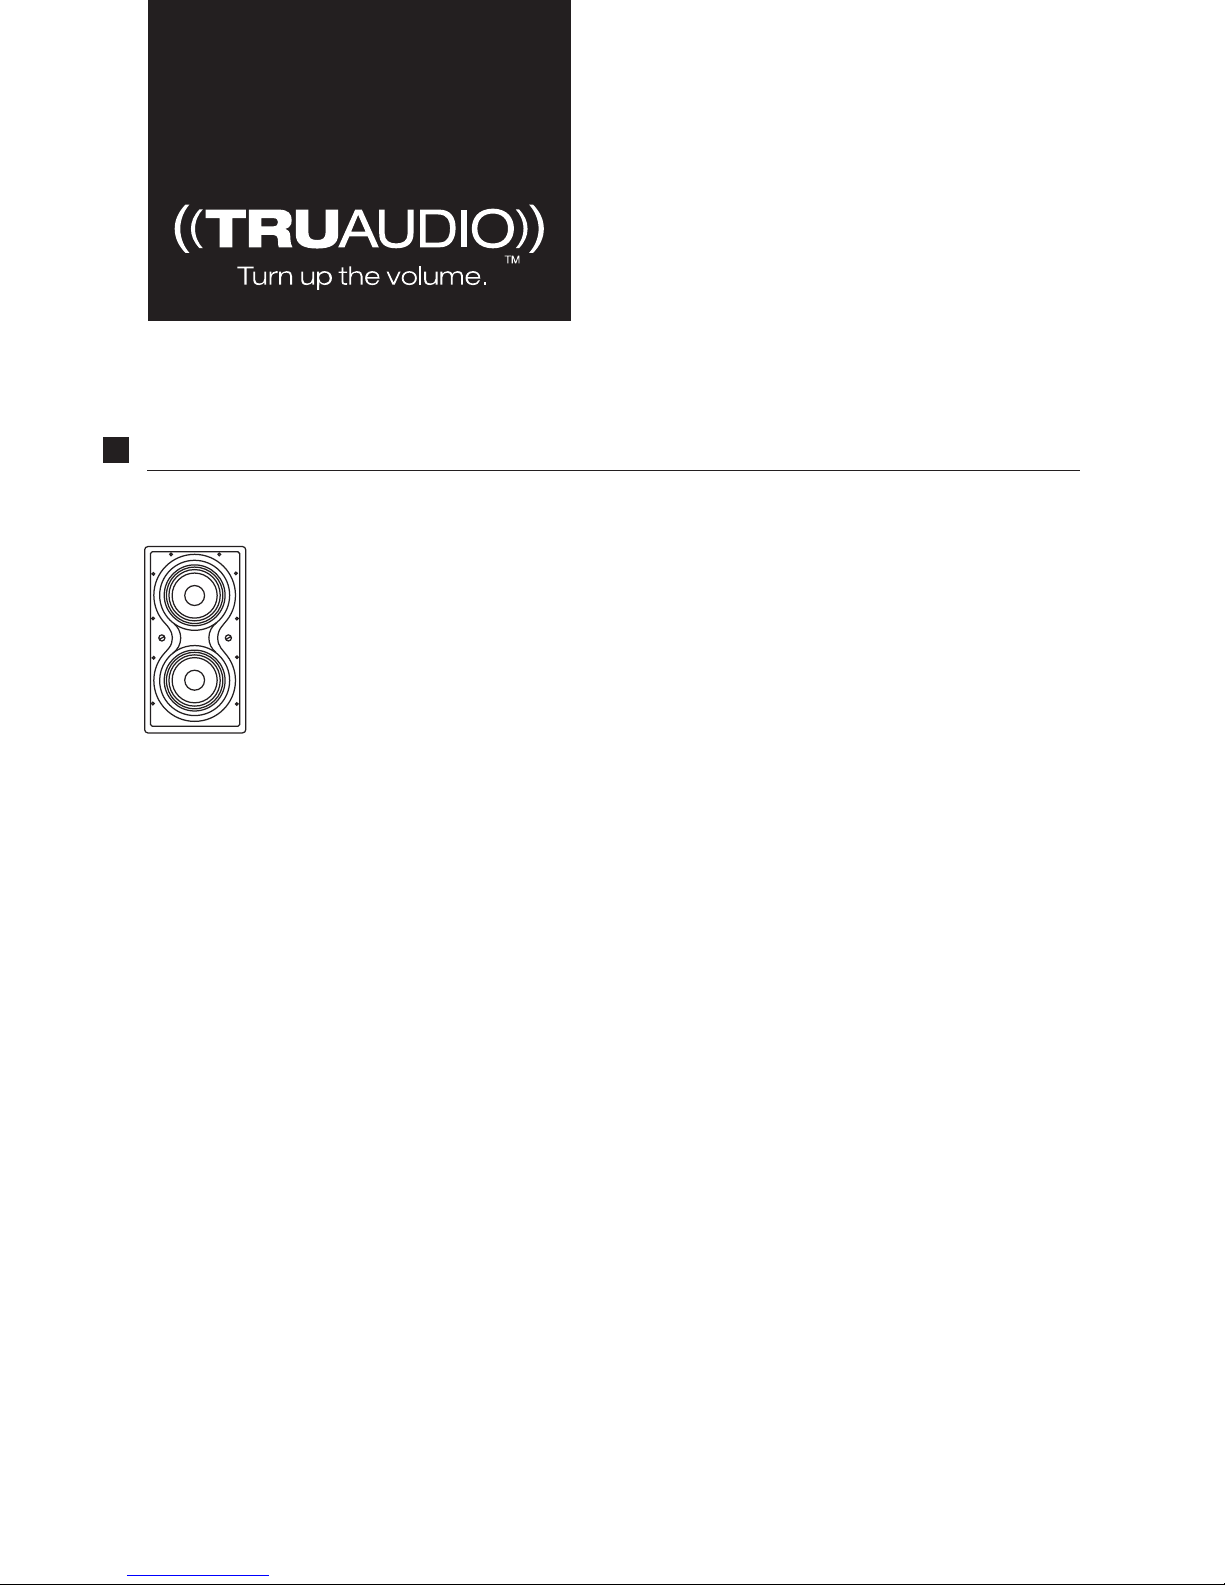
Description
TRUAUDIO’s in-wall subwoofer was designed to deliver deep, tight and powerful low frequency reproduction
but still fits into a standard 2 x 4 wall depth. Finally you can get good bass without the big obstructive cabinet of
standard subwoofers. This model is ideal for an entertainment room or dedicated home theater. Then, in
combination with any of our in-wall/ in-ceiling speakers, this sub-woofer is the perfect component for any Hi-Fi
system. Front mounted controls make it easy to adjust the sound for any room.
These models use awesome bass drivers that allows for very low distortion and powerful reproduction of music
and video. Our driver’s incorporate large magnets and voice coils which allows no distortion at high volumes.
Every subwoofer driver is tested to make sure that it holds up to TRUAUDIO strict specifications.
Please note: The SUB-88A must only be installed and used in the custom MDF in-wall
enclosure, model EL-SUB88
Speaker Cable Recommendation
Speaker cable recommendation, When choosing the wire gauge take in consideration of the output power of the
amp (for this in-wall sub, it should be at least 200 watts) and the length of the cable between the amplifier and
the subwoofer. The longer the wire run, the heavy wire gauge needed. We strongly recommend that you use a
high-quality speaker wire between the amplifier and the subwoofer. For this model use at least 14 gauge for runs
up to 80 feet. If your run is longer than 80 feet, you should consider using 12 gauge. Remember that the wire
increases in size as the gauge number decreases.
Caution, before installation of the subwoofer
The MDF in-wall enclosure is designed for new construction and remodels. This enclosure must be installed
before the drywall or wallboard. It should to be placed vertically between two 2X4’s. This enclosure is build to
provide the perfect air space needed for the SUB-88A. The SUB-88A must be used with the EL-SUB88 cabinet
to insure proper operation. The MDF cabinet will prevent some of the low bass frequencies from adjacent rooms
but because these are true, high-powered subwoofers. There will be some sound transmitted through the wall (as
with all good in-wall subs).
In-wall Passive Subwoofer
Sub-88A

The correct amount of sound absorbent material (fiberglass) comes in the cabinet. This should be left in and NO
more material should be added.
The MDF cabinet is designed to be installed in between two 2x4’s mounted on 16” centers. If 24” centers are used,
add a 2x4 to make a 16” center wall.
No matter what, the front of the MDF cabinet MUST be flush with the front of the wood 2x4’s.
The cabinet is only 46 high so we suggest mounting a 2x4 cap vertically above the location of the cabinet. This will
allow you can secure the cabinet on the bottom, sides and top. You may want to add a 2x4 under the enclosure as
well to get it higher off the floor, depending on the finish base to be used. Check with the home owner or contractor.
Make sure that all electrical wire is run above the cabinet cavity and no holes are drilled in the cabinet. Also, make
sure ALL wire and cable located in the same wall (not just the same wall stud bay) as the subwoofer are secured to
prevent a buzz or rattle from vibration.
This subwoofer will produce a LOT of vibration to which some will transfer to the wall. This can cause the MDF
cabinet to rattle and or even come loose from the wall. To prevent this, we strongly suggest that the drywall is
screwed and GLUED to the studs on both sides of the MDF enclosure and also the studs on both sides of that. We
also suggest that the drywall is glued to the front and back of the actual enclosure. Use a construction adhesive and
make sure to follow the instruction of the adhesive.
Choosing the Location
Choosing the location for the in-wall subwoofer is very important. Because these subwoofers mount into the wall,
they can not be moved once they have been installed. A good “rule of thumb” is the most efficient transmission of
bass frequencies is accomplished when the subwoofer is located in the wall, close to a corner. This will create good
reflective bass waves into the room. It can however also create a “boomy” sound that can be too much bass. This can
be somewhat adjusted with the subwoofer “frequency control” and the “level control” on the amplifier. Make sure to
consider all this before deciding on the final location
Some mounting location suggestions are:
• Locating one subwoofer in the front of the room and one in the back.
• Locating both subwoofers in the same wall. Each unit should be mounted about 1/3 way toward
the middle of the wall.
• Locate one subwoofer in one wall and the other in the opposite wall (facing each other).
Installing the in-wall MDF Enclosure
PLEASE NOTE: This MDF cabinet and subwoofer MUST be firmly secured to the wall. This
model produces a LOT of bass and will rattle the walls if not installed properly!
Carefully remove the MDF enclosure from the packaging. Note: there is a bag of 30, 2 1/2” wood screws. Make sure
these aren’t thrown away with the box.
Finalize the location of the subwoofer (which should have been determined already).
Cut the one piece of 2x4 which will fit in between the two studs. This is the piece that mounts above the MDF
cabinet. You may need to cut additional 2x4 pieces in order to get the MDF cabinet higher off the ground.
Now make sure the two studs that will be on both sides of the MDF cabinet are straight and not crooked one way or
another.
Place the MDF cabinet into the wall cavity and put in a few screws so it stays in place. Check to see how the cabinet
fits into the wall. Make sure it sits flush with the edge of the studs.
Proceed to put the rest of the screws through the studs into MDF cabinet. Try to center the screws in the middle of
the studs. Be careful not to over-tighten or strips the screws.
Do not put any screws in that will interfere with the opening of the cabinet for the subwoofer. Put the screws above
and below the opening in the MDF cabinet.

Drill a hole on the cabinet to feed the speaker wire into. We suggest on either side of the subwoofer hole.
Carefully push the wire through the hole into the cabinet. Chalk the hole with some kind of Silicone. Make
sure to use a generous amount to ensure no air will escape.
Make sure to secure the speaker cable to the inside of the MDF cabinet to prevent any rattle from vibration.
When the drywall or wall board is installed in front and in back of the enclosure, we HIGHLY recommend that
it is glued to the MDF cabinet. It should also be screwed to the front and back of the enclosure.
PLEASE NOTE AGAIN: While installing this model you MUST make sure that EVERYTHING is
secured to prevent rattling or unwanted noise. This model is very powerful and produces a
LOT of bass. It will rattle anything and everything that is not secured or installed properly!
Once the drywall or wall board is completed, you are ready to cut the hole for the installation of the actual
subwoofer. This can be done before or after paint.
Use the supplied speaker cutout to get the recommended hole dimensions. Position the cutout so it sits on top of
the hole in the MDF cabinet and then outline the speaker opening. Proceed and cut out the outlined hole.
Once the hole is cut out, remove the drywall and clean out any debris that might be in the MDF cabinet.
REMEMBER to secure the speaker wire before installing the subwoofer into the cut out.
Caution, before installation of the subwoofer
Please read the following instructions:
• Always turn off the power of your amplifier/receiver.
• When turning your amplifier/receiver back on, make sure your volume is turned all the way down.
Installing the Subwoofer
Remove the grill from the speaker frame. If needed, carefully push one or two of the dog ear (mounting legs)
mounting screw to get the grill off. Attach the speaker wire. Caution: Make sure to observe polarity (positive +
to positive + and negative – to negative -).
When connecting the speaker wire to the amplifier, make sure to observe polarity (+, -).
Now, turn all the dog ears in toward the speaker. This will allow the speaker to easily fit into the cut hole. Insert
the speaker into the hole making sure to keep the speaker is level. Carefully tighten the mounting screws evenly
to secure the speaker.
As you tighten the screws, the dog ear mounting feet will flip into position to grip into the drywall. DO NOT
over tighten the mounting screws. Once again, check to make sure the speaker is level. Push on the grill into the
grooves in the speaker frame.
Controls
Your subwoofer provides of adjustments to optimize its performance in any listening room with any combination
of speaker systems.
Front panel
Frequency knob: This adjusts the bass response to match your main speakers.
Phase switch: Selects the polarity for the subwoofer. The distinction of phase will be most noticed on low
frequency percussion instruments or music with a continuous bass line. If in doubt, leave in the 0 deg position.
Painting the Speaker
If you are going to paint your speakers, we suggest painting them prior to the installation. If you must paint
them while they are still in the wall, remove the grill and replace it with the provided paint guards. Then you
may proceed and paint the frame of the speakers. When painting the grills, paint them lightly and be careful not
to clog the holes. Do not paint the grill while it’s still on the speaker, paint them separately.

Sub-88A
Design: In-wall passive Subwoofer
Housing: ABS baffle and frame
Woofer: Dual 8" aluminum
Impedance: 4 to 8 ohm
Power: 5 - 200 watts
Frequency Range: 37 - 200 Hz. ± 3dB
Sensitivity: 90 dB (1W/ 1M)
Grill: Micromesh w/ dacron
Dimensions: 22 7/8" H, 12 5/8" W, 3 1/2 " D
Weight: 12.6 lbs
It is the policy of TRUAUDIO to continuously incorporate improvements into
our products. All specifications are subject to change without notice.
If you have any questions regarding this or any other TRUAUDIO product,
please call 1-888-858-1555, Monday – Friday, 7:00 am – 5:00 pm MST.
TRUAUDIO Speaker Systems, West Valley City, Utah 84119
Office: 801-746-3777 Fax: 801-746-3774
Model Sub-88A Speaker Specifications
SoundVision Technologies dba TRUAUDIO Speaker Systems
PRODUCT WARRANTY
All in-wall, in-ceiling, outdoor speakers, volume controls and freestanding
loudspeakers have a lifetime limited warranty. This warranty includes lifetime
parts and repair labor on all components. Powered subwoofers and active
electronics have a one (1) year limited warranty. This warranty includes one (1)
year parts and repair labor on all components. TRUAUDIO’s obligation under this
warranty is limited to repairing or replacing any component found defective in
material or workmanship under normal conditions of use. This warranty shall not
apply to products which have been abused, modified, disassembled, or repaired by
anyone other than TRUAUDIO or one of its appointed service centers. Products to
be repaired under this warranty must be returned to the factory or designated
service center with all transportation and insurance charges pre-paid.
Table of contents
Other TRU Audio Subwoofer manuals

TRU Audio
TRU Audio RM-12 User manual

TRU Audio
TRU Audio Trunami User manual

TRU Audio
TRU Audio HS-SUB-12 User manual

TRU Audio
TRU Audio RM-15Sub User manual

TRU Audio
TRU Audio BP-SUB-12 User manual

TRU Audio
TRU Audio HS-SUB-12 User manual

TRU Audio
TRU Audio SS-8 User manual

TRU Audio
TRU Audio HS-SUB-12 User manual

TRU Audio
TRU Audio ST-SUB-10 User manual

TRU Audio
TRU Audio IC-SUB-8 User manual


