TRU Audio Trunami User manual

Manual Trunami
INCLUDED ITEMS
• Trunami • Grill
www.TruAudio.com 888.858.1555 198 North Old Highway 91 Hurricane, UT 84737
Description:
TruAudio’s new Trunami passive in-wall subwoofer has been designed and optimized to deliver deep, tight,
powerful bass, yet be able to mount within a standard 2X4 wall stud bay. With the Trunami retrofitted neatly
into the wall, only the sleek manetized grill will be visible. The Trunami delivers maximum bass from a mini-
mum amount of space. This makes the Trunami ideal for an entertainment room, family room or dedicated
home theater. In combination with TruAudio’s excellent in-wall or in-ceiling speakers, this sub-woofer is the
perfect complement to any home audio system.
The Trunami uses a highly efficient 8” injection-molded polypropylene active woofer, combined with two
application-specific tuned 6.5” passive radiators, to deliver room-filling bass with minimal distortion. The
active driver incorporates a large magnet and voice coils assembly to minimize distortion at even the highest
volume levels. Every Trunami driver is tested to TruAudio’s strict performance specifications.
Amplification:
The TRUNAMI is a passive subwoofer. As such it does not have low-level (RCA) inputs or onboard amplifica-
tion like most freestanding subwoofers. Because of this you must use a separate amplifier connected to the
high-level speaker (Right “+” and Left “-“) inputs on the Trunami. We recommend the excellent TruAudio
TRU-S350 subwoofer amplifier. Your Trunami sub is an 8 Ohm speaker and is rated for 250W of amplification.
If wiring two Trunami subs in parallel, the load on the amplifier will be 4 Ohms. The TRU-S350 amplifier will
puts out 250W when connected to an 8 Ohm load, or 350W when connected to a 4 Ohm load. It also has an
onboard low pass filter and phase control for adjusting the output of your sub.
Wiring:
When choosing speaker wire for your Trunami you must take into consideration both the output power of the
amplifier and the length of the wire between the amplifier and the subwoofer. Longer runs of wire require a
heavier gauge wire. For runs up to 40 feet use at least 14 gauge speaker wire. If your run is longer than 40
feet, you should use at least 12 gauge speaker wire. Remember that the wire gauge number decreases as the
wire itself gets larger. TruAudio strongly recommends that you use high-quality speaker wire when installing
your Trunami.

CHOOSING THE LOCATION:
www.TruAudio.com 888.858.1555 198 North Old Highway 91 Hurricane, UT 84737
Choosing the right location for your Trunami subwoofer can sometimes be daunting. Not only are you limited by the
available wall space in the room, but because it mounts directly into the wall cavity your Trunami cannot easily be
moved after it has been installed.
The most efficient transmission of bass frequencies occurs when the subwoofer is located close to a wall or in a
corner. This is good news because it is hard to get much closer to a wall than flush with it. Unfortunately, depending
on the size or shape of the room, having the subwoofer flush with the wall can sometimes create “boomy” or over-
powering bass. Often this can be overcome by adjusting the frequency and phase settings at the amplifier.
Because the Trunami has a sealed enclosure it is possible to test for bass quality in your room by placing it against
the wall at the various possible mounting locations and listening to it. This will give you a good approximation of the
amount and sound of the bass you will get before you commit to a mounting location. For this to work the room must
already have sheetrock, and will give the best results if the room is complete, including all carpet, furniture and
window treatments.
For smoother bass response or even more total bass output in the listening area, it is possible to install more than
one Trunami in a room. When installing two Trunami’s in a room the recommended mounting configurations are:
• Locate one subwoofer in the front center wall of the room and the other in the rear center wall.
• Locate the subwoofers in opposite side walls of the room, facing each other.
• Locate both subwoofers in the same wall, with each subwoofer mounted at approximately the 1/3 and 2/3 positions
from the ends wall.
Prior to Installation:
The Trunami in-wall subwoofer is designed for new construction and retrofit installations. It is designed to be installed
in between two 2x4’s mounted on 16” centers. If 24” centers are used, add a 2x4 at the correct spacing to make a
16” center wall. The Trunami requires a stud bay opening 14.3” to 15.0” wide by at least 17.5” long. It is possible to
install the Trunami horizontally if the wall has been framed with the correct size opening.
Make sure that no high voltage electrical wire and/or plumbing exists in the wall cavity where the Trunami will be
installed. If so it will be necessary to have a licensed professional re-route the wiring or plumbing either above or
below where the Trunami will be installed. There is not enough room in a standard 2x4 wall cavity to run the plumbing
or wiring behind the Trunami. Also, make sure all plumbing and wiring located in the same wall (not just the same wall
stud bay) as the subwoofer are secured to prevent a buzz or rattle from vibration.
The Trunami subwoofer has an internally braced, sealed cabinet that will prevent MOST of the low bass frequencies
from entering adjacent rooms, but as with all good high-powered subwoofers there will be some sound transmitted
rearward through the wall.
Manual Trunami

Manual SLIM-PWR44
INSTALLING THE TRUNAMI:
PLEASE NOTE: This subwoofer MUST be firmly secured to the wall. This model produces a LOT of bass and will
rattle the walls if not installed properly!
At this point the location for the subwoofer should have already been finalized. The wall should be drywalled, textured
and painted before installation of the subwoofer.
Cut a small (6” x 6”) hole in the drywall in the center of the chosen mounting location to check for obstructions
within the wall cavity. If there are any wires, plumbing or stray nails or screws that might interfere with installation they
need to be taken care of. You should also make sure the speaker wire it is out of the way for when the full opening will
be cut.
The opening that will need to be cut for the Trunami is 14.5” wide x 17.5” tall. Before marking the opening, first verify
that the width of the stud bay is between 14.3” and 15.0” wide and that you have at least 17.5” vertical space to
install your subwoofer. Carefully remove the subwoofer and grill from the packaging. Holding the grill against the wall,
determine the height you want the subwoofer to be installed at. Using a straight edge or a level, draw a line .75” (3/4”)
above the bottom edge where you want the grill to be installed that is 14.5” wide and centered within the stud bay.
From each end of this line draw a line vertical that is 17.5” tall. Verify that the ends these lines are 14.5” apart and are
horizontal from each other. Using the straight edge, connect the ends with a 4th line, forming a rectangle.
Using an appropriate cutting tool, cut along the lines you have just marked. Be careful to avoid cutting the
speaker wire for your subwoofer. If the distance between the studs is narrower than 14.5” cut as close to the inside
edge of the studs as possible.
CAUTION: Before connecting your Trunami make sure to turn off the power to your amplifier before making any
electrical connections. When turning your amplifier on for the first time, make sure the volume is all the way down.
Connect the speaker wires to the screw terminals on the Trunami, making sure to observe the correct polarity (+, -).
DO NOT reverse the polarities when connecting the subwoofer or amplifier. Doing so will put the speaker out of
phase and will cause poor sound and a lack of bass.
Place the Trunami in the stud bay opening, making sure not to pinch or accidentally disconnect the speaker wire.
Using the screws provided, secure the subwoofer to the wall studs through the 8 holes in the metal frame. If you
choose to use a different type of screw, make sure that they are big enough that the heads will not fit through the
holes in the metal frame.
PLEASE NOTE AGAIN: You MUST make sure that EVERYTHING is firmly secured to prevent rattling or unwanted
noise. This model produces a lot of bass and will rattle anything and everything that is not secured or installed
properly!
www.TruAudio.com 888.858.1555 198 North Old Highway 91 Hurricane, UT 84737
Manual Trunami
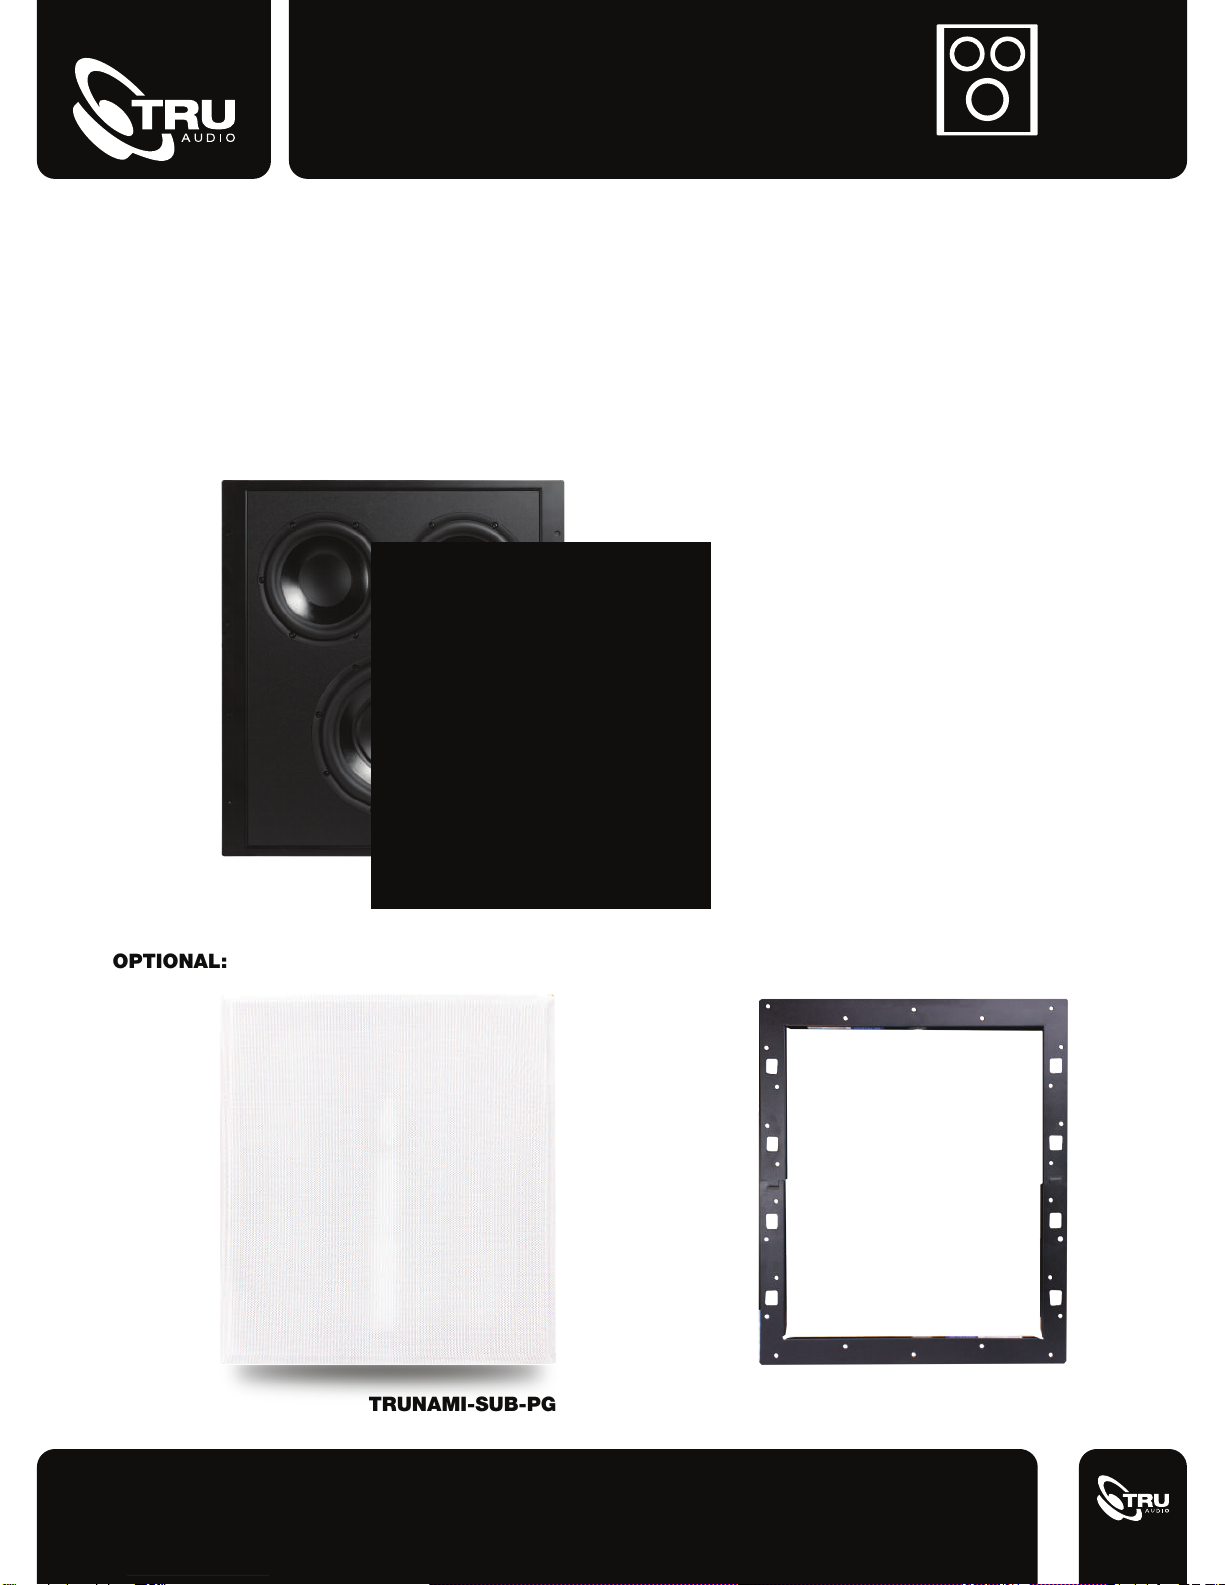
OPTIONAL:
TRUNAMI-SUB-PG RW-TRUNAMI
INSTALLING THE GRILL:
The grill on this subwoofer is magnetically attached and only needs to be centered over the metal frame to attach.
Future versions of the magnetic grill may combine a paintable metal mesh grill with the standard black cloth magnetic
grill. When painting the metal grill it should be removed from the grill frame and painted separately.
www.TruAudio.com 888.858.1555 198 North Old Highway 91 Hurricane, UT 84737
Manual Trunami
Table of contents
Other TRU Audio Subwoofer manuals

TRU Audio
TRU Audio ST-SUB-10 User manual

TRU Audio
TRU Audio BP-SUB-12 User manual

TRU Audio
TRU Audio HS-SUB-12 User manual

TRU Audio
TRU Audio RM-15Sub User manual

TRU Audio
TRU Audio BP-SUB-12 User manual

TRU Audio
TRU Audio Sub-88A User manual

TRU Audio
TRU Audio SS-8 User manual

TRU Audio
TRU Audio cSUB-8 User manual

TRU Audio
TRU Audio HS-SUB-12 User manual

TRU Audio
TRU Audio IC-SUB-8 User manual


