Tru-Test S1 User manual

S1 Indicator Quickstart Guide
1
This quickstart guide provides basic instructions for setting up and using the
S1 indicator. For further information, visit www.tru-test.com.
Contents
Unpacking the box .........................................................1
Installing the indicator....................................................2
Changing indicator settings ............................................4
Maintenance and care....................................................5
Warranty and servicing...................................................5
Compliance....................................................................6
1Unpacking the box
Check that you have all of these items. If anything is missing, contact your
supplier.
QUICKSTART GUIDE

S1 Indicator Quickstart Guide
2
2Installing the indicator
Before you start:
Fully charge the indicator overnight.
Step 1:
Mount the indicator bracket onto an
appropriate suppor
t that the indicator
connector on the load bar or cell cable
will reach. Slide the indicator onto the
bracket.

S1 Indicator Quickstart Guide
3
Step 2:
Plug the indicator connector into
the indicator and tighten up.
Step 3:
Press to power on the indicator.

S1 Indicator Quickstart Guide
4
3Changing indicator settings
Data Link enables you to change settings on the indicator, such as displaying
metric or imperial measurements.
1. Ensure that your PC has internet connectivity and download the Data Link
PC Software from livestock.tru-test.com/applications/datalink.
2. Plug one end of the USB cable into the indicator and the other end into
your PC.
3. Launch Data Link on your PC; click , and Settings.

S1 Indicator Quickstart Guide
5
4Maintenance and care
•Do not leave the indicator or indicator connector immersed in water.
•When not in use, always replace the dust cap on the indicator connector.
•Remove dust and moisture from the plugs and dust cap using methylated
spirits, ethyl alcohol, or a suitable electrical contact cleaner. Stronger
spirits must not be used, as they may react with the plastic.
5 Warranty and servicing
For service and warranty information, see www.tru-test.com.

S1 Indicator Quickstart Guide
6
6 Compliance
FCC notice
This device complies with part 15 of the FCC Rules. Operation is subject to the following two conditions: (1)
This device may not cause harmful interference, and (2) this device must accept any interference received,
including interference that may cause undesired operation.
This equipment has been tested and found to comply with the limits for a Class B digital device, pursuant to
part 15 of the FCC Rules. These limits are designed to provide reasonable protection against harmful
interference in a residential installation.
This equipment generates, uses and can radiate radio frequency energy and, if not installed and used in
accordance with the instructions, may cause harmful interference to radio communications. However, there
is no guarantee that interference will not occur in a particular installation. If this equipment does cause
harmful interference to radio or television reception, which can be determined by turning the equipment off
and on, the user is encouraged to try to correct the interference by one or more of the following measures:
- Reorient or relocate the receiving antenna.
- Increase the separation between the equipment and receiver.
- Connect the equipment into an outlet on a circuit different from that to which the receiver is connected.
- Consult the dealer or an experienced radio/ TV technician for help.
All trademarks with an * are not owned by Tru-Test Limited and belong to
their respective owners.

Guia Rápido do Indicador S1
7
GUIA DE INÍCIO RÁPIDO DO
Este guia rápido fornece as instruções básicas para a instalação e o uso do seu
Indicador S1. Para mais informações, visite a www.tru-test.com.
Conteúdo
Desembalar a caixa................................................ 7
Instalação do indicador.......................................... 8
Modificar as configurações do indicador............... 10
Manutenção e cuidados ....................................... 11
Garantia e assistência .......................................... 11
1Desembalar a caixa
Verifique que haja todos os seguintes itens. Se algo estiver faltando, contate o
seu fornecedor.

Guia Rápido do Indicador S1
8
2Instalação do indicador
Antes de começar:
Carregue o indicador
completamente durante a noite.
Passo 1:
Monte o grampo do indicador em um
suporte apropriado no alcance do
conector do indicador ou do cabo da
barra de carga ou da célula. Fixe o
indicador no grampo.

Guia Rápido do Indicador S1
9
Passo 2:
Insira o conector do indicador no
indicador e fixe-o.
Passo 3:
Pressione para ligar o
indicador.

Guia Rápido do Indicador S1
10
3Modificar as configurações do
indicador
O Data Link permite modificar as configurações do indicador como, p. ex., a
exposição de medições métricas ou imperiais.
1. Assegure-se de que o seu PC esteja conectado à Internet e baixe o
software Data Link PC de livestock.tru-test.com/applications/datalink
.
2. Insira uma extremidade do cabo USB no indicador e a outra no seu PC.
3. Inicialize o Data Link no seu PC; clique em , e Configurações.

Guia Rápido do Indicador S1
11
4Manutenção e cuidados
•Não deixe o indicador ou o conector do indicador na água.
•Quando não usado, sempre coloque o tampão protetor no conector do
indicador.
•Remova o pó e a umidade dos conectores e do tampão usando álcool
desnaturado, álcool etílico ou um agente de limpeza para contatos
elétricos apropriado. Álcool mais forte não deve ser usado, pois ele pode
reagir com o plástico.
5Garantia e assistência
Para informações de assistência e garantia, veja www.tru-test.com.
Todas as marcas registradas com um * não pertencem à Tru-Test Limited, mas
aos seus proprietários correspondentes.

Guía de inicio rápido del indicador S1
12
GUÍA DE INICIO RÁPIDO
Esta guía de inicio rápido ofrece instrucciones básicas para configurar y usar el
indicador S1. Para mayor información visite www.tru-test.com.
Índice
Instrucciones de desempacado..............................12
Instalación del indicador.......................................13
Cambio de los ajustes del indicador ......................15
Mantenimiento y cuidados....................................16
Garantía y servicio................................................16
1Instrucciones de desempacado
Revise que cuente con todos estos artículos. Si falta algo, póngase en
contacto con su proveedor.

Guía de inicio rápido del indicador S1
13
2Instalación del indicador
Antes de comenzar:
Cargue
completamente el indicador
durante toda la noche.
Paso 1:
Coloque el soporte del indicador en
un lugar adecuado y que quede al
alcance del conector en la barra de
carga o el cable de la celda. Deslice
el indicador en el soporte.

Guía de inicio rápido del indicador S1
14
Paso 2:
Enchufe el conector del indicador
al indicador y ajústelo.
Paso 3:
Pulse para encender el
indicador.

Guía de inicio rápido del indicador S1
15
3Cambio de los ajustes del
indicador
Data Link le permite cambiar la configuración del indicador, como por
ejemplo, que se muestren las medidas en unidades métricas o imperiales.
1. Asegúrese de que su PC esté conectada a Internet y descargue el
software de Data Link de livestock.tru-test.com/applications/datalink
.
2. Enchufe un extremo del cable USB en el indicador y el otro en su PC.
3. Abra la aplicación Data Link en su PC; haga clic en , y
Configuración.

Guía de inicio rápido del indicador S1
16
4Mantenimiento y cuidados
•No deje el indicador o el conector del indicador sumergidos en agua.
•Cuando no esté en uso, coloque el tapón protector en el conector.
•Quite cualquier residuo y la humedad de los enchufes y tapones
utilizando alcohol desnaturalizado, alcohol etílico u otro detergente
apropiado para contactos eléctricos. No deben usarse limpiadores más
fuertes puesto que pueden reaccionar con el plástico.
5Garantía y servicio
Para mayor información sobre la garantía y el servicio, visite
www.tru-test.com.
Todas las marcas registradas con un * no son propiedad de Tru-Test Limited y
pertenecen a sus respectivos dueños.

Guide de démarrage rapide pour l'indicateur S1
17
Le présent guide de démarrage rapide fournit des instructions de base pour la
configuration et l’utilisation de votre indicateur S1. Pour plus d’informations,
consultez www.tru-test.com.
Table des matières
Déballage de la boîte ........................................... 17
Installer de l’indicateur......................................... 18
Modification des réglages de l’indicateur.............. 20
Maintien en bon état et entretien......................... 21
Garantie et service ............................................... 21
1Déballage de la boîte
Assurez-vous que vous avez l’ensemble des éléments suivants. Si la livraison
n’est pas complète, contactez votre distributeur.
GUIDE DE DÉMARRAGE RAPIDE

Guide de démarrage rapide pour l'indicateur S1
18
2Installer de l’indicateur
Avant de démarrer :
Rechargez complètement
l’indicateur pendant la nuit.
Étape 1 :
Montez le support de
l’indicateur sur un appui
adéquat qui se trouve à portée
du connecteur de l’indicateur sur
la barre de charge ou du câble
de la cellule. Faites glisser
l’indicateur sur le support.

Guide de démarrage rapide pour l'indicateur S1
19
Étape 2 :
Branchez le connecteur de
l’indicateur sur l’indicateur et
serrez.
Étape 3 :
Appuyez sur pour allumer
l’indicateur.

Guide de démarrage rapide pour l'indicateur S1
20
3Modification des réglages de
l’indicateur
Data Link vous permet de changer des réglages sur l’indicateur tels que
l’affichage en mesures métriques ou impériales.
1. Assurez-vous que votre ordinateur a accès à Internet et téléchargez le
logiciel Data Link pour PC sur
livestock.tru-test.com/applications/datalink
.
2. Branchez une extrémité du câble USB sur l’indicateur et l’autre extrémité
sur votre PC.
3. Démarrez Data Link sur votre PC, puis cliquez sur , et sur Réglages.
Other manuals for S1
2
Table of contents
Languages:
Other Tru-Test Measuring Instrument manuals
Tru-Test
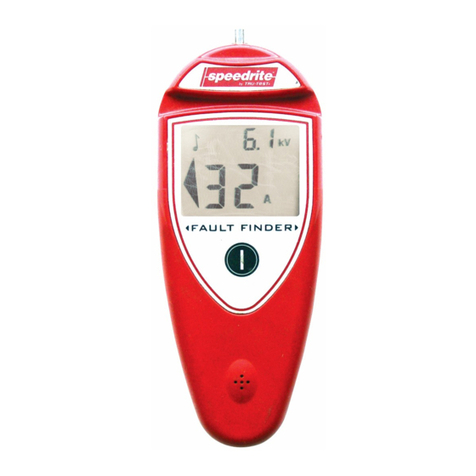
Tru-Test Speedrite Fault Finder User manual
Tru-Test
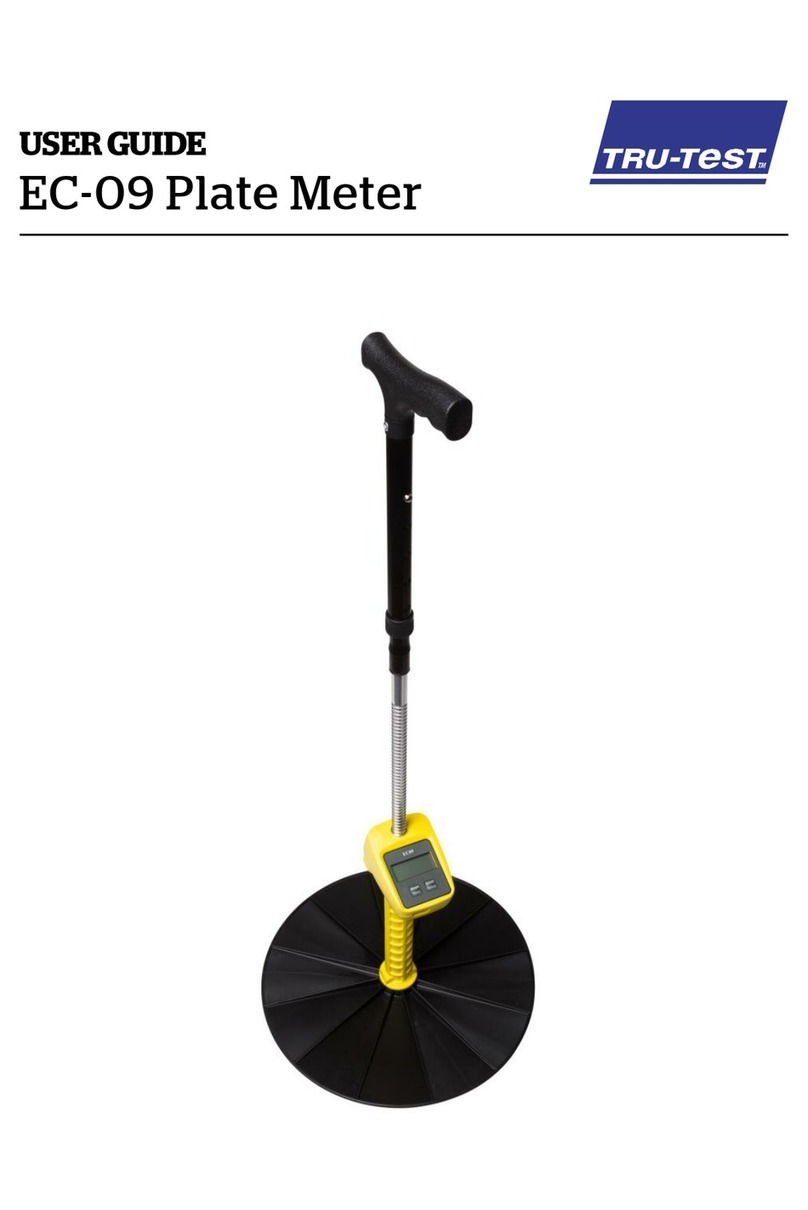
Tru-Test EC-09 User manual
Tru-Test
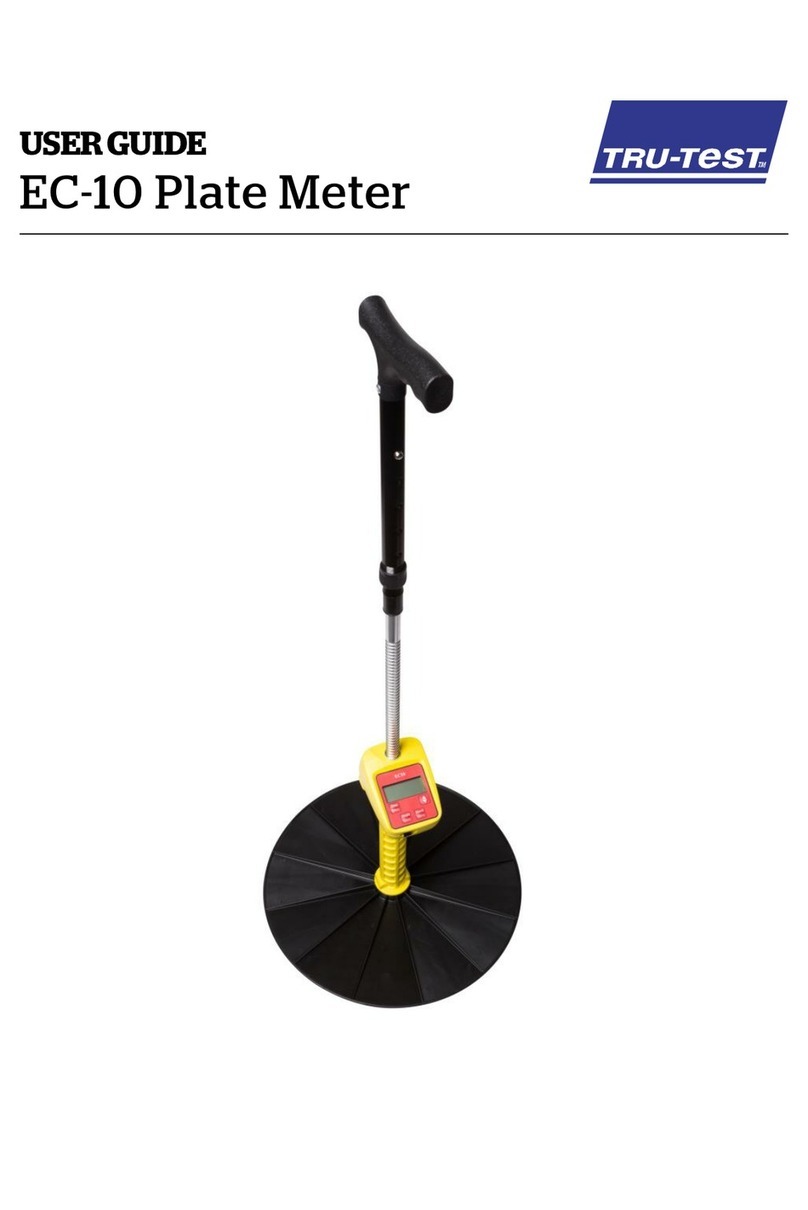
Tru-Test EC-10 User manual

Tru-Test
Tru-Test EC-20 User manual
Tru-Test
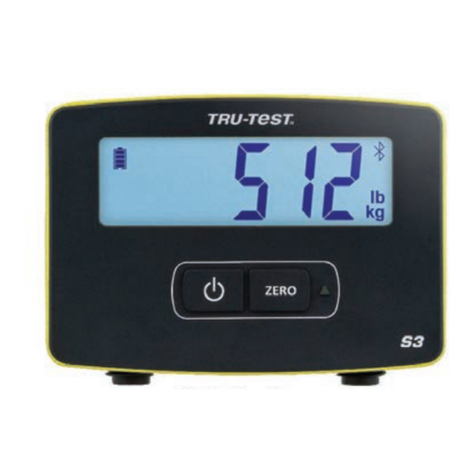
Tru-Test S3 User manual
Tru-Test
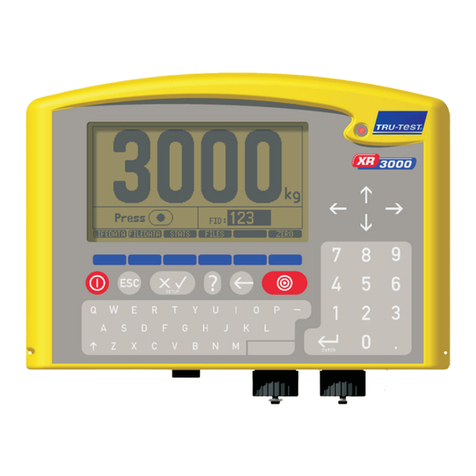
Tru-Test XR3000 User manual
Tru-Test
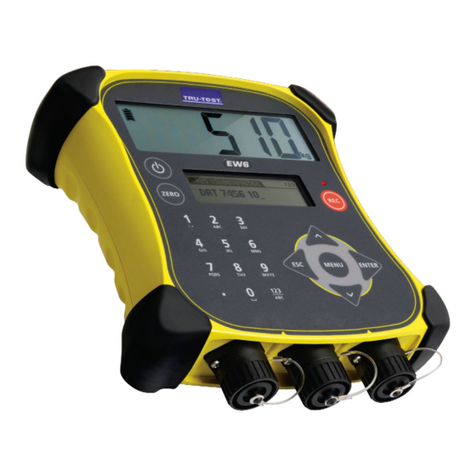
Tru-Test EziWeigh6 User manual

Tru-Test
Tru-Test 703 User manual
Tru-Test
Tru-Test XHD2 User manual
Tru-Test
Tru-Test SRS2 User manual

