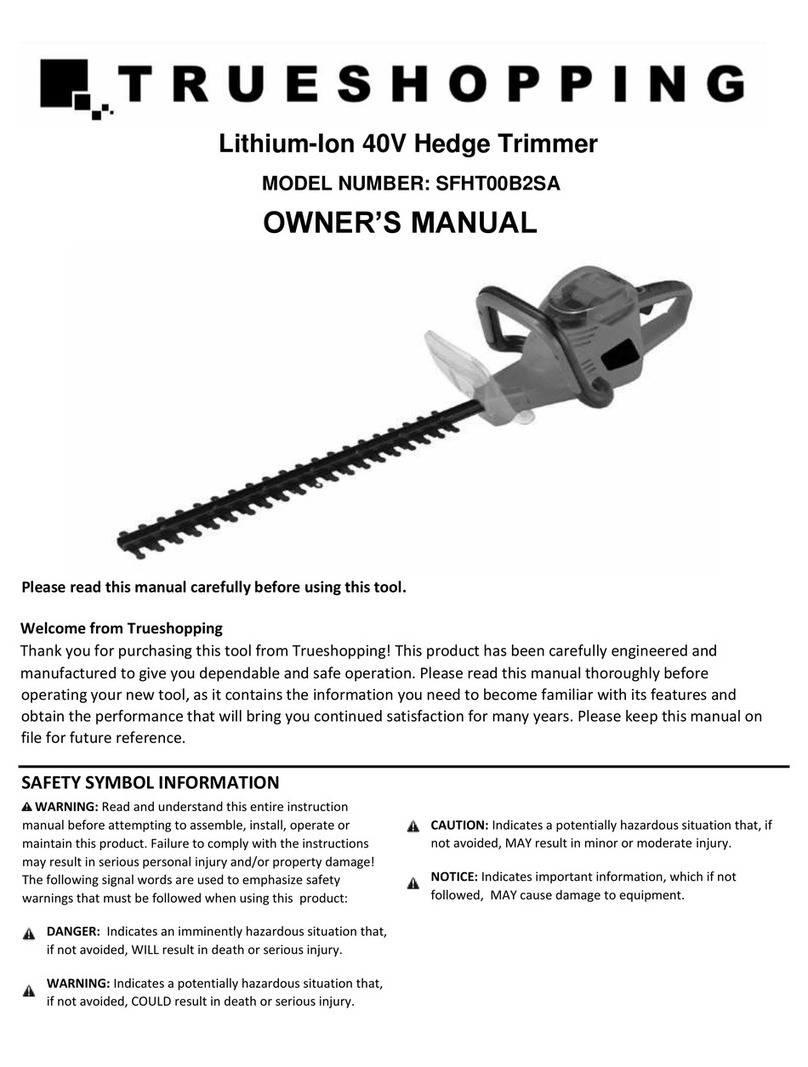
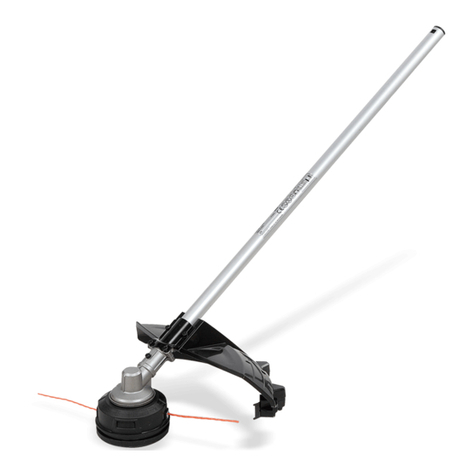
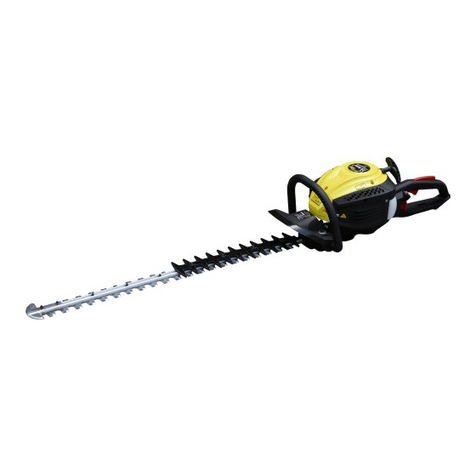
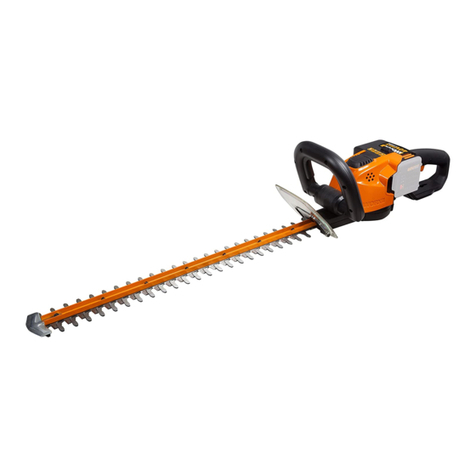
Trueshopping MFS260HT Installation and operating instructions

Long Reach Petrol Hedge
Trimmer
Assembly / Owner’s Manual
©Trueshopping LTD Issue 01 mc-rt
Original instructions

CONTENTS
Model guide 3
Safety instructions a,b,4
Protecting yourself 4
Fuelling 4
Vibrations 4
Protecting others 4
Protecting the machine 5
Minimum age 5
Recommended use 5
Emergency action 5
Safe operating instructions 5
Fuel safety 5
What’s in the box? 6
Box contents 6
The Engine 6
Attaching the handle 7
Pole attachment 7
Shoulder harness assembly 8
Starting the hedge trimmer 8
The hedge cutter 9
Hedge cutter parts 9
Hedge cutter assembly 9
Adjusting the idle screw 10
Fuel pipe / Tank grommet exchange 10
Fuel filter exchange 12
Changing / checking the spark plug 14
Air filter cleaning / exchange 16
Carburettor exchange / inspection 17
Troubleshooting 19
Online help 19
Specifications 20
Contact us 21

THIS GUIDE COVERS THE FOLLOWING
MODEL NUMBERS –
MFS260HT
MFS330HT
MFS430HT
MFS520HT
MFS550HT
MFS580HT
MFS620HT
MFS650HT
MFS680HT
*While every effort is made to ensure the
accuracy of the information in this
manual occasionally minor design
changes can occur , if in doubt please
visit the manufacturers website for the
most up to date version of this guide .
3

Warnings on the Machine and their
Meanings
IMPORTANT
INFORMATION
READ THE
MANUAL BEFORE
USING
WEAR SUITABLE
HEAD, EAR AND
EYE PROTECTION
WEAR SUITABLE
HAND
PROTECTION
WEAR SUITABLE
FOOT PROTECTION
WEAR SUITABLE
PROTECTIVE
CLOTHING
NO NAKED FLAMES TO BE
PRESENT NEAR THE MACHINE
NOISE INFORMATION
Ensure that you leave
adequate distance
between yourself and
dangerous overhead
obstacles e.g. Power
lines.
CAUTION – HOT
EXHAUST
a.
Important information

IMPORTANT SAFETY INFORMATION
•Please note that the cutting blades
continue to run for a short period
after you let go of the throttle trigger
–This is called the flywheel effect.
•Do not lend or rent your power tool
without the instruction manual. Be
sure that anyone using your power
tool understands the information
contained in this manual.
•Persons with pacemakers only: The
ignition system of your power tool
produces an electromagnetic field of a
very low intensity. This field may
interfere with some pacemakers.
Consult your doctor if you have
concerns.
•Use your hedge trimmer only for
cutting hedges, shrubs, scrub and
similar materials.
•It must not be used for any other
purpose because of the increased risk
of accidents and damage to the
machine. Never attempt to modify
your power tool in any way since this
may result in accidents or damage to
the machine.
•Do not use a pressure washer to clean
your power tool. The solid jet of water
may damage parts of the power tool.
•Do not spray the machine with water.
•Work calmly and carefully – in
daylight conditions and only when
visibility is good. Stay alert so as not
to endanger others.
•Your power tool produces toxic
exhaust fumes as soon as the engine
is running. These fumes may be
colourless and odourless and contain
unburned hydrocarbons and benzoyl.
Never run the engine indoors or in
poorly ventilated locations.
•The dusts, vapour and smoke
produced during operation may be
dangerous to health. If the work area
is very dusty or smoky, wear
appropriate safety equipment.
•If your power tool is subjected to
unusually high loads for which it was
not designed (e.g. heavy impact or a
fall), always check that it is in good
condition before continuing work
•When working at heights:
–Always use a lift bucket
–Never work on a ladder or in a tree
–Never work on an insecure support
–Never operate your power tool with
one hand.
Be alert and cautious when wearing hearing
protection, your ability to hear warnings
(alarms, etc.) is restricted.
b.

Safety Instructions
Read this manual in full before operating this
machine for the first time. If you have any
questions regarding the operation of the
machine, please contact the manufacturer.
CAUTION! In order to ensure your safety you
must follow the safety, installation and
operation instructions. Any person who uses
this machine should be fully aware with the
potential risks.
! You must be 18 or over to operate this
machine. Children or persons of Diminished
responsibility must not operate this machine.
! The manufacturer shall not be held liable if
the unit is altered outside of the information
printed in this guide.
! Always turn the engine off before
performing any maintenance
! Some components will become hot during
use, specifically – The engine, bump head,
brush cutter blade, the hedge trimmer and
pruning saw.
Protecting yourself
! Do not use this machine in areas with poor
ventilation or indoors, when switched on,
the machine produces Carbon monoxide!
! Do not operate this machine in adverse
weather or in situations where sure footing
is not guaranteed.
! Exercise common sense when operating
this machine, do not operate when under the
influence of alcohol or medication which
may impair judgement and concentration.
FUELLING
! Always switch the engine off before
fuelling.
Open the tank cap slowly to avoid spillage due
to internal pressure. If the unit has recently
been in use, allow to cool down first. Not
allowing the unit to cool could cause the fuel
to ignite.
When replacing the fuel, be careful not to
over fill the tank. Any spillages should be
cleaned up immediately.
After filling ensure that the cap is secured
properly and that it will not work loose while
the machine is switched on.
VIBRATIONS
Vibrations from the machine make it difficult
to hold for long periods of time, this time can
be prolonged by wearing suitable gloves.
Protecting others
! Do not allow anyone to approach the
machine while in use, ensure the working
area is clear of animals and pedestrian
traffic.
! Avoid jamming the blade as this can make
the machine suddenly difficult to control.
! WEAR EAR PROTECTION!
! SAFETY BOOTS MUST BE WORN
WHILE OPERATING THE MACHINE!
! WEAR SUITABLE EYE
PROTECTION!
! WARNING, PETROL IS
FLAMMABLE, TAKE
APPROPRIATE CARE!
4

! Do not use the machine for any purposes
other than outlined in this book.
! It is good practise to clearly mark your
working area to ensure pedestrians do not
stray into the area.
! Turn the machine off when moving
location.
Protecting the Machine
! Only use recommended parts, consult the
manufacturer to obtain these.
! Always use the correct tool for the correct
job. Use the tool only for its designed
purpose.
! Ensure that the machine is stored in a dry
area in a secure place. Parts of the tool are
sharp and should not be left within reach of
children / pets.
! Inspect the machine for damage before use,
and ensure all components are properly
aligned.
Minimum Age
Only persons under 18 years of age are legally
allowed to operate this machine unless under
training supervision.
Recommended use
The unit is recommended for general use in
agriculture, forestry and gardening.
Emergency Action
In the event of injury, seek qualified medical
assistance and apply first aid to the injury. If
you are the responder, protect the injured
person from further injury.
! The user is responsible for any Material /
personal damage resulting from improper
use.
! Please note that if not properly used, the
following injuries can be caused –
Contact with an uncovered Hedge trimmer –
Laceration
Reaching into the running scythe –
Laceration
Hearing problems if proper ear protection
not used
Carbon monoxide poisoning if used in an
enclosed area.
Safe Operating Instructions
! Do not operate the machine if you suspect
the machine has a problem.
•Always visually inspect to see that the
blades, bolts, chain and cutter
assembly are not worn or damaged.
Ensure the engine vents are free from
any dirt or remnants.
•Operate the machine at the lowest
possible engine speed to do the job.
•Keep your hands and feet clear of the
attached tool when the machine is
running.
•Keep both hands firmly on the
machine at all times.
•Always use the machine with the
supplied carry strap.
•Always wear appropriate hand, feet
and hearing / eye protection when
operating the machine.
•Do not use metal cutting coils.
•Pay attention, the machine will
continue to run for five seconds after
the engine has stopped.
Fuel safety
! Petrol is highly flammable. Take the
following precautions:
•Store fuel in containers specifically
designed for this purpose. DO NOT store
in the mixing bottle.
•Refuel outdoors only and do not smoke
while refuelling.
•Add fuel before starting the engine. Never
remove the fuel cap when the engine is
running or the engine is hot.
5

•Avoid spillage. If petrol is spilled, do not
attempt to start the engine, move the
machine away from the spillage to avoid
any danger of petrol vapours igniting.
•Tighten the fuel tank cap tightly.
What’s in the box?
The long reach petrol hedge trimmer is ideal
for trimming, shaping and maintaining a
variety of garden hedges. Robust yet easy to
transport and manoeuvre it is ideal for
domestic use in gardens and back yards. A
high quality 2 stroke, air cooled engine and
long reach pole extending to 3 meters ensure
excellent performance and long lasting
durability.
Box contents
•Main engine with handle attached
•Tools
•Extension handle
•Handle
•Hedge trimmer
•Carrying strap
•Petrol mixing bottle
1. Handle
2. Harness loop hole
3. Stop switch
4. Throttle lockout
5. Air filter
6. Start handle
7. Fuel tank
8. Throttle trigger
9. Shoulder harness
10. Unit attachment locking screw
The Engine
1. Filler cap
2. Choke lever: Facilitates the engine
starting.
3. Fuel Pump: increases fuel supply
when cold starting.
4. Carburettor screw: For adjusting the
idling speed.
5. Engine support : For supporting the
machine when on the ground
6. Fuel tank: For storing a fuel mixture
comprising of petrol and engine oil.
6

7. Exhaust (with spark arrestor):
Reduces operating noise and directs
the exhaust gas away from the
operator.
Attaching the handle
Pole Attachment
To attach the different attachments to the
machine, you need to connect them to the
coupling on the end of the fixed engine pole.
1. Open the coupling and turn the retaining
handle to loosen the connection.
2. Line up the hole on the required tool
pole as shown below and push firmly
into the coupling.
3. Close the coupling again, tighten the
retaining handle, and pull and twist
the pole to ensure that it is secure.
7

Shoulder harness assembly
The shoulder harness clips to the handle of the
main engine as shown below.
Starting the Hedge Trimmer
! Please be aware that a certain degree of
effort is required to successfully start the
multi-tool, please persevere if you are
struggling to start the engine.
•Pull the switch into the on “I” position and
hold the throttle lockout and then pull the
throttle trigger.
•While still holding the above, press in the
switch next to the on/off switch.
•Slowly release all three and you should
note that the switch stays pressed in.
•Now we need to prime the engine with
fuel for use. Press the priming bulb on the
unit several times (8-10) to prime the
machine.
•To start the engine, push the choke lever
upwards and pull the starter cord.
8

•Do this until you hear a splutter or cough
from the engine. Once this has happened,
push the choke lever down and pull the
starter cord and the engine will start. You
can then pull the throttle trigger to start
the tool working.
**Please note that it can take several
attempts at pulling the starter cord to
start the machine.
•To turn the machine off push the on/off
switch to “O”.
The Hedge cutter
The hedge cutter is ready assembled and just
needs to be attached to the main engine unit.
Refer to the “Pole attachment” guide on how
to do this.
When you are ready to use the hedge cutter
ensure that the unit is switched off and then
remove the plastic guards from the blades
**TAKE CARE WHEN HANDLING THE HEDGE
CUTTER AS THE BLADES ARE SHARP **
Hedge cutter parts
1. Cutting blade: Steel blade for cutting
hedges and bushes.
2. Blade Guard: Protect the cutting rail
when the tool is not in use.
3. Blade gear: Convert the rotation of
the angle gear when the cutting blade
moves back and forth.
4. Locking mechanism: Holds the cutter
in the desired position.
5. Angle Gear: Transmits the rotational
movement of the drive axel to the
blade gear.
6. Adjusting lever: Adjust the cutting rail
to the desired angle.
7. Locking lever : Lock and unlock the
cutting rail
8. Drive shaft tube: Surrounds and
protects the drive shaft between the
coupling sleeve and gear.
Hedge cutter assembly
9

1. Unfold the hedge cutter
attachment by pressing the two
locking levers (1)
2. While still pressing the locking
levers rotate the adjusting lever
(2) to the desired angle, then fix
the locking lever to the gear ring.
Adjusting the idle screw
To increase and decrease the idle adjustment
(the speed and frequency between engine
revs and power of the machine) please follow
the information below.
•Start the engine and place the
product on a flat surface.
•Locate the idle adjustment
screw.(Underneath the air filter
assembly)
•Using a flat headed screwdriver, turn
the screw in either direction or listen
to the noise from the engine as a
guide to the current engine speed.
! Please note, if the screw is wound in/out
too far, the engine will stall.
Fuel pipe / Tank grommet exchange
! Please ensure the unit is completely
drained of fuel before attempting this
procedure.
•Unscrew the retaining cap and
remove the air filter cover. **The
retaining cap will be a Philips screw
on certain models**
•Remove the fuel pipes from the
carburettor using long nosed pliers
and a small flat headed screwdriver,
noting the location of each pipe
before removal.
Black pipe = Feed/Supply
Clear Pipe = Return
10

•Unscrew the fuel cap and remove it
by pulling the retaining strap from
inside the fuel tank.
•Using a blunt pointed object, push the
fuel pipe grommet into the fuel tank,
then use your long nosed pliers to
withdraw the part through the fuel fill
hole.
11

•Insert the replacement fuel pipes /
grommet into the tank using a large
flathead screwdriver to push it into
position. Then reattach the pipes to
the carburettor connections
*WD40 may be sprayed around the
grommet to ease it into position.
•Finally Replace the retaining strap
back into the fuel tank then screw the
cap back in place.
Fuel filter Exchange
! Please ensure the unit is completely
drained of fuel before attempting this
procedure.
•Remove the fuel tank cap by
unscrewing anti - clockwise and pull
out the cap retaining strap from the
tank.
12

•Using a piece of curved wire (e.g. a
tent peg or old coat hanger ) Hook the
fuel feed pipe within the tank and pull
out as shown , the fuel filter is
attached to the end .
•Remove the fuel filter by gripping the
feed pipe firmly and pulling the filter.
*If the pipe is damaged or frayed at
the end then trim it down with a pair
of scissors.
•Connect the replacement fuel filter by
pushing it into the fuel feed pipe,
ensuring the connection nozzle is not
visible.
13

•Feed the fuel pipe and filter back into
the tank and replace the cap.
Changing/checking the sparkplug
! Exercise caution when following this
section, a danger of electric shock exists.
! Ensure all fuel has been removed from the
unit.
•Remove the sparkplug cover and dust
shield by firmly pulling it away from
the spark plug
14

•Using the provided tool, place the
socket over the spark plug and firmly
strike the screwdriver rod with the
palm of your hand in an anticlockwise
direction to loosen the plug, then
unscrew the rest of the way to
remove.
•At this point, if you are exchanging
the plug, discard the old one and pick
up a new plug. Remove the dust
shield by pulling it off the spark plug
cover and push the plug into the
rubber cover cap ensuring it goes all
the way in.
•To check for a spark, the tip of the
plug must touch a metallic surface.
The easiest method is to push it
against the metal area on the engine
next to where the plug normally sits.
•Finally, position the switch to the “I
“setting on the throttle control.
•With the plug held against a metal
surface (and ensuring that you are
hold of the rubber plug cover to avoid
electric shock) pull the recoil starter
while observing the gap between the
electrode and the earth contact for a
spark (fig 1)
15

•Once the above is complete, reinsert
the spark plug by performing the first
two points in reverse.
Air filter cleaning / exchange
•Unfasten the retaining cap and
remove the filter cover. **on some
models the retaining cap will instead
be a Philips screw **
•Remove the foam air filter by carefully
pulling it away from the engine body
•If cleaning the filter, inspect for and
brush off any debris. Then clean in
warm soapy water and allow to fully
dry before putting it back onto the
machine
•If replacing, discard the old foam filter
and fit the replacement in its place.
*To help prevent fine dust particles
from entering the engine add a few
drops of motor oil to the foam filter
and scrunch it up in your hand before
replacing.
16

•Finally, replace the air filter
cover and fasten it back into
position.
Carburettor exchange / inspection
The following procedure will show you
how to remove your carburettor and
either exchange or inspect it for problems
•The carburettor is accessed by
removing the screw or unfastening the
plastic fastener (model dependant) as
circled below.
•Once the cover is removed, use the
provided Allen key to remove the metal
retaining bracket.
•Once the retaining bracket is removed,
pull it away from the machine and also
pull the remainder of the black air filter
housing off. You will now have access to
the carburettor (circled)
17

•Remove the fuel lines from the
carburettor by pulling them off with your
fingers.
•Next we need to remove the throttle
cable from the carburettor, to do this, Pull
the black plastic housing clockwise as
shown below, this will give some play
allowing the cable to be removed.
•Using the provided spanner loosen the
cable retaining nut and the cable will fully
detach from the carb.
•The carburettor is now detached.
*If replacing with a fresh carburettor,
please follow the instruction in reverse
to fit.
*If inspecting only, check that no debris
is evident and that the rubber gasket on
the carburettor is not damaged or
warped.
18
This manual suits for next models
8
Table of contents
Languages:
Other Trueshopping Trimmer manuals

