Trueshopping BC1E34F User manual

Offering a wide selection of products at competitive prices
Trueshopping Petrol Grass
Strimmer/Brush Cutter
BC1E34F / BC1E36F / ST-BC415B / BC490 / BC520
Instruction Manual

Trueshopping
www.TrueShopping.co.uk
Page: 2 of 42
Before putting the machine into operation,
read this instruction manual thoroughly.
CONTENTS
What’s In The Box___________________________________ 5
What They Should Look Like __________________________ 7
Putting It All Together _______________________________ 8
Attaching the Engine Unit .................................................. 10
Assembling the Handle........................................................ 11
Attaching the Throttle Cable...............................................12
Attaching the Carrying Strap...............................................15
Attaching the Strimmer Spool............................................ 16
Attaching the Brush Cutter Blade....................................... 18
Fuelling __________________________________________ 20
Starting The Brush Cutter/Strimmer ___________________ 22
Safety Precautions _________________________________ 24
Protecting You.................................................................... 24
Protecting Others............................................................... 27
Protecting The Machine ..................................................... 28
Safely Using The Machine ___________________________ 29

Trueshopping
www.TrueShopping.co.uk
Page: 3 of 42
Maintenance ______________________________________ 31
Replacing the Spark Plug.................................................... 32
Adjusting the Strimmer Fibre ............................................. 33
Cleaning the Air Filter ......................................................... 33
Transportation and Storage__________________________ 34
Trouble Shooting __________________________________ 35
Specifications _____________________________________ 38
Trueshopping Petrol Grass Strimmer Brush Cutter 26cc/33cc38
Trueshopping Petrol Grass Strimmer Brush Cutter 43cc....39
Trueshopping Powerful Heavy Duty Petrol Grass Strimmer
Brush Cutter 49cc/52cc.......................................................40

Trueshopping
www.TrueShopping.co.uk
Page: 4 of 42
DIAGRAMS
Figure 1 Handle ............................................................................. 6
Figure 2 What's in the Box............................................................ 6
Figure 3 The Strimmer ...................................................................7
Figure 4 Handle and Engine Unit ...................................................7
Figure 5 The Brush Cutter..............................................................7
Figure 6 The Brush Cutter/Strimmer............................................. 8
Figure 7 Brush Cutter Blade.......................................................... 9
Figure 8 The Engine Unit .............................................................10
Figure 9 Attaching the Handle......................................................11
Figure 10 The Main Engine Unit ................................................... 12
Figure 11 The Main Engine Casing ................................................ 12
Figure 12 The Main Engine Unit with Cover Removed................. 13
Figure 13 Where The Cables Attach ............................................. 13
Figure 14 Attaching The Cable ..................................................... 13
Figure 15 Cable Being Attached ................................................... 14
Figure 16 Where Cable Attaches.................................................. 14
Figure 17 Attaching the Cable ...................................................... 14
Figure 18 The Cable Attached ...................................................... 15
Figure 19 Engine Primer Bulb.......................................................23
Figure 20 Idle Adjustment Screw.................................................23

Trueshopping
www.TrueShopping.co.uk
Page: 5 of 42
What’s In The Box
You are now the proud owner of a powerful Petrol Grass
Strimmer Brush Cutter. With its 2-stroke engine it makes light
work of even the toughest of tasks. The strimmer is not only
extremely versatile, but very easy to operate and maintain. With
its twin line and 3 toothed cutting blade, the Trueshopping
Petrol Strimmer is ideal for professional clean-up jobs, including
clearing out tough weeds and bushes over a large surface area.
In addition, the Trueshopping Petrol Brush cutter has a very high
power to weight ratio and easily starts in all weathers. It also
boasts maximum efficiency, high torque and rapid acceleration.
The machine features an ergonomic harness, which spreads the
load, improving comfort and efficiency for the user, and a
bike-style handlebar that is angled relative to the shaft, to
prevent an uneven load being placed on the user's back. Please
see our add-ons for this strimmer as you may want to add some
useful attachments to your order.

Trueshopping
www.TrueShopping.co.uk
Page: 6 of 42
The Handle comes in a separate box.
Cutting Blade
Handle
Handle with throttle
Strimmer Spool
Nuts
Main engine unit
Petrol Mixing Bottle
Carrying Strap
Safety Guard
Tool Kit
Figure 1 Handle
Figure 2 What's in the Box

Trueshopping
www.TrueShopping.co.uk
Page: 7 of 42
What They Should Look Like
Figure 5 The Brush Cutter
Figure 3 The Strimmer
Figure 4 Handle and Engine Unit

Trueshopping
www.TrueShopping.co.uk
Page: 8 of 42
Putting It All Together
Figure 6 The Brush Cutter/Strimmer

Trueshopping
www.TrueShopping.co.uk
Page: 9 of 42
12. Blade
13. Fixing screws with spring rings
14. Nut
15. Blade locking nut
16. Blade protection
17. Bracket diameter flange
18. Spacer disc
Figure 7 Brush Cutter Blade

Trueshopping
www.TrueShopping.co.uk
Page: 10 of 42
Attaching the Engine Unit
These are the parts that you
will need:
1. The long handle.
2. Engine unit.
3. The following tools from
the kit: spanner.
Now attach as follows:
1. Place the bottom of the
engine unit onto the top of the
handle, aligning the 4 bolts on
the handle into the 4 holes at
the bottom of the engine unit.
2. Secure the 4 bolts.
Figure 8 The Engine Unit

Trueshopping
www.TrueShopping.co.uk
Page: 11 of 42
Assembling the Handle
These are the parts you need:
1. The long handle.
2. The two short handles.
Now attach as follows:
1. Loosen the 4 bolts on the handle bracket. (1) (2)
2. Insert the right handle with the throttle lever attached
and the left handle into the bracket. (3)
3. Tighten the bolts. (3)
4. Insert the left handle into the bracket. (4)
5. Tighten the bolts. (3)
6. Adjust both handles to a convenient work position before
starting the machine. (5)
7. The handle holder can be adjusted to your body height in
addition to the handle inclination by loosening the screws
on the rear side of the handle holder using the Allen key
and moving the handle holder to a position that is
convenient for you. Then tighten the screws.
Figure 9 Attaching the Handle

Trueshopping
www.TrueShopping.co.uk
Page: 12 of 42
8. Attach the throttle cable to the main engine unit as
shown below.
9. Fix the throttle cable on the drive unit and on the handle
using the cable ties.
Attaching the Throttle Cable
Figure 10 The Main Engine Unit
You need:
1. The main engine unit
2. Both cables
3. Screw driver from the
tool kit
Figure 11 The Main Engine Casing
Remove the black casing on
the air filter (located on the
side of the engine) before
installing the throttle cable. It
gives more access to the parts
you need to get to.

Trueshopping
www.TrueShopping.co.uk
Page: 13 of 42
Figure 12 The Main Engine Unit with
Cover Removed
Push the throttle cable
through the brass coloured
nut on the side of the engine
which is now visible
Figure 13 Where The Cables Attach
The round silver piece which
resembles a screw is the
throttle cable receiver. This is
where you put the lug on the
end of the cable. The cable
only slots into one side of this
properly as There is a larger
hole bored out on one side to
receive this lug.
Figure 14 Attaching The Cable
The piece is free moving and
needs to be swung round to
accept the cable. Push the
throttle cable through ready
to attach to the throttle
screw, which is the round
silver screw. Use a tiny
screwdriver to assist you in
doing this.

Trueshopping
www.TrueShopping.co.uk
Page: 14 of 42
Figure 15 Cable Being Attached
Attach the first cable.
Figure 16 Where Cable Attaches
Here is another view for you.
Figure 17 Attaching the Cable
With the throttle screw the
correct way round to receive
the cable lug, it can now be
positioned.

Trueshopping
www.TrueShopping.co.uk
Page: 15 of 42
Figure 18 The Cable Attached
There are now 2 red and 2
black cables, these should be
attached to their counterpart
via push fittings. Black to
black, red to red. This diagram
shows the cable fitted
correctly with the lug sitting
inside the screw.
You should now have the 1
throttle cable and the 2
electrical wires fitted.
Reattach the filter housing.
Attach the throttle cables
securely along the shaft using
the cable ties from the tool
kit.
Attaching the Carrying Strap
1. Hook the carrying strap into the suspension eye.
2. Adjust the length of the carrying strap for convenient
working with the machine. If required, the suspension eye
can be moved by loosening the fixing screw.

Trueshopping
www.TrueShopping.co.uk
Page: 16 of 42
Attaching the Strimmer Spool
These are the parts you need:
1. The long handle as shown.
2. The protective cover as
shown.
3. The strimmer unit
4. The black, round strimmer
cord container (strimmer spool).
5. The following tools from the
tool kit: The Allan key, the plug
spanner and the screwdriver.
Attach strimmer unit to the handle
as follows:
1. Take the silver end of the
strimmer handle (the far end) and
find the hole on the large outer
silver ring.
2. Twist this outer silver ring
until the hole lines up with another hole just underneath
on an inner ring.
3. Now look through the hole and you will see a spindle
inside.
4. Place the plug spanner on to the large nut and turn whilst
looking through the holes at the spindle. Stop turning the
nut when you can see the hole which is drilled into the
spindle. This needs to be lined up with the inner and outer
ring holes.
5. Place the Allan key through all three holes to keep them
locked and lined up.

Trueshopping
www.TrueShopping.co.uk
Page: 17 of 42
6. Using the plug spanner/screw driver combination, turn
the nut anti-clockwise until it comes off. It should be quite
easy and take less than two turns.
7. Place the plug spanner on to the large nut. Using the plug
spanner/screw driver combination, turn the nut
anti-clockwise until it comes off. It should be quite easy
and take less than two turns.
8. Take off the nut and the top part of the bicycle bell like
object (it is round like a very small saucer) and keep the
both safe as you will need them for the brush cutter. You
will need to replace them when putting the strimmer in
storage.
9. Remove the Allan key keep it handy to attach the
protective cover. Return the other tools to your tool kit.
10. Now take the strimmer cord storage container (strimmer
spool) and screw it clockwise onto the spindle that is now
visible. Turn it several times, clockwise until it is hand
tight. Your strimmer spool is now attached to your Multi
Tool.
11. Attach the protective cover to the strimmer unit by first
removing the four small nuts on the oblong strip which is
to one side of the strimmer head.
12. Place the protective cover onto the four spindles now
showing and then replace the small nuts using the Allan
key. Attach securely.
13. Test to check that everything is secure.
14. You are now ready to use your strimmer.

Trueshopping
www.TrueShopping.co.uk
Page: 18 of 42
Attaching the Brush Cutter Blade
These are the parts
you need:
The long
handle as shown
which is the same as
that used for the
strimmer.
The protective cover as shown
The cutter blade as shown (in
comes in a green cover).
The appropriate tools from
the tool kit.
1. Take the silver end of the
strimmer handle (the far end) and
find the hole on the large outer silver
ring.
2. Twist this outer silver ring
until the hole lines up with another hole just underneath
on an inner ring.
3. Now look through the hole and you will see a spindle
inside.
4. Place the plug spanner on to the large nut and turn whilst
looking through the holes at the spindle. Stop turning the
nut when you can see the hole which is drilled into the
spindle. This needs to be lined up with the inner and outer
ring holes.
5. Place the Allan key through all three holes to keep them
locked and lined up.

Trueshopping
www.TrueShopping.co.uk
Page: 19 of 42
6. Using the plug spanner/screw driver combination, turn
the nut anti-clockwise until it comes off. It should be quite
easy and take less than two turns.
7. Take off the nut and the top part of the bicycle bell like
object (it is round like a very small saucer) and keep the
both safe as you will need them for the brush cutter. You
will need to replace them when putting the strimmer in
storage.
8. Remove the Allan key keep it handy to attach the
protective cover. Return the other tools to your tool kit.
9. Put on protective gloves and then
attach the cutting blade to the handle using
the plug spanner/screw driver combination.
Ensure that the blade is firmly and evenly
placed on the spindle.
10. Place the protective cover onto the
four spindles now showing and then replace the small
nuts using the Allan key. Attach securely.
11. Test to check that everything is secure.
12. You are now ready to use your brush cutter.

Trueshopping
www.TrueShopping.co.uk
Page: 20 of 42
Fuelling
Fuelling. Always switch the engine off before
filling up. Do not smoke whilst fuelling.
The use of unleaded petrol is recommended for
environment protection reasons. Only use
two-stroke engine oil for air-cooled engines.
Ratio of mixture 40:1
Open the tank cap carefully so that any overpressure may be let
out and the fuel does not splash out.
High temperatures build up on the machine body when working
with the machine, therefore, leave the machine to cool down
before filling up the fuel, otherwise, the fuel could ignite
spontaneously and create a risk of burns.
Do not store or transport the fuel in the mixing container.
When replenishing the fuel, be careful not to overfill the tank. If
the fuel drips off, it should be removed immediately and the
machine cleaned. Safely dispose of any cloths that are used to
wipe up fuel. Change and then wash any clothes that fuel drips
onto.
After filling up, check screw closure for the firm fit to prevent
loosening at work because of vibrations.
Other manuals for BC1E34F
1
This manual suits for next models
4
Table of contents
Other Trueshopping Trimmer manuals

Trueshopping
Trueshopping SF20601 User manual

Trueshopping
Trueshopping BC2602D Installation and operating instructions
Trueshopping
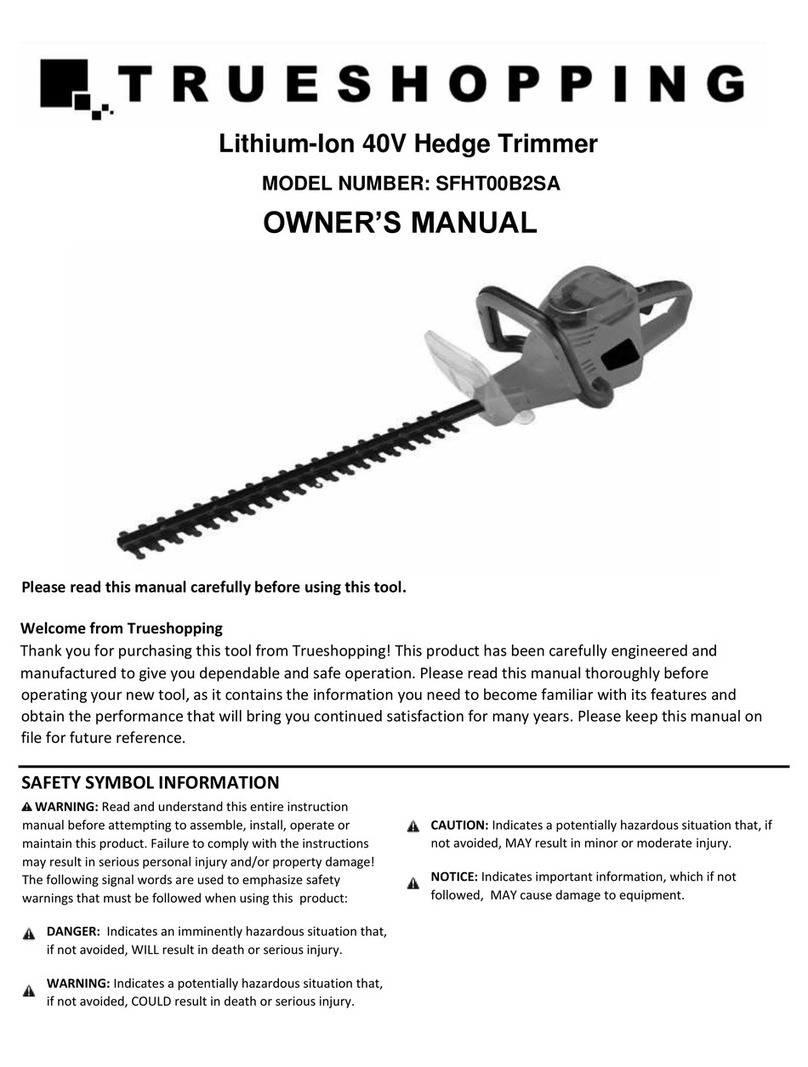
Trueshopping SFHT00B2SA User manual

Trueshopping
Trueshopping SF20703 User manual

Trueshopping
Trueshopping BC260A User manual
Trueshopping
Trueshopping MFS260HT Installation and operating instructions

