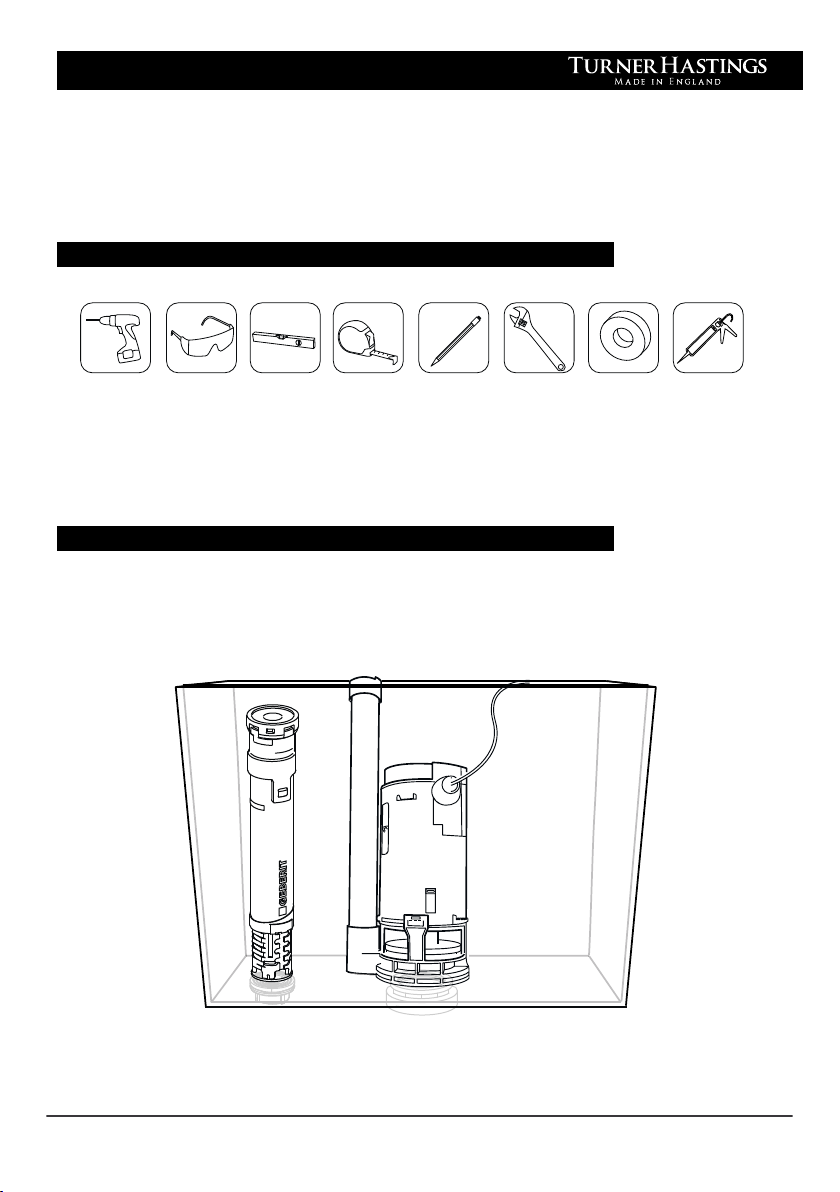
Installation Guide
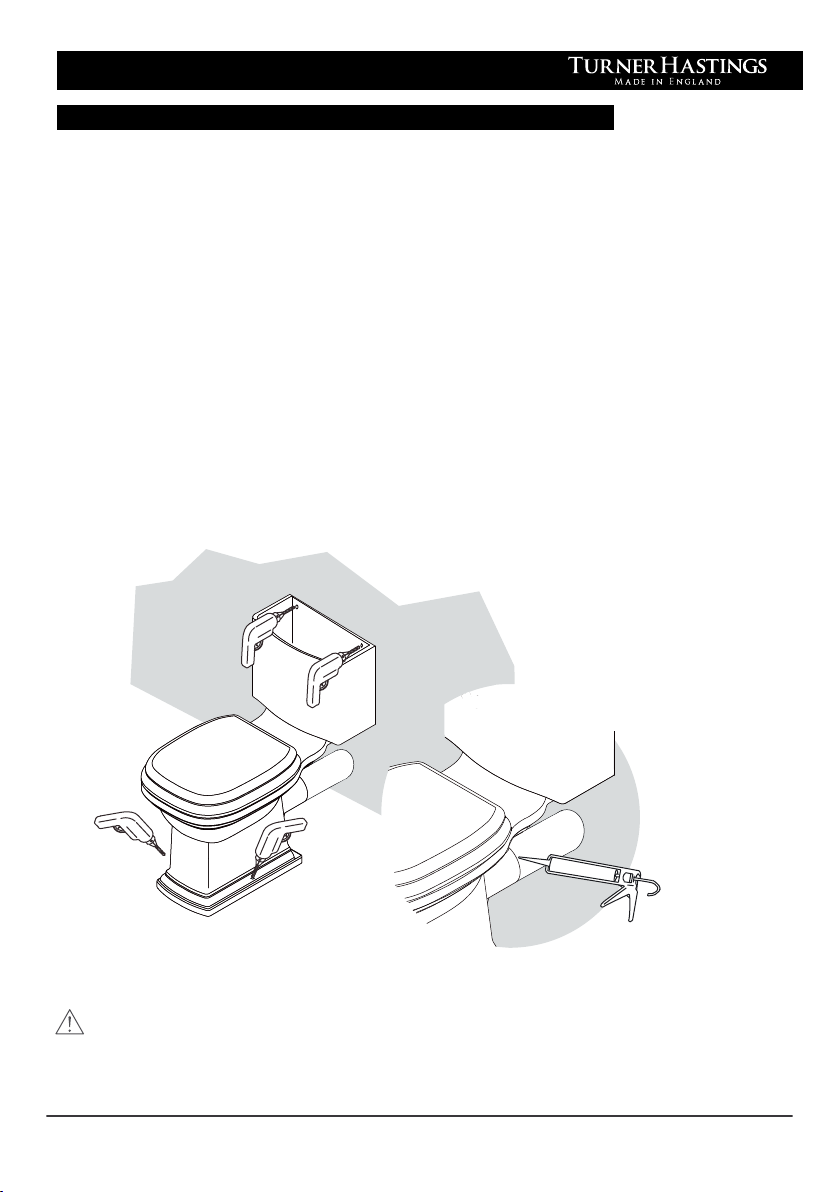
Carefully measure and install all necessary pipework prior to installing
the toilet. Ensure that you have a clear space within which to work.
Remove the assembled toilet pan from the wall and drill the marked points.
Insert the 8 x 60mm plugs for the floor fixing (solid floors only). Fixings for the
cistern are not provided so please use suitable fixings for your wall type.
Re-position the pan upto the wall and attach the waste pipe.
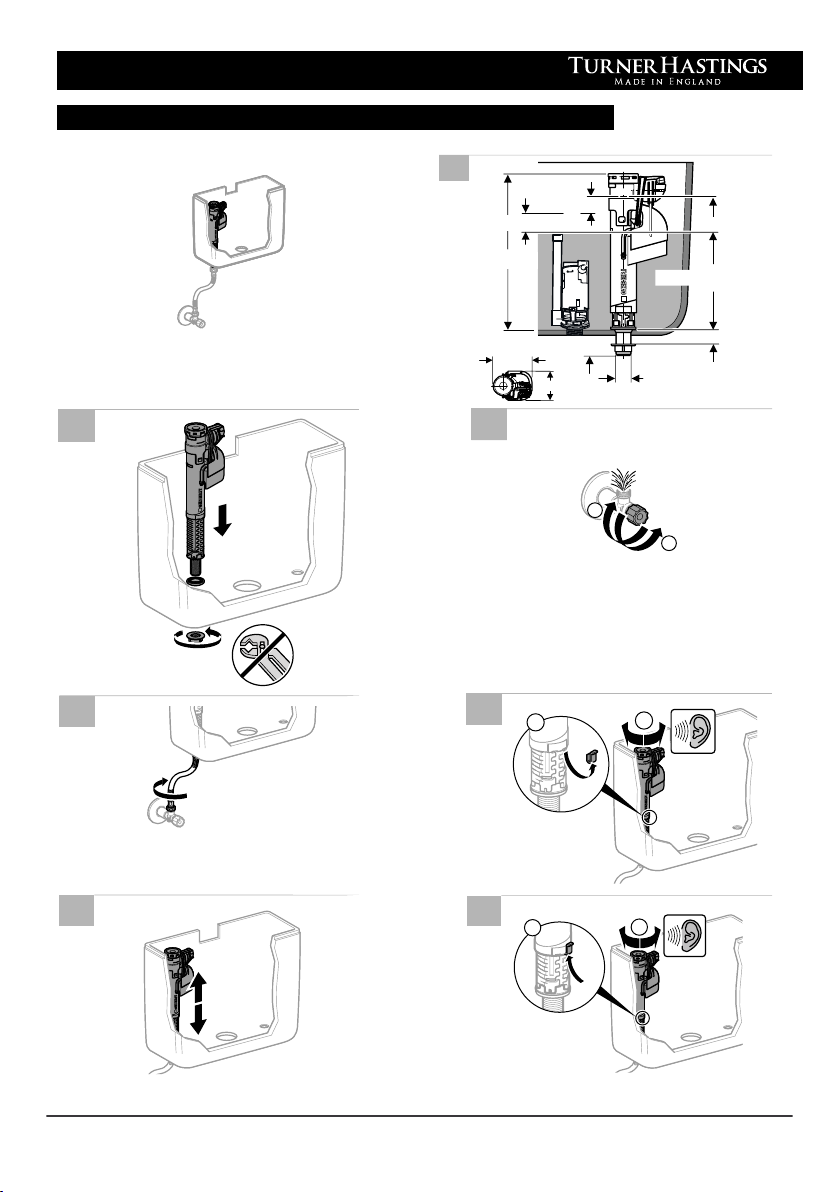
Connect the water inlet pipe to the inlet valve. It may be advisable to use
PTFE tape to help create a watertight seal between the inlet valve thread
and the connecting nut.
Secure the toilet pan to the floor/wall by using the fixings supplied/selected.
It is advisable to run a bead of silicon around the joint between the WC
outlet pipe and the waste pipe to ensure a good seal.
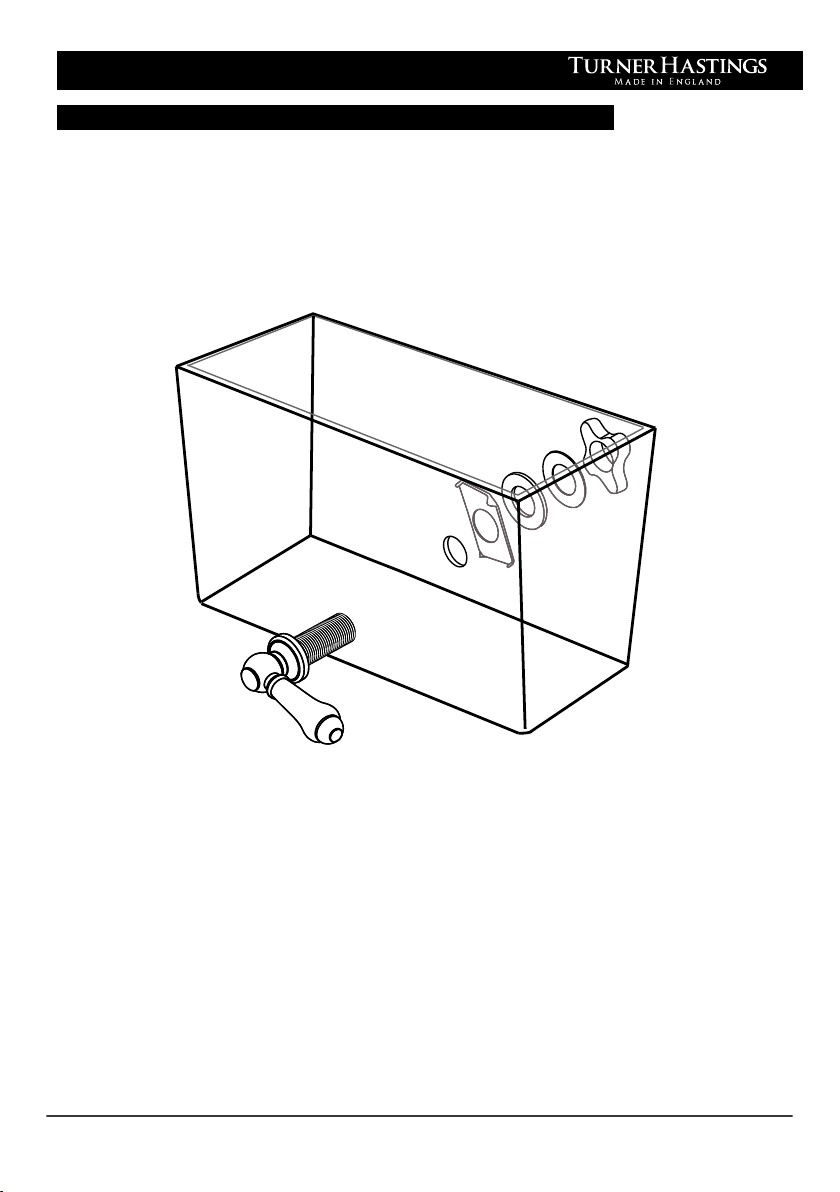
Assemble the flush handle to cistern lid and place into position.
Once you are satisfied that the pan has been installed correctly and the
fixings are adequately tightened switch on the water supply to the inlet valve
and once the cistern is filled operate the flush cycle.
Operate the flush cycle a few times and continually check carefully for signs
of leaks from the inlet valve or toilet outlet if no leaks are evident, your
toilet installation is complete
3. Installing a close-coupled toilet (continued)