2
ENG
Important Safety Instructions
1) Read these instructions.
2) Keep these instructions.
3) Heed all warnings.
4) Follow all instructions.
5) Do not use this apparatus near water.
6) Clean only with dry cloth.
7) Do not install near any heat sources such as radiators, heat registers, stoves, or
8) Operate this product only from the type of power source indicated on the label.
If you are not sure of the type of power connected to your home, consult your local
power company. Disconnect the unit from the mains before any maintenance or
installation procedure.
9) Protect the mains cord from damage and stress.
11) Unplug this apparatus during lightning storms or when unused for long periods
of time.
the apparatus has been damaged in any way, including damage to the mains cord or
plug, if the unit has been exposed to liquid or moisture, has been
dropped or is not operating correctly.
ventilation slots.
14) Attention should be drawn to the environmental aspects of battery disposal.
15) Use the apparatus in moderate climate.
to rain or moisture.
WARNING: The batteries shall not be exposed to excessive heat such as direct sun
This symbol indicates that there are important operating and maintenance
instructions in the literature accompanying this unit.
This symbol indicates that this product incorporates double insulation
between hazardous mains voltage and user accessible parts.
When servicing use only identical replacement parts.
This symbol on the product or in the instructions means that your electrical
and electronic equipment should be disposed at the end of life separately from your
household waste. There are separate collection systems for recycling. For more
information, please contact the local authority or your retailer where you purchased
the product.
Accessories
Front and Rear Panel
1.Front panel
1. CH-: Change channels or items from top to bottom on the menus
2. POWER BUTTON: Pust to turn on/off the main power supply
3. CH+: Change channels or items from top to bottom on the menus
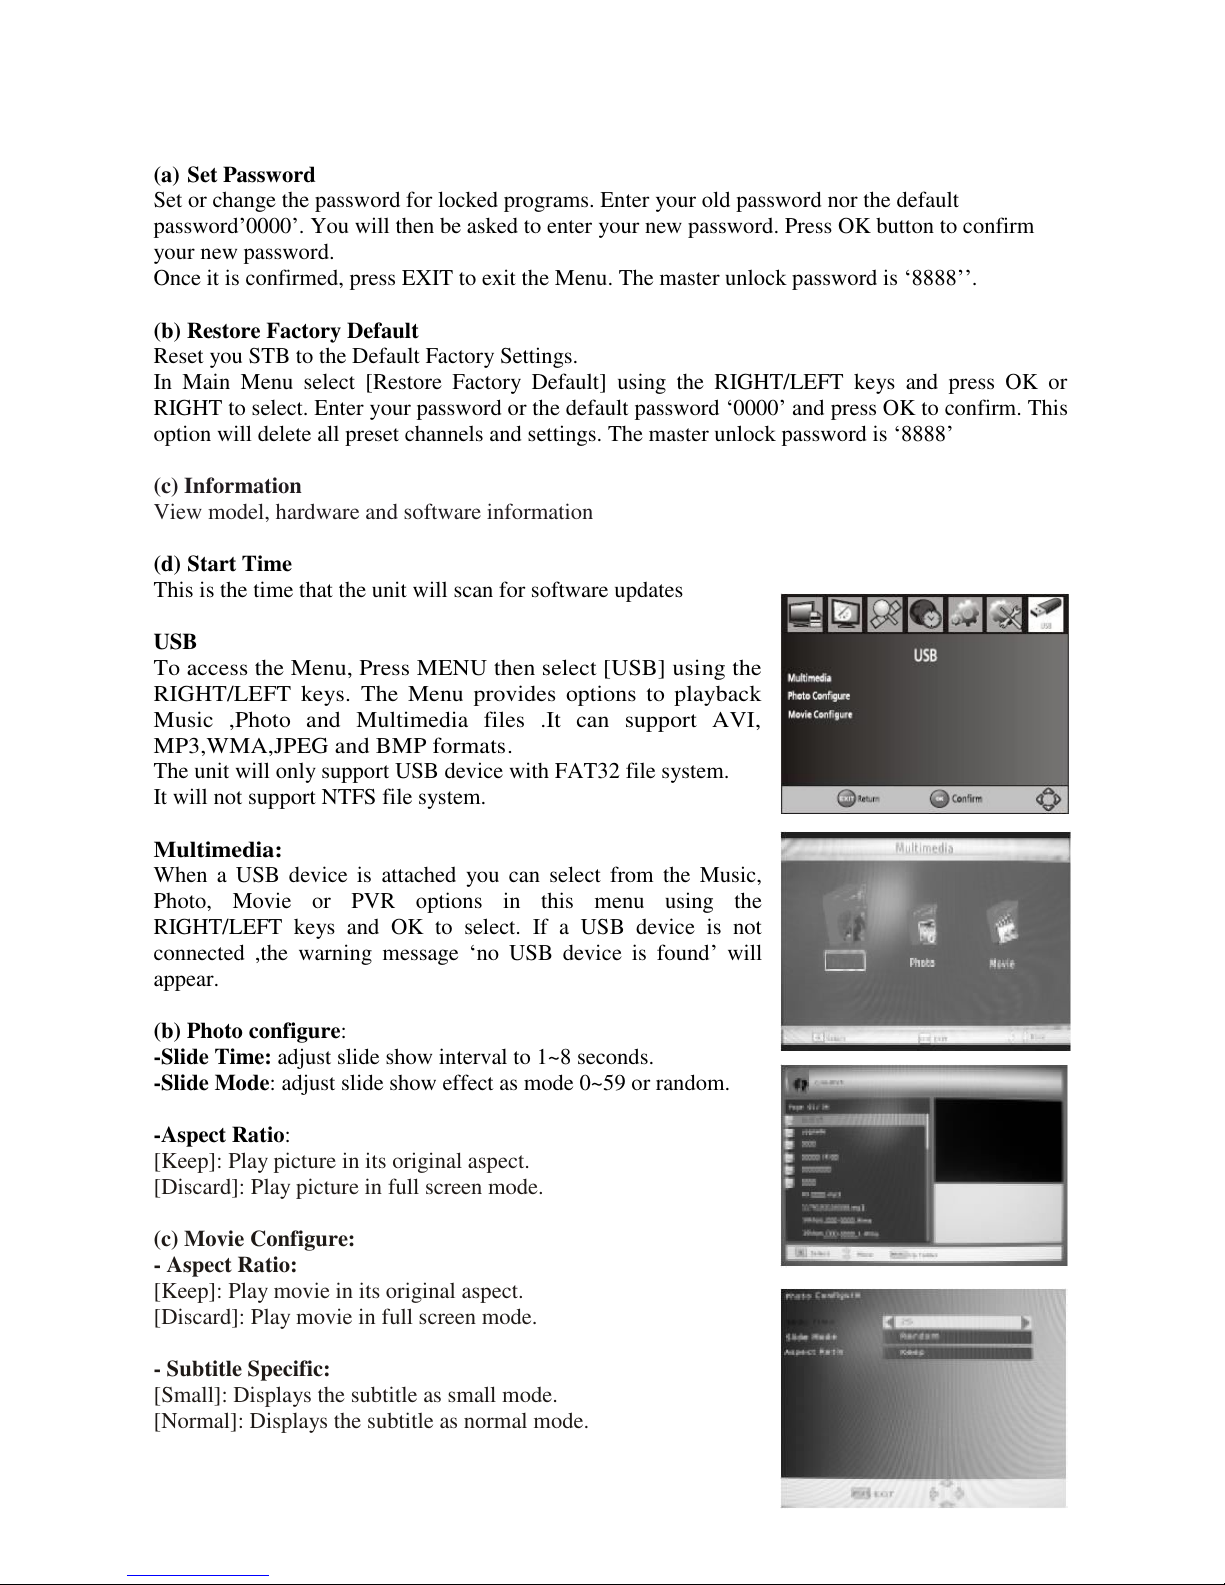
4. USB:
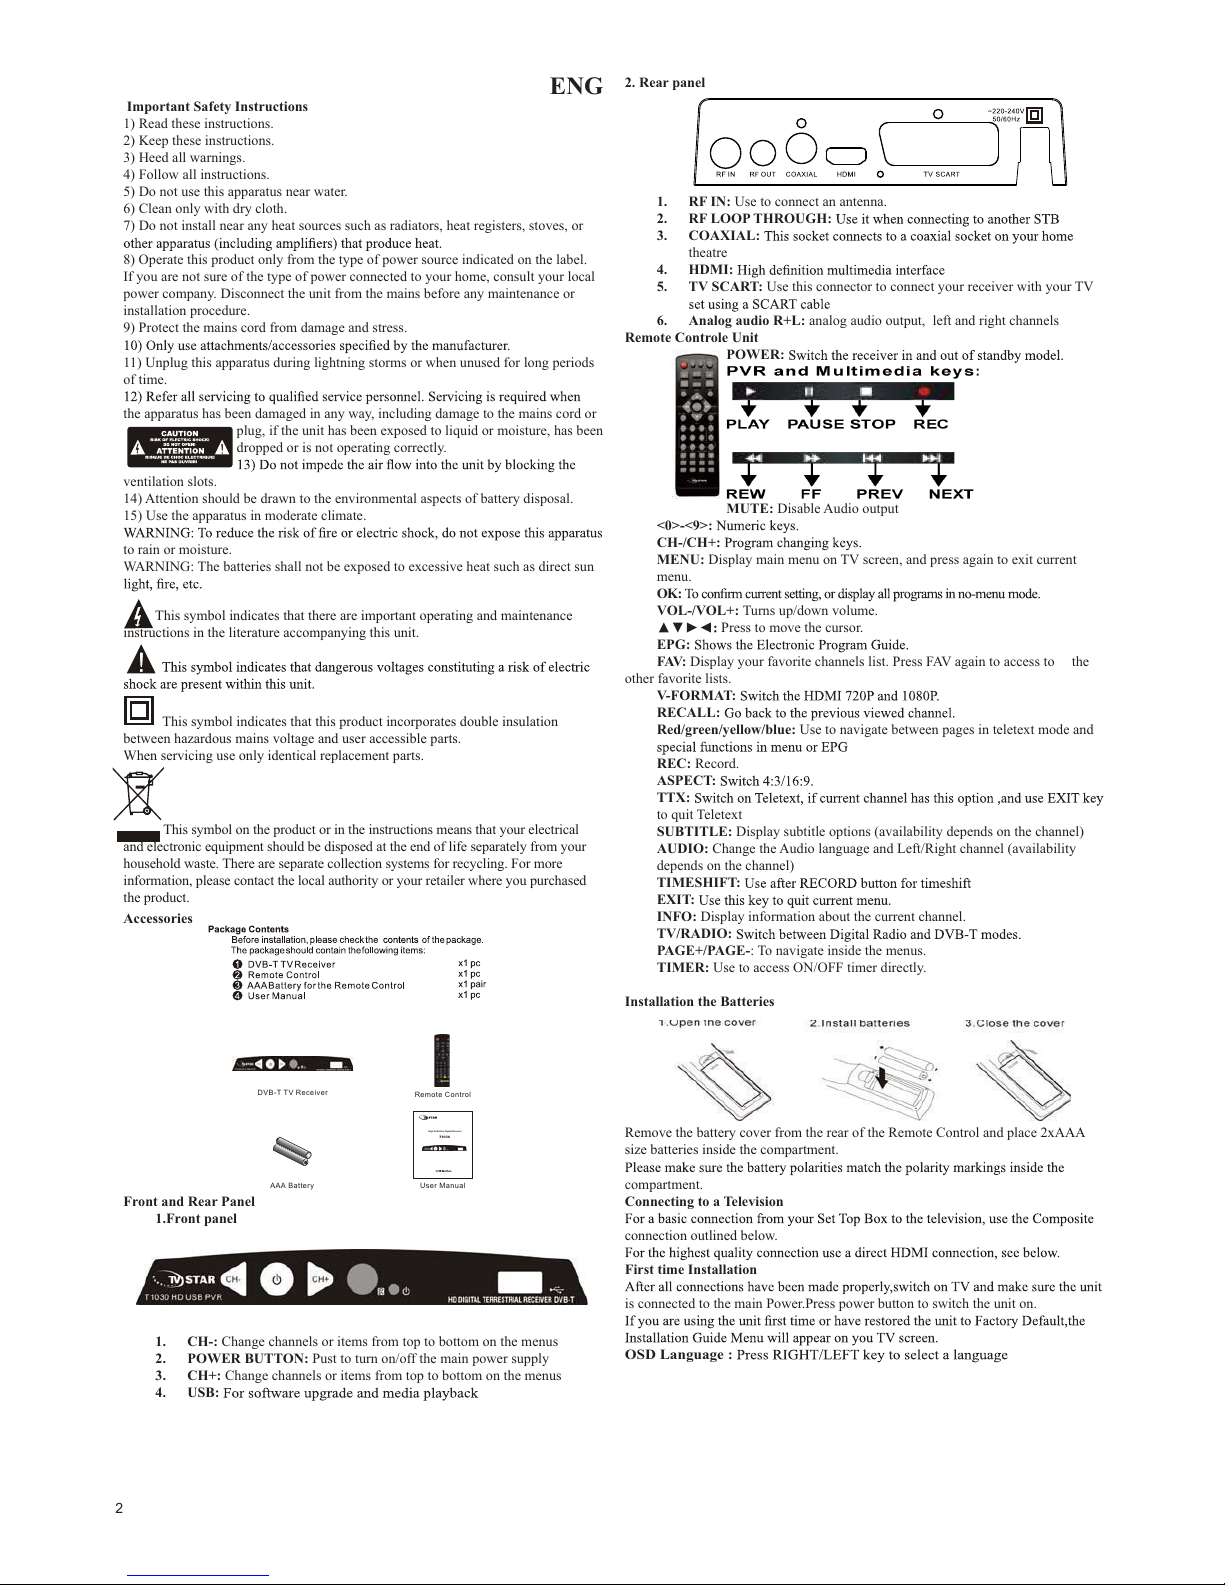
2. Rear panel
1. RF IN: Use to connect an antenna.
2. RF LOOP THROUGH:
3. COAXIAL:
theatre
4. HDMI:
5. TV SCART: Use this connector to connect your receiver with your TV
6. Analog audio R+L: analog audio output, left and right channels
Remote Controle Unit
POWER:
MUTE: Disable Audio output
<0>-<9>:
CH-/CH+:
MENU: Display main menu on TV screen, and press again to exit current
menu.
OK:
VOL-/VOL+: Turns up/down volume.
Press to move the cursor.
EPG:
FAV: Display your favorite channels list. Press FAV again to access to the
other favorite lists.
V-FORMAT:
RECALL:
Red/green/yellow/blue: Use to navigate between pages in teletext mode and
REC: Record.
ASPECT:
TTX:
to quit Teletext
SUBTITLE: Display subtitle options (availability depends on the channel)
AUDIO: Change the Audio language and Left/Right channel (availability
depends on the channel)
TIMESHIFT:
EXIT:
INFO: Display information about the current channel.
TV/RADIO:
PAGE+/PAGE-: To navigate inside the menus.
TIMER: Use to access ON/OFF timer directly.
Installation the Batteries
Remove the battery cover from the rear of the Remote Control and place 2xAAA
size batteries inside the compartment.
compartment.
Connecting to a Television
connection outlined below.
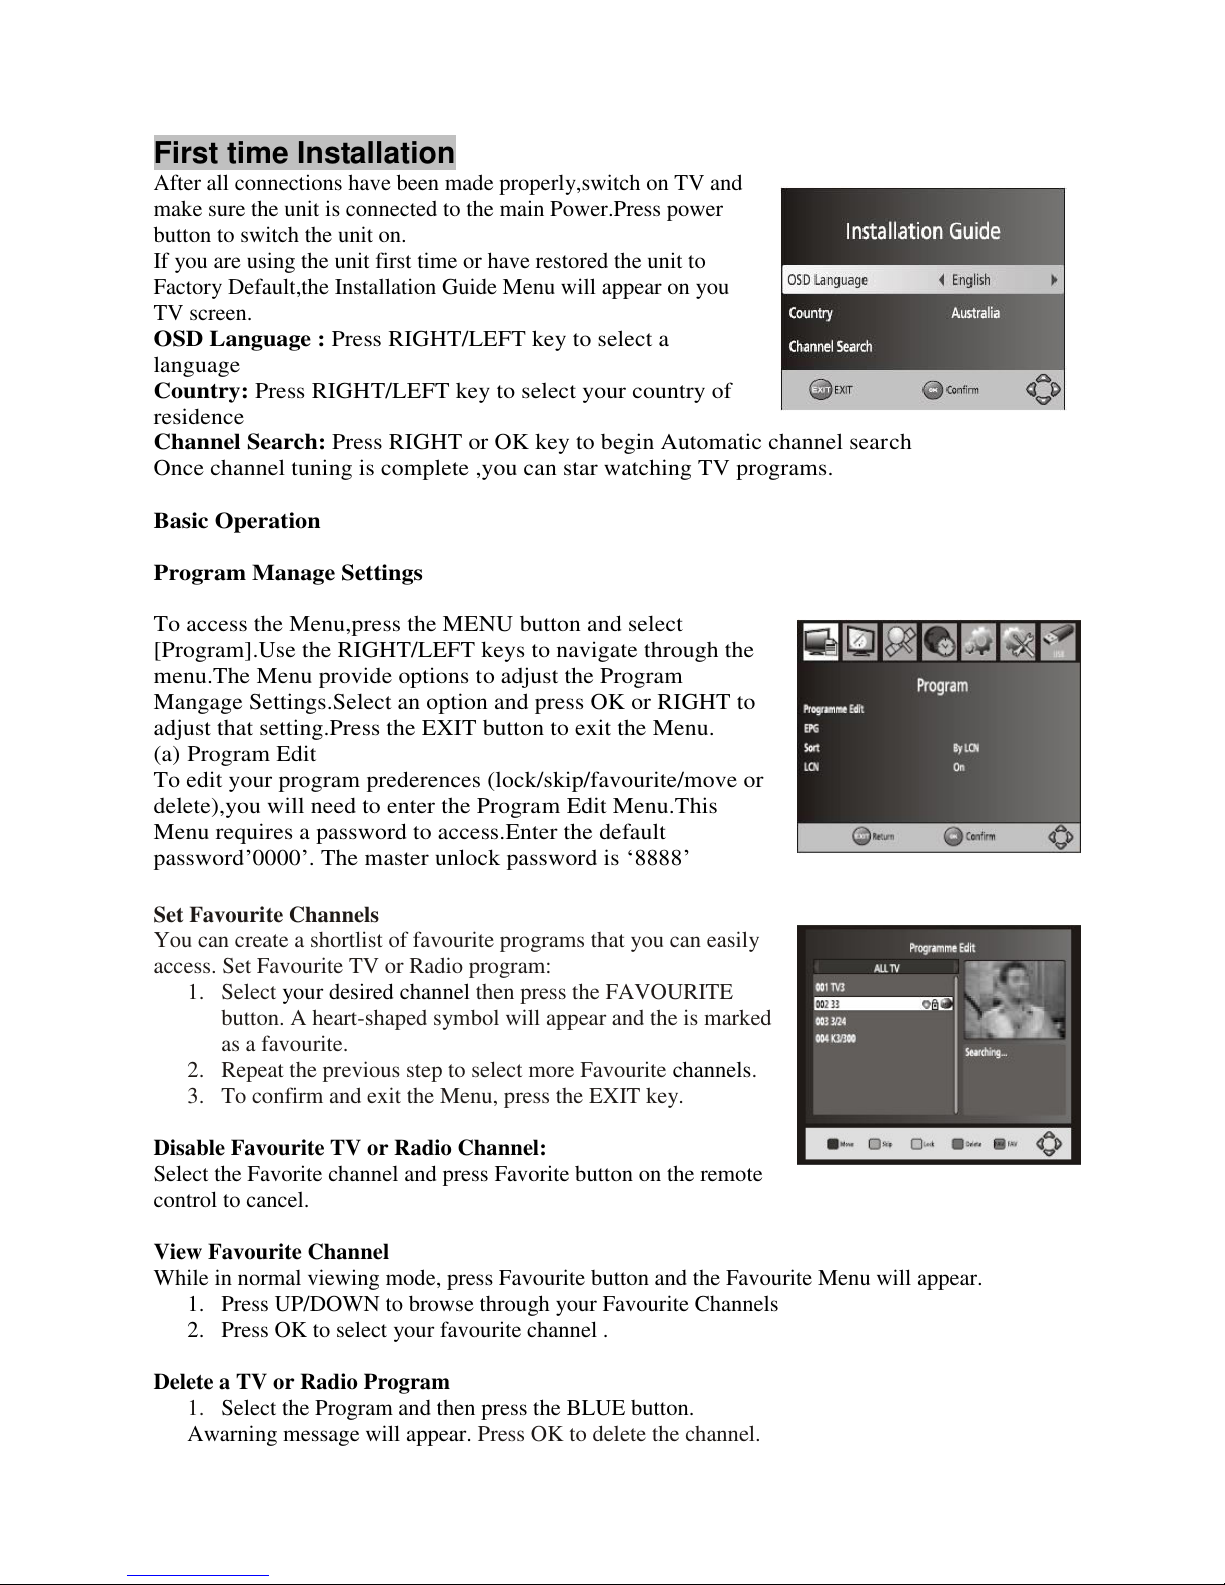
First time Installation
is connected to the main Power.Press power button to switch the unit on.
OSD Language :
AAA Battery
DVB-T TV Receiver
User Manual
Remote Control
High Definition Digital Receiver
T1030