TXU Energy iThermostat User manual

TXU Energy
iThermostat™
Installation Manual

Copyright May 2008
Data, drawings, and other material contained herein are proprietary to TXU Energy Retail Company,
LLC and may not be reproduced or duplicated in any form without the prior permission of TXU
Energy.
iThermostat is a trademark of TXU Energy Retail Company, LLC.
iThermostat is manufactured in partnership with Comverge and White-Rodgers.
Portions © 2008 TXU Energy Retail Company LLC. All rights reserved. REP Certificate Number
10004.

iThermostat™Installation Manual 1
Contents
Contents.................................................................................................................. 1
Introduction............................................................................................................. 2
Getting Started........................................................................................................ 4
Quick Guide............................................................................................................. 6
Step 1: Remove Old Thermostat............................................................................. 8
Step 2: Wire and Mount iThermostat™................................................................ 10
Step 3: Configure iThermostat.............................................................................. 15
Step 4: Check iThermostat Operation .................................................................. 17
Step 5: Activate iThermostat................................................................................ 20
Wiring Chart.......................................................................................................... 22
Configuration Menu Options................................................................................. 25

2 iThermostat™Installation Manual
Introduction
About this Manual
This manual describes how to install the TXU Energy iThermostat™ in your home. If you need assistance
with the installation, you should contact iThermostat customer service at 1-866-733-1807.
The iThermostat™Can Replace Most Thermostats
The iThermostat will work with the following heating and cooling systems:
•Heat Pump (No Aux. or Emergency Heat)
•Heat Pump (with Aux. or Emergency Heat)
•Standard Heat & Cooling Systems
•Two Stage Heat & Two Stage Cool
•Standard Heat Only Systems
•Millivolt Heat Only Systems – Floor or Wall
Furnaces
•Standard Central Air Conditioning
•Gas or Oil Heat
•Electric Furnace
•Hydronic (Hot Water) Zone Heat – 2 Wires
(But not Hydronic zone heat with 3 wires)

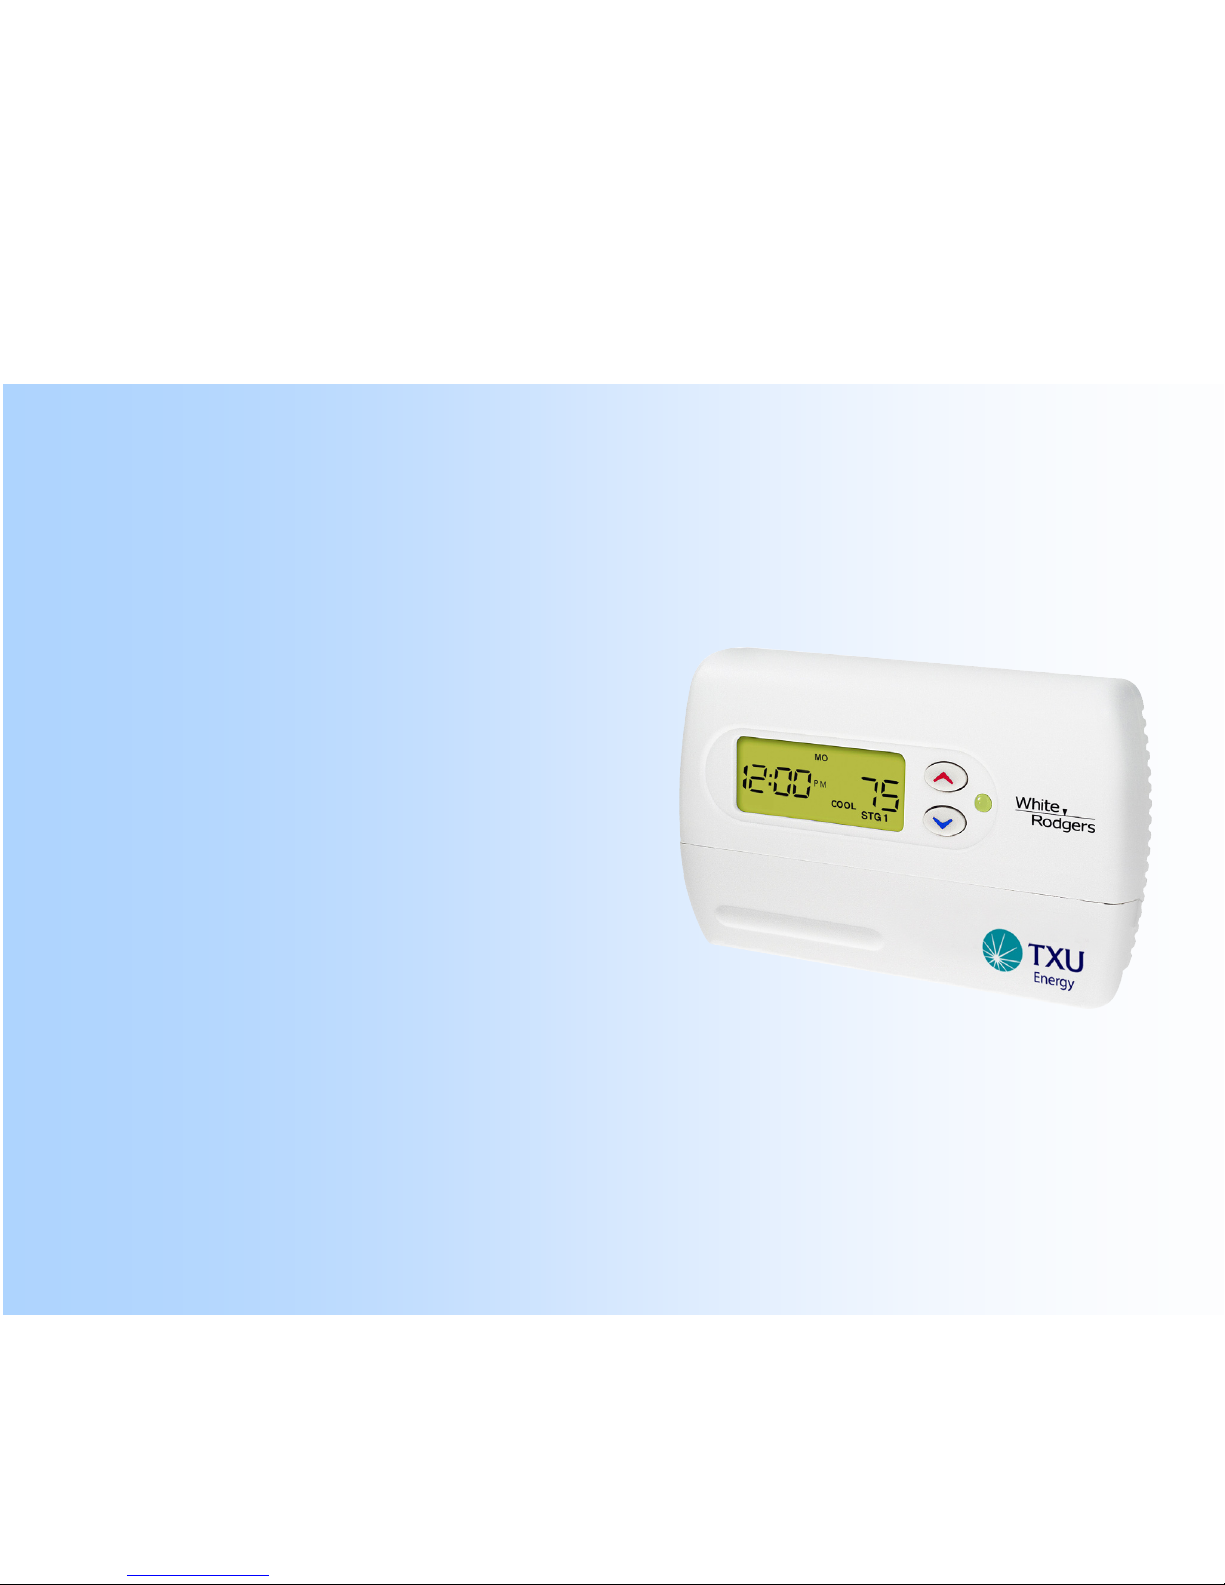
iThermostat™Installation Manual 3
Cautions
Failure to read and follow all instructions carefully before installing or operating could cause personal injury and/or
property damage. If there are any questions regarding the installation procedures, please contact iThermostat
customer service at 1-866-733-1807 before attempting any step in the installation process.
To prevent electrical shock and/or equipment damage, disconnect electric power to system at main fuse or circuit
breaker box until installation is complete.
Do not use on circuits exceeding specified voltage. Higher voltage will damage control and could cause shock or
fire hazard.
This product does not contain mercury. However, this product may replace a unit which contains mercury. Do
not open mercury cells. If a cell becomes damaged, do not touch any spilled mercury. Wearing non-absorbent
gloves, clean up the spilled mercury and place into a container which can be sealed. If a cell becomes damaged,
the unit should be discarded.
Mercury must not be discarded in household trash. Please place in a suitable container and return to White-
Rodgers at 2895 Harrison Street, Batesville, AR 72501 for proper disposal.

4 iThermostat™Installation Manual
Getting Started
Pre-Installation Checklist
Before you install your iThermostat:
Read these instructions thoroughly. In particular, make note of the Cautions and Installation Tips
contained in this manual.
Check your iThermostat kit to make sure you have all of the required parts (see below).
Assemble the required tools (see below).
Required Parts
iThermostat
Wall anchors
Mounting screws
Wire labels

iThermostat™Installation Manual 5
Required Tools
Flat blade screwdrivers – 1 large and 1 small
Wire cutter (optional)
Level (optional)
Power drill with 3/16 inch drill bit
Installation Tips
•Read and save these instructions for future use.
•Before attempting any step in the installation process that you are unsure about how to perform and to
prevent personal injury and/or property damage, contact iThermostat customer service at 1-866-733-
1807.

6 iThermostat™Installation Manual
Quick Guide
1) Remove Old Thermostat
oTurn off power to the air handler at the power switch located by the unit or at the breaker panel.
Also turn off the power to the condenser unit at the breaker panel.
Caution: To prevent electrical shock and/or equipment damage, disconnect electric power to system
at main fuse or circuit breaker box until installation is complete.
oRemove cover from old thermostat to expose wires.
oIdentify each wire to corresponding terminal and disconnect.
oRemove old thermostat from wall, making sure that thermostat wires do not fall back into wall
opening.
2) Wire and Mount iThermostat
oFeed thermostat wires through iThermostat hole.
oWire iThermostat.
oSet iThermostat switches.
oEngage batteries.
oTurn on power at breaker.

iThermostat™Installation Manual 7
3) Configure iThermostat
4) Check iThermostat Operation
5) Activate iThermostat
oLog into TXU Energy web site at www.txu.com/iThermostat to activate and set initial program.

8 iThermostat™Installation Manual
Step 1: Remove Old Thermostat
Caution
To prevent electrical shock and/or equipment damage, disconnect electric power to system at main fuse or circuit
breaker box until installation is complete. It is critical to turn the power off to the air handler unit (located inside
or in attic) and it is highly recommended that you turn the power off to the condenser unit (located outside) as
well.
You must turn off the power to the thermostat before installing your new iThermostat. Turning off power to the air
handler is the easiest way to turn off power to the thermostat. If your house was built before 1985, you will likely
need to turn off power to the air handler at the breaker panel. If your home was built after 1985, a light switch
located near the air handler can be used to turn power off. The air handler unit is typically located in the attic.
To insure that you have successfully disconnected the thermostat power, switch the FAN to the ON position and
verify that the fan is not operating. Many thermostats will have battery back up so the display will still be ON
even if the power has been switched OFF.

iThermostat™Installation Manual 9
Remove Old Thermostat:
1) Remove the front cover of the old thermostat.
2) With wires still attached, remove wall plate
from the wall by unscrewing it. If the old
thermostat has a wall mounting plate, remove
the thermostat and the wall mounting plate as an
assembly.
3) Identify each wire attached to the old thermostat
as shown in the diagram. Before removing wires
from old thermostat's switching sub-base, label
each wire with the letter on the old thermostat. Ignore wire colors and use the letter designation only.
(see diagram to right)
4) Disconnect the wires from the old thermostat one at a time.
Important: Do not let wires fall back into the wall.
Installation Tip: You may want to wrap the wires around a pencil to keep them from falling back into
the wall.
+
+
+
Y
+
+
+
R
G
C
W
Y
R
G
C
W
+
+
+
Y
+
+
+
R
G
C
W
Y
R
G
C
W

10 iThermostat™Installation Manual
Step 2: Wire and Mount iThermostat
Caution
Take care when securing and routing wires so they do not short to adjacent terminals or rear of thermostat.
Mount iThermostat:
1) Unpack iThermostat and remove cover.
Remove the packing material from the iThermostat. Gently pull the cover straight off the base: hold the
iThermostat from the back by the lower corners with one hand, and pull one of the lower corners of the
cover with the other hand.
Note: Forcing or prying on the iThermostat will cause damage to the unit.
2) Feed thermostat wires through square hole in the iThermostat.

iThermostat™Installation Manual 11
3) Connect wires to the iThermostat.
Connect wires beneath terminal screws on base. The photo
to the right shows the location of the wire terminals in the
iThermostat. There are two sets of terminals, one vertical
and one horizontal. Each terminal is labeled with a letter or
a letter with a number (O, B, R, etc.).
Connect wires as follows:
oFeed thermostat wires through square
hole in the iThermostat
oLocate the terminal where the wire
needs to connect. Match the labels
from the wires to the matching
terminals on the iThermostat. If the
labels don’t match, use the Wiring
Chart on pages 22-23
oBend the wire slightly, insert the wire under the contact
plate, and tighten the screw down onto the wires
Wire terminals.
Connect wires
here.
Feed wires
through this
hole from
back.

12 iThermostat™Installation Manual
4) Mark mounting hole locations.
Place iThermostat base over hole in the wall and mark mounting hole locations (see below) using base
as a template.
5) Drill holes.
Move base out of the way. Drill mounting holes using a 3/16 inch drill bit.
Mounting
holes

iThermostat™Installation Manual 13
6) Mount iThermostat.
Fasten base loosely to wall using two mounting screws in mounting holes.
Front of iThermostat with cover removed Back of iThermostat
If desired, place a level against bottom of base and adjust until level before tightening screws.
If you are using existing mounting holes, or if holes drilled are too large and do not allow you to tighten base
snugly, use plastic wall anchors to secure sub-base. Push excess wire into wall and plug hole with a fire
resistant material (such as fiberglass insulation) to prevent drafts from affecting iThermostat operation.
Mounting
holes

14 iThermostat™Installation Manual
RC/PS
switch
7) Set iThermostat switches.
Set the ELEC / GAS switch to the correct setting:
oIf you have electric heat or a heat pump, set
the switch to ELEC.
oIf you have gas heat, set the switch to GAS.
Set the RC / PS switch to the correct setting:
oIf you connected a wire to the C terminal
(24 VAC Common), set the switch to RC.
oIf you did not connect a wire to the C
terminal, set the switch to PS.
Note: RC/PS switch must be in correct position or thermostat may not function properly.
8) Engage batteries.
Two AA alkaline batteries with a battery tag to prevent power drainage are included in the iThermostat.
You must remove the battery tag (positive end of left battery) to engage the batteries.
Batteries are not required. However, with batteries installed, your iThermostat will maintain the time
and continuously display temperature even during a loss of AC power.
9) Turn power back ON at breakers and air handler light switch.
ELEC/GAS
switch
24 VAC Common Terminal

iThermostat™Installation Manual 15
Step 3: Configure iThermostat
Caution
It is important to select the proper HAVC system type that represents your application. This configuration step is
the first item on the configuration menu below. HVAC types include: single state (SS1), multi-stage (MS2), heat
pump single stage (HP1), or heat pump two-stage (HP2).
Configure iThermostat:
5) Press the SYSTEM button one or more times to set the system to OFF.
6) Simultaneously press and to enter the Configuration Menu. The display will show the first
item in the Configuration Menu which is MS2.
Press or to select the desired system type. Select MS2 (default) if you have standard central
A/C system and HP2 if you have a heat pump system.
7) You can customize additional features of your iThermostat by following the steps in the Configuration
Menu Options section in this appendix starting on page 25.

16 iThermostat™Installation Manual
8) To exit this menu at any time during the configuration step and return to the program operation, press
RUN.
If no keys are pressed within fifteen minutes, the iThermostat will revert to normal operation.

iThermostat™Installation Manual 17
Step 4: Check iThermostat Operation
Caution
To prevent compressor and/or property damage, if the outdoor temperature is below 50° F, DO NOT operate the
cooling system.
Once your iThermostat is installed, check that the fan, cooling system, and heating system are all operating
properly.
If your system does not have a G terminal connection, skip to Heating System.
Check fan operation:
1) Turn on power to system by closing circuit breakers to the A/C and furnace at the panel.
2) Move fan switch to ON position. The blower should begin to operate. Place your hand by a vent to
confirm blower is running.
3) Move the FAN switch to AUTO position. The blower should stop immediately.

18 iThermostat™Installation Manual
Check cooling system:
4) Press the SYSTEM button one or more times to select COOL.
5) Press the down arrow button to adjust iThermostat setting below room temperature. The blower
should come on immediately on high speed, followed by cold air circulation. The display should show
STG1 (for single speed setting). If the setpoint temperature display is flashing, the compressor lockout
feature is operating.
6) Adjust temperature setting to 3° below room temperature. The second stage cooling should begin to
operate and the display should show STG 1+2 (for dual speed setting).
7) Press the up arrow button to adjust the temperature setting above room temperature. The cooling
system should stop operating.
Check heating system:
8) Press SYSTEM button one or more times to select HEAT. If the auxiliary heating system has a standing
pilot, be sure to light it.
9) Press the up arrow button to adjust iThermostat setting to 1° above room temperature. The heating
system should begin to operate. STG1 should display (for single speed setting). However, if the system
Other manuals for iThermostat
3
Table of contents
Other TXU Energy Thermostat manuals
Popular Thermostat manuals by other brands

Hunter
Hunter Internet Thermostat owner's manual

emmeti
emmeti 900631500 Use and Installation Instructions

Emerson
Emerson White Rodgers 755-50 installation instructions

greenhouse sensation
greenhouse sensation Heat Mat Thermostat instruction manual

Salus
Salus CE-HTR230 Installer manual

Watts
Watts Vision BT-D03 RF user guide