manuals.online logo
Brands
  1. Home
  2. •
  3. Brands
  4. •
  5. TZS First AUSTRIA
  6. •
  7. Kettle
  8. •
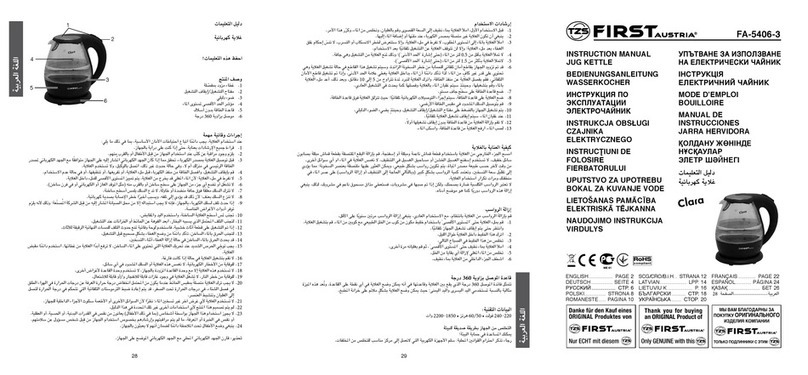
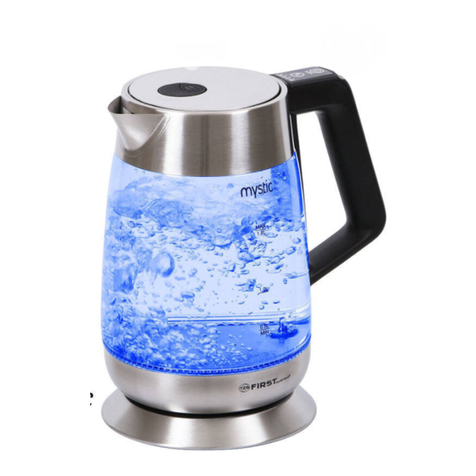
  9. TZS First AUSTRIA FA-5410-4 User manual

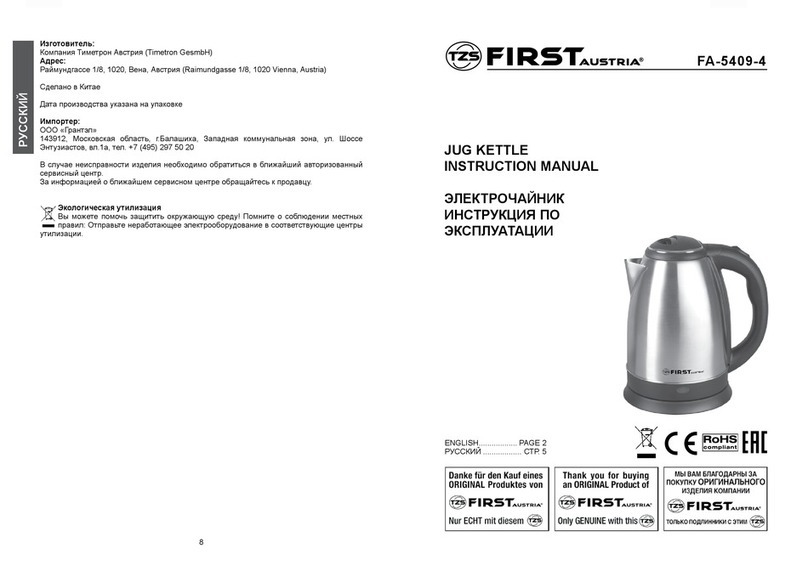
TZS First AUSTRIA FA-5410-4 User manual

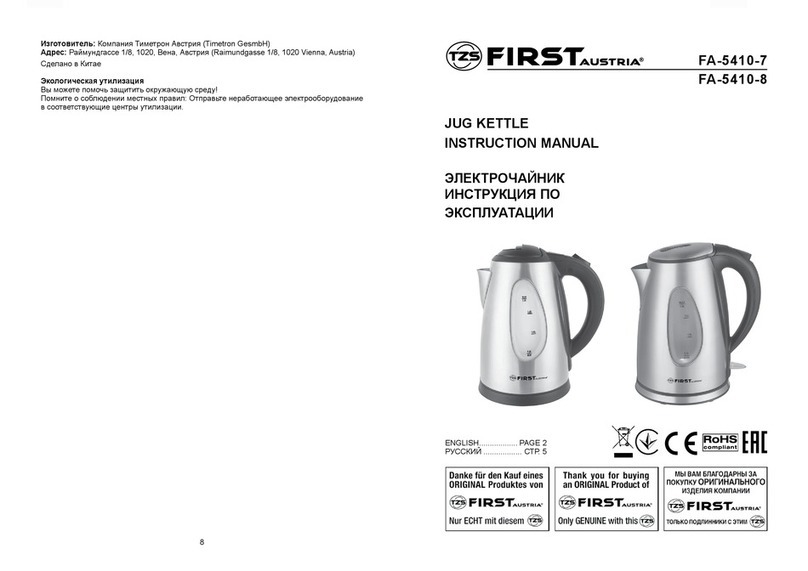
ENGLISH.................. PAGE 2
 .................. . 5
FA-5410-4
FA-5410-5
FA-5410-6
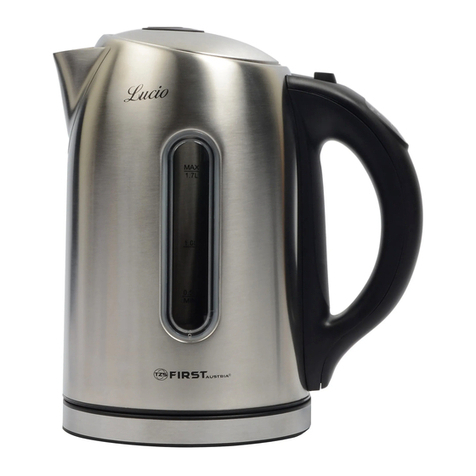
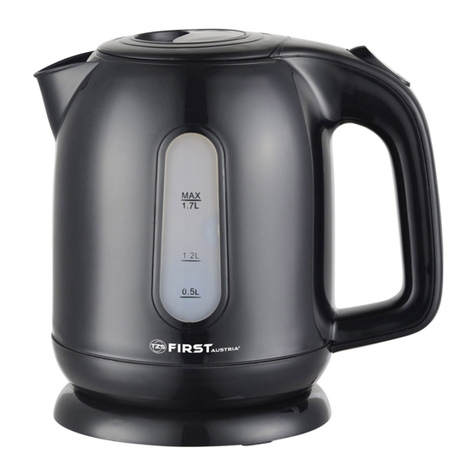
JUG KETTLE
INSTRUCTION MANUAL


 
2 3
ENGLISH
ENGLISH
INSTRUCTION MANUAL
JUG KETTLE
SAVE THESE INSTRUCTIONS!
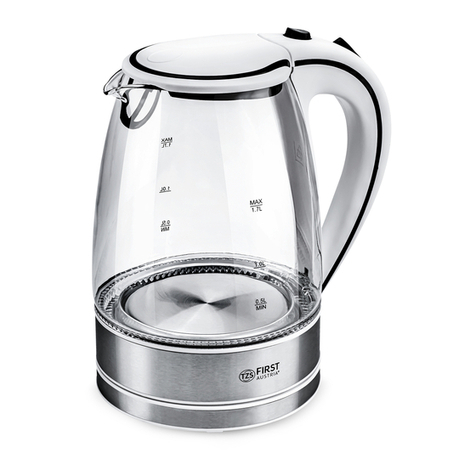
PRODUCT DESCRIPTION
1. Hinged Lid
2. ON/OFF Switch
3. Pilot Light
4. MAX Water Level Indicator
5. Cordless Power Base
6. 360° Connector
IMPORTANT SAFEGUARDS
When using your kettle, basic safety precautions should always be followed, including the
following:
1. Read all instructions carefully, even if you are familiar with the appliance.
2. Close supervision is necessary when any appliance is used by or near children.
3. Before connecting the kettle, check if the voltage indicated on the appliance corresponds with
the mains voltage in your home. If this is not the case, contact your dealer and do not use the
kettle.
 
 
kettle.
6. Do not operate or place any part of this appliance on or near any hot surface (such as gas or
electric burner or in a heated oven).
7. Do not let the cord hang over the edge of a table or counter. Do not let the cord touch hot
surfaces.
8. Never yank on the cord as this may damage the cord and eventually cause a risk of electric
shock.
9. If the supply cord of this appliance is damaged, it must only be replaced by a repair shop
appointed by the manufacturer, because special purpose tools are required.
10.Avoid touching hot kettle surfaces - use the handle and the knobs.

the kettle.


14.Scalding may occur if the lid is removed whilst heating.

kettle by it’s lid. Always use the body handle.
16.Do not switch your kettle on if it is empty.

18.Use the kettle only with the supplied base unit. Do not use the base unit for other purposes.

20.A kettle should not be left connected to a wall socket when the room temperature is likely
           

21.Do not use the kettle for any purpose other than heating water. Other liquids or food will
contaminate the interior.



given supervision or instruction concerning use of the appliance by a person responsible for
their safety.
24.Children should be supervised to ensure that they do not play with the appliance.
WARNING:
Compare the local voltage with the voltage declared on the device.
INSTRUCTIONS FOR USE
 
water and repeat.
 
 

switch off after use.
 
dry while operating.
 
 

inside the kettle covers the minimum mark. If the automatic safety cut-out has operated,


 
 
the kettle slides onto the power base.
9. Plug the cordset into an earthed power socket.

11.When the water has boiled, the kettle will switch off automatically.


HOW TO CARE FOR YOUR KETTLE

cloth moistened with mild liquid detergent. Do not use abrasive scouring pads or powders. Never
immerse the kettle in water or other liquids.
From time to time depending on the nature of your water supply, a limescale deposit is naturally
formed and can be found mostly adhered to the heating element and reduces the heating

largely depends on the water hardness in your area and the frequency with which the kettle is
used.
Limescale is not harmful to your health. But if poured into your beverage, it can give a powdery

DESCALING
Descale the kettle regularly. With normal use, at least twice a year.
 
Switch on and wait for the appliance to switch off automatically.
 
 
2
6
5
4
3
1
54
ENGLISH

 
 
6. Rinse the inside of the kettle with clean water.
SPECIFICATIONS:

Power consumption: 1500-1800W

Unit operating life is 3 years
Environment friendly disposal
You can help protect the environment! Please remember to respect the local regulations: hand in
the non-working electrical equipments to an appropriate waste disposal center.
INSTRUKCIÄ PO QKSPLUATACII
QLEKTROHAJNIK
SOXRANITE DANNYE INSTRUKCII!
 
 
 
 
 
 
 
OSNOVNYE PRAVILA BEZOPASNOSTI
Pri ispolæzovanii qlektrohajnika vsegda dolΩny soblüdatæså osnovnye pravila
bezopasnosti, vklühaå sleduüwie:
1. Vnimatelæno prohitajte vse instrukcii, daΩe esli vy uΩe znakomy s dannym priborom.
2. Neobxodim blizkij kontrolæ za rabotoj pribora, esli on ispolæzuetså detæmi ili
vblizi detej.
3. Pered qkspluataciej pribora ubeditesæ, hto napråΩenie pitaniä pribora, sootvetstvuet
napråΩeniü va‚ej doma‚nej qlektroseti. Esli qto ne tak, svåΩitesæ s dilerom i ne
polæzujtesæ priborom.
4. Vyklühajte pribor i otsoedinåjte ego ot rozetki seti pered tem kak zapolnåtæ,
opusto‚atæ,histitæ, xranitæ pribor v period ego nefunkcionirovaniå.
5. Ne perezapolnåjte pribor vodoj, tak kak v qtom sluhae suwestvuet opasnostæ
vybryzgivaniå kipåwix vodånyx struek. Maksimalænyj urovenæ zapolneniå ukazan na
vnutrennej stenke hajnika.
6. Ne dopuskajte funkcionirovaniå pribora ili ustanovki kakoj-libo ego sostavnoj hasti
na ili okolo lübyx goråhix poverxnostej (takix kak gazovaå- ili qlektroplita ili
vnutri nagretoj pehki).
7. Ne pozvolåjte kabelü sve‚ivatæså s poverxnosti stola ili prilavka. Ne dopuskajte
kontakta kabelå s goråhimi poverxnoståmi.
8. Nikogda ne dergajte za provod, tak kak qto moΩet povreditæ kabelæ i, vozmoΩno,
privesti k qlektro‚oku.
9. Esli qlektrokabelæ pribora povreΩden, on dolΩen bytæ zamenen remontnoj sluΩboj,
ukazannoj proizvoditelelem, tak kak dlå remonta dannogo pribora pribora neobxodim
specialænyj instrument.
10. Ne dotragivajtesæ do nagretyx poverxnostej hajnika, beritesæ tolæko za ruhku hajnika
i dotragivajtesæ tolæko do knopok pribora.
11.Dlå izbeΩaniå vozmoΩnyx povreΩdenij ot vyxodåwego para, otvorahivajte nosik
hajnika ot sten i mebeli vo vremå ego funkcionirovaniå.
12. Esli hajnik ustanovlen na derevånnoj poverxnosti, ispolæzujte podstvku, htoby
predoxranitæ huvstvitelænoe pokrytie mebeli ot povreΩdeniå.
13.Dlå izbeΩaniå oΩogov, vsegda udostoverætesæ v tom, hto kry‚ka hajnika naxoditså v
pravilænoj pozicii, preΩde hem vvoditæ pribor v dejstvie.
14. Vypleskivanie kipåwej vody vozmoΩno takΩe, esli kry‚ka hajnika snimaetså v processe
kipåheniå vody.
2
6
5
4
3
1
6 7


PRAVILA UXODA ZA PRIBOROM
Vætirajte vne‚nüü poverxnostæ pribora vlaΩnoj, mågkoj tkanæü ili gubkoj. Ustranåjte
nesmyvaemye påtna na poverxnosti pribora pri pomowi tkani, smohennoj v mågkoj moüwej
Ωidkosti. Ne primenåjte abrazivnyx mohalok ili poro‚kov. Nikogd ne pogruΩajte hajnik
v vodu ili drugie Ωidkosti.
Vremå ot vremeni, v zavisimosti ot kahestva va‚ego vodosnabΩeniå, na dne pribora
obrazuetså estestvennyj osadok, skaplivaüwijså v osnovnom na nagrevaüwem qlemente i
sniΩaüwij kahestvo processa nagreva vody.
Kolihestvo osadka i sootvetstvenno neobxodimostæ ohistki i dekalæcirovaniå v osnovnom
zavisit ot Ωestkosti vody va‚ego vodosnabΩeniå i hastoty ispolæzovaniå pribora.
Obrazuüwijså osadok ne vreden dlå va‚ego zdorovæå. No popav v va‚u ha‚ku, moΩet
pridatæ napitku poro‚kovyj vkus. takim obrazom hajnik dolΩen periodiheski ohiwatæså,
kak ukazno niΩe:
 
Regulårno provodite dekalæcirovnie va‚ego hajnika, po krajnej mere dva raza v god.
1. Zapolnite hajnik do maksimalænogo urovnå smesæü, sostoåwej iz odnoj hasti
obyknovennogo uksusa i dvumå haståmi vody. Vklühite pribor i doΩditesæ, poka on
vyklühitså avtomatiheski.
2. Dajte smesi otstoåtæså vnutri hajnika v tehenie nohi.
3. Na sleduüwee utro vylejte soderΩimoe pribora.
4. Zapolnite hajnik vodoj do maksimalænogo urovnå i snova vskipåtite ego.
5. Vylejte qtu vodu toΩe, htoby ustranitæ ostatki osadka i uksusa.
6. Vymojte vnutrennostæ pribora histoj vodoj.
 



   – 3 
        

:
:

 



15. Osobennaå ostoroΩnostæ dolΩna bytæ pri peredviΩenii hajnika s goråhej vodoj.
Nikogda ne podnimajte hajnik za kry‚ku. Vsegda beritesæ za ruhku na korpuse hajnika.
16. Ne vklühajte hajnik esli on pustoj.
17. Dlå predupreΩdeniå qlektro‚oka na opuskajte hajnik ili kabelæ hajnika v kakuü-libo
Ωidkostæ.
18. Ispolæzujte hajnik tolæko vmeste s vxodåwej v komplekt podstavkoj. Ne ispolæzujte
podstavku dlå drugix celej.
19.Dlå predotvraweniå vosplameneniå, ne dopuskajte funkcionirovanie hajnika vblizi
vzryvhatyx i/ili vosplamenåüwixså vewestv.
20.Ne ostavlåjte hajnik vklühennym v setæ, esli tempertura v pomewenii, gde on naxoditså
moΩet upastæ do vne‚nej zimnej tempertury. Pri temperaturax niΩe nulå termostat
pribora moΩet vernutæså v poziciü kipåheniå vody i vvesti pribor v dejstvie.
21. Ne ispolæzujte va‚ hajnik dlå drugix celej krome kipåheniå vody. Drugie Ωidkosti
ili piwevye produkty mogut povreditæ vnutrennüü poverxnostæ pribora.
22.Dannyj pribor ne razrabotan dlå drugix celej, krome ukazannyx v dannoj instrukcii.

       
        

          

VNIMANIE: V nahale ubedites´, hto mestnoe napräøenie sootvetstvuet ukazannomu
napräøeniüna tablice mownosti.
INSTRUKCII POLÆZOVATELÄ
1. Pered pervym vvedeniem pribora v dejstvie, zapolnite hajnik do maksimalænogo
urovnå i vskipåtite ego. Slejte vodu i snova vskipåtite va‚ hajnik.
2. Hajnik dolΩen bytæ otsoedinen ot qlektroseti, v moment sliva ili dobavleniå vody.
3. Zapolnite hajnik vodoj do Ωelaemogo urovnå. ne perepolnåjte ego, tak kak v qtom
sluhae voznikaet opasnostæ razbryzgivaniå ili vylianiü kipåwix struek vody.
4. Ne zapolnåjte hajnik vodoj menæ‚e 0,5 litra, hto sootvetstvuet urovnü, niΩe
minimalæno dopustimogo urovnå zapolneniå, ukazannogo na pribore MIN, htoby
predoxranitæ hajnik ot raboty pri pustoj emkosti.
5. Ne zapolnåjte hajnik vodoj, bolee hem 1,8 litrov (bolee hem maksimalænyj urovenæ,
ukazannyj na samom pribore.)
6. Avtomatiheskij preryvatelæ bezopasnosti byl ustaanovlen dlå predoxraneniå pribora
ot peregreva. On vvoditså v dejstvie, esli hajnik vklühaetså pri nedostatohnom
kolihestve vody v pribore. vegda ubeΩdajtesæ, hto kolihestvo vody vnutri hajnika
pokryvaet minimalænyj urovenæ markirovki vnutri pribora. Esli vklühaetså
avtomatiheskij preryvatelæ bezopasnosti, otsoedinite pribor ot qlektroseti i dajte
emu ostytæ v tehenie ot 5 do 10 sekund. zatem zapolnite hajnik vodoj i vklühite ego,
pribor nahnet kipåtitæ vodu i vyklühitså posle okonhaniå processa kipåheniå v
normalænom reΩime dejstviå.
7. Ustanovite qnergetiheskuü podstavku pribora na suxuü, ploskuü poverxnostæ.
8. Ustanovite hajnik na qnergetiheskuü podstavku. Qlektriheskoe podsoedinenie
proizojdet avtomatiheski, kak tolæo hajnik pravilæno vojdet v pazy qnergetiheskoj
podstavki.
9. Podsoedinite vilku kabelå v rozetku qlektroseti.
10.Pribor vvoditså v dejstvie naΩtiem knopki ON/OFF. ZaΩΩetså indikator dejstviå
pribora.
11.Esli process kipåheniå vody okonhen, pribor vyklühitså avtomatiheski.
12. Ne snimajte hajnik s qnergetiheskoj podstavki, ne vyklühiv ego.
13. Dlå togo, htoby razlitæ vodu iz hajnika v ha‚ki, snimite ego s qnergitiheskoj
podstavki i razlejte vodu.
This manual suits for next models

2

Other TZS First AUSTRIA Kettle manuals

TZS First AUSTRIA FA-5427-4 User manual

TZS First AUSTRIA

TZS First AUSTRIA FA-5427-4 User manual

TZS First AUSTRIA FA- 5425-2 User manual

TZS First AUSTRIA

TZS First AUSTRIA FA- 5425-2 User manual

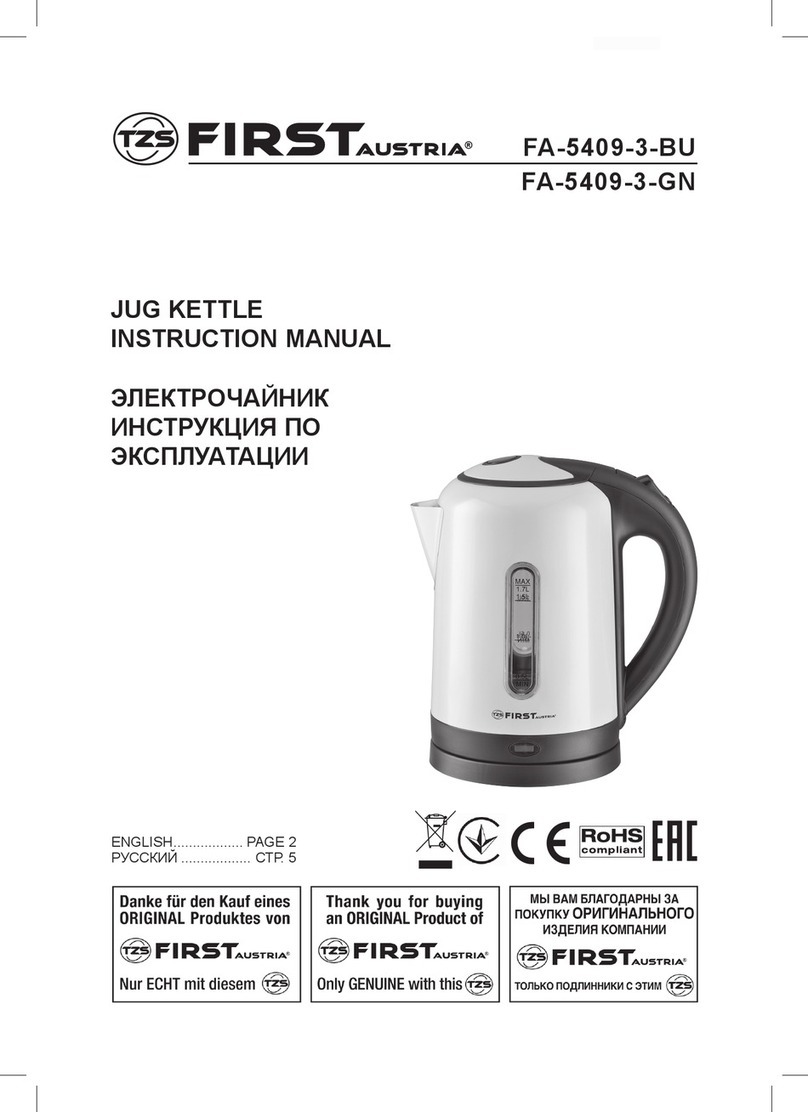
TZS First AUSTRIA FA-5409-3-BU User manual

TZS First AUSTRIA

TZS First AUSTRIA FA-5409-3-BU User manual

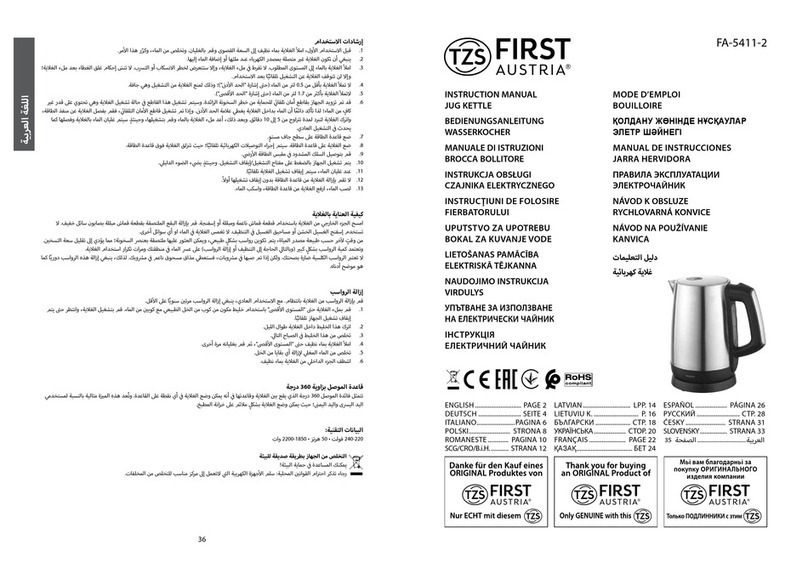
TZS First AUSTRIA FA-5411-2 User manual

TZS First AUSTRIA

TZS First AUSTRIA FA-5411-2 User manual

TZS First AUSTRIA Road Star FA-5425-2 Series User manual

TZS First AUSTRIA

TZS First AUSTRIA Road Star FA-5425-2 Series User manual

TZS First AUSTRIA FA-5406-2 User manual

TZS First AUSTRIA

TZS First AUSTRIA FA-5406-2 User manual

TZS First AUSTRIA FA-5411-9 User manual

TZS First AUSTRIA

TZS First AUSTRIA FA-5411-9 User manual

TZS First AUSTRIA FA-5411-8 User manual

TZS First AUSTRIA

TZS First AUSTRIA FA-5411-8 User manual

TZS First AUSTRIA FA-5410-5 User manual

TZS First AUSTRIA

TZS First AUSTRIA FA-5410-5 User manual

TZS First AUSTRIA FA-5406-2-BA User manual

TZS First AUSTRIA

TZS First AUSTRIA FA-5406-2-BA User manual

TZS First AUSTRIA FA-5411-0 User manual

TZS First AUSTRIA

TZS First AUSTRIA FA-5411-0 User manual

TZS First AUSTRIA FA-5410 User manual

TZS First AUSTRIA

TZS First AUSTRIA FA-5410 User manual

TZS First AUSTRIA FA-5405-4 User manual

TZS First AUSTRIA

TZS First AUSTRIA FA-5405-4 User manual

TZS First AUSTRIA FA-5405-6 User manual

TZS First AUSTRIA

TZS First AUSTRIA FA-5405-6 User manual

TZS First AUSTRIA FA-5411 User manual

TZS First AUSTRIA

TZS First AUSTRIA FA-5411 User manual

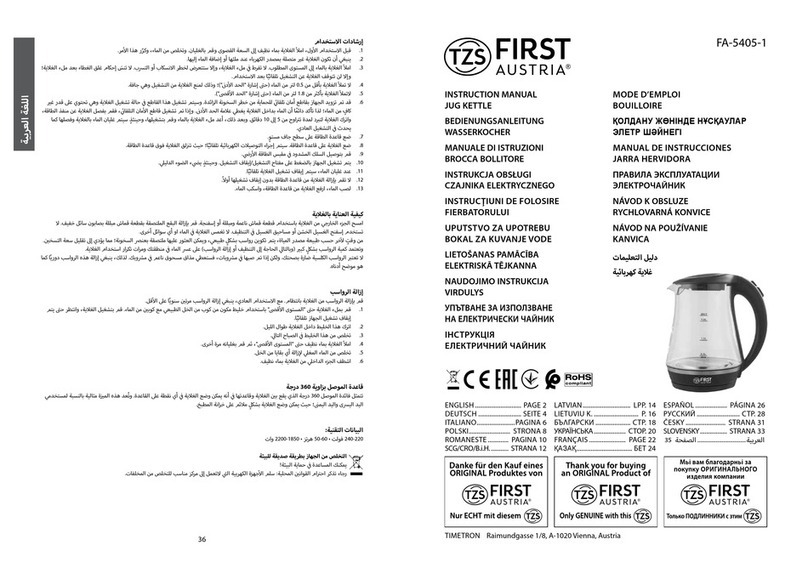
TZS First AUSTRIA FA-5405-1 User manual

TZS First AUSTRIA

TZS First AUSTRIA FA-5405-1 User manual

TZS First AUSTRIA FA-5421-2 User manual

TZS First AUSTRIA

TZS First AUSTRIA FA-5421-2 User manual

TZS First AUSTRIA Clara User manual

TZS First AUSTRIA

TZS First AUSTRIA Clara User manual

TZS First AUSTRIA Road Star FA-5425-2 Series User manual

TZS First AUSTRIA

TZS First AUSTRIA Road Star FA-5425-2 Series User manual

TZS First AUSTRIA FA-5410-1 User manual

TZS First AUSTRIA

TZS First AUSTRIA FA-5410-1 User manual

TZS First AUSTRIA TeaTime FA-5405 User manual

TZS First AUSTRIA

TZS First AUSTRIA TeaTime FA-5405 User manual

TZS First AUSTRIA FA-5410-7 User manual

TZS First AUSTRIA

TZS First AUSTRIA FA-5410-7 User manual

TZS First AUSTRIA FA-5427-2 User manual

TZS First AUSTRIA

TZS First AUSTRIA FA-5427-2 User manual

TZS First AUSTRIA AnyTime FA-5405-7 User manual

TZS First AUSTRIA

TZS First AUSTRIA AnyTime FA-5405-7 User manual

Popular Kettle manuals by other brands

Catler KE 510 Instructions for use

Catler

Catler KE 510 Instructions for use

Livoo DOD198 user manual

Livoo

Livoo DOD198 user manual

PROFILO CM 4000 operating instructions

PROFILO

PROFILO CM 4000 operating instructions

Scarlett SC-EK18P33 instruction manual

Scarlett

Scarlett SC-EK18P33 instruction manual

Cleveland MKDT-12-T Specifications

Cleveland

Cleveland MKDT-12-T Specifications

anko KE3046-SA user manual

anko

anko KE3046-SA user manual

MPM MCZ-85 user manual

MPM

MPM MCZ-85 user manual

Viconte VC-3230 instruction manual

Viconte

Viconte VC-3230 instruction manual

Sencor SWK 1700 user manual

Sencor

Sencor SWK 1700 user manual

Exquisit WK 3601 we instruction manual

Exquisit

Exquisit WK 3601 we instruction manual

Krups FLF1 user manual

Krups

Krups FLF1 user manual

Tesco CKS1 user manual

Tesco

Tesco CKS1 user manual

Melissa 645-247 manual

Melissa

Melissa 645-247 manual

Rowenta KF942012 Instructions for use

Rowenta

Rowenta KF942012 Instructions for use

Blodgett CB42E-10-10K Specifications

Blodgett

Blodgett CB42E-10-10K Specifications

Maxwell MW-1083 TR Manual instruction

Maxwell

Maxwell MW-1083 TR Manual instruction

Cornell CJK-E173SS user manual

Cornell

Cornell CJK-E173SS user manual

Blodgett CB24G-10K Specifications

Blodgett

Blodgett CB24G-10K Specifications

manuals.online logo
manuals.online logoBrands
  • About & Mission
  • Contact us
  • Privacy Policy
  • Terms and Conditions

Copyright 2025 Manuals.Online. All Rights Reserved.