U-Line H-7862 User manual

PAGE 1 OF 7 0219 IH-7862
πH-7862
HANDS DOWN
HAND DRYER
1-800-295-5510
uline.com
PARTS
PRE-INSTALLATION WIRING
TOOLS NEEDED
Mounting Screw x 4 Wall Anchor x 4
Drill 8mm Drill Bit x 1
Wire Brush x 1 Wall Plate x 1 Mounting Display x 1
WARNING! For proper electrical connections,
check the local building codes. The dryer must
be installed by a qualified, licensed electrician.
Check that the electrical supply corresponds to that
shown on the rating sticker on the hand dryer. If the
hand dryer is connected to an electrical source other
than what is stated on the rating sticker, permanent
damage or improper, unsafe operation may result.
Make sure electricity is turned off at the main panel
before installing, maintaining or cleaning the hand
dryer. Dryer must be installed in accordance with the
rules and applicable federal, state and local laws,
including fire prevention.
Do not wire the hand dryer into the lighting circuit. It
must be protected by an independent circuit.
The dryer is intended to be permanently connected to a
power supply and must be properly grounded.
SAFETY
Troubleshooting and inside maintenance must be
performed by a qualified service personnel.
Do not use power wash equipment to clean the dryer.
WARNING! Risk of electric shock. Do not
remove the cover or attempt to repair unless
qualified personnel are servicing the hand
dryer. If the cover is removed or handled
incorrectly, the internal elements of the
hand dryer may cause damage or become
permanently damaged.

PAGE 2 OF 7 0219 IH-7862
PRE-INSTALLATION WIRING CONTINUED
Do not use the dryer for drying anything other than
hands.
Do not obstruct air inlets or outlets.
Read instructions carefully before installing hand dryer.
Not following the installation instructions exactly may
result in the malfunction of the hand dryer, damage to
property or personal injury.
Not following these instructions will void the warranty.
WARNING! Children over 8 years old and people
having reduced physical, mental and sensorial
capabilities can use hand dryer after receiving
proper training. Children should always be
under the supervision of an adult. An adult
should clean and maintain the hand dryer.
WARNING! To avoid the risk of fire or electric
shock, do not expose the elements and the
internal mechanisms of hand dryer to water
or humidity. Check that the power supply
matches the specifications on the plate
located on the back of the hand dryer.
WARNING! Hand dryer may contain substances
known to the State of California to cause
cancer, birth defects or other reproductive
problems. Wash your hands after installing or
repairing the hand dryer. For more information
go to www.P65Warnings.ca.gov.
INSTALLATION
WARNING! After installing or each time the
hand dryer is restarted after an electrical
disconnection, an automatic calibration of
the capacitive sensors is performed, lasting
six minutes. In order for calibration to be
performed correctly, the hand dryer should not
be handled, used or any object be brought
into its vicinity during calibration.
WARNING! To reduce the risk of fire, electric
shock or injury, use dryer only in the manner
intended by the manufacturer.
1. Disconnect power source to hand dryer.
2. Hand dryer must be installed so it can be
disconnected with an element separating all
contact points by at least 3mm.
CAUTION! Make sure no pipe work (gas, water,
air) or any electrical cables or wires are
located directly behind the area to be drilled.
3. Select the appropriate mounting height for hand
dryer.
WARNING! For the fulfillment of the ADA norm,
follow guidelines of installation included with
every hand dryer. Install hand dryer in an
area with a free space of 30 x 48". This area
can overlap a circulation zone, but cannot
superimpose over other access areas required.
Single use restrooms can overlap access areas
since they are used by one person at a time.
Dryer's operable part must be a maximum of
48" in height. Bottom of dryer must be 27" or
less from the floor.
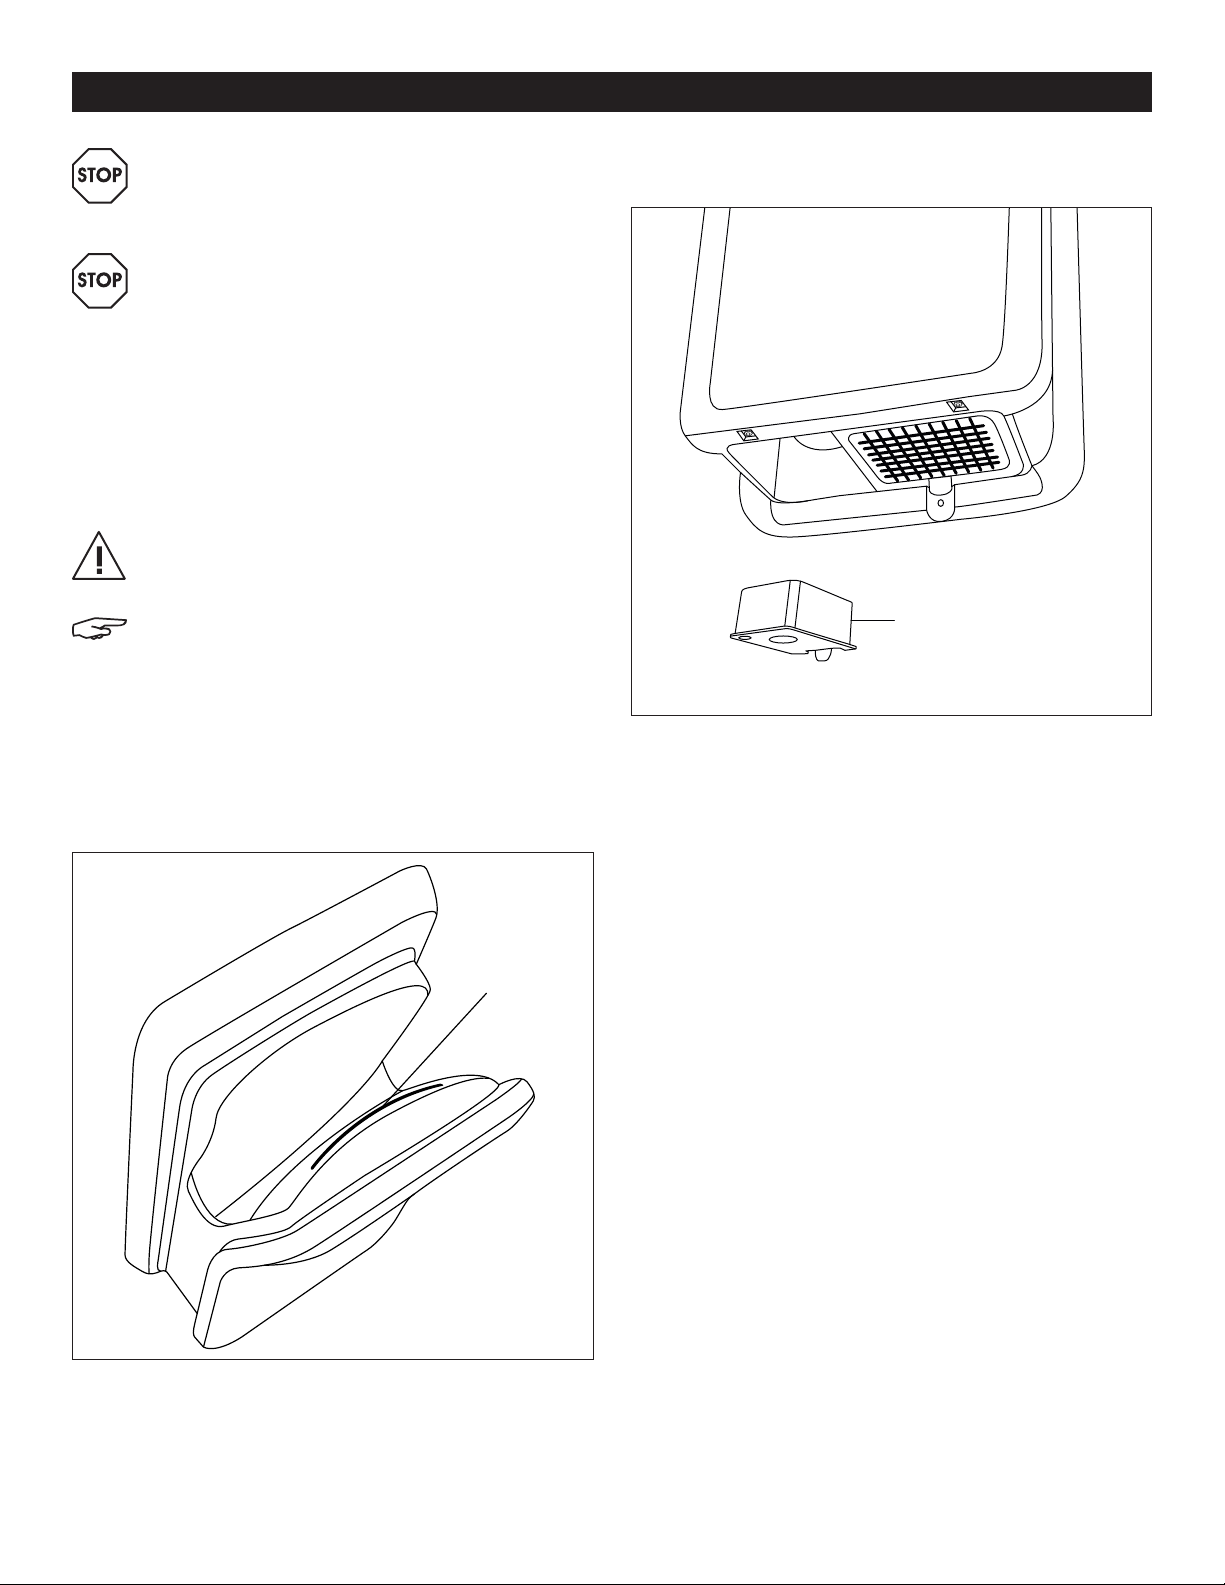
4. Check if a direct electrical connection exists or if
hand dryer requires connection through a plug.
5. Place mounting display against wall where hand
dryer will be installed and drill five holes according to
diagram using included 8mm drill bit. (See Figure 1)
Figure 1 13⁄"
8⁄"
4⁄"
3⁄"11⁄"
10⁄"
15⁄"
17⁄"
26⁄"
31¾"
31⁄"
39⁄"
4⁄"
6⁄"
2⁄"

PAGE 3 OF 7 0219 IH-7862
INSTALLATION CONTINUED
6. Once five holes have been drilled, attach wall
bracket to wall by inserting three wall anchors into
top three holes and one wall anchor in the bottom
hole. Place wall plate over anchors and insert
screws. Pull electrical cable through hole in center,
left of mounting display. (See Figure 2)
7. Remove hand dryer from packaging and open front
cover to install electrical cable. (See Figure 3)
8. Open cover of connector box where cable to
network will be installed. (See Figure 4)
9. Pass electrical cable through hole from back to front.
(See Figure 5)
Figure 2
Figure 3
Figure 5
Figure 4

PAGE 4 OF 7 0219 IH-7862
INSTALLATION CONTINUED
10. Once cable has been passed through hole,
connect each end to respective terminal, placing
each one in the right path. Close box. (See Figure 6)
11. After installing cable, replace screws to close cover.
(See Figure 7)
12. Place hand dryer on wall bracket. (See Figure 8)
13. Remove air intake filter and secure hand dryer
through inner hole. Insert filter and connect unit.
(See Figure 9)
14. After installation, wait six minutes for electrical
calibration then test hand dryer by placing hands
inside drying cavity. As soon as hands are removed
air flow should stop.
Figure 6
Figure 7
Figure 8
Air Intake
Filter
Figure 8

PAGE 5 OF 7 0219 IH-7862
MAINTENANCE
WARNING! Before servicing or cleaning unit,
switch off power at service panel and lock the
service disconnecting means to prevent power
from being switched on accidentally.
WARNING! When the service disconnecting
means cannot be locked, securely fasten a
prominent warning device, such as a tag, to the
service panel.
OUTSIDE
1. Using a soft cloth or sponge and mild soap or
detergent, gently wash cover (including air inlet
holes) with lukewarm water to loosen dirt and grime.
INSIDE
CAUTION! Shut off power to hand dryer at
service connection. Cleaning should be
performed by qualified service personnel.
NOTE: With normal use, hand dryer will require
cleaning once a year. Heavier usage requires
more frequent cleaning. Lint on air inlet or other
internal parts of hand dryer will reduce efficiency
and shorten life of the working parts.
WATER TANK
1. When water tank is full a red light will turn on.
(See Figure 10)
2. Pull tab in slightly and pull tank down. Empty and
clean water tank. (See Figure 11)
3. Once emptied and clean, put tank back in hand
dryer. Once tank is empty, red light will turn off.
Figure 10
Figu re 11
Red Light
Water Tank

PAGE 6 OF 7 0219 IH-7862
MAINTENANCE CONTINUED
SPECIFICATIONS
HEPA FILTER
Regularly check the HEPA H13 filter at base of hand
dryer and make sure that it is free of dust or other
particles. Change filter when necessary or at least once
per year.
1. To change filter, pull tab on filter in and down.
Replace with authentic ffuuss HEPA H13 filter.
(See Figure 12).
Every time hand dryer is cleaned, use included wire
brush to clean drain hole.
Figure 12
Electric System Input Voltage 110 -12 0 V
Frequency 50/60 Hz
Nominal Power 1000 W
Electric Current 9 A
Type of Motor Universal
Motor Speed 21,500 RPM
Working Temperature 104°F
Manufacturing Cover Material ABS (Treated with biomaster silver biocide antibacterial additive.)
Finish Various Colors
Mounting Bracket Galvanized Steel
Water Inlet Protection IPX2
Filter ffuuss HEPA H13
Operation Activation Automatic
Hand Drying Time 12 Seconds
Blocking Time 25 Seconds
Airflow 19.3 gal/s
Logistics Net Weight 16.4 lbs.
Gross Weight 20.9 lbs.
Box Dimensions 27⁄ x 15⁄ x 11⁄"

PAGE 7 OF 7 0219 IH-7862
TROUBLESHOOTING
SPECIFICATIONS CONTINUED
OPERATING ISSUE RECOMMENDATIONS
Doesn't turn on. Make sure wiring is properly connected to hand dryer.
If not properly connected, contact installer.
Turns on and off in error. Check that nothing is obstructing the cavity.
Remove objects from cavity.
Continues to run after hands have been
removed. A two second delay after hands have been removed is normal.
Not drying hands properly. Clear obstruction in inlet and monitor state of HEPA filter.
Follow maintenance recommendations.
Shuts off after a few seconds. Check that nothing is obstructing the cavity.
Remove objects from cavity.
Water accumulates in the base of the dryer. Make sure drain outlet is not blocked.
Clean and unblock drain outlet with provided wire brush.
Reflects a red light. Water tank is full.
Empty water tank and replace. Once water tank is empty red
light will turn off.
Flashes a red light in the upper part of the
front panel, while all other lights are turned off. Contact Uline Customer Service at 1-800-295-5510.
Turns off when in use and starts again. Disconnect from power supply. Reconnect and wait six minutes
before using.
πCHICAGO • ATLANTA • DALLAS • LOS ANGELES • MINNEAPOLIS • NYC/PHILA • SEATTLE • MEXICO • CANADA
1-800-295-5510
uline.com
Regulations This unit complies with the following directives/normatives: 1999/5/CE, 2004/108/CE, 2006/95/CE,
2002/96/CE, 2011/65/CE.
Others This unit has Bluetooth™ technology.
Standard
Warranty Five years for parts and one year for labor (see conditions).
Table of contents
Other U-Line Dryer manuals