O
ON
NE
E-
-Y
YE
EA
AR
R
L
LI
IM
MI
IT
TE
ED
D
W
WA
AR
RR
RA
AN
NT
TY
Y
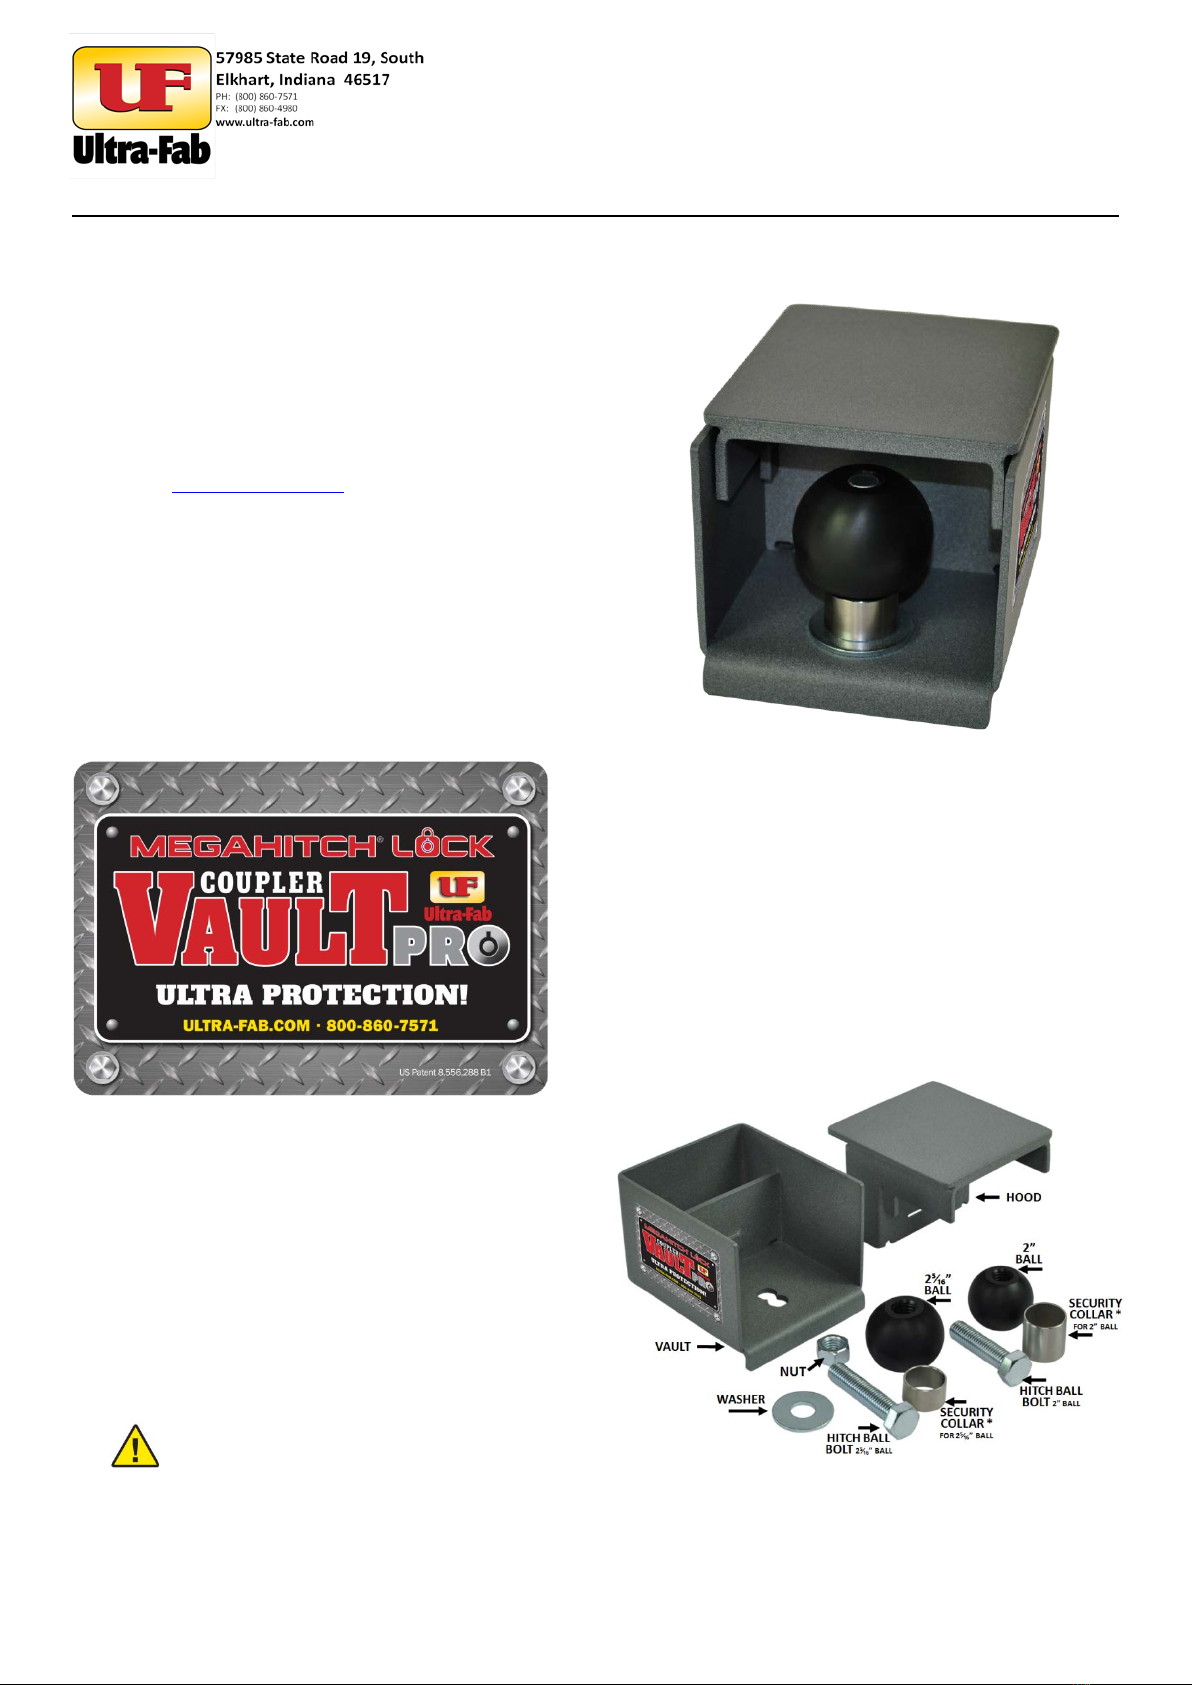
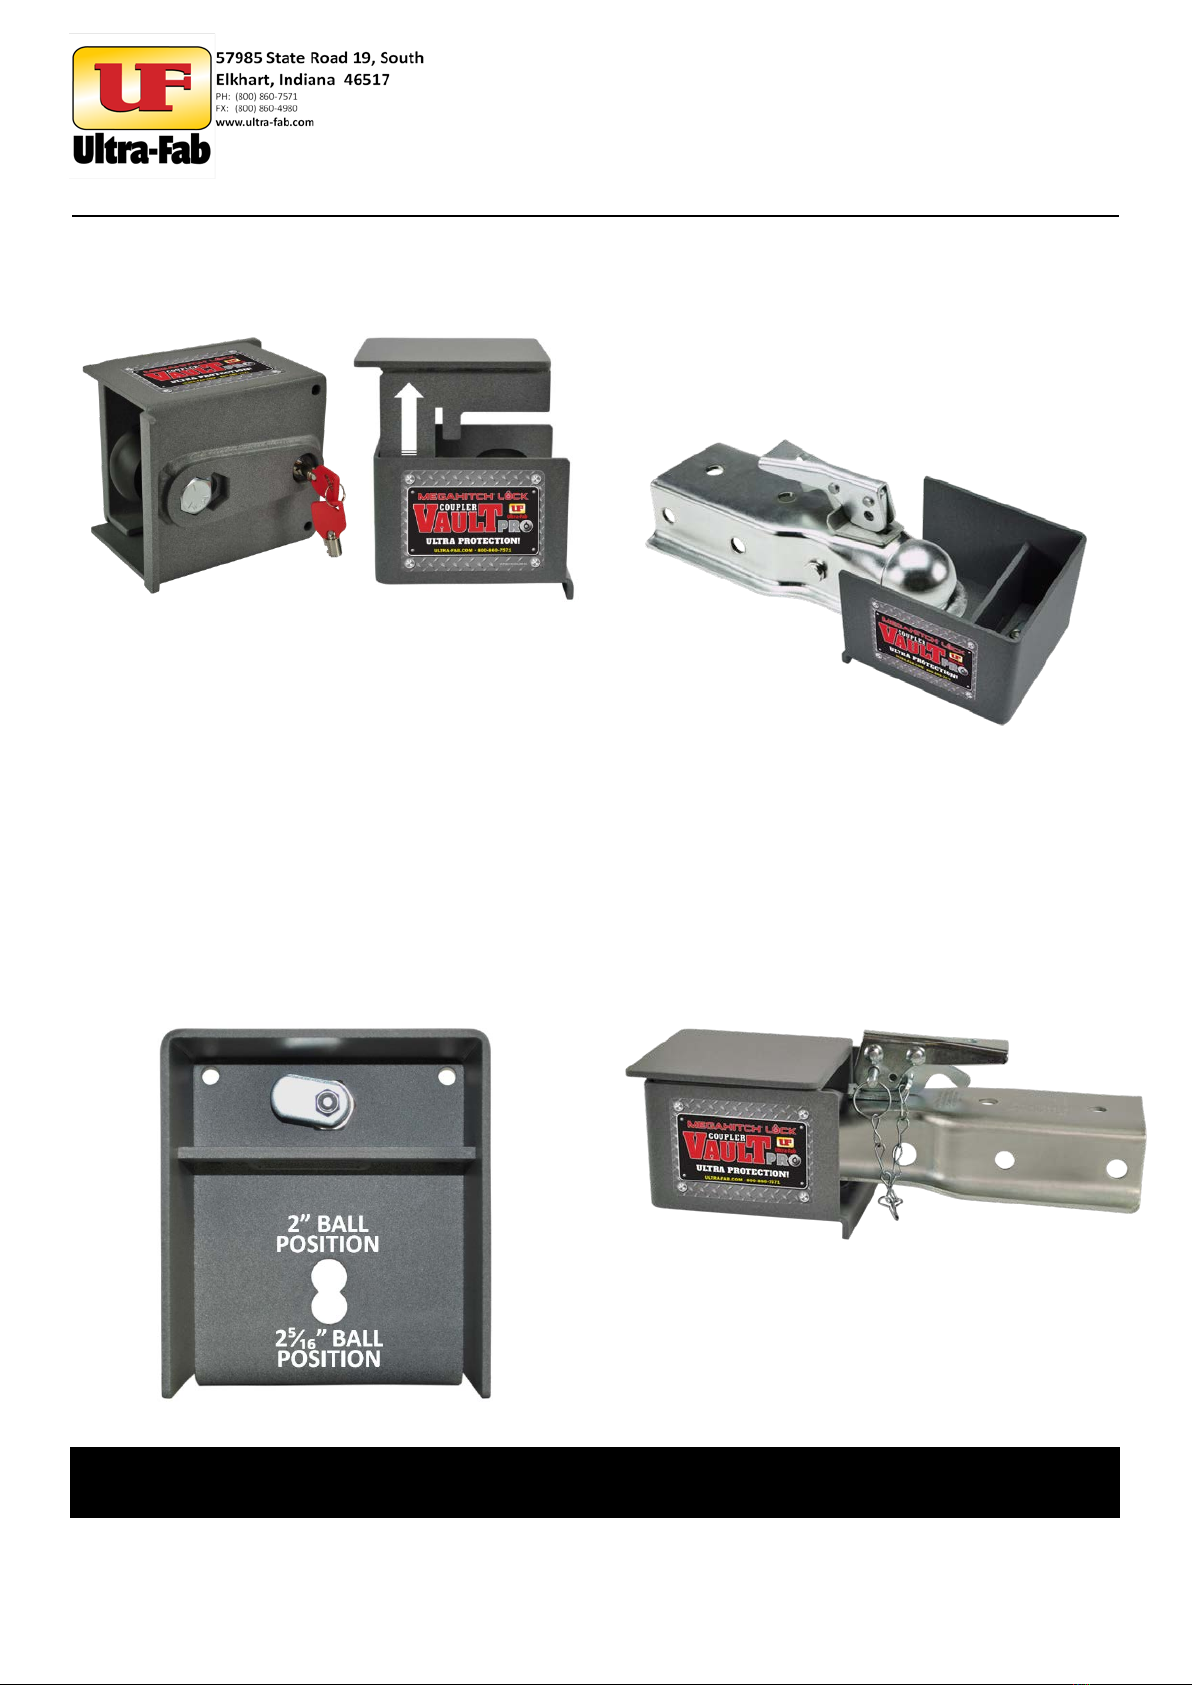
MEGAHITCH LOCK COUPLER VAULT PRO
THE MANUFACTURER NAMED BELOW MAKES THE FOLLOWING WARRANTY WITH RESPECT
TO THE ABOVE ULTRA-FAB PRODUCTS
1. This Warranty is made only to the first Purchaser (hereinafter called the “Original Purchaser”) who acquires this product
for their own use.
2. This Warranty will be in effect for one year from the date of purchase by the Original Purchaser. It is suggested that the
Original Purchaser retain a copy of the dated bill of sale as proof of the date of purchase.
3. This Warranty covers only specified parts which shall be free from defects in material and workmanship under normal
use. This Warranty does not cover conditions unrelated to the material and workmanship of the product. Such unrelated
conditions include, but are not limited to (a) faulty installation and any damage resulting from such; (b) the need for
normal maintenance and any damage resulting from the failure to provide such maintenance; (c) failure to follow
Manufacturer’s instructions for use of this product, and (d) any accident to, or misuse of, any part of this product and any
alteration by anyone other than the Manufacturer or its authorized representative.
4. In order to obtain the benefits of this Warranty, you should return the product which you find defective to the
Manufacturer named below during the period that this Warranty is in effect. All charges incurred in delivery of the
product to the Manufacturer, and in picking it up after the Warranty service has been completed, must be paid by the
Original Purchaser.
5. Any item returned in the manner described in paragraph 4 will be examined by the Manufacturer. If it is found that the
returned item was defective in material or workmanship, the Manufacturer will repair it without charge for material and
labor.
6. Ultra-Fab will pay freight on replacement parts during the first 90 days of ownership by the Original Purchaser.
7. The Manufacturer does not authorize any person or company to create any Warranty obligation or liability on their
behalf.
8. IN NO EVENT SHALL THE MANUFACTURER BE LIABLE FOR INCIDENTAL OR CONSEQUENTIAL DAMAGES. SOME STATES DO
NOT ALLOW THE EXCLUSION OR LIMITATION OF INCIDENTAL OR CONSEQUENTIAL DAMAGES SO THE ABOVE LIMITATION
OR EXCLUSION MAY NOT APPLY TO YOU.
9. ANY IMPLIED WARRANTY, INCLUDING THE IMPLIED WARRANTY OF MERCHANTABILITY AND FITNESS FOR ANY PURPOSE,
IS LIMITED TO THE DURATION OF THIS LIMITED WARRANTY. SOME STATES DO NOT ALLOW LIMITATIONS ON HOW LONG
AN IMPLIED WARRANTY LASTS, SO THE ABOVE LIMITATION MAY NOT APPLY TO YOU.
10. THIS WARRANTY GIVES YOU SPECIFIC LEGAL RIGHTS, AND YOU MAY ALSO HAVE OTHER RIGHTS WHICH VARY FR0M
STATE TO STATE.
57985 SR 19 S., Elkhart, IN 46517
Tel: (574) 294-7571 Fax: (574) 294-4980
www.ultra-fab.com