FACT:
UnderCover's
ABS-Composite
material makes
it the strongest
and most
durable tonneau
on the market.
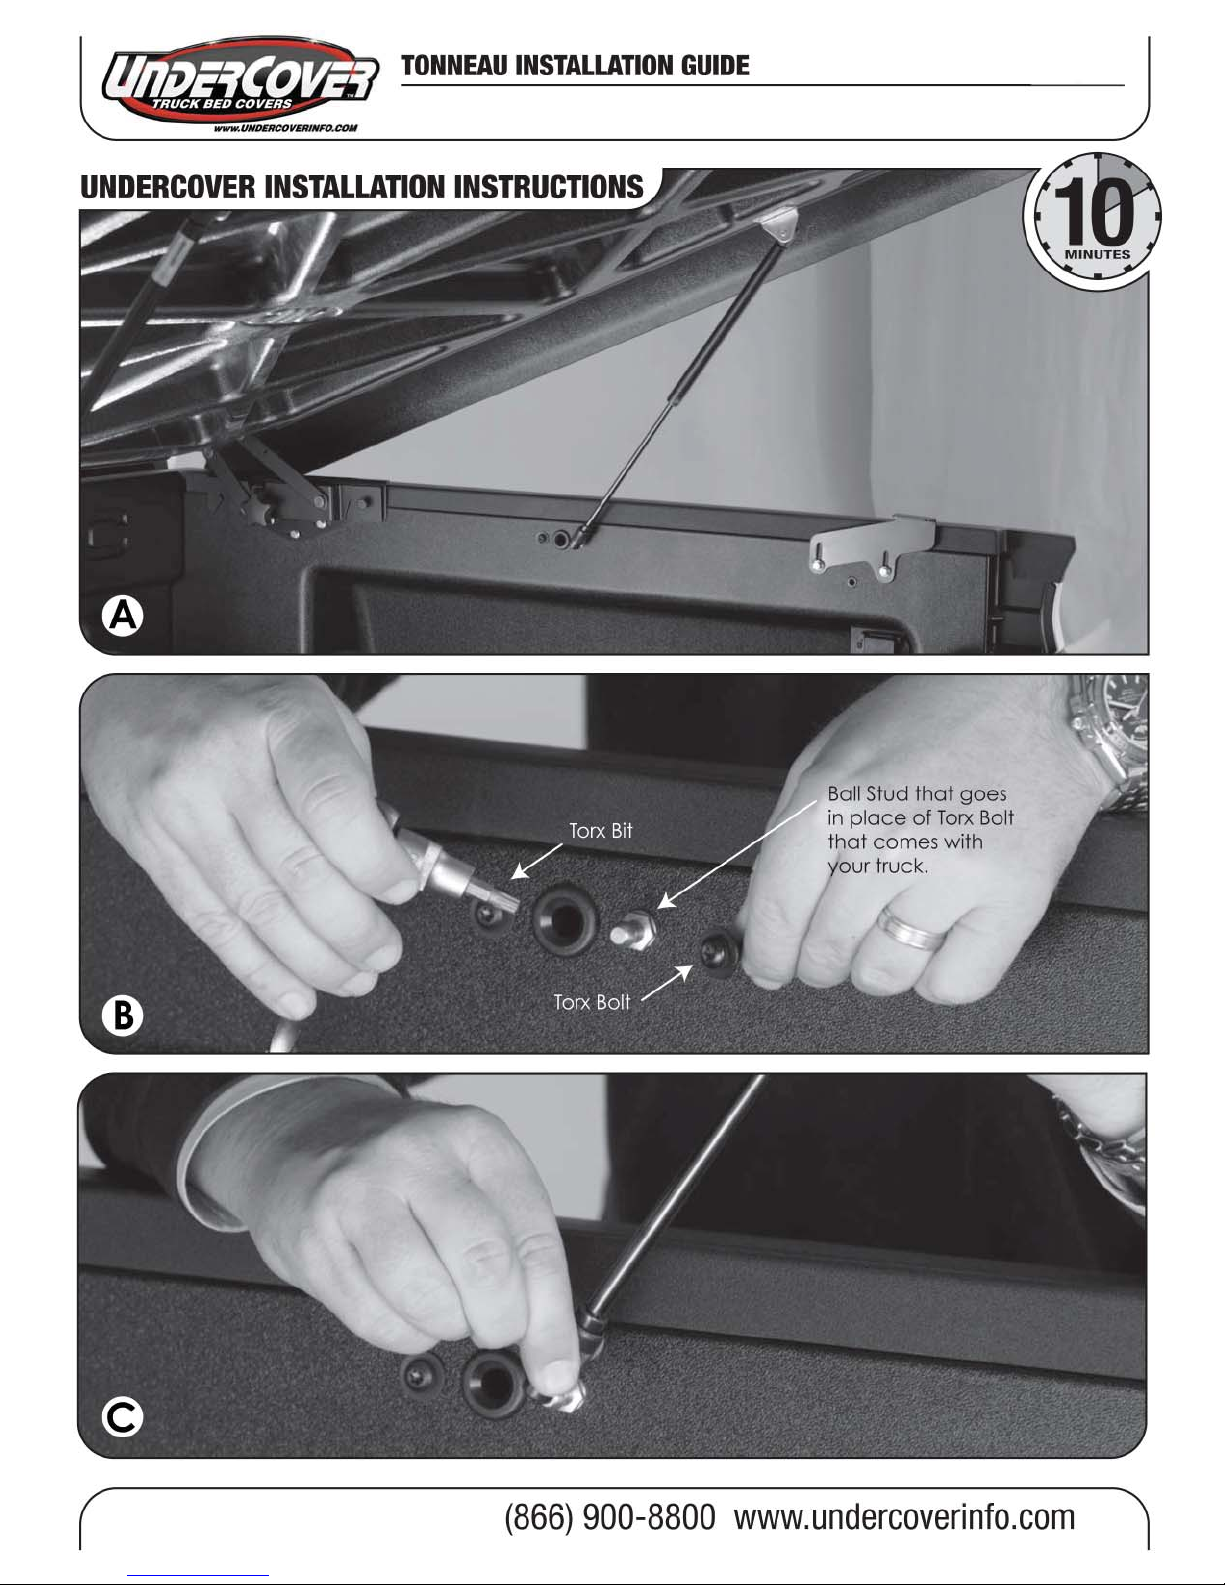
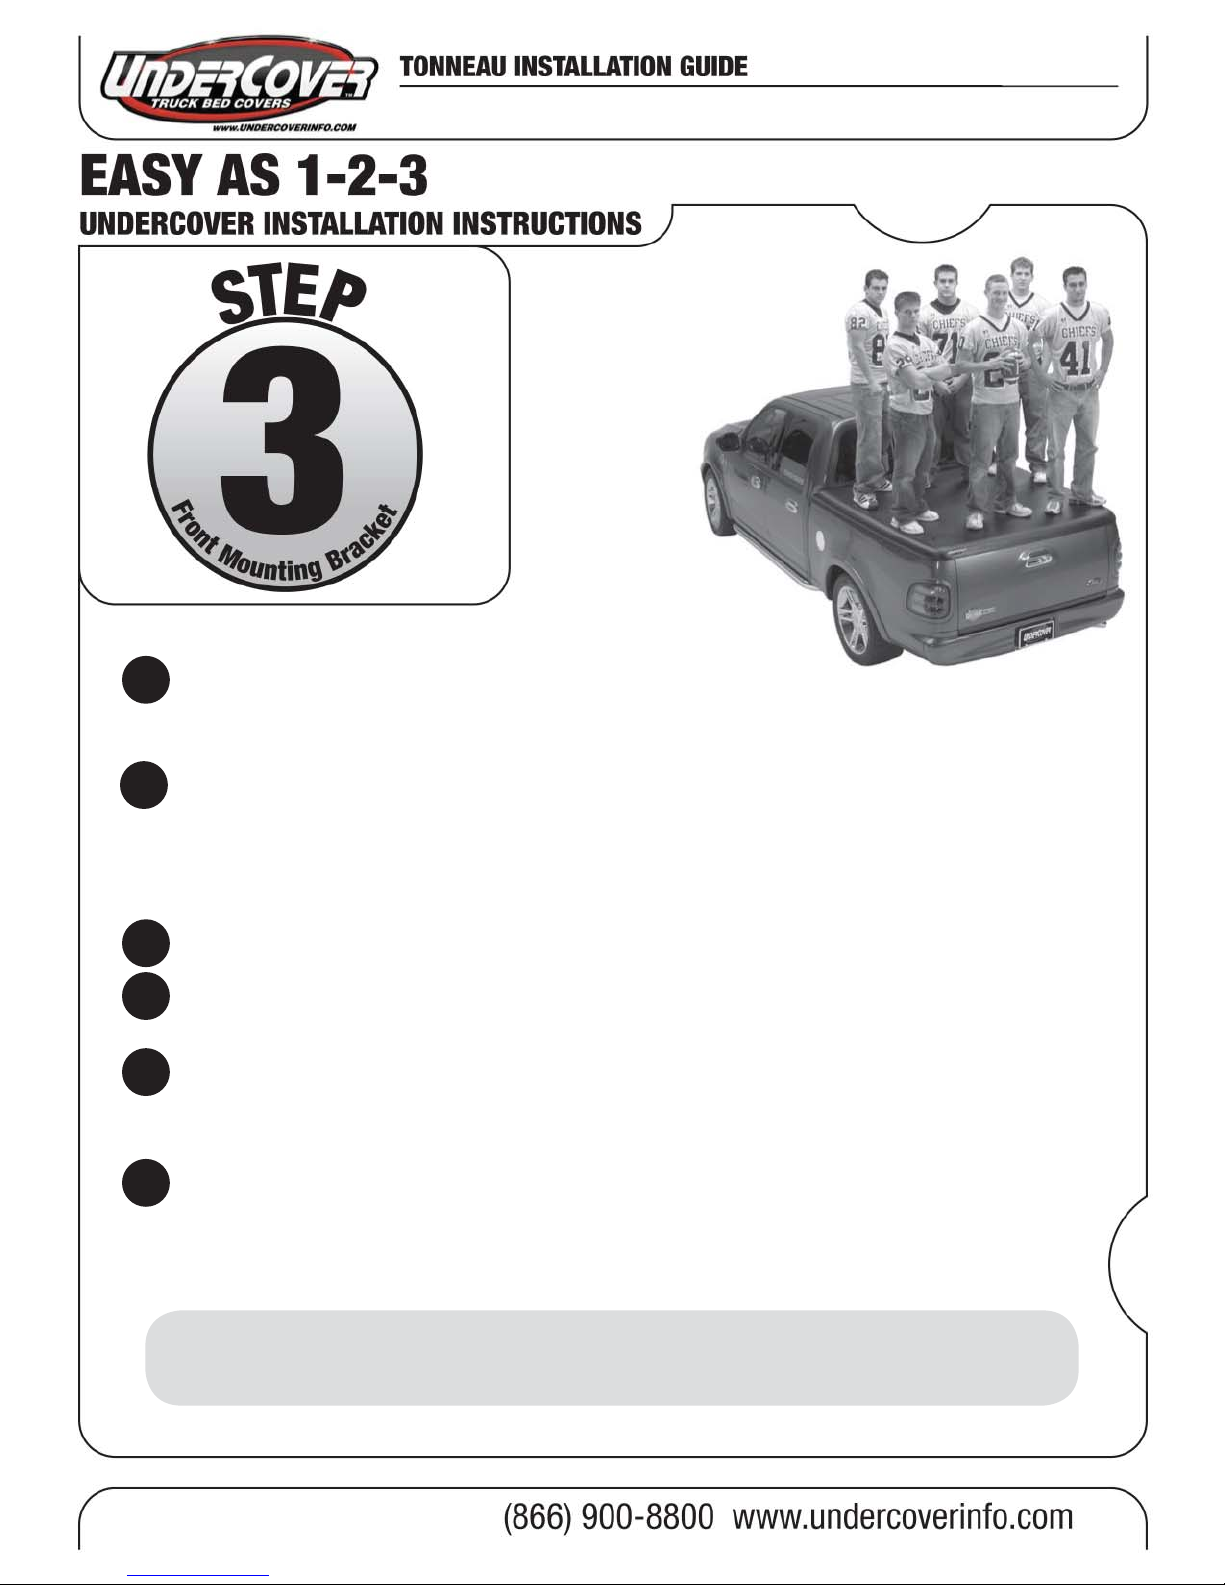
Installation of the front bracket is very similar to the rear. Remove the plastic plugs exposing the 3
preset bolt holes located at the front of the bed. Page 8, Picture A shows how the front bracket will look
once it is fully installed.
Position the front bracket over the three preset bolt holes. See Page 8, Figure 1. Attach the bracket
to the truck using the three 6mm bolts and washers. The measurement is just a starting point, the brackets
are slotted to allow for adjustment. See Page 8, Picture B. Tighten the three bolts using a 10mm wrench
or socket/ratchet. See Page 8, Picture C. BE SURE NOT TO OVER TIGHTEN OR YOU COULD SHEAR OFF THE
BOLT HEAD CREATING A VERY DIFFICULT PROCEDURE TO REMOVE THE REMAINING THREAD.
Repeat process for other side.
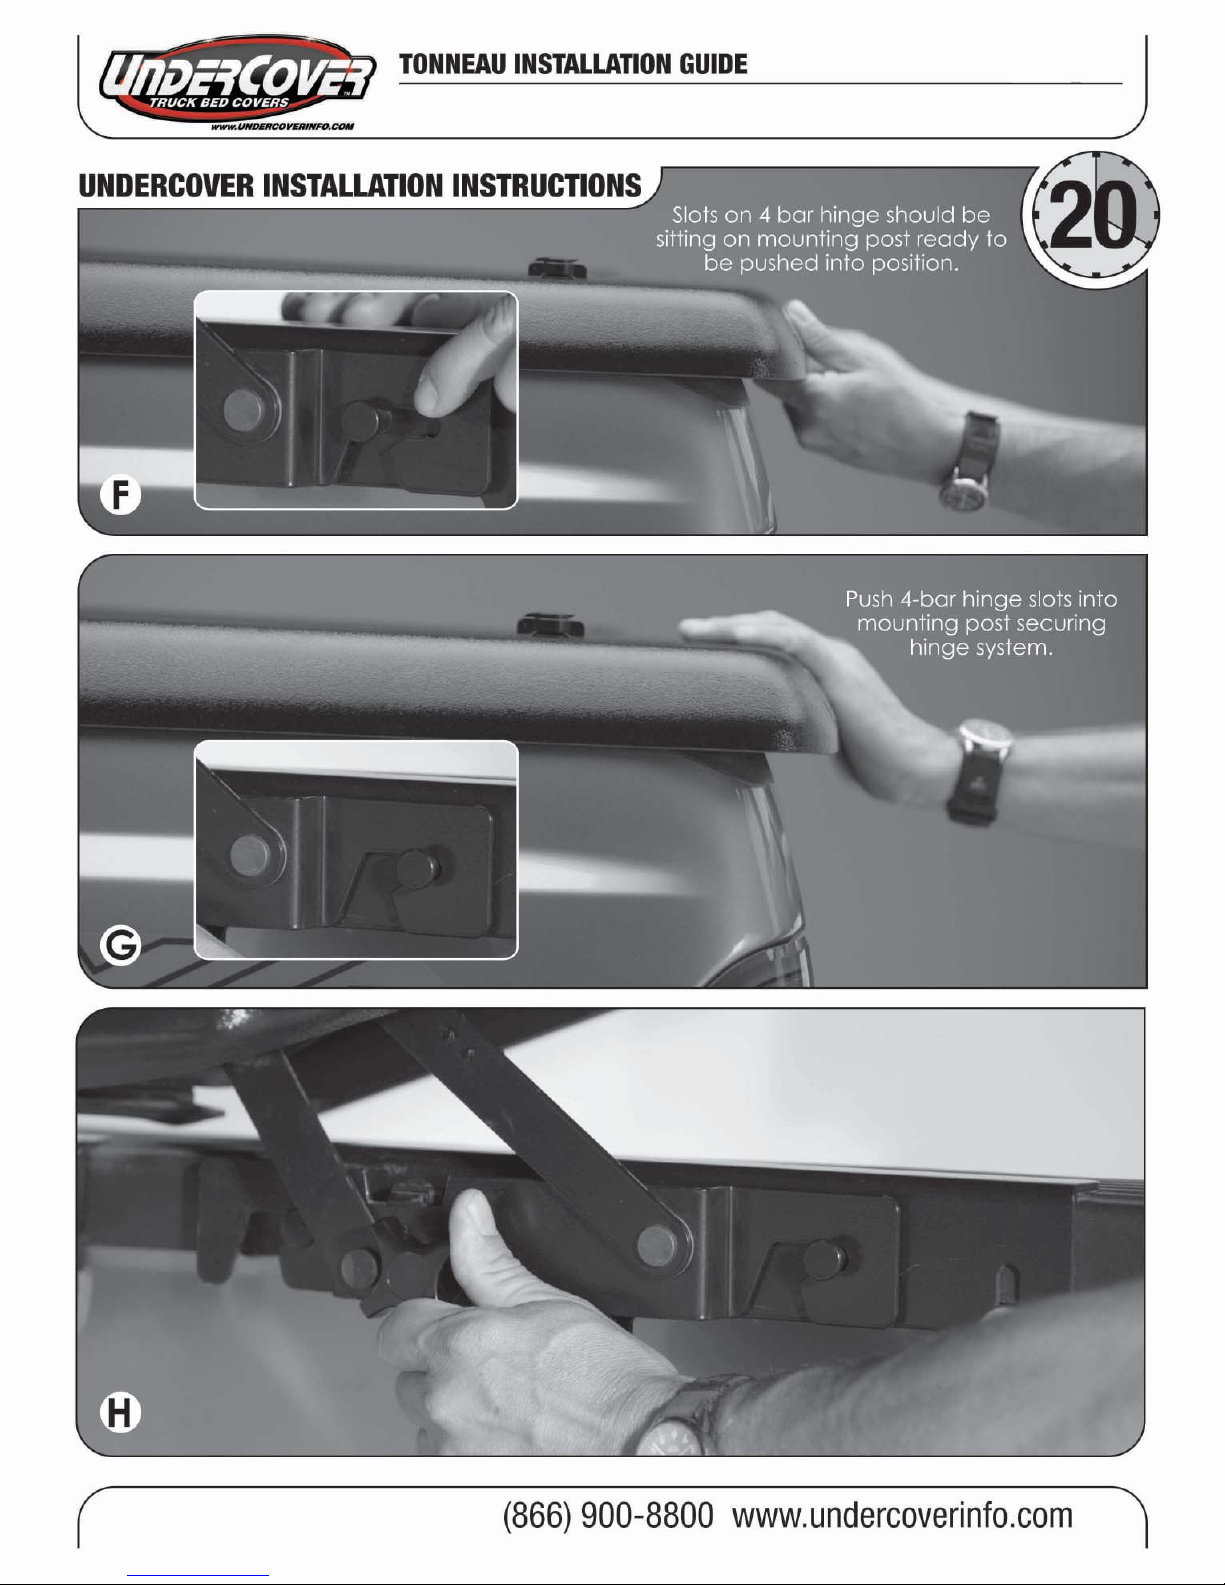
Now you are ready to set your cover on the truck. The hinge that is attached to the cover has slots in
it that fit over the mounting posts on the bracket you just installed. See Page 8, Figure 2.
With the hinge slot over the post, the cover will be sitting about 1-inch past the tailgate. See Page 9,
Picture F. With the cover sitting all the way down on the truck bed, push the cover forward securing the 4
bar hinge to the mounting posts. See Page 9, Picture G.
With some assistance, have someone hold the cover up at the rear and reach inside the cover and
screw in the two fastening knobs. See Page 9, Picture H.
A
B
C
D
E
F
WARNING! Be sure not to over tighten the rear mounting bolts. Doing so could shear
off the bolt heads, creating a difficult procedure to remove the remaining thread.
FORM # IG2110HH
Modified Mar 2009
Page 7
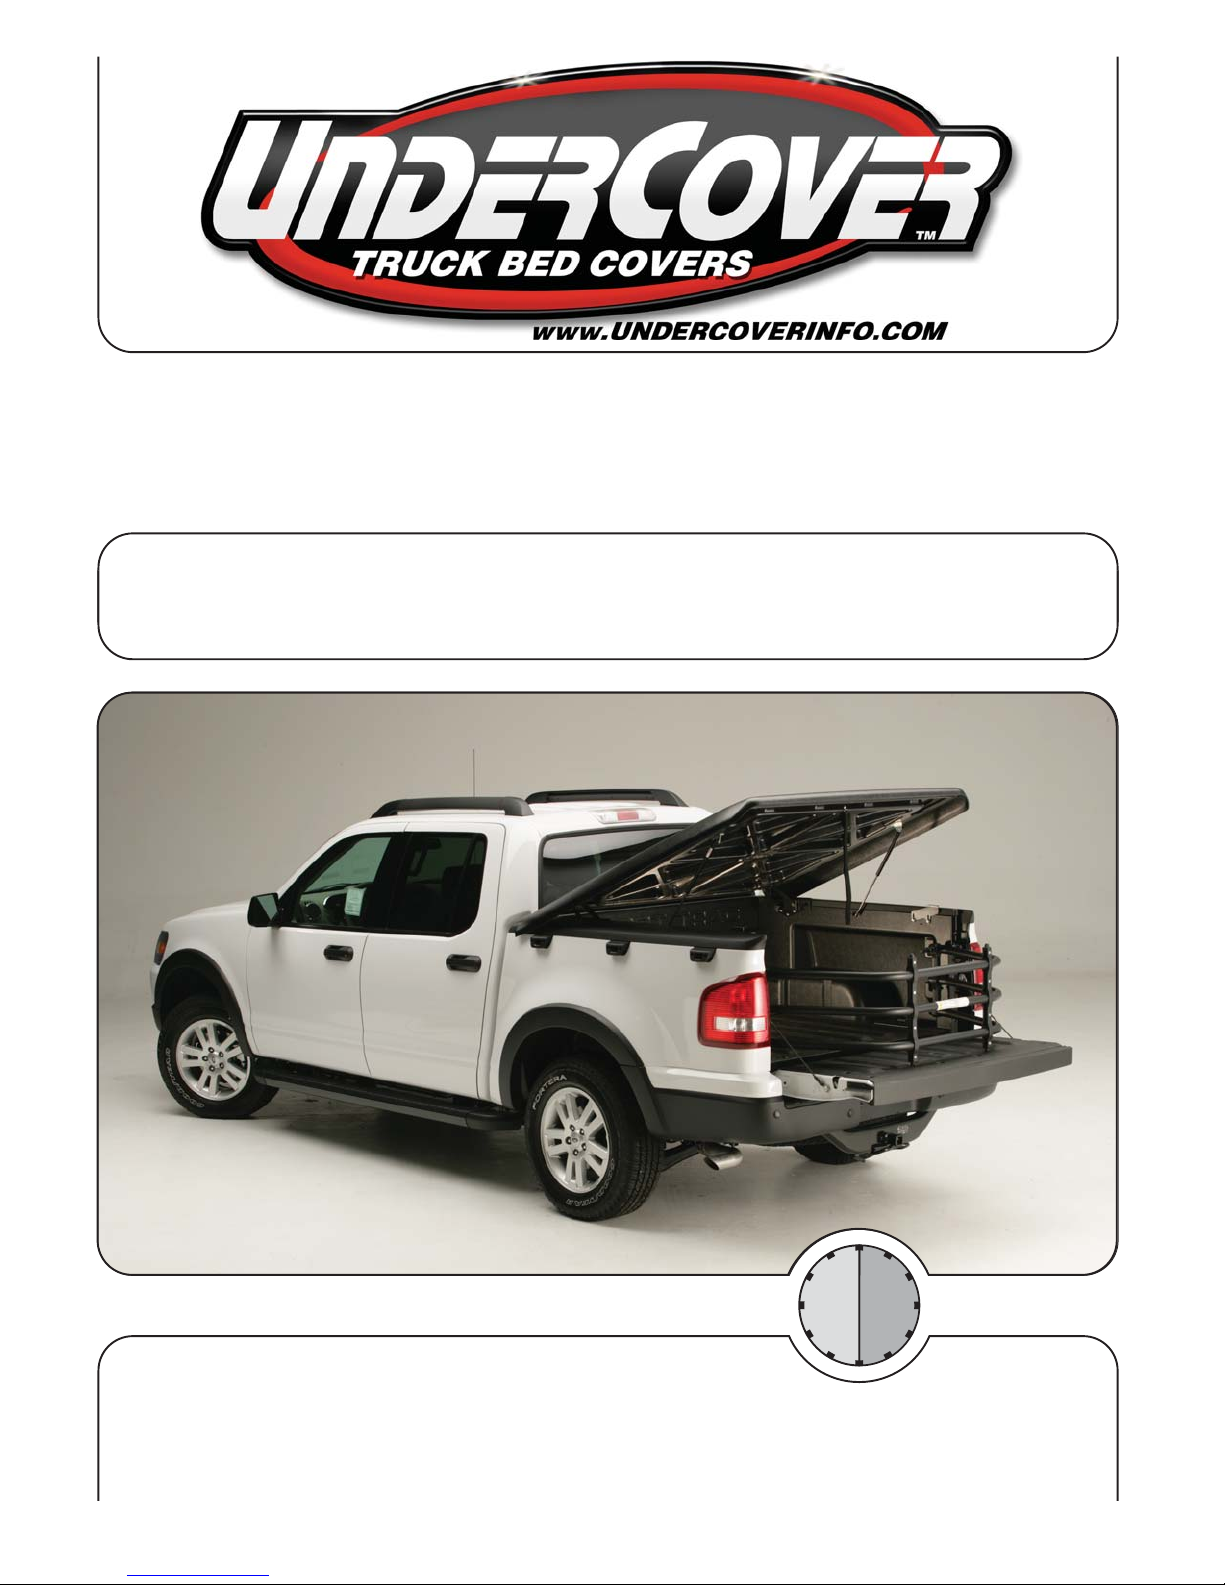
Model 2110 Ford Explorer Sport Trac 2007-Current