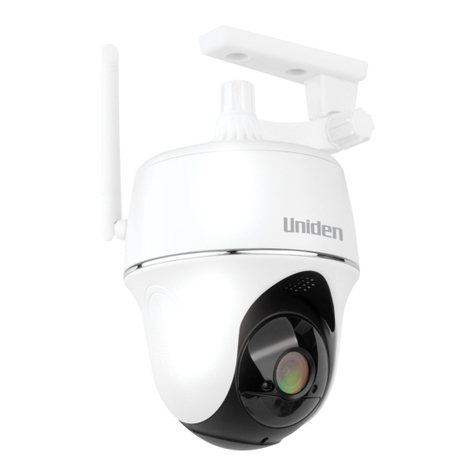
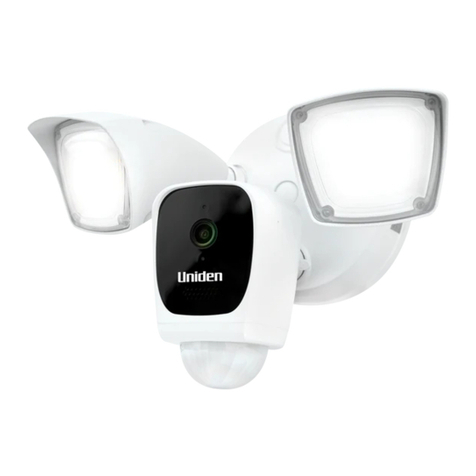
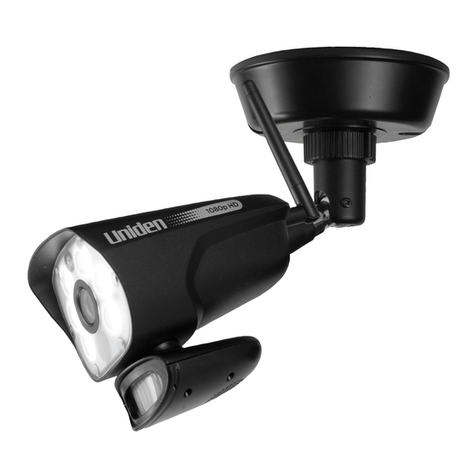
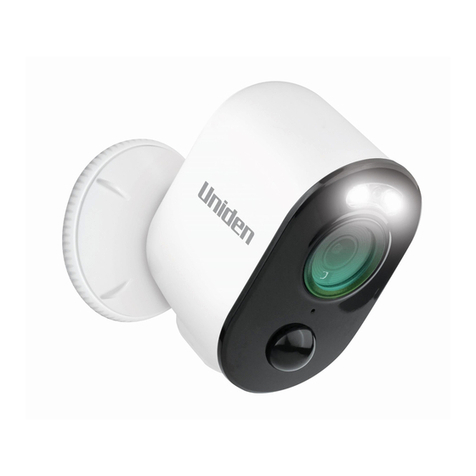
Uniden App Cam Spotlight User manual

1
App Cam
Spotlight

2
INSTRUCTIONS
Damages caused by non-compliance with this Owner’s Manual will void
the warranty! We will not assume any liability for damages to items or
persons caused by improper handling or non-compliance with the safety
notices! Any warranty claim will be null and void in such cases.
• Do not drop, puncture or disassemble the camera. This camera is not
waterproof. DO NOT expose the camera to water or moisture.
• Never tug on the power cords. Use the plug to unplug it from the outlet.
• Do not expose the camera to high temperature or leave it in direct
sunlight. Doing so, may damage the camera or cause temporary
camera malfunction.
• Use the devices with care. Avoid pressing hard on the camera body.
• For your own safety, avoid using the camera or power off the camera
when there is a storm or lightning.
• Disconnect the power adaptor during long periods between usage.
Use only the accessories and power adaptors supplied by Uniden.
WIRELESS DEVICES OPERATING RANGE
Ensure the signal reception is acceptable between the camera(s) and the
WiFi router. If necessary, reduce the distance between them to improve
overall system performance. As local internet environments may vary,
your device may indicate that the camera is disconnected or may display
a black screen. If this occurs, refresh the app.
Important Safety precautions

3
CONTENTS
INSTRUCTIONS ���������������������������������������������������������������� 2
CONTENTS ����������������������������������������������������������������������� 3
OVERVIEW� ����������������������������������������������������������������������� 4
Features ................................................................................... 4
WHAT’S IN THE BOX? ����������������������������������������������������� 5
GETTING TO KNOW YOUR APP CAM SPOTLIGHT �������������� 6
INSTALLATION ��������������������������������������������������������������� 7
General Placement Considerations ......................................... 7
Installing the Camera ................................................................7
INITIAL CAMERA SETUP ����������������������������������������������� 8
Prerequisites ............................................................................8
Option 1: Smart Cong Connection ..........................................8
Option 2: Access Point Connection ........................................ 11
LIVE VIEW ������������������������������������������������������������������������17
Event List Details ..................................................................... 18
ADVANCED SETTINGS�������������������������������������������������� 19
CAMERA POWER LED INDICATOR ����������������������������� 22
TROUBLESHOOTING ���������������������������������������������������� 23
SPECIFICATIONS ����������������������������������������������������������� 24
WARRANTY �������������������������������������������������������������������� 25

4
OVERVIEW
Uniden’s App Cam Spotlight camera works with your smartphone to
create a powerful home security network. No PC interface is needed
to view video on your smartphone or wireless devices. The wireless App
Cam Solo offers superior quality video with true colour. It is suitable for
day or night time use.
Features
App Cam Spotlight
• No PC required
• WiFi connection to router
• P2P connection
• Records HD 720P
• Motion recording to built-in storage
• Built-in 32GB storage
• High definition video
• Two-way audio
• IR cut filter switch
• Night vision range up to 12 metres
• Built-in microphone and speaker

5
Camera Power
Adaptor* Quick Start Guide
Screws and
anchors
App Cam
Spotlight
• Image may vary slightly from the actual product.
• If any item is missing or damaged, contact your place of purchase immediately. Never use damaged
products!
• Need help? Get answers at our website:
www.uniden.com.au for Australian model.
All trademarks are registered trademarks of their respective owners.
In the Box
Model App Cam Spotlight
QSG 1
Power Adapter 1
Mounting Screw Kit 1
WHAT’S INSIDE THE BOX

6
Front View
Side View
GETTING TO KNOW YOUR APP CAM SPOTLIGHT

7
• The cameras included are weatherproof and have an IP64 weather
rating. Water can be sprayed on them and they will still work;
however, the cameras cannot be submerged underwater.
• Although the cameras can be exposed to the rain splashes, it is
recommended that, if they are used outdoors, they be mounted
under some type of cover like a patio overhang or eave. As rainwater
drops start to dry on the camera glass, it can create spots that will
reflect the light from the infrared LEDs used for night vision, thus
causing lower quality video.
• Also, as dust, grime, and cobwebs accumulate on the camera glass,
they can reflect light from the infrared LED and might lower video
quality. Periodically, clean the lens glass with a soft cloth.
General Placement Considerations
Consider the following when placing the camera:
• Avoid having a direct light source in view of the camera. This
includes street lights, ceiling or floor lamps, spotlights in the
driveway, etc.
• The cameras are equipped with built-in infra-red LEDs so you can
use night vision for 24-hour surveillance. The LEDs automatically
activate at night and the picture viewed turns to black and white. The
night viewing range is up to 12 meters. Avoid pointing the camera
lens directly at clear glass; the night vision LEDs will cause a blurred
image.
Installing the Camera
When you are positioning the camera, it is recommended to connect the
camera to the router first.
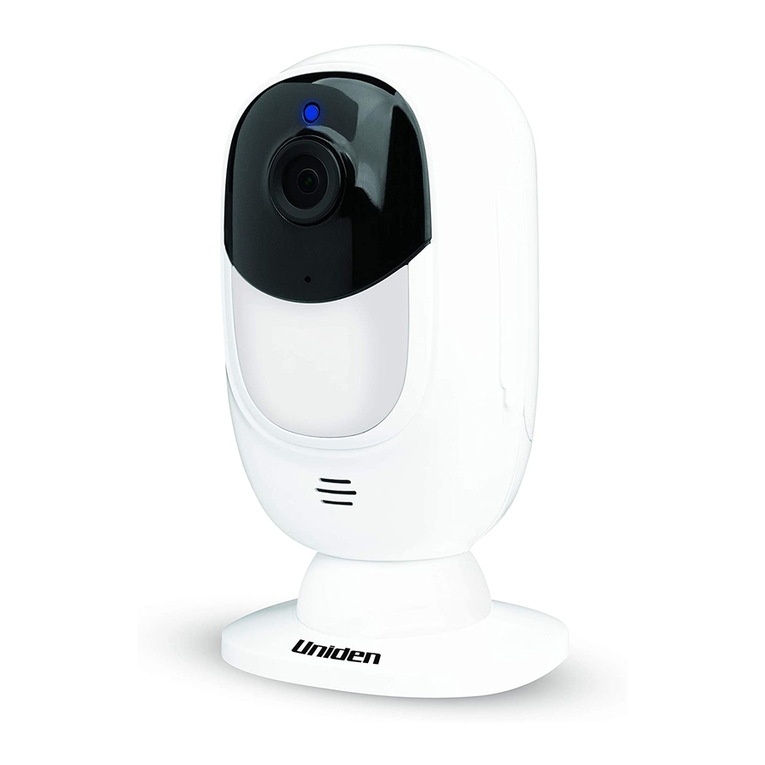
1. Install the antennas (if needed), position the camera where you want it
2. Hold the base of the camera stand where you want to mount it and
mark the location of the screw holes.
3. Use the included screws and anchors to attach the base to the wall or
ceiling.
4. Tug gently on the stand to make sure it is securely in place.
5. Connect one end of a AC adaptor to the camera’s power pigtail and
plug the other end into a standard indoor power outlet.
6. Adjust the camera viewing position, if needed.
INSTALLATION
8
Prerequisites
• You must have an available Wi-Fi-enabled Smartphone (Android or
iOS smartphone).
• The App Cam Spotlight and your mobile device must within the same
Wi-Fi network range for initial setup (ideally within 3m from the router).
• Wi-Fi router connection is 2.4GHz and password if any.
1. Search and download the Uniden LightCam App from the App Store
for iOS devices or Play Store for Android devices.
2. Connect the camera with supplied power adapter. Connect the
power adapter to power outlet and switch it on.
• The LED will start with a solid green then after 10 seconds it will
switch off. Approximately 15 seconds later, it will begin flashing
green meaning the boot up is complete.
There are two options to connect the camera with
smartphone : Smart Config connection and Access
Point connection.
Option 1: Smart Config Connection (simpler)
1. Make sure your smartphone is connected to a 2.4GHz enabled Wi-Fi
router network which the camera is going to use.
2. Make sure the power LED of the camera is in fast flash mode.
3. Open the LightCam app.
4. Tap ‘+’ at the top right corner and select ‘Smart Config’.
INITIAL CAMERA SETUP

9
5. Enter the local Wi-Fi router password on the pop-up then tap next.
6. Enter the camera default password: ‘000000’ then tap “save” to
complete the connection.
7. Once the camera is connected to the Wi-Fi router successfully, please
make sure the status is ‘connected’. If the network is not stable, the
camera will lost connection, please press and pull down the screen,
the connection will refresh automatically.

10
8. Tap the camera icon and you will be prompt to modify the camera
password to a more secure password.
9. Please input 8-16 characters with a mix of alphabetic characters and
numbers and tap “save” to save your new password.
10. Tap the snapshot view for view video stream. If the network is not
stable, the camera will lost connection, please press and pull down
the screen, the connection will refresh automatically.

11
Option 2: Access Point Connection
1. Make sure the power LED of the camera is in fast flash mode.
2. Press the reset button on the back of the camera to solid green mode.
3. Go to your smartphone Wi-Fi setting and connect to the camera
Access Point (no password needed).
4. When connected, open the LightCam app.
5. Click the “+” symbol to add a new camera.

12
6. Choose from one of the 3 steps:
i) Search Local Network
• Select “Search in Local Network”.
• It will automatically search the camera Device ID (DID) and
display the camera name and Device ID (DID).
• Select the Device ID and enter the camera default password:
‘000000’ and save the password to complete the connection.

13
ii) Scan QR Code
• Select “QR Code Scan”.
• Scan the QR Code on the back of the camera to retrieve the
camera name and Device ID (DID).
• Enter the camera default password: ‘000000’ and save the
password.
iii) Manual Input
• Select “Manual Input”.
• Retrieve the Device ID (DID) located on the camera and enter the
Device ID (DID).
• Enter the camera default password: ‘000000’ and save the
password

14
7. Tap the camera icon and you will be prompt to modify the camera
password to a more secure password If the network is not stable, the
camera will lost connection, please press and pull down the screen,
the connection will refresh automatically.
8. Please input 8-16 characters with a mix of alphabetic characters and
numbers and tap “save” to save your new password.

15
9. Tap the camera icon again for view video stream. Tap to go to
advance setting.
10. Select WLAN networks and select your desired 2.4GHz network that
you wish the camera connect to.

16
11. Enter the correct Wi-Fi password and tap join. Wait for the power LED
turn to slow flash mode, you will be able to view video stream from
the app.

17
Return to device list
Spotlight switch
Advance Setting
Manual Recording
Speaker Mic Event list
Snapshot
gallery
Snapshot
LIVE VIEW

18
Icon/Option Function
Live View Icon/Button
Tap to take a snapshot in Live View.
Tap on this icon to view the saved snapshots.
Tap to turn on/off audio.
Tap and Press and hold to talk through the camera.
Release to listen for a response.
Go to event list to view/playback the recorded files.
Tap to turn on/off the light.
Tap to start/stop manual recording.
Go to advance setting.
Event List Details
Tap the Event List icon to view a list of recorded video files.
Tap on the selected date and time to playback recorded les from the
camera.
You may download the event by tapping the download icon, and the le
will start to download and kept in your smartphone local folder.
The recorded videos can to be searched by time. Tap the back icon on the
top left and choose the period and search. It will show a list of recorded
les from the selected period.
If you are have issues viewing remotely or download the les, it might be
the upload speed of the home network is slow. Please improve the upload
speed of the connection or view/download via local network.

19
While viewing video stream. Tap to go to advance setting.
ADVANCED SETTINGS

20
Camera Name
Selected camera name.
DID
Selected camera device ID.
Firmware Version
Selected camera current firmware version
Library Version
Selected camera current file management version.
Camera Firmware Upgrade
Tap to check whether your camera has the latest firmware. Any new
firmware is to improve the reliability and functionality of your device.
Change Password
Tap to change the password of your camera. If you forgotten the
password, please reset the camera and set it up again.
Motion Detection
Tap to enable motion select change motion detection setting. Please
note that even if the motion detection is off, the PIR sensor is still active
this could not be disabled. It will detects object with heat and start
recording.
Push Notification
Tap to enable/disable push notification.
File Overwrite
Tap to allow/disallow cycle recording.
SD Card Management
You can format the internal memory when the SD Card if full or there’s
error in recording.
Video Rotation
The camera can be placed on a flat surface, wall or ceiling, you may
need to adjust the video rotation to get a better angle.
Table of contents
Other Uniden Security Camera manuals

Uniden
Uniden APPCAM23 Service manual

Uniden
Uniden UDRC14 User manual

Uniden
Uniden Guardian App Cam Solo User manual

Uniden
Uniden 4KTPD-MVF User manual

Uniden
Uniden GC43 User manual

Uniden
Uniden UDS655 User manual

Uniden
Uniden UDR444 User manual

Uniden
Uniden UDS655 User manual

Uniden
Uniden App Cam 4K Bullet-S User manual

Uniden
Uniden Guardian G710PTZC User manual

Uniden
Uniden App Cam Solo+ User manual

Uniden
Uniden LightCam 35HD User manual

Uniden
Uniden GNC 701 User manual

Uniden
Uniden AppCam 50HD User manual

Uniden
Uniden UDR444 User manual

Uniden
Uniden APPCAM25HD User manual

Uniden
Uniden UDWC25 User manual

Uniden
Uniden UDRC57HD User manual

Uniden
Uniden APPCAM25HD User manual

Uniden
Uniden ULC58 User manual