USASPEC P15-ACUxl User manual

KEY FEATURES
APPLICATION
This adaptor connects an iPod, iPhone, or iTouch to your ACURA / HONDA
audio system with the following benefits:
Your iPod through ACURA / HONDA Car Stereo System!
** The chart below is for general reference only. For detailed application and
compatibility please consult www.usaspec.com or call 626-336-3836.
•Connects iPod s audio output directly to ACURA/HONDA Audio system for optimal
sound quality playback.
•Displays text information on XM ready radios.
•Retains Satellite radio receivers, CD Changers, and DVD systems.
•Offers three ways to access the music on iPod, namely, DIRECT MODE, FOLDER
MODE, and PLAYLIST MODE
•Charges iPod, iPhone, and iTouch while playing. Charging stops at 30 minutes after car
key is turned off to prevent car bettery drain.
•Connects Satellite radio, DVD player, or other audio source to the car audio system
through the AUX Audio Input jack.
ACURA YEAR
MDX (Nav) 05 - 06
RL (Non-Nav) 05 - 09
TSX (Nav) 04 - 08
HONDA YEAR
ACCORD 03 - 11
CIVIC 06 - 11
CRV 05 - 11
ELEMENT * 03 - 11
FIT 07 - 11
HONDA YEAR
ODYSSEY 05 - 11
PILOT 06 - 11
RIDGELINE 06 - 11
S2000 04 - 07
* ELEMENT LX (03 - 09) should use the PA11-HON model

If your radio has a XM button, read section 3-1 and section 3-2 first.
If your radio does not have a XM button, read section 3-3 first.
Quick Guide
If text display feature is preferred on an ACURA radio, a
PA15-HON3 or a P15-ACUxl model should be used.
Please check with the APPLICATION guide in Section 1-5.
For warranty service and technical support, please e-mail to
warranty service requests.
Print date: 1.20.2010 1

Section 1. ABOUT PA15-HON2 INTERFACE
1-1 Introduction
Thank you for purchasing USA_SPEC product. This manual describes the
function and operation of PA15-HON2 iPod interface for Honda and ACURA
car radios. Please read this manual before installing the interface adaptor in
your vehicle.
a) This interface connects an iPod, iTouch, or iPhone directly to your Acura or
b) This interface enables iPod to coexist with ACURA/HONDA navigation system,
c) PA15-HON2’s on board software translates commands from your
iYou can use either the XM control or the CD changer control of the radio to
ii When useing XM control, XM1 is for iPod and XM2 is retained for
XM broadcast reception.
work with iPod or iPhone. Use XM control on XM ready radios if text display
is desired.
d) This interface charges iPod, iTouch, or iPhone while it is playing and charging
stops automatically half an hour after iPod is paused.
CD changer control or XM Band control into commands that the
iPod understands.
CD changer, and Satellite radio.
HONDA audio system for optimal playback sound quality.
It is strongly recommended that the adaptor is installed in an easily accessible
location, so that it can later be easily reset or upgraded.
Eject ALL CDs from the built-in CD player or CD changer before removing the
radio from dash board.
USA SPEC distributes products through authorized dealers so customers will
receive proper services and advice from the dealers. USA SPEC reserves the
right to offer technical or warranty services only on products purchased through
authorized USA SPEC dealers.
SAFETY NOTE: You should always give full attention to driving. DO NOT operate
the feature or function of PA15-HON2 in such a way that might distract you while
you are driving.
2

1-2 Text Display of Song Information
1-3 Package Content
1-4 Compatibility
1-5 Application
a) Artist name and song title can be displayed on radio by configuring
b) Only DISC number and track number are displayed on the radio (Disc number
=Playlist number) when using PA15-HON2 with radio’s CD or AUX button.
PA15-HON2 contains one PA15-HON2 interface adaptor and one each of the following
described in this owner’s manual and on the website www.usaspec.com.
Future iPod and iTune software updates may affect the features and functions
cables: CAS-H2y, CAS-HXM and CB-PA105 .
PA15-HON2 to work with the XM buttons on the radio.
Control iPod Text
with… Display Note
Accord 03 - 11 All radios CDC or XM yes (1)(3)
Civic 06 - 11 All radios CDC or XM yes (1)(3)
CRV 05 - 11 All radios CDC or XM yes (1)(3)
Element 03 - 11 All radios CDC or XM yes (1) (2)
Fit 07 - 11 All radios CDC no (1)(3)
Odyssey 05 - 11 All radios CDC or XM yes (1)(3)
Pilot 06 - 11 All radios CDC or XM yes (1)(3)
Ridgeline 06 - 11 All radios CDC or XM yes (1)(3)
S2000 04 - 07 All radios CDC no (1)(3)
H
O
N
D
A
Make
Year
Model
Type of Radio
Note(1) : XM control and text display is for radios that have a XM button.
Note(2) : Element LX (03-09) should use model PA11-HON adaptor.
Note(3) : PA15-HON2 is not compatible with 2010-11 models with USB.
3
Make Model Year
Type of
Radio
Control iPod
with…
Text
Display
Note
MDX 05 - 06 Nav CDC or XM YES (1)
RL 05 - 09 Non-Nav CDC or XM YES (1)
TSX 04 - 08 Nav CDC or XM YES (1)
ACURA

USA_SPEC verifies the published radio and vehicle application to the best of our
ability. Due to uncontrollable factors, USA_SPEC can not 100% guarantee every
published application. These factors include variables such as, anomalies within a
factory radio, factory radio heretofore unknown to USA_SPEC and partial model
year changes.
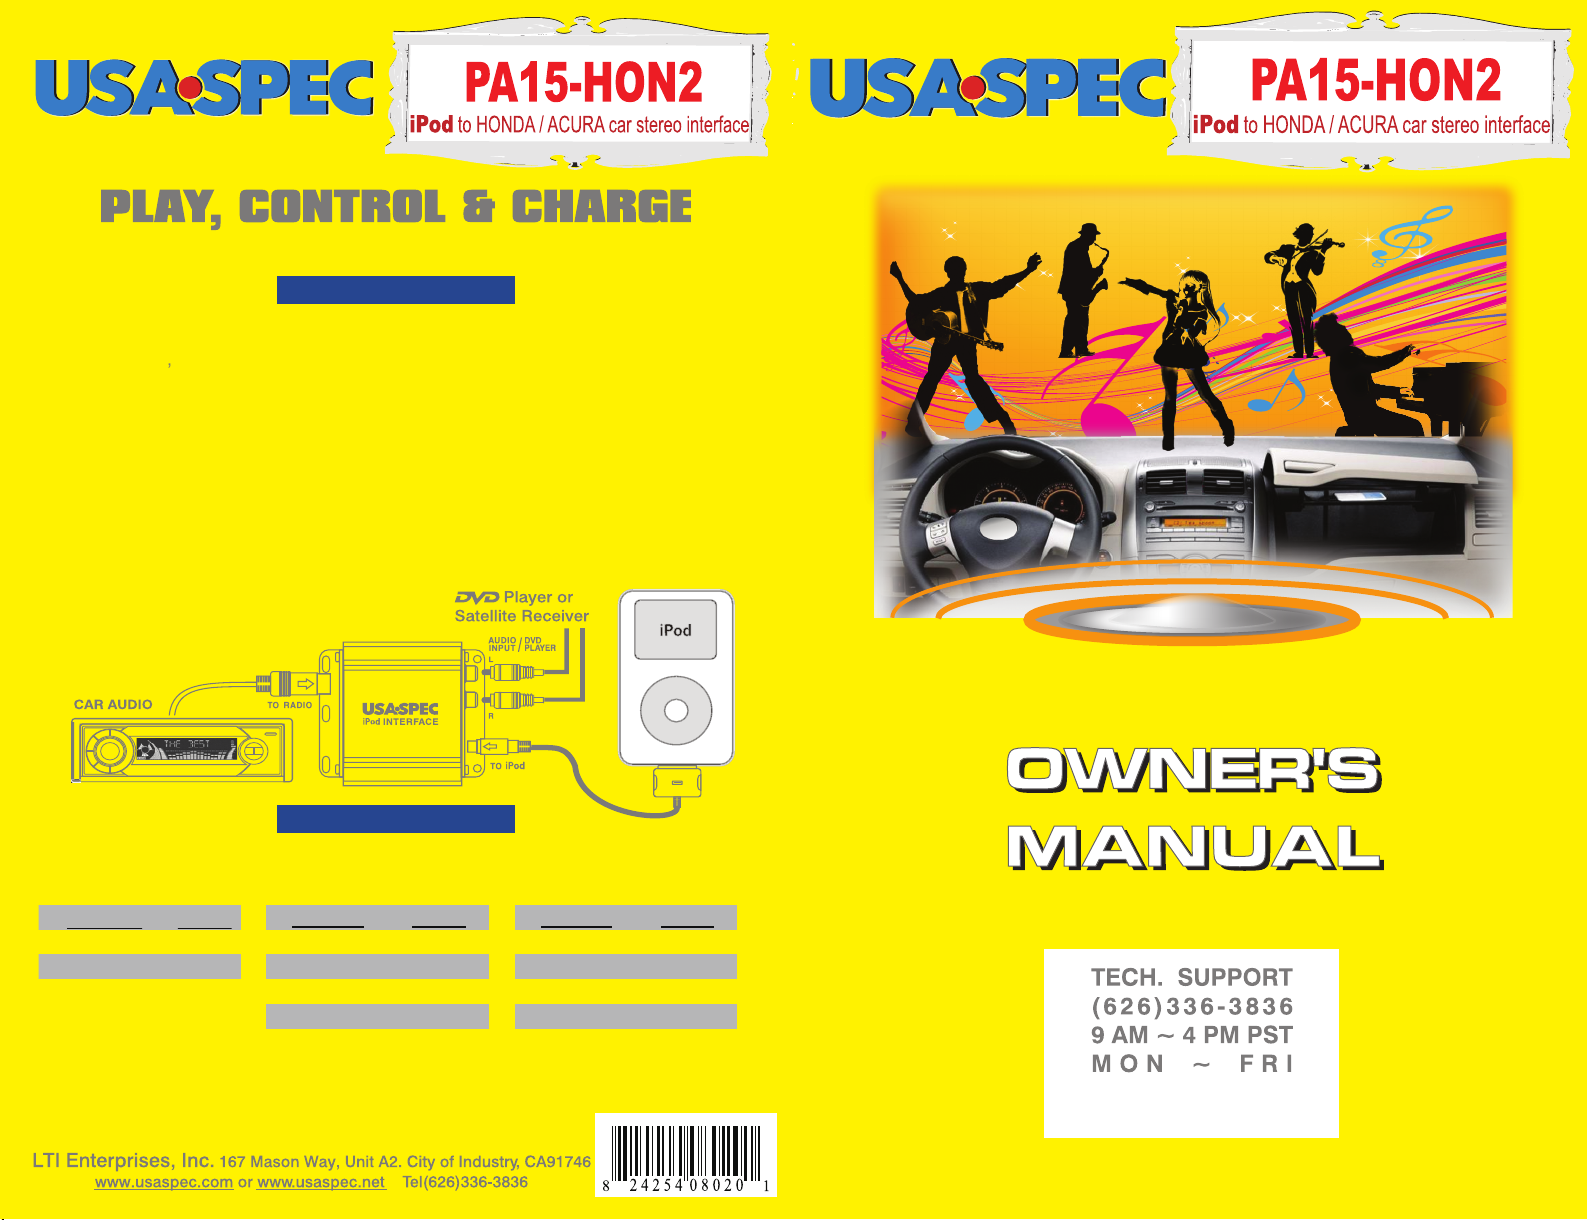
PA15-HON2 provides two ways to control your iPod through car radio, namely
Search and select music on iPod just as you would in portable use. Use the track
up/down, fast forward/reverse on the radio or the steering wheel to control.
Direct Mode is supported in both XM control and CD changer control configuration.
When PA15-HON2 is configured to XM control, XM 1-CH8 is dedicated to
Direct Mode.
When PA15-HON2 is configured to CD changer control, DISC# 8 is dedicated to
Direct Mode.
In Direct Mode, screen and click wheel keypad on iPod are unlocked and fully
functional. When in Direct Mode, radio does not display music’s text information.
Application Tip
Direct Mode allows for the playing of free wi-fi music stream such as Pandora.com
(Playlist Mode + Direct Mode ) and ( Folder Mode + Direct Mode ).
Section 2. Playlist Mode, Direct Mode,
Folder Mode, and AUX Option.
2-1 Direct Mode
Access 3 Folder, namely Playlist, Artist, and Album on iPod from the radio and
allows text based song search by the Artist, Album ,and Playlist names.
See section 3-1 for more information.
2-2 Folder Mode
and SIRIUS XM Online from your iPhone or iTouch through the car stereo
CAUTION: Do NOT operate the text based song search feature if it will
distract or prevent you from giving your full attention to driving
or to the road. Safe driving is your responsibility.
Folder Mode is applicable only when PA15-HON2 is configured to use XM control
and the radio must be XM ready or has a XM button.
XM 1-1 accesses Playlist Folder. Display on radio is : PL-Playlist name.
XM 1-2 accesses Artist Folder. Display on radio is : AR-Artist name.
XM 1-3 accesses Album Folder. Display on radio is : AL-Album name.
4

In addition to iPod, PA15-hon2 also can connect a second audio source to
AUX input is enabled by setting the DIP switch #1 to ON position at the side
of the interface adaptor to ON position.
Before starting the installation, please carefully read the three different configuration of
PA15-HON2 and decided which one to use then set the Dip switches accordingly.
control. See Section 3-3 for details.
(Note: this configuration supports text display but is applicable only to
Note: DIP switch #1 is only related to RCA AUX option setting and it is
independent from these DIP switch setting.
Press XM button on radio to access iPod at XM1.
be a time delay when switching from XM1 to XM2. The length of delay
varies by radio models.
Use radio Preset buttons to access iPod Folders, Direct Mode, and
RCA AUX as follow:
Press XM button on radio to access XM stations at XM2. There will
radios that have a XM button.)
Note: Radios that do not have a XM button can only be configured to CD changer
car radio. Connect the second audio source to the RCA jack labeled AUX
2-4 AUX Input Option
3-1 Folder Mode + Direct Mode Configuration
3-1-1 Set DIP switches as follow:
3-1-2 Functions and Radio Buttons
DIP #2 DIP #3 DIP #4
OFF ON OFF
Section 3. Mode Setting and Function Control
Operate and control the iPod like it is a CD changer. This mode allows you to
access six Playlists on iPod from the radio. iPod screen will display “OK to
disconnect” or “Attached to accessory” and iPod’s keypad will be locked and not
functional.
changer control configuration.
Playlist Mode is supported in both XM control configuration and CD
Radio displays artist name and song title only when adaptor is configured to
control iPod with XM button on the radio.
When PA15-HON2 is configured to use XM control, CH01 to CH06 are
When PA15-HON2 is configured to use CD changer control. DISC #1 to
DISC #6 are Playlists and DISC #7 is All Song on iPod.
Playlists and CH-07 is All Songs on iPod.
2-3 Playlist Mode
5

3-1-3 Connecting and Playing iPod
Push DISP button on radio to view text information of music. Text display
on radio is as follow: ( Note: available on XM ready radios only.)
Steering wheel control:
Several different steering wheel XM control designs are available from Honda
on the length of time it is being pressed.
When iPod is connected to the interface adaptor and XM1 on radio is pushed,
completed, iPod will go to the first track of All Songs folder.
to iPod is connected to PA15-HON2. When the last track of the Folder is
XM1-CH4 will continue to play the track in the Folder which was played prior
iPod will begin to play at XM1-CH4.
means that the CH+ and CH- buttons can perform two different tasks depending
keys on the steering wheel are the double-functioned type. Double-function
control. In general, it is able to do track up/down if the CH+ / CH-
while others only allow Playlist or Folder change from the steering wheel
and Acura. Some of the designs allow PA15-HON2 to do track up/down
Preset #3
Preset #4
Preset #5
Preset #6
Preset #2
Preset #1 XM 1-1
XM 1-2
XM 1-3
XM 1-4
XM 1-5
XM 1-6
Playlist Folders
Artist Folders
Album Folders
All Songs Folder
iPod Direct
RCA AUX IF DIP #1=ON
Radio Displays Radio Plays Remark
Push......
XM CATEGORY
NAME
XM CHannel NAME
artist name
song title
album name
folder type & name
track number
TITLE
XM CHannel NUMBER
DISP Button Text from iPod Note
Prefix Text from Radio
2nd Push
3rd Push
4th Push
4th Push
1st Push
6
● Press SEEK (- / + ) or SKIP (◄◄, ►►) button to select sub-folder (example:
change to next or previous Playlist while in the Playlist folder; change to next or
previous Artist while in the Artist folder).
● Press-and-hold (about 5 seconds) the preset #2 button to begin the RANDOM
track play function. Press-and-hold the preset #2 button for the 2nd time (about 5
seconds) to terminate the RANDOM play.
● Press-and-hold (about 4 seconds) the preset #3 or the preset #4 button to fast
rewind or fast forward the playing track for approximately 40 seconds respectively.
● Press the SCAN button to advance 10 tracks.

When returning to XM1-CH4 from Direct Mode, XM1-CH4 will continue the
track and the folder being played at XM1-CH5 (Direct Mode). When the last
track of the folder is completed, iPod will go to the first track of All Songs
folder.
(Note: this configuration supports text display but it is applicable only to radios that
have a XM button.)
3-2-1 Set DIP switches as follow:
Note: DIP switch #1 is only related to RCA AUX option setting and it is
independent from these DIP switch settings.
Press XM button on radio to access XM station at XM2. There will be a time delay
when switching from XM1 to XM2. The length of delay varies by radio models
Push DISP button on the radio to view music’s text information. Text display on
radio is as follow: (Note: available on XM ready radios only.)
7

XM CATEGORY
NAME
XM CHannel NAME
artist name
song title
album name
folder type & name
track number
TITLE
XM CHannel NUMBER
DISP Button Text from iPod Note
Prefix Text from Radio
2nd Push
3rd Push
4th Push
4th Push
1st Push
Press the preset #3 or the preset #4 button to retreat or advance 10 tracks respectively.
Press-and-hold the preset #3 or the preset #4 button to fast rewind or fast forward the
playing track for approximately 40 seconds respectively.
Steering wheel control:
Several different steering wheel XM control designs are available from Honda
of time it is being pressed.
CH+ and CH- buttons can perform two different tasks depending on the length
keys on the steering wheel are the double-functioned type. Double-function means
control. In general, it is able to do track up/down if the CH+ / CH-
while others only allow Playlist or Folder change from the steering wheel
and Acura. Some of the designs allow PA15-HON2 to do track up/down
When iPod is connected to the interface adaptor and XM on radio is pushed,
iPod will begin to play at XM1-7 (some radio models will display XM1-CH7).
completed, iPod will go to the first track of All Songs folder.
to iPod is connected to PA15-HON2. When the last track of the Folder is
XM1-CH7 will continue to play the track in the Folder which was played prior
When returning to XM1-CH7 from Direct Mode, XM1-CH7 will continue the
track and the folder being played at XM1-CH8 (Direct Mode). When the last
track of the folder is completed, iPod will go to All Songs folder.
If iPod has more than 6 Playlists then see Section 5: Playlist Naming.
8
3-3 Playlist Mode (without Text Display) + Direct Mode Configuration

3-3-1 Set DIP switches as follow:
3-3-2 Functions and Radio Buttons
3-3-3 Connecting and Playing iPod
Note: DIP switch #1 is only related to RCA AUX option setting and it is
independent from these DIP switch settings.
Press CD or AUX button on the radio to access iPod.
Use DISC+ or DISC- button on the radio to access Playlist, Direct Mode,
and RCA AUX as follow:
Track up and down from steering wheel remote control is supported.
When iPod is connected to the interface adaptor and CD button is pressed,
iPod will play at DISC #7.
DISC #7 will continue to play the track in the Folder which was played prior
to iPod is connected to PA15-HON2. When the last track of the Folder is
completed, iPod will go to the first track of All Songs folder.
track of the folder is completed, iPod will go to All Songs folder.
If iPod has more than 6 Playlists, see Section 5: Playlist Naming.
track and the folder being played at DISC #8 (Direct Mode ). when the last
When returning to DISC #7 from Direct Mode, DISC #7 will continue the
DIP #2
ON
DIP #3
ON
DIP #4
ON
At...... Remark
Playlist #1
Playlist #2
Playlist #3
Playlist #4
Playlist #5
Playlist #6
All Songs
Direct Mode
RCA AUX
Disc 1
Disc 2
Disc 3
Disc 4
Disc 5
Disc 6
Disc 7
Disc 8
Disc 9
Radio Plays
IF DIP #1=ON
9

Note: On some of HONDA radios, the 14-pin connector is located
on the bottom side of the radio chassis.
Section 4. CABLE CONNECTION
in Section 3.
If a factory cable with the same identical 14-pin male connector is already
connected to the radio then unplug the factory cable from the radio first.
on CAS-H2Y cable. Reference Fig. (1).
adaptor where it is labeled RADIO.
with a relay. Reference Fig. (3).
Step 1-Decide which MODE to use and set DIP switches according to information
Step 2-Must remove or eject all CDs from the radio.
Step 3-Remove the radio from dash.
Step 4-Plug the 14-pin male connector on the USA_SPEC CAS-H2y cable to the radio.
Step 6-Plug the factory 14-pin male connector to USA_SPEC 14-pin female connector
Step 7-Plug the round 8-pin DIN connector on the USA_SPEC CAS-H2y cable to the
Step 8-If the vehicle has Rear-Seat-Entertainment system, wire ACCessory power
is selected by DIP switch #1=ON.
Step 9- Connect your audio source to the RCA jacks on the adaptor if AUX option
Step 14- Plug the orange color wire on CAS-HXM to PA15-HON2 adaptor where
Step 15- Go to Step 7, 8, 9, 10 and 11.
it is labeled XM.
14-pin female connector on the USA_SPEC CAS-H2y cable.
Step 13- Plug the 14-pin male connector on the USA_SPEC CAS-HXM cable to the
CAS-HXM cable. Reference Fig. (2) .
Step 12- Plug the factory 14-pin cable to the 14-pin female connector on the USA_SPEC
Step 11- Reinstall radio back to the dash only after a successful test is done.
Step 10- Plug the CB-PA105 cable to the adaptor where it is labeled iPod.
Step 5-If DIP switch #2 is set to OFF position and the vehicle has a factory XM
receiver, skip to step 12.
10

WARNING!!
Use only the iPod connection cable which comes with PA15-HON2 interface
adaptor. iPod connection cables from other sources may look similar, but they
may damage your iPod.
11

NOTE: THE OTHER WIRES ON USA_SPEC CAS-H2y CABLE ARE NOT SHOWN
ON THE DIAGRAM.
Fig ( 3 )
Fig ( 2 )
12

CAUTION
Section 5. Playlist Naming
The word HONDA must be in capital letters and there can not be any spaces
You may append text to the designated HONDA Playlist names. Example:
HONDA1-jazz, HONDA3_Favorite3, HONDA5podcast, and etc.
between the word HONDA and the numbers.
Playlist #1: HONDA1...
Playlist #2: HONDA2...
Playlist #3: HONDA3...
Playlist #4: HONDA4...
Playlist #5: HONDA5...
Playlist #6: HONDA6...
XM is a registered trademark of SIRIUS XM RADIO Inc.
iPod, iTouch and iPhone are registered trademarks of Apple Inc.
ACURA and HONDA are registered trademarks of Honda Co., Ltd.
Design of this product is subject to change without notice.
In general, iPods have not been designed to withstand temperature extremes
in automobiles. Please consult your iPod owner’s manual regarding
acceptable operation and storage temperatures.
Do not disassemble or alter the cables and interface box.
Make the connections correctly.
Do not cut away the wire sheath or use the power for other equipment.
Do not install in locations which might hinder vehicle operation or create
hazards for vehicle occupants.
Have the wiring and installation done by professionals.
Arrange wiring so it is not crimped or pinched.
Do not use this product for purposes other than stated for the vehicle.
5-1 When iPod is connected to your radio via PA15-HON2, the adaptor scans
all available Playlists and Folders on iPod and looks for designated
HONDA Playlists which are created with iTune for direct access
from HONDA / ACURA radio. The designated HONDA Playlists should
be named as follow if your iPod has more than 6 Playlists.
5-2 If less than 6 designated HONDA Playlist are created with iTune, PA15-
HON2 adaptor will automatically fill the rest of the Playlist numbers
beginning with the first available playlist on iPod. Example: if only 3
designated HONDA1, HONDA3 and HONDA5 Playlist are created, the
Playlist number no radio will be:
Playlist #1: HONDA1...
Playlist #3: HONDA3...
Playlist #2: (the 1st available Playlist on iPod)
Playlist #4: (the 2nd available Playlist on iPod)
Playlist #5: HONDA5...
Playlist #6: (the 3rd available Playlist on iPod)
13
This manual suits for next models
1
Table of contents
Other USASPEC Car Stereo System manuals