Page 3
44-000064
Updated 05.04.18
US
LED
| 6807 PORTWEST DR | HOUSTON, TX 77024 | T 866 972 9191 | F 713 972 9393 | [email protected] | www.usled.com
BayLine INSTALLATION GUIDE
BLN1-1-UNVX-XX-70-X-XX-X
INSTALLATION INSTRUCTIONS
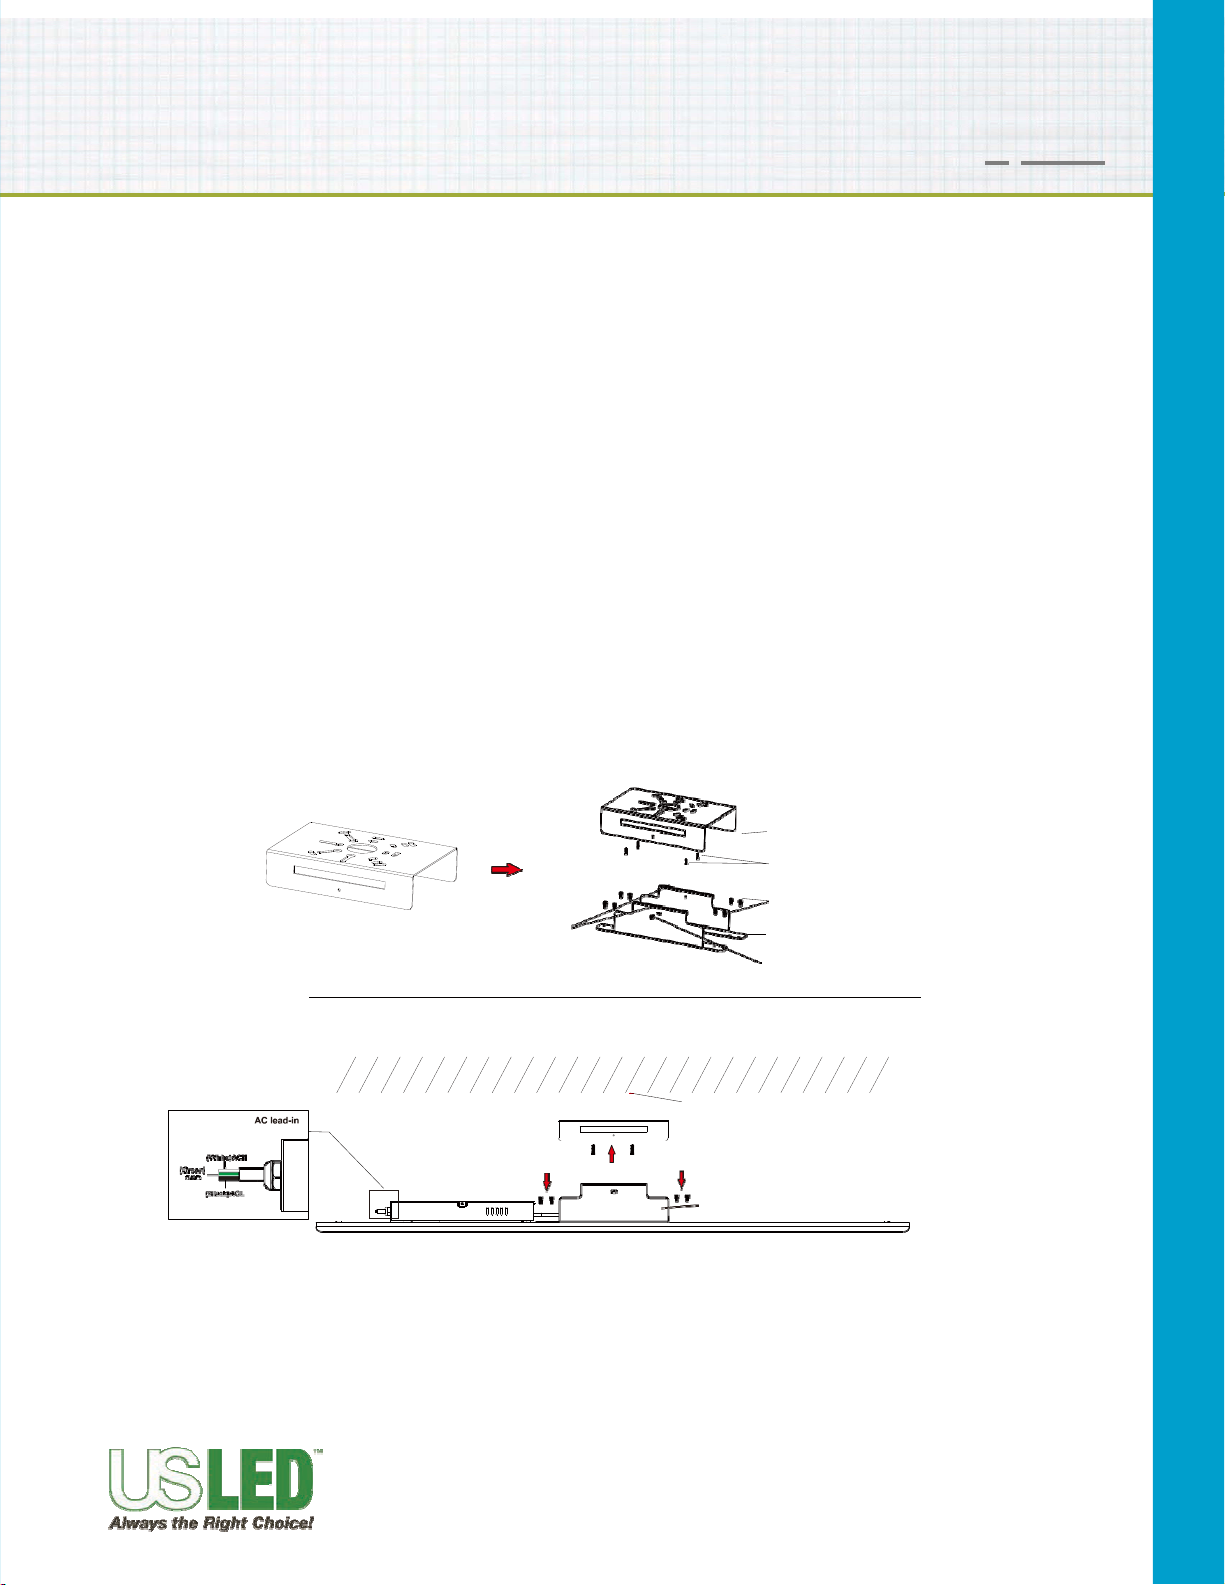
FIXTURE MOUNTING AND HIGH VOLTAGE POWER CONNECTIONS
SURFACE MOUNT
1. Turn power off at the breaker.
2. Mount bracketto surface with appropriate fastenerssuitable
for the surface material and fixture weight.
3. Fasten holder brackets to fixture with the screws provided. Note the holder bracket
flange lips must both point in the same direction when they are attached to the fixture.
Remove the extra mounting eyelet to accommodate the holder brackets.
4. Hang fixture from main bracket and attach with screws provided.
5. Make high voltage connections per state and local codes. Dimming Leads (optional) are inside the power supply box
6. Apply power and verify luminaire lights properly.
Exploded view of surface mount bracket assembly
Installing
Holder bracket flange
lips need to point in
the same direction
Main bracket
Screws
Screws
Holder brackets
Screws
Mount bracket to surface
with appropriate hardware
Screw holder brackets onto the lamp
body. Note both holder bracket flange
lips should point in the same direction
Note remove the mounting eyelet to
accommodate the surface mount
brackets