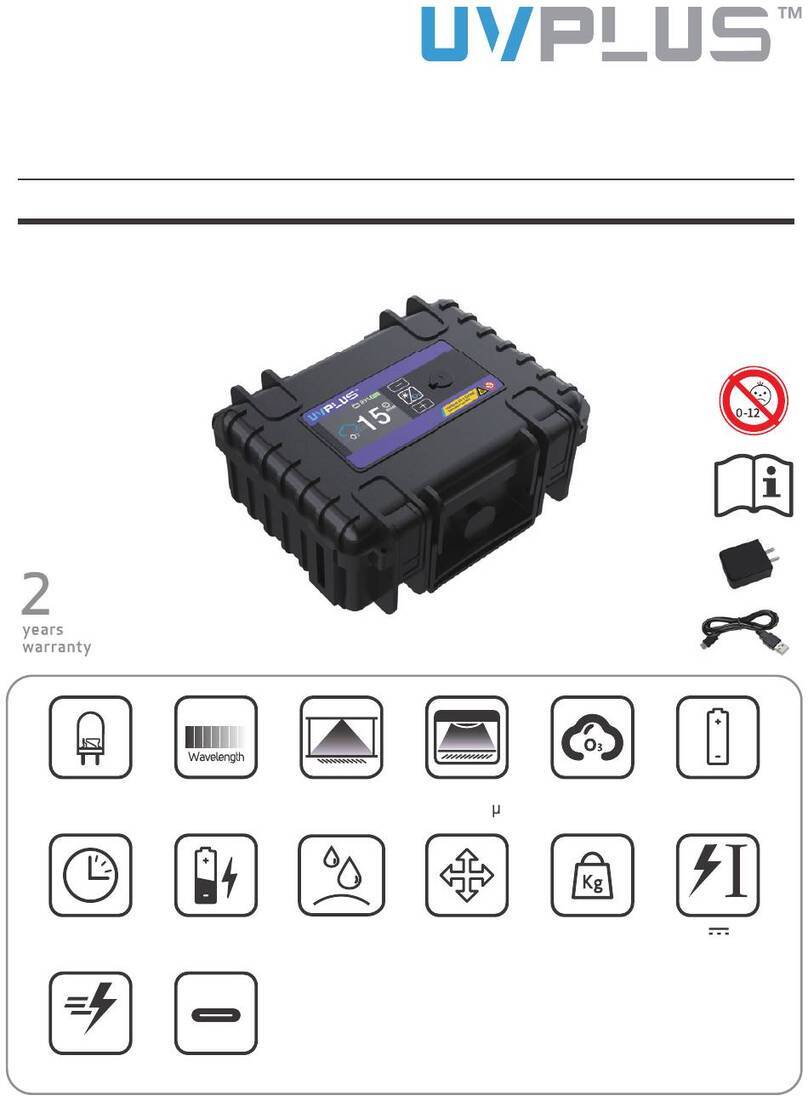
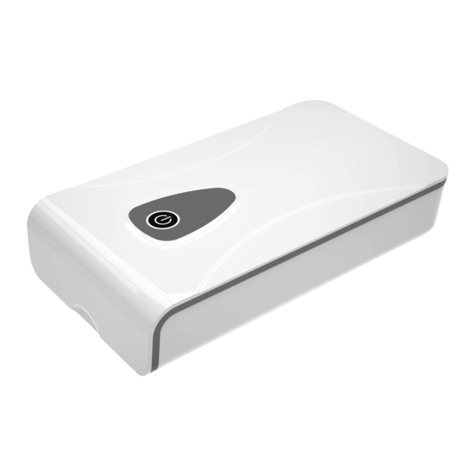
UVPLUS UVP801C User manual

Dry Fog Hydrogen Peroxide Disinfector
UVP801C
484x270x314mm 7.1kg 80m/s 500m² Log6
Work light specifications
16ml/min
Sterilization
effect
Sterilization
volume
Sterilization
speed
10 µm Hydrogen peroxide
solution
22000rps Max 1200W
Output
1

1. Foreword
2. Working principle
3. Technical parameters
10μm 100μm
Micro fog
Dry fog
(smaller than 10μm)
Fog
(10μm~100μm)
Small raining
(0.3mm~1.0mm)
Super micro fog
Fog-raining
(10μm~100μm)
Thin fog
300μm 1000μm
Middle fog
Common raining-big raining
(over 1.0mm)
Thick fog
“Dry fog” effect reference attached diagram
Parameter Value Description
Spray particle diameter 10 µm
Spray particle volume 16ml/min Default speed 16, user is not
recommended to modify
Each full bottle can spray 200m³
Reagent Hydrogen peroxide solution
Control system Touch screen
Delayed start time function, timer
function, adjustable sterilization
volume, parameters memory
function, built in calculation
software
It is recommended to use
dedicated disinfectant
solutions for best effect
Sterilization volume Reach up to 5-500m³
Sterilization effect Max Log6 kill rate
Power supply AC 220V / 110V Choose different voltage types
according to user voltage
Test condition
Laser particle size analyzer
One hour test
18 points space
disinfection test
Thank you for using our product, our company will provide you with the best service, and our Dry
fog hydrogen peroxide disinfector is easy to use, safe and reliable. This manual contains detailed
information on how to use the sprayer, equipment management personnel, and operators must
fully read this manual prior to use, it provides useful information on the operation, care and
maintenance of the equipment.
The dry fog hydrogen peroxide disinfector achieves the spray disinfection process by spreading
cold dry fog to areas that need sterilization. When the average diameter of the droplet is less than
10µm, the fog can be considered "dry", the dry fog has the below property:
■Dry fog droplets do not settle and exhibits random movement (Brown Principles);
■Dry mist droplets do not converge together to produce large droplets;
■Dry mist droplets bounce on contact with surface, and will not without break nor wet the surface
Because of these properties, the cold and dry fog has an effective surface contact even in
hard-to-reach places.

■Can control the sterilization solution output through dry fog, such that the dry fog particle size is
accurate and consistent, reducing the risk at condensation and wetting, guaranteeing the best
disinfection effect at complex area
■Able to effectively cover all spaces in the cleaning site
■Delayed start time switch function
■Sterilization area parameters memory function
■Built-in calculation software
■Sturdy structure, easy maintenance
■One single equipment can disinfect 20-500m3 space
■The whole process takes 2-4 hours, greatly shortening disinfection duration
■Replaced methanol, and can achieve Log6 sterilization rate
■GMR, FDA and EP recommend sterilization method in cleaning area
4. Product characteristics
5. Equipment structure
1. Disinfectant bottle (Disinfectant is purchased separately)
2. Nozzle
3. Lock buckle
4. Nozzle base
5. Handle
6. Touch screen
7. Housing
8. Filter switch socket
①
⑧
②③④
⑤
⑥
⑦

Disinfectant bottle installation
Grounding instructions
Figure 1
Figure 3
Figure 2
a. Unscrew the cap of the disinfectant bottle and fill with necessary disinfectant solution. Then insert
the catheter of the nozzle into the bottle (Note: The bottle must be tightened to prevent the
disinfectant liquid from spilling out), per figure 1
b. Then push the nozzle into the nozzle base, the lock buckle will then automatically lock, try to pull
out to confirm the lock is in place, as shown in Figure 2
c. Then plug the nozzle into the nozzle base, the lock buckle will then automatically lock, try to pull
out to confirm the lock is in place, as shown in Figure 3
This appliance must be grounded. In the event of malfunction or breakdown, grounding provides a
path of least resistance for electric current to reduce the risk of electric shock. This appliance is
equipped with a cord having an equipment grounding conductor and a grounding plug. The plug must
be plugged into an appropriate outlet that is properly installed and grounded in accordance with all
local codes and ordinances
DANGER- improper connection if the equipment grounding conduction can result in a risk of electric.
The conductor with insulation having an outer surface that is green with or without yellow stripes is
the equipment grounding conductor. If repair or replacement of the cord or plug is necessary, do not
connect the equipment grounding conductor to a live terminal, Check with qualified electrician or
serviceman if the grounding instructions are not completely understood, or if in doubt as to whether
①

the appliance is properly grounded. Do not modify the plug provided with the appliance – If it will not
fit the outlet, have a proper outlet installed by an electrician
This equipment has a grounding plug that looks like the plug illustrated in sketch A below. A temporary
adaptor, which looks like the adaptor illustrated in sketches B and C, may be used to connect this plug
to a 2 pole receptacle as shown in sketch B if a properly grounded outlet is not available. The
temporary adaptor should be used only until a properly grounded outlet can be installed by a qualified
electrician. The green color rigid ear, lug and the like, extending from the adaptor must be connected
to a permanent ground such as a properly grounded outlet box cover. Whenever the adaptor is used, it
must be held in place by a metal screw.
Turning on the power switch will enter into below user interface:
6. Parameters setting
• User is required to set the room size, the residual dose volume of the disinfectant, then click "Start",
Start Delay countdown will start and when it ends the equipment will start operation, after the
sterilization time duration is over, the equipment stops operation
• The formula of Sterilization Time is: Room Volume× 5ml ÷ 16ml
• 5ml: Every 1m³ space requires 5ml of disinfectant
• 16ml: equipment is able to spray 16ml of disinfectant per minute
• The parts that can be clicked on the touch screen are Room Volume, Residual Dose, Countdown
Function logic:

(Start Delay) for user to leave the room
• After clicking the option to be set, a numeric input keyboard
will pop up:
• According to actual needs, after setting the desired parameters,
the total working time (Sterilization Time) and the total amount
of disinfectant liquid (Total Dose) will be automatically calculated.
According to the total amount of disinfectant liquid, the user needs
to pour the corresponding amount into the disinfectant bottle. After adding the disinfectant, and after
setting the Start Delay to leave the room, click the Start button, and ensure that all personnel leaves
the room quickly, and the disinfection operation will start immediately after the countdown is over.
• When equipment is in delay countdown or already in disinfection operation, the use can press “Stop”
(“Start” button becomes “Stop” when equipment has started countdown) to immediately stop the
equipment operation and return to pre start status.
7. Disinfect operation process
There are a total of 3 stages in the operating cycle of the equipment.
A: First, spray sterilization (automatically calculated according to room area)
Move the equipment to the sterilizing area, place on selected location, and plug in the power
supply. Turn on the equipment power switch, and enter the settings interface, set the room size and
delay time settings according to the actual sterilization area size and equipment location. Enter
actual volume of the sterilization area into the Room Volume; Delay time can be set according to
the user’s needs. After each setting is set, the interface will automatically display the estimated
dosage, total added amount, sterilization time and running time.
Move the equipment in place, then open any inner doors of each room within the area to be
sterilized to ensure clear air flow, and then close the outermost door. Confirm the initial
temperature and humidity in the room to ensure that it is within the normal range, the temperature
is 18-26 degrees Celsius, and the humidity is 30-60%. Turn off the air conditioning system, and
after all personnel have left the sterilization area, click the [start] button to turn on the equipment
and enter the sterilization process. Note that one full bottle is 1000ml, so if the user sets the room
volume above 200m³ as per below picture A, the sprayer will stop after the bottle is depleted. The
UI display will then display per below picture B (total dose reduced since 1 full bottle is already
used up and run time shows one spray session has concluded):
The user has to then refill the bottle with disinfectant, press continue and then vacate the room, the
equipment will resume after the countdown is finished. This cycle (conclude spraying, refill bottle,
resume spraying) continues until the total dose is 0. Then the equipment will move on to the next
phase (dwell period)
A
B
8. Application
Area
Item
42m²×3m
Specifications
Volume 126m³
Comment
Disinfectant 8% hydrogen peroxide
Dose 5ml/m³
Atomizing value setting 16ml/min System default value
Total dose of disinfectant 630ml 126m³ x 5ml/m³ =630
Total spraying time 39min 630/16=39
Sealing time 60min
Ventilation with all door
and window opening 120min
Total disinfect time 249min 39+60+120=249
When forced ventilation is
used, the duration of residue
removal can be reduced
■Disinfectant use
The dry fog hydrogen peroxide disinfector is used with 6% ~ 9% hydrogen peroxide disinfectant
Note: This equipment can also be used with other sporicides such as peracetic acid. The effectiveness
of sterilization is related to the use of disinfectants. Please choose a suitable disinfectant.
Note: If the hydrogen peroxide solution used is less than 6% (but no lower than 3%), additional dry
fog spraying will be necessary to achieve the desired sterilization effect. How much additional time is
directly proportional to the reduced solution percentage (ie, if 3% solution is used, the equipment
must be set to spray twice the needed amount, which also means twice the amount of time compared
to 6% solution.). Dwell time and residue removal duration is not affected
■User safety
The user use 3M8514 welding protection mask (or equal grade protection masks) when using
hydrogen peroxide to disinfect
B: Second, keep room sealed and closed for 1-1.5 hours
After the running time displayed on the parameter setting interface ends, the equipment
automatically stops running and the spraying ends. After spraying, the entire sterilization area is
filled with disinfectant, wait for 1.5 hours before opening doors and windows
C: Third, removal of residues 1-2 hours (hydrogen peroxide concentration is less than 1ppm)
Turn on the air-conditioning exhaust system to remove the disinfectant in the space, and personnel
can enter the sterilization area after the air-conditioning system has been running for more than 2
hours.

11. After sales service
10. Notice
■Ensure that the environment is kept relatively clean and, in as much as possible, a low dust
environment
■After each use, the remaining disinfectant liquid should be disposed of, and if conditions permit,
use purified water to clean the tubes and nozzles via dry fog spraying
■Wipe the equipment surface clean with purified water after each use
■Avoid using any sharp objects to touch against or rub on the touch screen, to avoid scratching the
screen
■If any disinfectant liquid flows onto the surface or into the interior of the equipment during use,
clean it promptly.
■Store equipment in a dry and well ventilated place
■In order to ensure the safety of the user, this product has set up a full safety device. Daily spot
checks are necessary to ensure the safe use of equipment. Check as required by the specification
and stop using the device immediately if the problem is identified. In the use of disinfection, or
equipment regular inspection, the use of 3M8514 welded protective mask (or similar grade
protective mask). When repairing the equipment, in addition to wearing the above protective mask,
the equipment should be kept in a well ventilated environment
■Drop off the residual disinfectant after each time use finished, use the purified water to atomizing
trial wash pipeline and spraying head under the allowed condition for maintenance purpose
9. Daily maintenance
■Do not stay or enter sterilization room when equipment are running
■Vacate all personnel from the area to be sprayed to avoid causing illness or injury
■Ensure that appropriate personal protective gear is worn/used when operating the sterilizer
■Do not use excessive force against the touch screen, do not touch the screen with sharp objects,
and avoid scratching the surface of the screen.
■One year warranty, lifetime maintenance
■Provide professional supplies, including high-strength composite nozzles and disinfectant bottle
■Each customer is given its own account, and their information
■Regular software updates
■Professional training in hydrogen peroxide disinfection technology
V1/HJ
AEC Lighting Solutions Co., Ltd
Add.: 2548 Bao’an Highway, Jiading District, Shanghai 201801, China
www.aeclight-reel.com
www.uvpluss.com
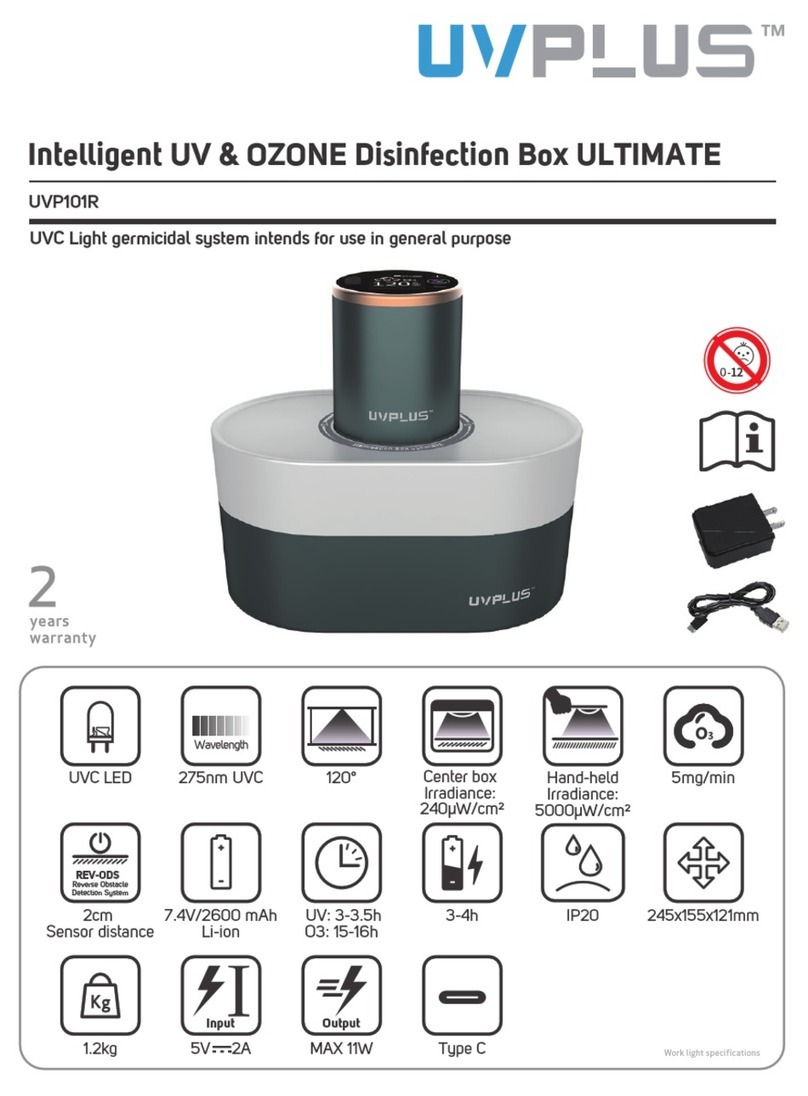
Other UVPLUS Steriliser manuals