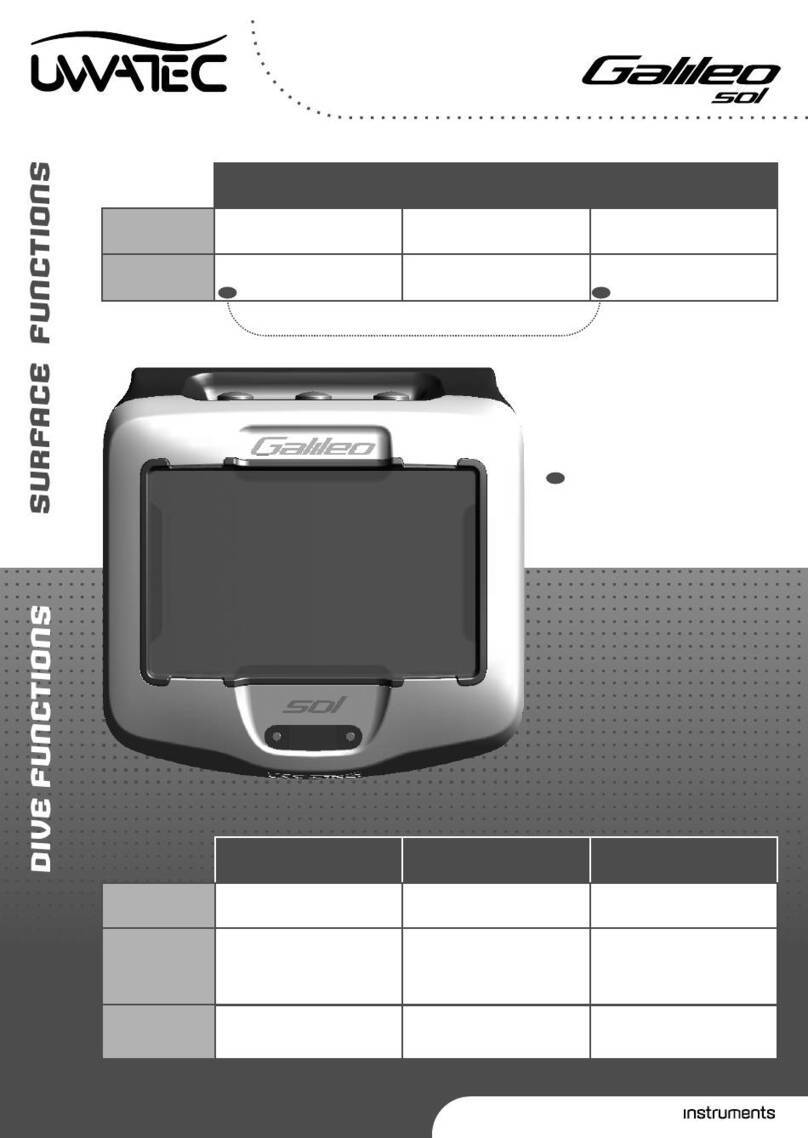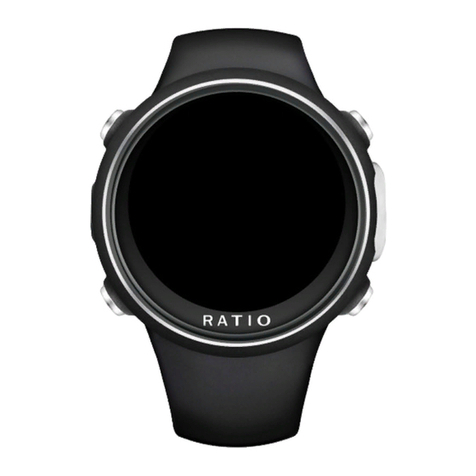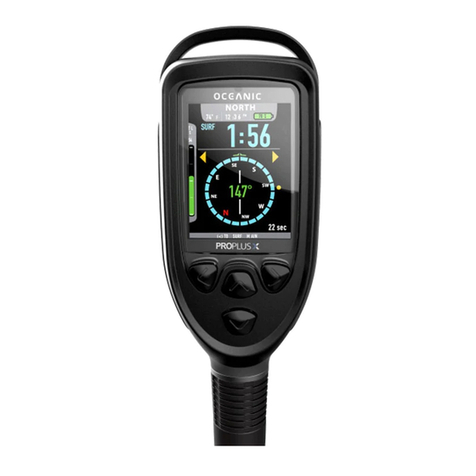
BUTTONS
Button Functions on the Surface
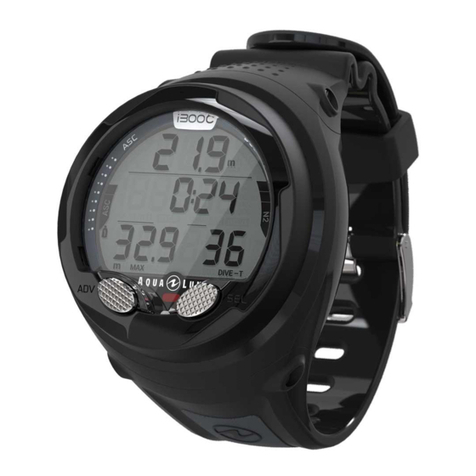
TOP LEFT
BUTTON
(Light)
TOP RIGHT
BUTTON
(+/UP)
BOTTOM RIGHT
BUTTON
(-/DOWN)
BOTTOM LEFT BUTTON
(SEL/ESC)
Press
The act of pressing and releasing
one of the buttons
Backlight Adds numerical values
Toggles up to the previous menu
Subtracts numerical values
Toggles down to the next menu
Access main menu and submenus
Conrm selection / setting
Press-and-hold
The act of pressing and holding
one of the buttons for 1 second
beforerelease
Launch compass
From main time & date display:
shows the selected Dive Mode
From selected dive mode
display: starts swim mode
From main time & date display:
Shortcut to dive ready mode
Return to previous menu or cancel the setting
From main time & date display when SCUBA
mode selected: shows current gas settings
Button Functions during Diving
Press
The act of pressing and releasing
one of the buttons
Backlight Scrolls through dive displays Scrolls through dive displays Set bookmarks
Press-and-hold
The act of pressing and holding
one of the buttons for 1 second
beforerelease
Launch compass
In “timer” display: stop / restart
timer (SCUBA and GAUGE mode)
Reset average depth counter
(GAUGE mode)
Reset timer when stopped
(SCUBA & GAUGE mode)
In “surface interval” display:
end Apnea exercise (APNEA mode)
Manual gas switch
(SCUBA & GAUGE mode)
In “surface interval” display:
end Apnea exercise (APNEA mode)
A2
QUICK USE GUIDE
Initial activation: The A2 is delivered in deep sleep mode where the display is off. You must
activate the A2 with a press-and-hold of the bottom left (SEL/ESC) button before the first dive.
Initial activation
requires basic set-up
PAIRING YOUR TRANSMITTER
❚Mount the 1st stage regulator with the Smart transmitter on a full tank.
❚Set the A2 to pairing mode (Main Menu > Gas > Pairing) and press
SEL/ESC. The display now shows “pair tank”.
❚Place the A2 near the transmitter.
❚Open the tank valve, and you are ready to go.
❚Once pressurized the transmitter will send a pairing sequence to the A2.
❚When the A2 receives this information, the display changes to show a
listing of tank designations.
❚Scroll to Tank T1. (Tank T1 is always the main tank you start your dive with.)
❚Press SEL/ESC to save your selection.
❚The current pressure of the paired tank will appear on the bottom row
in either BAR or PSI.
HOW TO POSITION AND USE THE HEART RATE MONITOR
❚Position your HR belt (as shown on the left).
❚Adjust the strap so that it is comfortable to wear but snug enough so that it stays in place.
❚HR belt must be worn directly against the skin.
❚Moisten the electrode areas if your skin is dry or when diving in a drysuit.
❚The maximum operating depth for the HR belt is 197ft/60m.
HOW TO ACTIVATE THE HEART RATE FUNCTION ON YOUR A2
❚Go to Main Menu >Settings > User > Workload.
❚Scroll to Heart Rate and select ON – press SEL/ESC to conrm.
❚Set your maximum & base HR limits – press SEL/ESC to conrm.
❚Heart Rate & Skin Temperature functions are now activated.
P/N 06.205.542
A2 Quick Use Guide
For more information and to view this card in other languages, visit http://www.scubapro.com
Set Time ›Settings›Watch›Set Time›+/UP or -/Down to Select Hours & Minutes
Set Date ›Settings›Watch›Set Date›+/UP or -/Down to Select Month, Day & Year
Set Units ›Settings›User›Units›+/UP or -/Down to Select Measurement Units
Set Time Format ›Settings›Watch›Format›+/UP or -/Down to Select Time & Date Format
Display Design ›Settings›Watch›Design›+/UP or -/Down to Select Time Display Design
