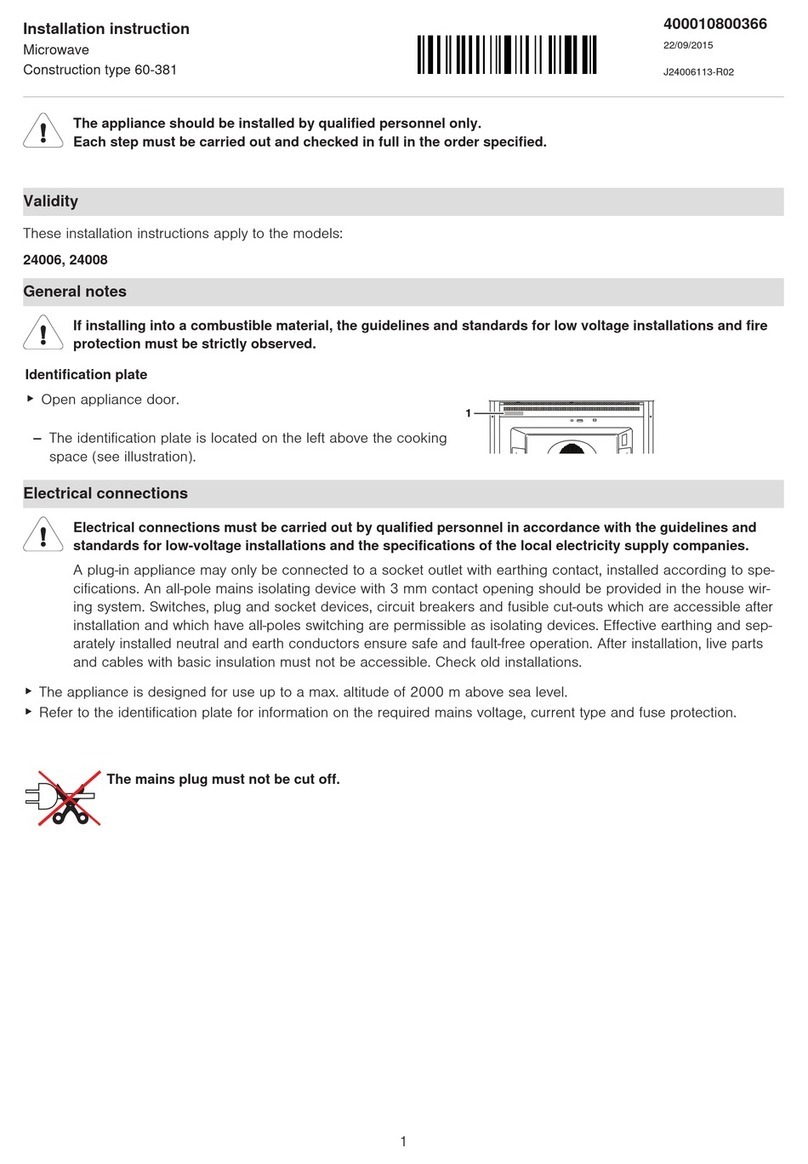
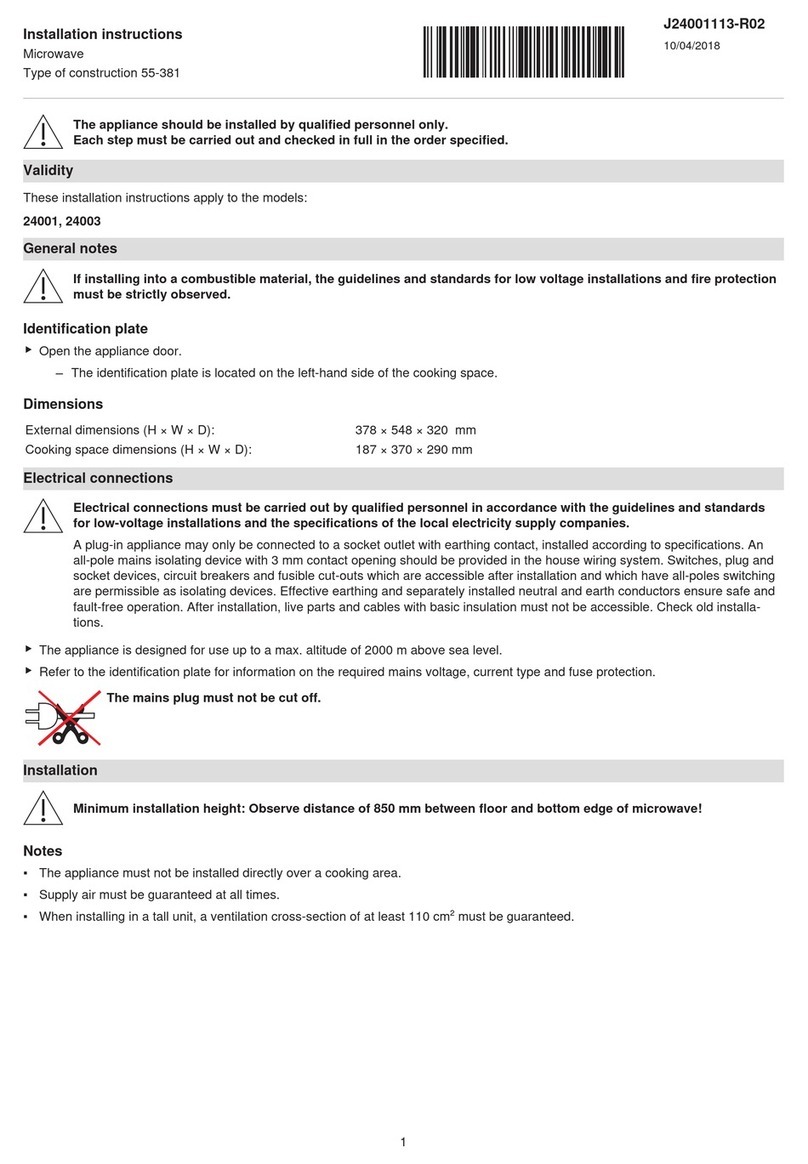
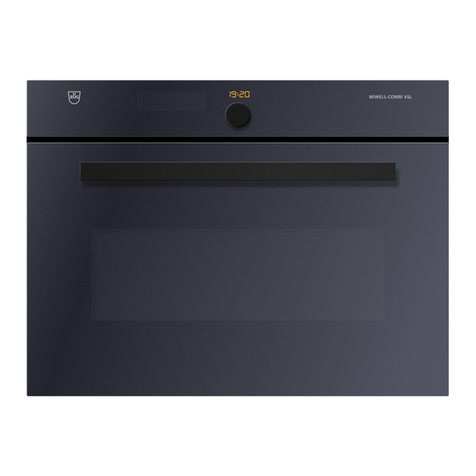
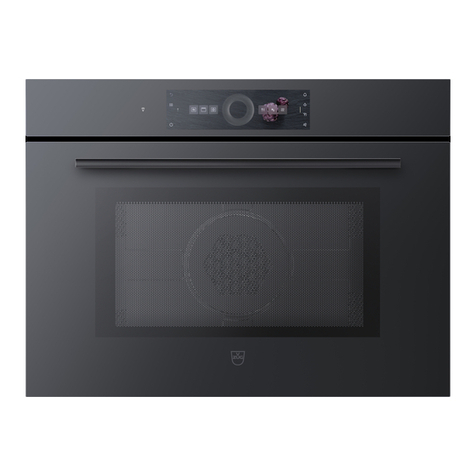
V-ZUG Miwell V600 38 User manual

Operating instructions
Miwell V600 38/38C
Microwave oven

Thank you for choosing to buy one of our products. Your appliance is made to high
standards and is easy to use. Nevertheless, please take the time to read these operating
instructions in order to familiarize yourself with the appliance and get the best use out of
it.
Please follow the safety precautions.
Modifications
Text, diagrams and data correspond to the technical standard of the appliance at the
time these operating instructions went to press. The right to make technical modifications
for the purpose of the further development of the appliances is reserved.
Validity
These operating instructions apply to:
Model designation Type Size system
Miwell V600 38 M6H-24019 60-381
Miwell V600 38C M6H-24020 55-381
Variations depending on the model are noted in the text.
© V-ZUG Ltd, CH-6302 Zug, 2022
2

3
Table of contents
1 Safety precautions 4
1.1 Symbols used......................................................... 4
1.2 General safety precautions.................................. 4
1.3 Appliance-specific safety precautions .............. 5
1.4 Appliance installation............................................ 7
1.5 Instructions for use................................................ 7
2 Using for the first time 10
3 Appliance description 10
3.1 Construction .........................................................10
3.2 Cooking space.....................................................10
3.3 Operating and display elements.......................11
3.4 Accessories ..........................................................12
4 Operation 12
4.1 Basic procedure ..................................................12
4.2 Using the appliance functions...........................13
5 Microwave operation 14
5.1 Note on use ..........................................................14
5.2 Tips for microwave mode ..................................15
6 More applications 15
6.1 Defrosting..............................................................15
6.2 Timer ......................................................................16
6.3 Childproof lock.....................................................16
7 Care and maintenance 17
7.1 Cleaning the exterior...........................................17
7.2 Cleaning the cooking space..............................17
7.3 Cleaning the appliance door .............................17
7.4 Cleaning the accessories...................................17
7.5 Replacing the illumination..................................18
8 Trouble-shooting 18
8.1 Resolving problems ............................................18
8.2 After a power failure............................................18
9 Technical data 19
10 Disposal 19
Index 20
11 Notes 21
12 Service & Support 23

4
1 Safety precautions
1.1 Symbols used
Unauthorized repairs could result in
unforeseen dangers for the user, for
which the manufacturer cannot ac-
cept liability. Repairs should only be
undertaken by an authorized ser-
vice technician, otherwise any sub-
sequent damage will not be
covered by the warranty.
Denotes important safety precau-
tions.
Failure to observe said precautions
can result in injury or in damage to
the appliance or fittings!
Information and precautions that
should be observed.
Information on disposal
Information about the Operating In-
structions
Remove plug from mains socket /
disconnect power supply
Insert plug into mains socket / con-
nect power supply
Do not cut off or modify mains plug
Wear protective gloves
▸ Indicates step-by-step instructions.
–Describes how the appliance reacts
to the steps taken.
▪Indicates a list.
1.2 General safety precautions
▪Read the operating instruc-
tions before using the appli-
ance for the first time.
▪This appliance can be used
by children aged 8 and above
and by persons with reduced
physical, sensory or mental
capabilities, or lack of experi-
ence and/or knowledge,
provided they are supervised
or have been instructed on
the safe use of the appliance
and have understood the haz-
ards involved. Children shall
not play with the appliance.
Cleaning and user mainten-
ance shall not be undertaken
by children without supervi-
sion.
▪If an appliance is not
equipped with a mains cable
and a plug or other means for
disconnecting from the mains
with a contact opening on
each pole complying with the
conditions of overvoltage cat-
egory III for full isolation, an
isolating device must be in-
corporated into the perman-

1 Safety precautions
5
ently installed electrical install-
ation in accordance with the
installation regulations.
▪If the mains cable of this ap-
pliance is damaged, it must
be replaced by the manufac-
turer or its Customer Services
or a similarly qualified person
in order to avoid hazard.
1.3 Appliance-specific safety
precautions
▪READ THE IMPORTANT
SAFETY PRECAUTIONS
CAREFULLY AND RETAIN
FOR FUTURE USE.
▪WARNING: The appliance
and its accessible parts get
hot during use. Be careful not
to touch the heating ele-
ments. Children under 8
years of age must be kept
away from the appliance un-
less they are constantly su-
pervised.
▪WARNING: Accessible parts
can get hot during use. Keep
young children away from the
appliance.
▪This appliance is intended for
use in the home and similar
settings such as: in staff kit-
chens in shops, offices and
other commercial establish-
ments; in agricultural estab-
lishments; by guests in hotels,
motels and other accommod-
ation establishments; in bed
and breakfast establishments.
▪This appliance is not intended
for use in vehicles or on
board ships or aircraft or in
rooms where there are spe-
cial conditions such as, for in-
stance, a corrosive or explos-
ive atmosphere (dust, steam
or gas) or condensing mois-
ture.
▪To avoid overheating, the ap-
pliance must not be installed
behind a decor door.
▪WARNING: Never heat food
or liquids in sealed containers
such as cans or bottles as
they are liable to explode due
to overpressure.
▪Do not use aggressive or ab-
rasive cleaning agents or
sharp metal scrapers for
cleaning the glass in the ap-
pliance door, as they could
scratch the surface. This can
destroy the glass.
▪Under no circumstances use
a steam cleaner to clean the
appliance.
▪WARNING: For safety reas-
ons, the illumination must be
replaced by our Customer
Services.

1 Safety precautions
6
▪WARNING: Children should
only use the appliance in a
combined operating mode
(depending on model) under
adult supervision due to the
temperatures generated.
▪WARNING: In the event that
the door or door seals are
damaged, the cooking appli-
ance must not be used until it
has been repaired by a quali-
fied competent person.
▪WARNING: It is hazardous for
anyone other than a qualified
competent person to carry
out any service or repair op-
eration which involves the re-
moval of a cover which gives
protection against exposure
to microwave energy.
▪When using applications with
microwave, only use cook-
ware and containers that are
suitable for use in microwave
appliances.
▪The appliance must be con-
stantly monitored when heat-
ing up foodstuffs in contain-
ers made from plastic or pa-
per, as they could ignite.
▪If smoke is observed, switch
off or unplug the appliance
and keep the appliance door
closed in order to stifle any
flames.
▪The contents of feeding
bottles and baby food jars
must be stirred or shaken
and the temperature must be
checked before consumption
in order to avoid burns and
scalds.
▪The appliance is intended for
heating up food and bever-
ages. Drying food or clothing
and heating of warming pads,
slippers, sponges, damp
cloths and the like may result
in injury, ignition or fire.
▪Microwave heating of bever-
ages can result in delayed
eruptive boiling (super boil-
ing), therefore care must be
taken when handling the ves-
sel.
▪Eggs in their shell or whole
hard-boiled eggs should not
be heated in microwave appli-
ances since they may ex-
plode, even after microwave
heating has ended.
▪Keep the appliance and the
door seals clean. Remove
any soiling as soon as pos-
sible. Otherwise the appliance
or the door seal could be-
come damaged, adversely af-
fecting the life of the appli-
ance. For detailed information
on cleaning the door seals,

1 Safety precautions
7
the cooking space and the
adjacent parts, see the «Care
and maintenance» section.
1.4 Appliance installation
▪The appliance must be installed by
qualified personnel only.
▪Each step must be carried out and
checked in full in the order specified.
▪Electrical connections must be carried
out by qualified personnel in accord-
ance with the guidelines and standards
for low-voltage installations and the spe-
cifications of the local electricity supply
companies.
▪A plug-in appliance may only be con-
nected to a socket outlet with earthing
contact, installed according to specifica-
tions. An all-pole mains isolating device
with 3 mm contact opening should be
provided in the house wiring system.
Switches, plug and socket devices, cir-
cuit breakers and fusible cut-outs which
are accessible after installation and
which have all-poles switching are per-
missible as isolating devices. Effective
earthing and separately installed neutral
and earth conductors ensure safe and
fault-free operation. After installation,
live parts and cables with basic insula-
tion must not be accessible. Check old
installations.
▪Refer to the identification plate for in-
formation on the required mains
voltage, current type and fuse protec-
tion.
▪All plastering, plasterboarding, wall pa-
pering and painting work is to be car-
ried out prior to installing the appliance.
▪Efficient repairs can only be guaranteed
if it is possible to de-install the complete
appliance at any time without causing
any damage.
▪Allow ≥45 mm niche clearance at the
back of the appliance for ventilation.
▪If the appliance is installed any other
way, the results will also vary with the
changed power output.
▪The appliance is equipped with a con-
nection cable which must be connected
to an on-site junction box. The mains
cable may not be replaced for thermo-
technical reasons.
1.5 Instructions for use
Before using for the first time
▪The appliance must be installed and
connected to the electricity supply in
accordance with the separate installa-
tion instructions. Have a qualified fitter/
electrician carry out the necessary
work.
Correct use
▪The appliance is designed for use in
the home for preparing food. Under no
circumstances flambé or cook food us-
ing a lot of fat in the cooking space! No
liability is assumed for any damage
caused by improper use or incorrect
handling.
▪Never use the appliance to dry animals,
textiles, paper, etc.!
▪Do not use the appliance as a room
heater.
▪Any repairs, modifications or manipula-
tions to the appliance, especially any
electrically live parts, may only be car-
ried out by the manufacturer, its Cus-
tomer Services or a similarly qualified
person. Repairs if carried out incorrectly
may cause serious injury, damage to
the appliance and fittings, as well as af-
fect the functioning of the appliance. If
the appliance is not working properly or
in case a repair is needed, follow the in-
structions given in the «Service & Sup-
port» section. If required, please contact
our Customer Services.
▪Use original spare parts only.
▪Retain these operating instructions for
future reference.

1 Safety precautions
8
▪The appliance corresponds to recog-
nized technology standards and the rel-
evant safety regulations. Proper use of
the appliance is essential to avoid dam-
age and accidents. Please therefore fol-
low the precautions given in these oper-
ating instructions.
▪Do not attach magnets to the display.
▪The appliance should only be installed
and operated in a room with an ambi-
ent temperature of between 5 °C and
35 °C.
Note on use
▪Never use the appliance without a
turntable.
▪Use the childproof locking facility.
▪If the appliance is visibly damaged, do
not use it. Contact our Customer Ser-
vices.
▪If the appliance is not functioning prop-
erly, disconnect it from the power sup-
ply immediately.
▪Ensure there are no foreign bodies or
pets in the cooking space before clos-
ing the appliance door.
▪Objects that could pose a danger if the
appliance were accidentally switched
on should not be stored in the cooking
space. Do not store food or any temper-
ature-sensitive or inflammable materials,
e.g. cleaning agents, cleaning sprays, in
the cooking space.
▪When using applications with mi-
crowave, put the food in the cooking
space before switching on the appli-
ance.
▪Plastic and paper packaging that is not
microwave safe needs to be removed
before cooking or defrosting the food.
Ignition hazard!
▪Do not leave the appliance unattended
when heating food in plastic or paper
containers. Ignition hazard!
▪Always open sealed food containers be-
fore placing them in the cooking space.
Danger of explosion due to overpres-
sure!
Caution: Risk of burns!
▪The appliance gets very hot when in
use. The appliance door also gets hot.
▪Steam and/or hot air may escape from
the cooking space when the appliance
door is opened.
▪The heated appliance will remain hot for
some time after it is switched off and
will cool down only slowly to room tem-
perature. Allow sufficient time for the
appliance to cool down before, for in-
stance, cleaning it.
▪Overheated fat and oil can easily catch
fire. Heating oil in the cooking space to
sear meat is dangerous and should not
be done. Never attempt to extinguish
burning oil or fat with water. Danger of
explosion! Smother the flames with a
fire blanket. Keep doors and windows
closed.
▪Do not pour spirits (brandy, whisky,
schnapps, etc.) over hot food. Danger
of explosion!
▪Do not leave the appliance unattended
when drying herbs, bread, mushrooms,
etc. If the foodstuff dries out too much,
it can pose a fire hazard.
▪If you notice smoke possibly coming
from a fire in the appliance or inside the
cooking space, keep the appliance
door closed and disconnect the appli-
ance from the mains power supply.
▪Accessories get hot in the cooking
space. Use protective gloves or oven
cloths.
▪Do not heat drinks that contain alcohol!
▪When heating liquids with microwaves,
place a glass rod in the vessel to pre-
vent delayed boiling (or superboiling).
With delayed boiling, boiling point is
reached without the typical steam
bubbles forming. Disturbing an open
vessel, even slightly, can cause the li-
quid to erupt. Do not use vessels with a
narrow spout.

1 Safety precautions
9
Caution: Risk of injury!
▪Be careful not to put fingers in the door
hinges, as there is otherwise a risk of
injury if the appliance door is moved.
Particular care should be taken when
children are around.
▪Only leave the appliance door open in
the airing position. An open appliance
door poses a danger of tripping or in-
jury! Do not sit or rest on the appliance
door or use it as a storage surface.
Caution: Risk to life!
▪Danger of suffocation! Keep packaging
material, e.g. plastic film and poly-
styrene, away from children. Packaging
material can be dangerous for children.
How to avoid damaging the appliance
▪Close the appliance door carefully.
▪Do not use objects that can rust in the
cooking space.
▪To prevent corrosion, leave the appli-
ance door open in the airing position
until the cooking space has cooled
down.
▪When cleaning the appliance make
sure no water gets inside it. Use a mod-
erately damp cloth. Do not spray the
outside or the inside of the appliance
with water. If water gets inside the appli-
ance, it will cause damage.
▪The construction of the appliance may
not be changed in any way. Do not ap-
ply force to or interfere with the appli-
ance door or the control and safety
devices. The illumination may only be
replaced by our Customer Services.
▪Take care not to damage the appliance
door, the door frame or the door
hinges.
▪Ensure that nothing is trapped between
the appliance door and the frame.
▪Wipe away any residual water left in the
bottom of the cooking space with a soft
cloth after the appliance has cooled
down.

2 Using for the first time
Before operating the newly installed appliance for the first time, the following steps
should be taken:
▸ Remove packaging and transport materials as well as any protective film from out of
the cooking space.
▸ Clean the cooking space and the accessories.
▸ Set the time: To do this, touch the button 2×.
–The display element appears in the display.
–Use / or (slider) to set the hour, then touch the button 1× to select the
minutes.
▸ Touch the button to confirm the value.
All temperatures in these operating instructions are given in degrees Celsius (°C).
3 Appliance description
3.1 Construction
1
2
3
1Operating and display elements
2Door handle
3Appliance door
3.2 Cooking space
1
2
3
4
5
1Appliance door
2Ventilation slots
3Door detection
4Microwave inlet
5Glass turntable
10

3 Appliance description
3.3 Operating and display elements
Function buttons
Microwave functions
Operating time, timer, clock
Decrease value (power level, operating time, weight, clock)
Increase/Decrease value with slider
Increase value (power level, operating time, weight, clock)
Cancel, switch off, pause, childproof lock
Start, quick start
Display elements
Defrost
Microwave
Childproof lock
Cooking space illumination
Timer
Operating time
Clock
Applicable power level (W) and weight (kg) selection
Value selection for functions: clock, operating time and programme
number selection
11

4 Operation
3.4 Accessories
Incorrect handling can cause damage! Do not use knives or cutting wheels on the
accessories.
Do not use any metal accessories in the microwave mode.
Glass turntable with roller ring
▪Serves as base for the microwave mode.
▪Max. permissible load is 4 kg.
Food cover
▪Prevents the food from drying out.
▪Prevents the cooking space from becoming soiled.
▪Shortens the cooking time.
4 Operation
4.1 Basic procedure
▪Start screen with the actual time (1).
▪Use the button to select the main functions:
Microwave, Defrost meat and Defrost bread (2).
▪Touch / or swipe the slider to set the re-
quired power level, the weight and the time (3).
▪Touch the button to set the desired operating
time (3).
▪Use the button at any time to discard a
change to an existing setting and without the
value of the operating step being accepted (4).
The appliance switches back to the start screen
(1).
▪Touch the button to confirm and accept the
setting and to start the appliance (4).
▪Touch the button to pause during operation.
Touch to resume operation. Touch again to
end operation (4).
12

4 Operation
4.2 Using the appliance functions
Microwave
Follow the following steps to set the
power level (setting range 100—900W,
selectable in 100W steps) and operat-
ing time:
Programmes: Defrost meat and Defrost
bread, with weight entered in kg
Touch 2× for Defrost meat (d-01) or
touch 3× for Defrost bread (d-02). Se-
lect a weight from 0.1kg bis 2.0kg. The
operating time depends on the weight and
is not selectable.
Touch the button for a direct quick start at 500 W for 2 minutes.
13

5 Microwave operation
Do not use any metal accessories in the microwave mode.
Power range 100—900 W (selectable in 100W steps)
Recommended value 500 W / 2 mins
Accessory Glass turntable
Foods and liquids are heated using microwaves.
Uses
▪Precooked foods
▪Frozen and convenience foods
▪Liquids
Preparing food with a skin or peel:
▸ Prick food with a skin or peel such as potatoes, tomatoes, sausages, shell food and
the like with a fork. Otherwise, the steam that is produced will be unable to escape
and may cause the food to explode.
▸ Crack open the eggs and beat them before cooking.
▸ For fried eggs: Prick the yolk before cooking
Turn or stir foods halfway through the cooking time if possible.
5.1 Note on use
Refer to the «Safety precautions» section.
Porcelain, ceramic and earthenware cookware have cavities which can fill with wa-
ter. Risk of cracking! Follow the manufacturers’ instructions.
Suitable for microwave and combi mode
Not suitable for microwave and combi mode
Particularly suitable for microwave mode
▪Heat-resistant glass, e.g. Pyrex
▪Porcelain
▪Microwaveable plastic
▪Silicone baking moulds
Permitted for microwave mode
▪Aluminium packaging of convenience foods
▪Low and high wire rack
14

6 More applications
Forbidden for microwave mode
▪Cast iron pots
▪Metal cookware
▪Aluminium foil
▪Baking trays
▪Cookware with gold rim or metal decor
▪Meat thermometer
5.2 Tips for microwave mode
Put the food in the cooking space before switching on the microwave.
▸ Cover the food to prevent it from drying out when using the microwave-only mode.
Suitable covers include microwave food covers, glass or porcelain lids and mi-
crowaveable film.
The cooking space can become damp when using the microwave mode. To avoid un-
pleasant odours and corrosion in the cooking space, please observe the following:
▸ Cover liquid or steaming food – unless it should remain crispy.
▸ Wipe away traces of water or soiling with a soft cloth to prevent corrosion and un-
pleasant odours.
▸ To prevent damage to the appliance, leave the appliance door open in the at-rest pos-
ition at the end of cooking until the cooking space has cooled down.
Food is dried out. Shorten the cooking time or reduce the power level.
6 More applications
6.1 Defrosting
With the two «Defrost programmes», meat and bread can be defrosted quickly and
gently with the microwave. The setting range is between 0.1 kg and 2.0 kg. After enter-
ing the weight, the operating time and microwave power level are automatically adjusted.
For best results, take the frozen food out of the freezer compartment and defrost immedi-
ately in the appliance. Food packaged flat rather than compact and round defrosts more
evenly.
Available programmes:
d-01 Defrost meat d-02 Defrost bread
Procedure
▸ Put the food to be defrosted directly on the glass turntable.
▸ Touch 2× to select «Defrost meat».
▸ Touch 3× to select «Defrost bread».
Do not use any metal accessories in the microwave mode.
15

6 More applications
6.2 Timer
The timer functions like an egg timer. It can only be set when the microwave is not in
use.
Setting and starting the timer
▸ Touch the button 1×.
–The 00:00 display element appears in the display.
▸ Use / or (slider) to select the desired operating time from the setting range of
0:05 to 95:00 (5 seconds to 95 minutes).
▸ Touch the button to confirm the value and start the timer.
–The countdown to the time remaining is shown in the display.
–When the duration is up, a 5× acoustic signal is emitted and the appliance switches
to standby mode.
Ending the timer before time
▸ Opening and closing the appliance door does not affect an active timer. To immedi-
ately end the timer: Touch the button.
–The timer ends.
Note: It is not possible to call up the time when the timer is active.
6.3 Childproof lock
The childproof lock is to prevent children accidentally switching on the appliance.
Setting and starting the childproof lock
▸ Touch the button and hold for at least 3 seconds.
–The childproof lock is activated.
–The display element appears in the display.
Ending an active childproof lock
▸ Touch the button and hold for at least 3 seconds.
–The childproof lock is deactivated.
–The display element is no longer shown.
16

7 Care and maintenance
Risk of burns from hot surfaces! Allow the appliance and accessories to cool down
before cleaning. The appliance may not be used if the appliance door or door de-
tection is damaged. Inspect these parts regularly.
Only use soft cloths for cleaning. Do not use any abrasive, alkaline or acidic clean-
ing agents, metal scrapers that are sharp or scratch, steel wool, scouring pads,
etc. as these products will damage the surfaces. Scratches on the door glass can
cause the glass to break. Never use a steam cleaner to clean the appliance.
7.1 Cleaning the exterior
▸ Clean the surfaces and display with a soft cloth dampened with water and a little
washing-up liquid.
▸ Dry with a soft cloth.
▸ Remove any soiling or residues of cleaning agent immediately.
7.2 Cleaning the cooking space
Always replace the turntable and the turntable roller after cleaning.
▸ Take all the accessories out of the cooking space before cleaning.
▸ Clean the cooking space regularly and especially when food has spilled over. Immedi-
ately wipe away any grease splashes or food residues.
▸ Remove any soiling while the cooking space is still warm to the touch using a soft
cloth dampened with water and a little washing-up liquid. Wipe dry with a soft cloth.
▸ For stubborn soiling, heat up a glass of water at maximum microwave power level for
2–3minutes. The steam that is produced will soften the soiling.
▸ To eliminate unpleasant odours, heat up a glass of water and lemon juice for 2 to
3minutes at the maximum microwave power level.
7.3 Cleaning the appliance door
▸ Clean the appliance door with a soft cloth dampened with water and a little washing-
up liquid.
▸ Dry with a soft cloth.
The appliance door must not be removed for safety reasons.
7.4 Cleaning the accessories
▸ The glass turntable can be cleaned in the dishwasher; however, this will affect its non-
stick properties. It is recommended the turntable be cleaned by hand.
▸ Wash the food cover by hand only.
17

8 Trouble-shooting
7.5 Replacing the illumination
For safety reasons, the illumination must be replaced by our Customer Services.
8 Trouble-shooting
8.1 Resolving problems
Problem Possible cause Solution
▪Appliance is not
working
▪A household fuse or circuit
breaker has tripped.
▸ Change the fuse.
▸ Reset the circuit breaker.
▪The fuse or circuit breaker
keeps blowing.
▸ Contact Customer Ser-
vices.
▪Interruption in the power supply. ▸ Check the power supply.
▪Appliance is faulty. ▸ Contact Customer Ser-
vices.
▪Illumination is not
working
▪Illumination is defective. ▸ Contact Customer Ser-
vices.
▪The appliance
makes noises
during operation
▪Appliance can make noises dur-
ing operation (switching and fan
noises).
Such noise is normal.
8.2 After a power failure
The user settings remain unchanged.
Brief power failure during operation
–The current operation of the appliance is cancelled.
–The start screen appears.
Prolonged power failure
The appliance goes through its initial set-up process after a prolonged power failure. The
time needs to be reset in order to operate the appliance again. It is not necessary to
make any other settings.
18

9 Technical data
9 Technical data
External dimensions
▸ See installation instructions
1
Electrical connection
▸ See identification plate 1
10 Disposal
10.1 Packaging
Never allow children to play with packaging material due to the danger of injury or
suffocation. Store the packaging material in a safe location or dispose of it in an
environmentally-friendly way.
10.2 Safety
Render the appliance unusable to prevent accidents caused by improper use (e.g.
through children playing):
▸ Disconnect the appliance from the mains. With a fixed appliance, this is to be carried
out by a qualified electrician. Then cut the mains cable off flush with the appliance.
10.3 Disposal
▪ The «crossed‐out wheeled bin» symbol requires the separate collection of waste
electrical and electronic equipment (WEEE). Such equipment can contain hazardous,
environmentally harmful materials.
▪These appliances are to be handed over to a designated collection point for the recyc-
ling of electrical and electronic equipment and must not be disposed of with unsorted
household waste. And in this way, you will be helping to protect resources and the en-
vironment.
▪For more information, please contact the local authorities.
19

Index
A
Accessories ...................................................... 12
Cleaning ........................................................ 17
Appliance
Disposal......................................................... 19
Appliance door
Cleaning ........................................................ 17
Appliance installation ......................................... 7
B
Before using for the first time........................... 7
C
Care and maintenance ................................... 17
Childproof lock ................................................. 16
Cleaning............................................................. 17
Cooking space............................................. 17
Cleaning the exterior ....................................... 17
Construction...................................................... 10
Cooking space ................................................. 10
Cleaning ........................................................ 17
D
Defrosting .......................................................... 15
Display elements.............................................. 11
Disposal............................................................. 19
E
Electrical connection ....................................... 19
External dimensions ........................................ 19
F
Food cover........................................................ 12
G
Glass turntable ................................................. 12
I
Identification plate............................................ 19
Illumination ........................................................ 18
Initial set-up ................................................... 7, 10
Instructions for use ............................................. 7
M
Microwave ......................................................... 14
Cookware ...................................................... 14
Note on use .................................................. 14
Tips................................................................. 15
Model designation .............................................. 2
More applications ............................................ 15
N
Notes.................................................................. 21
O
Operating elements ......................................... 11
Operation........................................................... 12
P
Power failure ..................................................... 18
Power interruption............................................ 18
Q
Queries .............................................................. 23
R
Resolving problems......................................... 18
S
Safety precautions
Appliance-specific ..........................................5
Before using for the first time.......................7
Correct use ......................................................7
Safety warnings
Appliance installation.....................................7
General .............................................................4
Service & Support............................................ 23
Service agreement........................................... 23
Symbols ................................................................ 4
T
Technical data .................................................. 19
Timer .................................................................. 16
Type....................................................................... 2
U
Using appliance functions.............................. 13
Using for the first time..................................... 10
V
Validity................................................................... 2
20
This manual suits for next models
1
Table of contents
Other V-ZUG Microwave Oven manuals

V-ZUG
V-ZUG Miwell-Combi SL MWC-SL User manual

V-ZUG
V-ZUG Miwell L User manual

V-ZUG
V-ZUG Miwell-Combi XSL User manual

V-ZUG
V-ZUG Miwell-Combi XSL User manual

V-ZUG
V-ZUG MWHSL60 User manual

V-ZUG
V-ZUG Miwell SL User manual

V-ZUG
V-ZUG Miwell S Series User manual

V-ZUG
V-ZUG Miwell V400 User manual

V-ZUG
V-ZUG Miwell-Combi XSL Assembly instructions

V-ZUG
V-ZUG Miwell S User manual